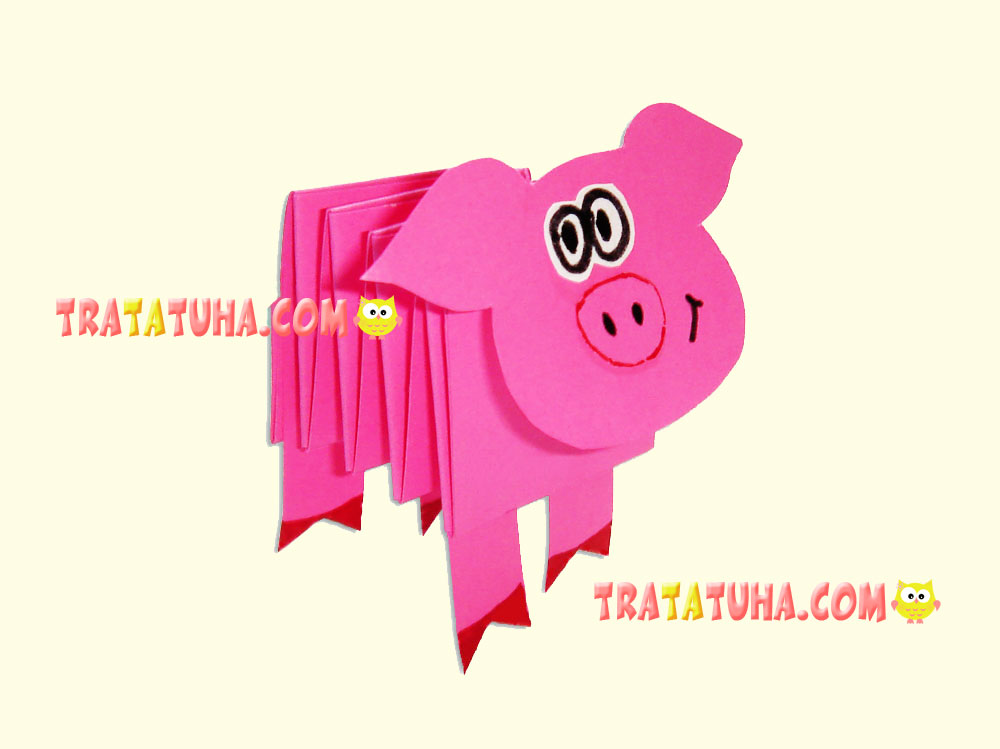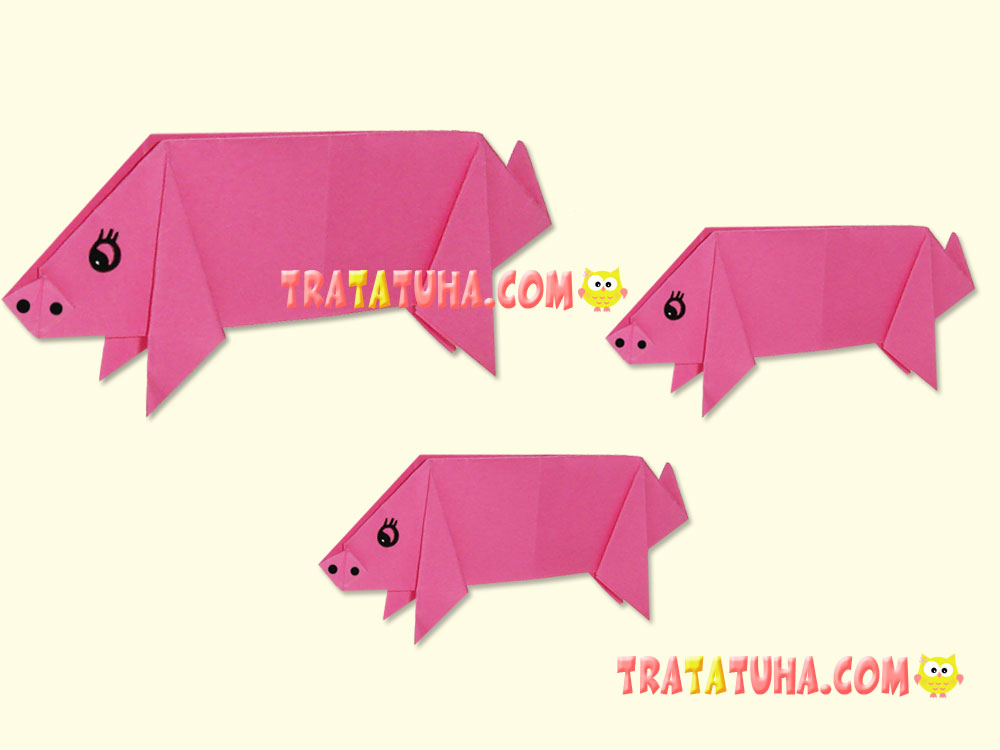
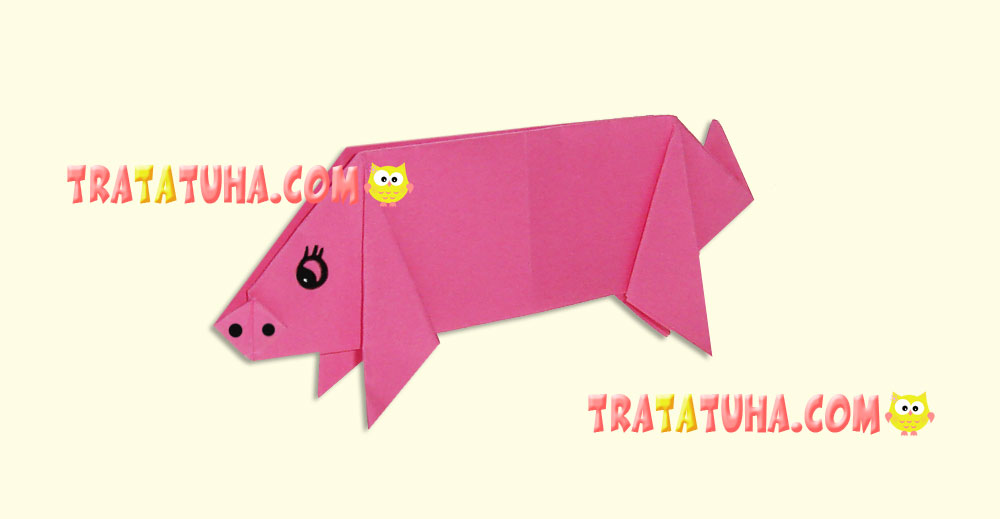
A simple origami pig for kids. Despite a long description and lots of photos, it’s extremely easy to make it. Children will easily cope with the most part of the work but may need help in making a snout and tail. The site already contains one origami pig, but there is only its head in that variant and here is a complete pig.
You will need:
- Coloured paper or special origami sheets;
- A black felt pen;
- If you have no special origami sheets, you will need scissors.
Origami Pig Step-by-Step
Preparation
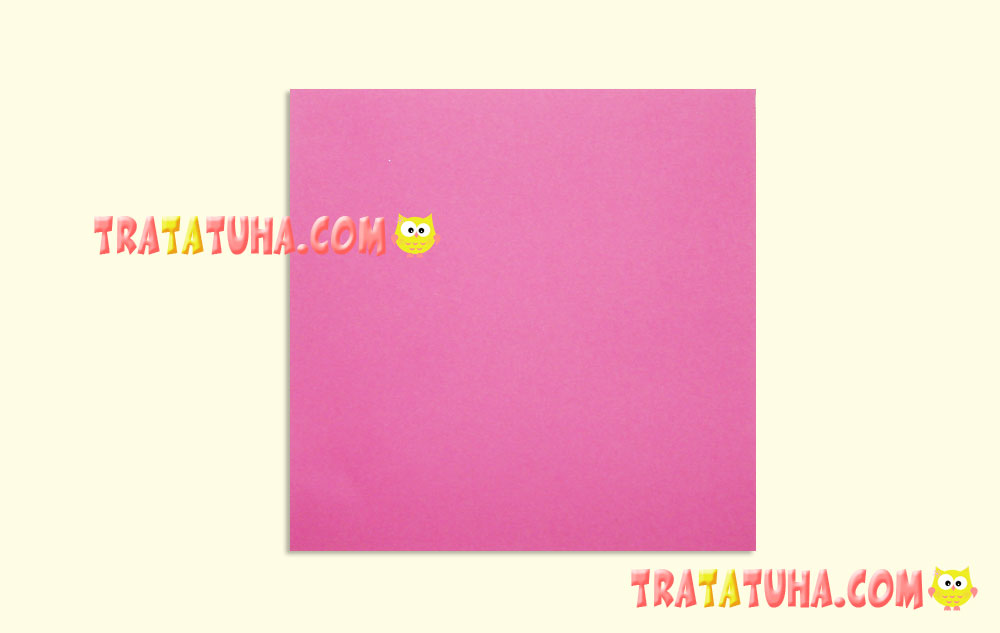
Put a square piece of paper in front of you. It can be of any size. I have a small pig; the sides of the square are 12 cm long. For children, it is easier to work with 14 cm long sides and more.
The first stem is to make parallel folds on this paper. To make them even, fold the paper square in half at first. You will get a fold in the middle.
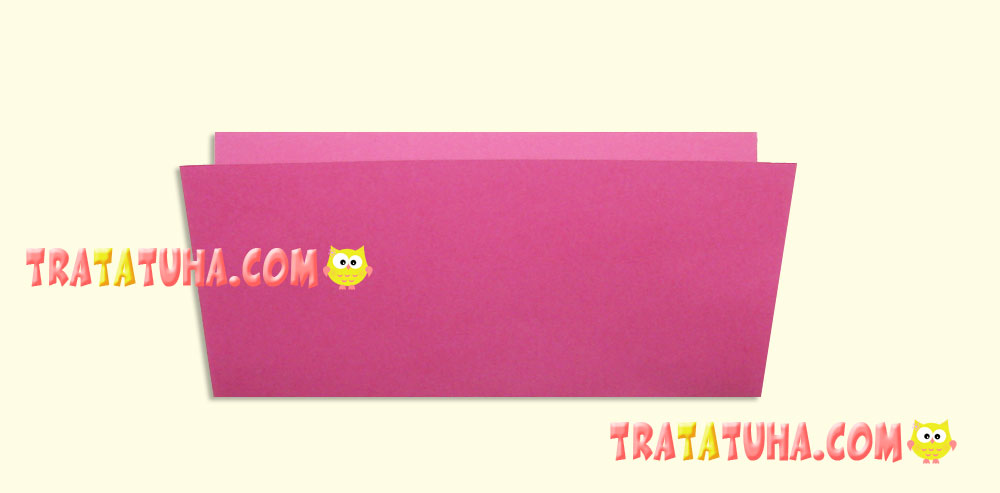
Then, open the paper and fold it so that the edge reached the middle fold.
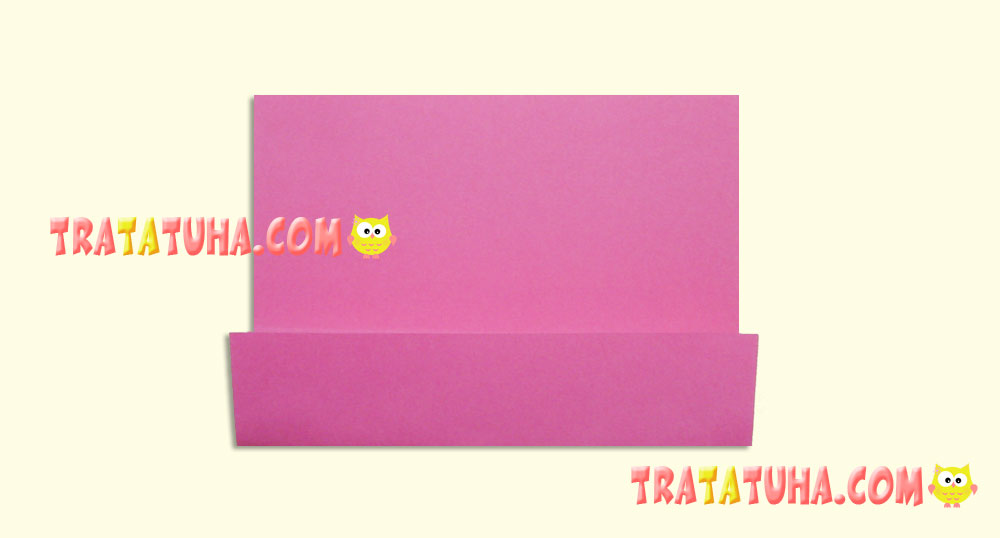
Repeat it for the opposite side. Don’t forget to smooth the folds thoroughly.
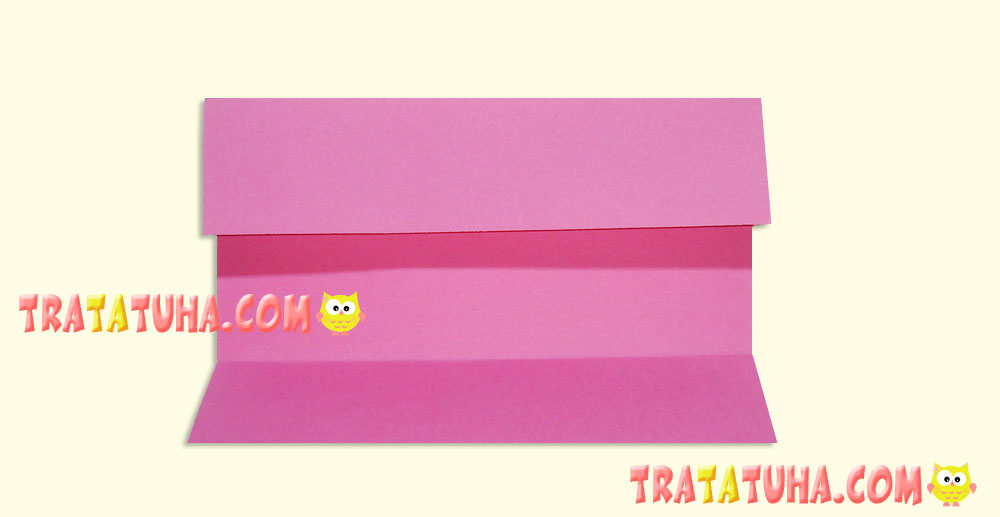
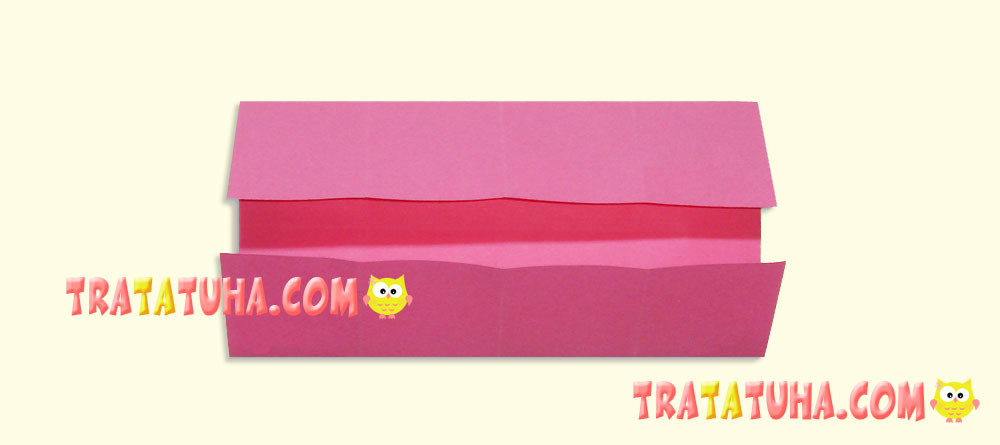
You will get these four parallel sections.
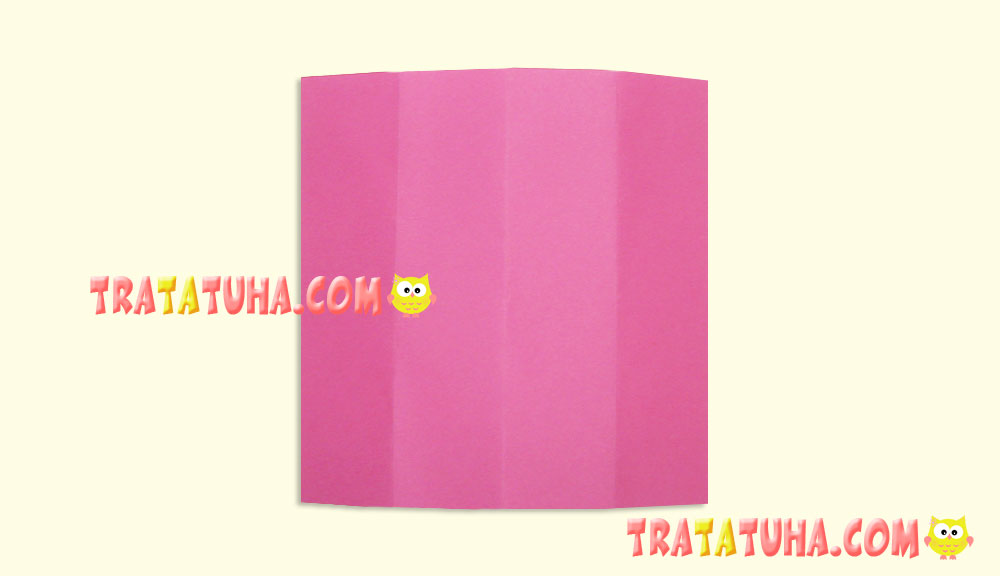
Fold the paper in twice crosswise of the parallel sections. You will get another middle fold.
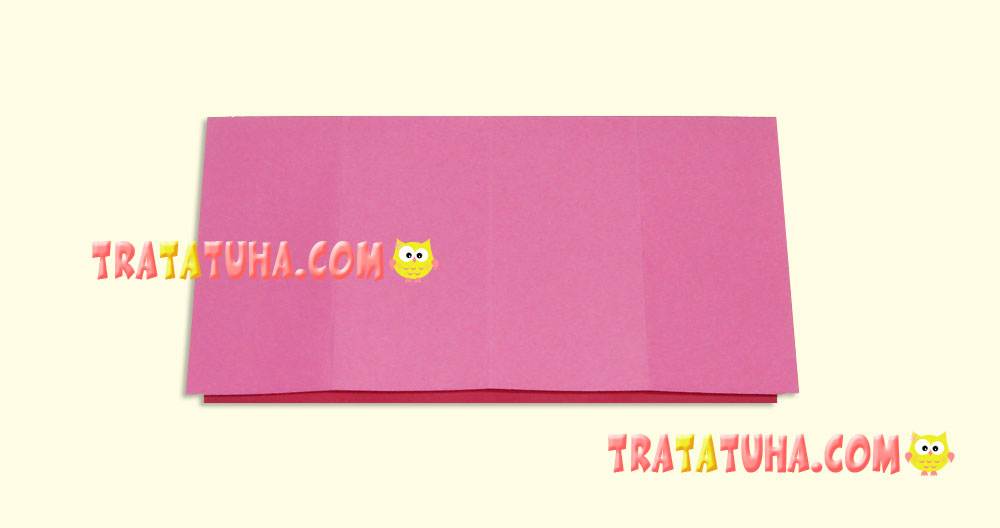
Open the folded paper and direct one of the sides toward the latter fold. Repeat it with the second one.
Basic Working Process
All the necessary folds are ready. Now, let’s get down to making an origami pig itself. Fold all the four corners to the middle so that their edges meet the cross fold of the first section that we have made at the very beginning.

Now, straighten one of the corners and direct the fold towards the middle, thus creating a triangular pocket.
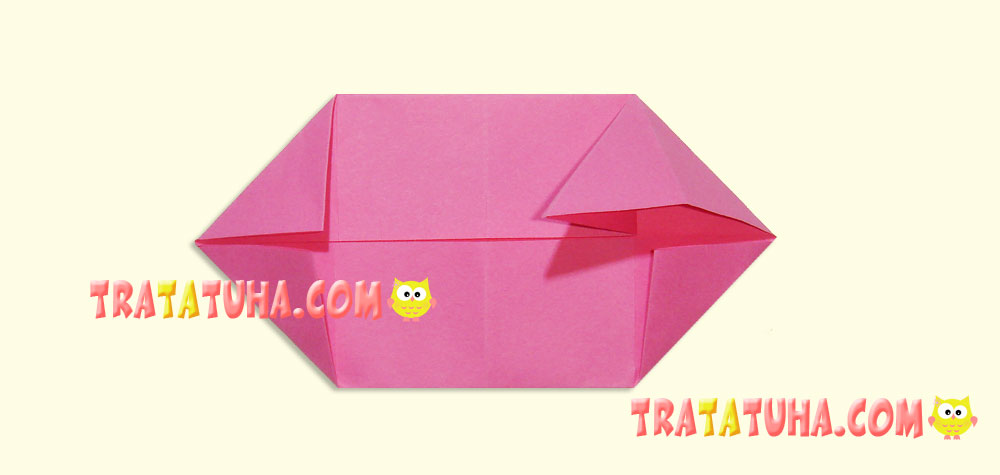
Repeat it with the second corner.
And with the rest two of them.
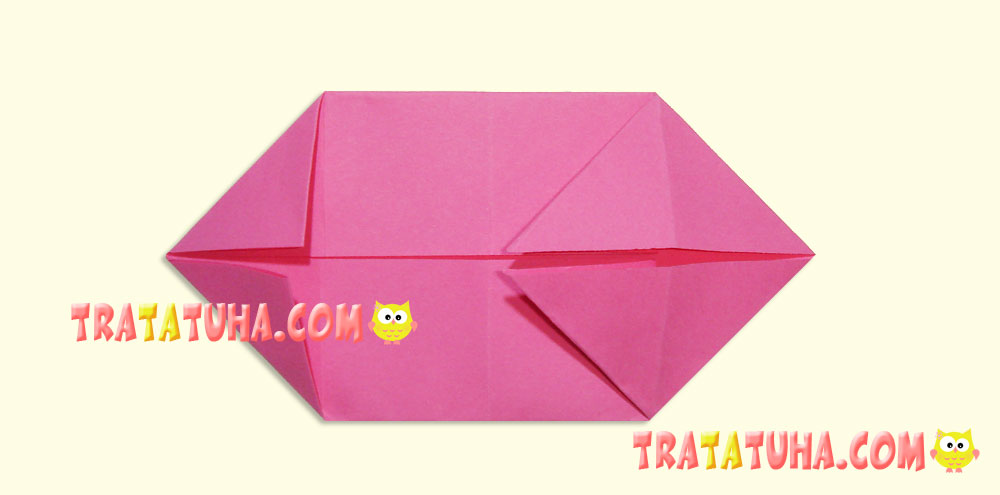
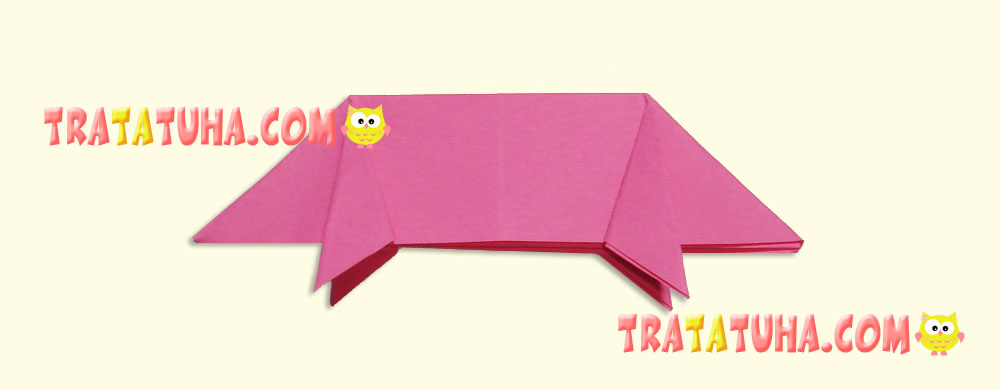
Fold the detail you’ve got in half, with pockets outward.
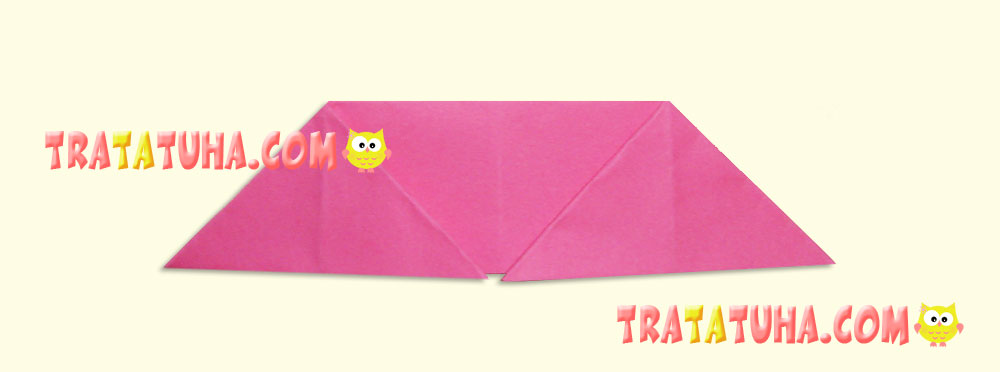
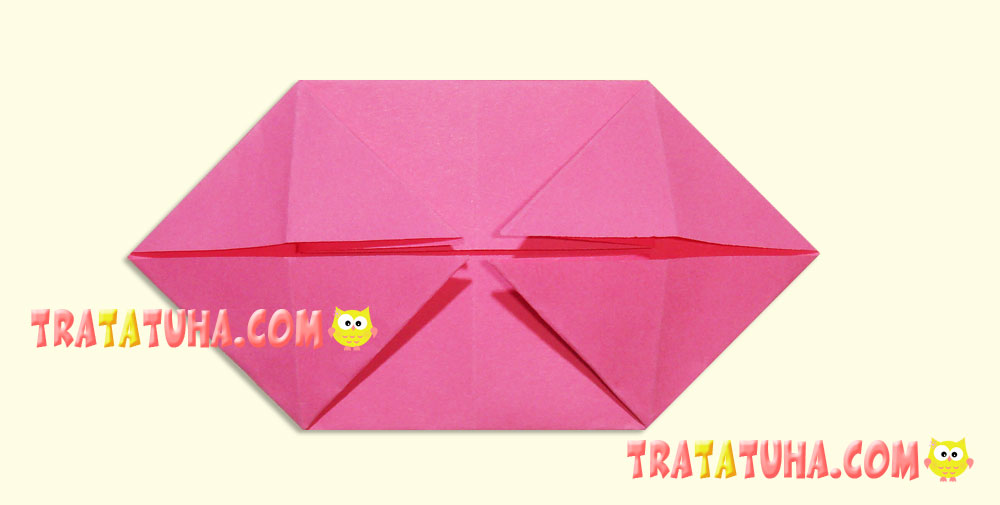
Fold four inner corners of the pockets on both sides, levelling them along the middle line. It will be ears and legs of the pig.
Finishing Touches of Origami Pig
We have gone through the easiest steps and now, a more difficult piece of work. But if you get the gist of it, you will find nothing difficult. However, children may fail to understand all the details.
Let’s make the tail; it will be to the right. To make it, fold the right corner to the right – just fold it as you like; you can do it either toward you or backwards. You should do it to get a proper fold.
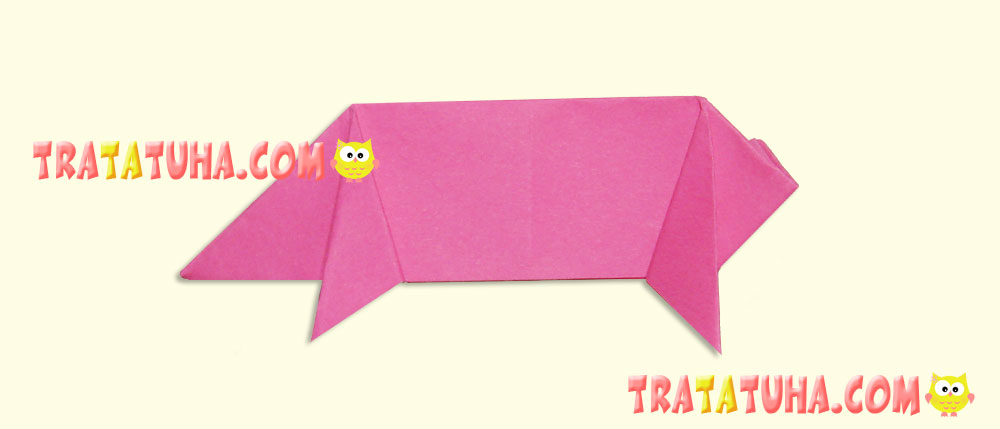
Then, unfold the corner and direct this fold towards the middle so that the end sticks up a bit. It will be the tail.
Let’s proceed to the snout. Here, the sequence of actions is almost the same, but the end should be folded just a little bit.

Later, return the edge into the original position, open the corner and just press it sideward. It will be the snout.
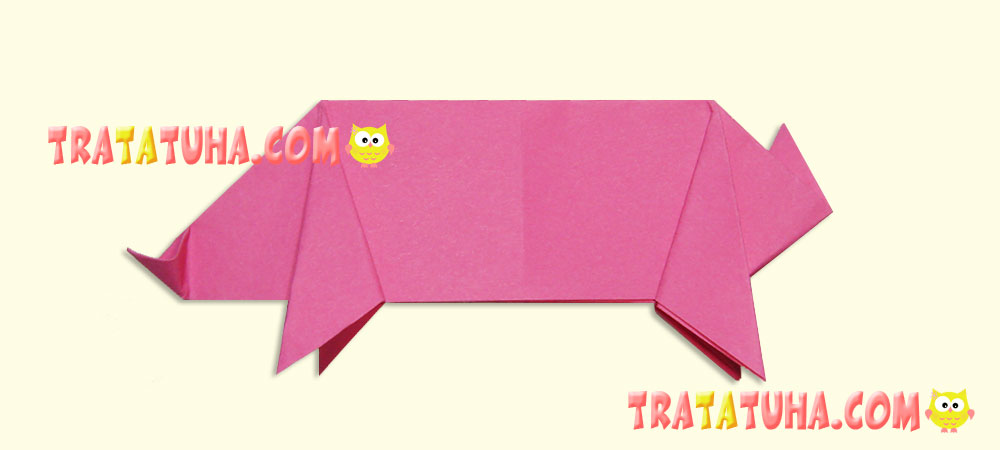
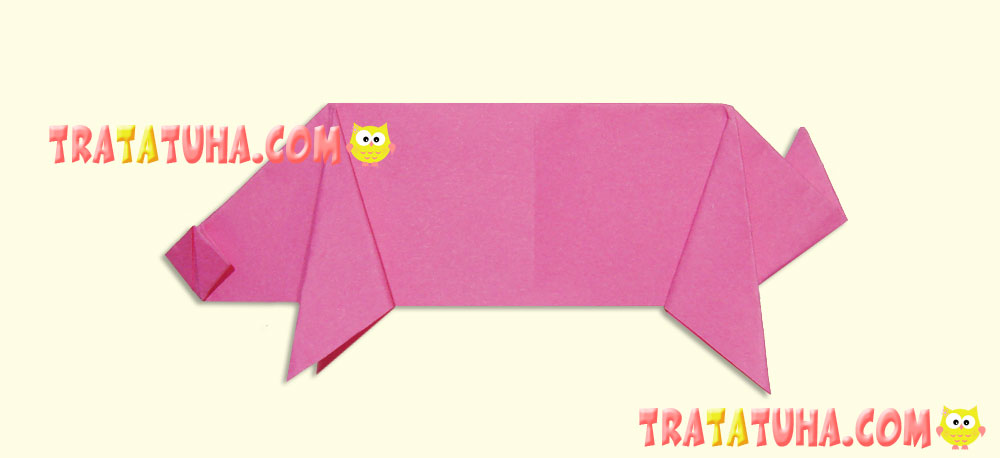
All that is left to do is to draw eyes and nostrils with a felt pen, and origami pig is ready.
See also other tutorial of Origami Animals.
Many other ideas in the collection of Paper Animals Craft.
Crafts for Kids – learn how to make craft at home! Super cute crafts for all age groups!
Related Post: