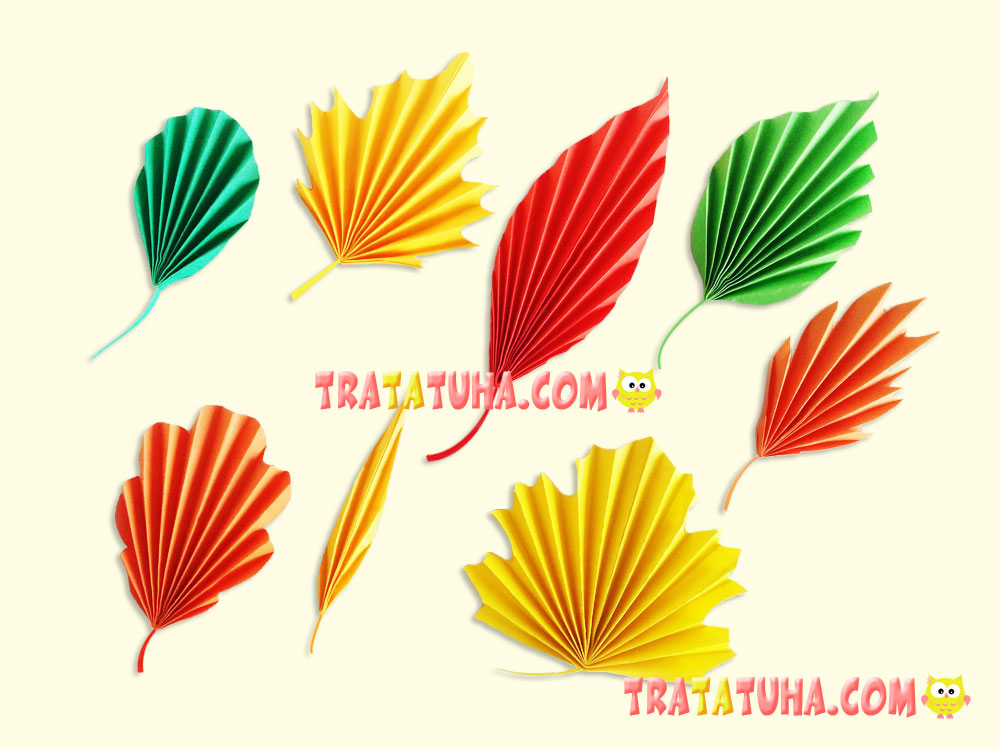
The article presents a variety of accordion paper leaves, patterns, and step-by-step instructions for creating a particular leaf. Such leaves can be in very different colors, for example, if they are confined to autumn events it is better to use colored paper of yellow, orange and red colors, for spring use the leaves of green and lime shades. Even for winter celebrations, you can make leaves of silver or white paper.
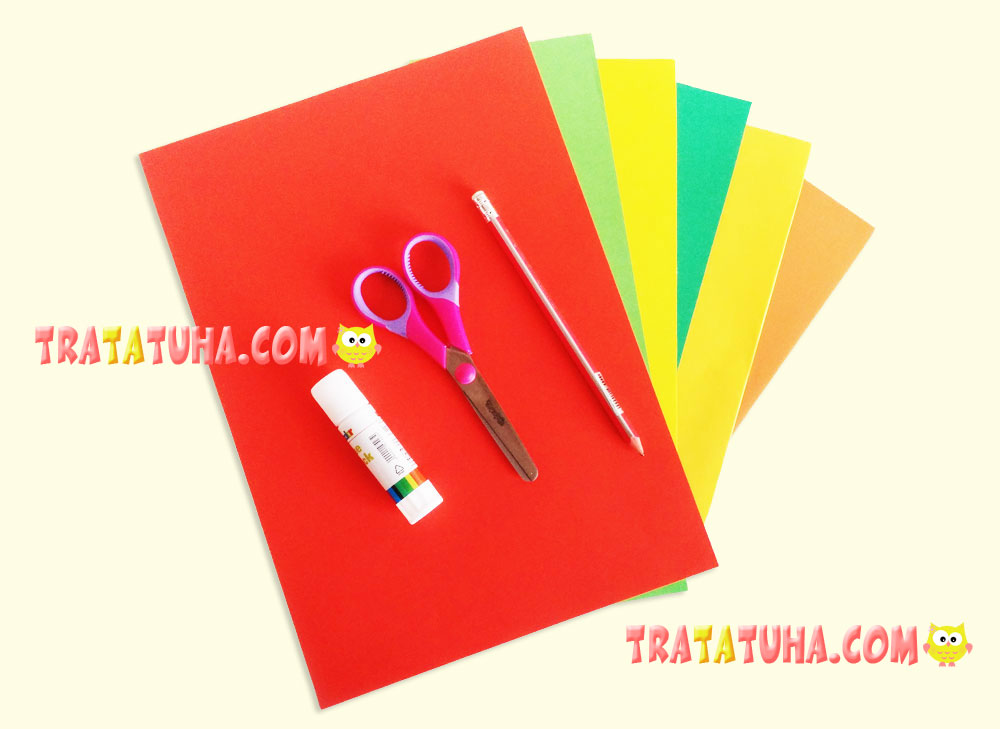
For the work will need the following materials:
- The colored paper of various colors suitable for the leaves;
- The scissors, glue stick, graphite pencil.
Option 1. Accordion Paper Maple Leaf

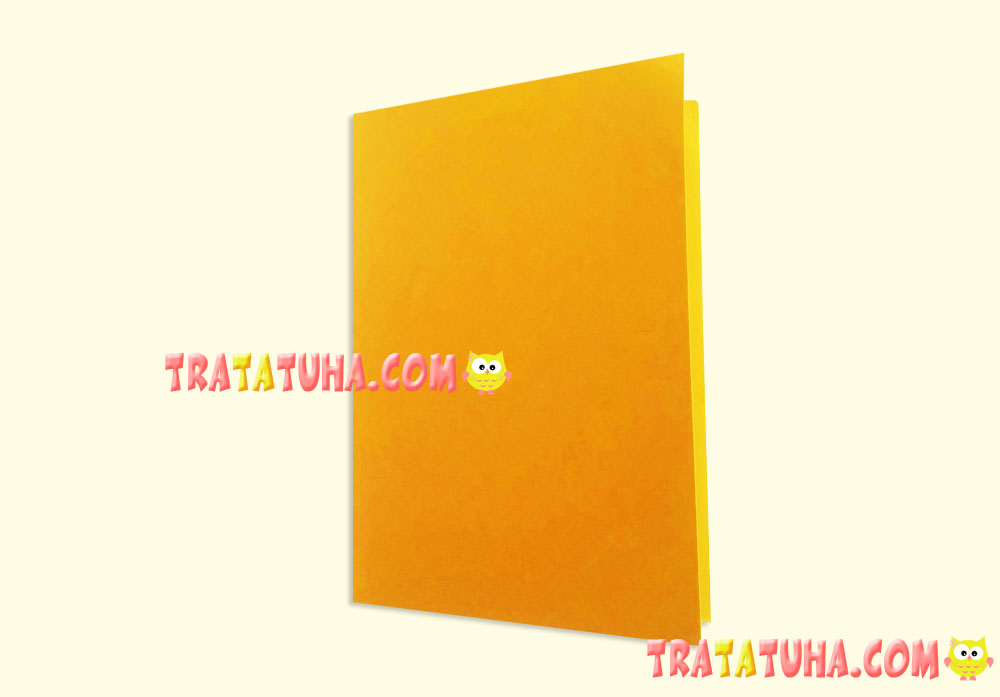
You need yellow or green colored paper. Cut an arbitrary rectangle from it.

Fold it in half.
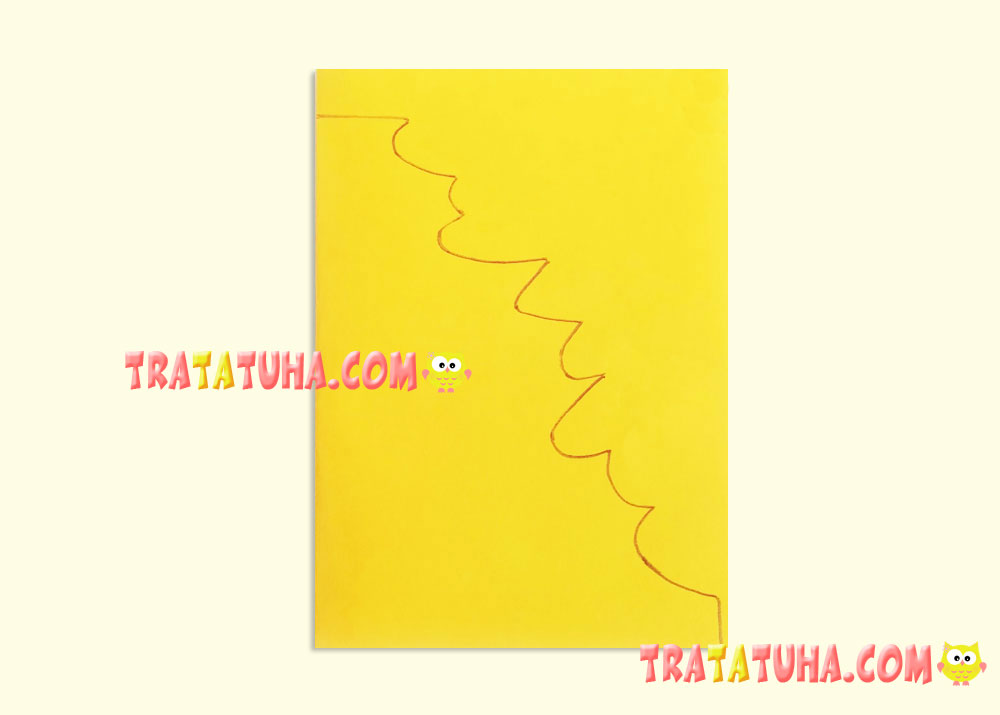
Redraw or print a template. Cut it out and put it on the folded colored paper, given that the straight long side is on the fold as it is shown on the pattern.

Circle it with a pencil. In the photo the fold is from the left. And in the future, all the presented stages with paper folded in half will have the fold from the left.
Cut the workpiece, carefully cutting all wavy lines.
Now open it. You should have a similar detail, with the symmetrical uttermost sides.
At this stage, it is time to make a paper accordion. It is better to start from the bottom, widest side. Fold a small fold, not more than 7 mm wide but extending over the entire area of the leaf. Carefully press and then bend the same fold in the other direction. Repeat this process until all the leaf turns into an accordion.
For convenience, flip the accordion with its long side up.

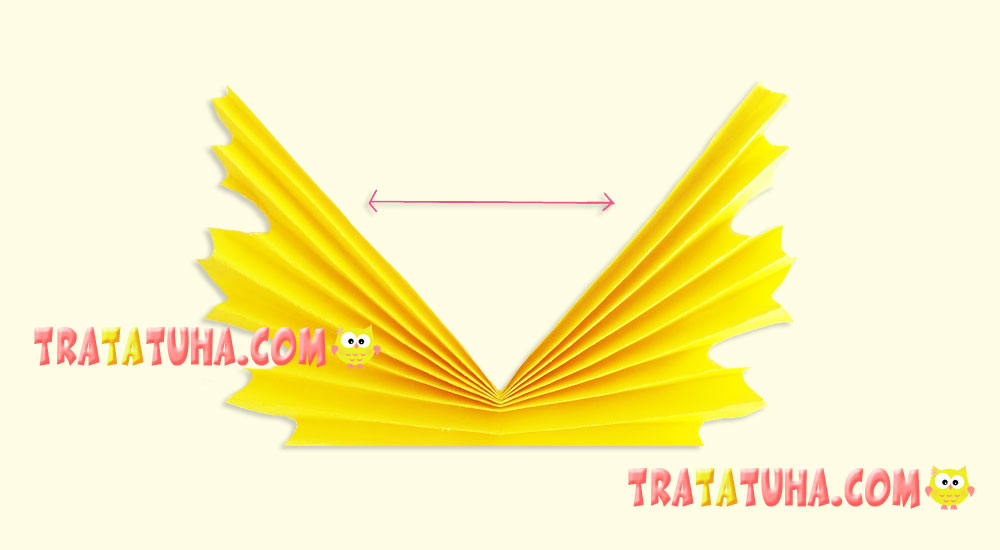
Find the middle and fold in half. Press well, especially in the lower fold and glue the inner sides. In the photo this area is shown by arrows.
Depending on the structure of the paper, sometimes it becomes necessary to glue two or three bottom folds of the leaf together. Most often they disperse if very thin paper is used. The thick paper keeps well all the folds together even without glue. The accordion paper maple leaf is ready, straighten its folds and glue a thin stalk.
Option 2. Autumn sheet of accordion paper

Of course, it can be not only autumn leaf. If you make it out of green paper, the leaf will be quite spring or summer. To create it, you also need a piece of rectangular paper.
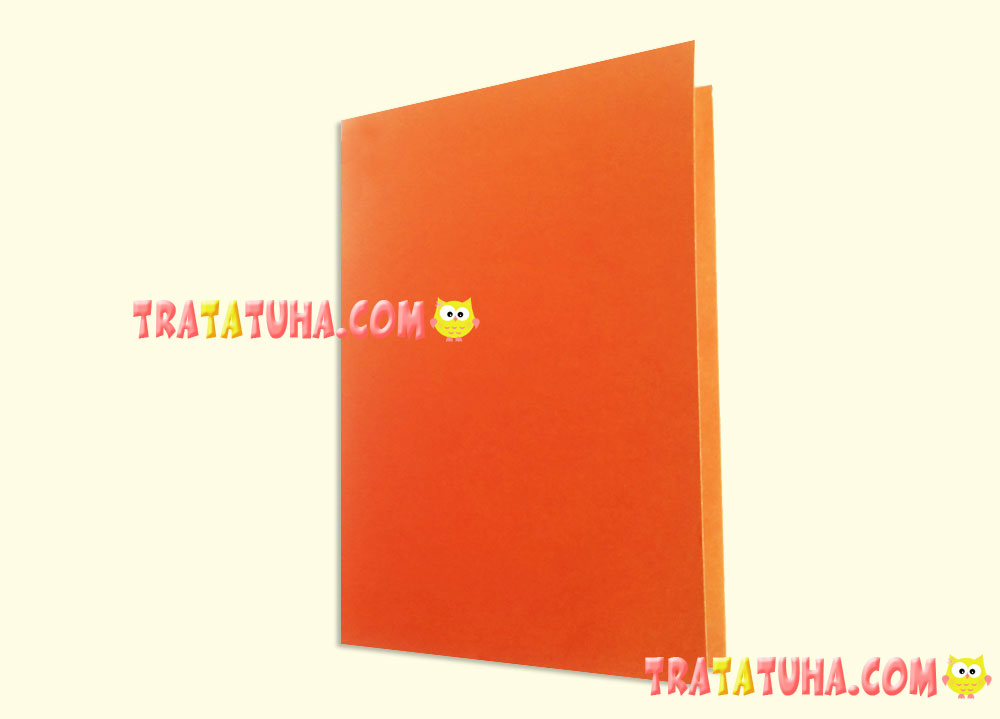
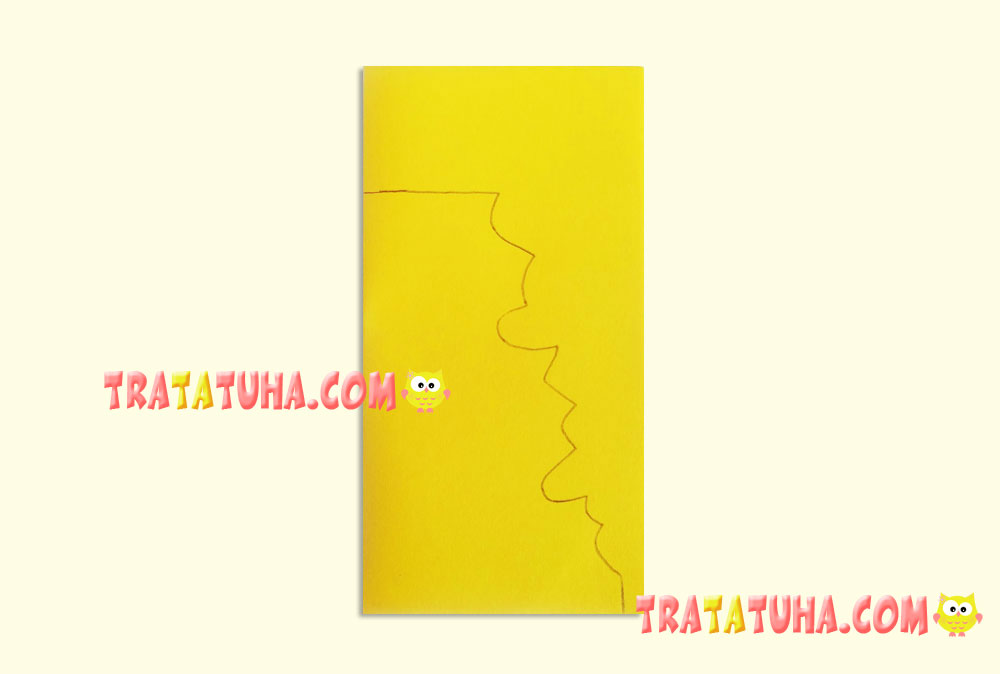
As in the first option, the paper must be folded in half.
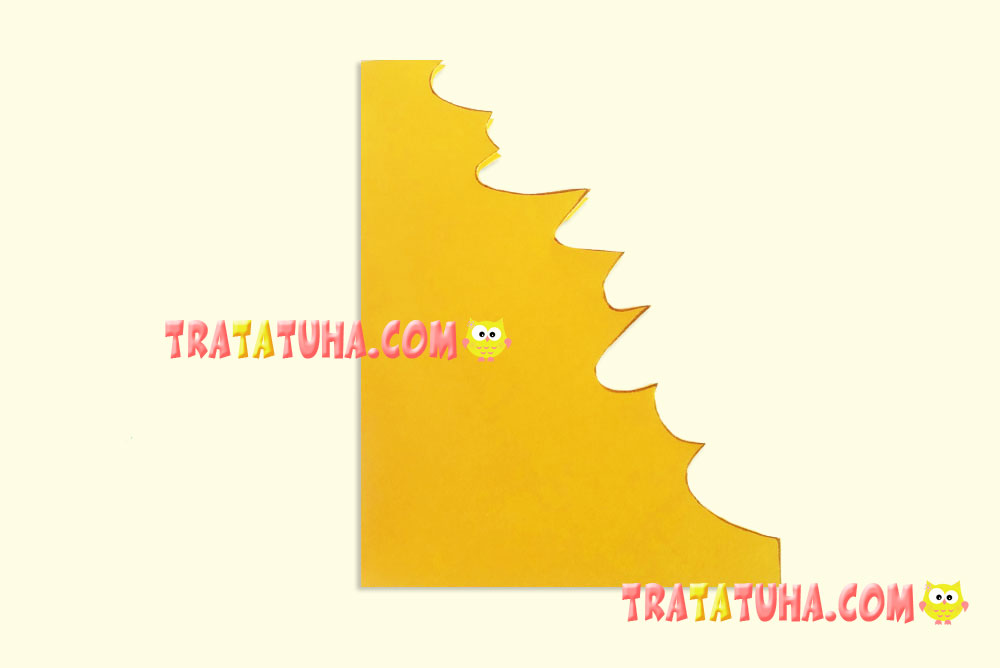
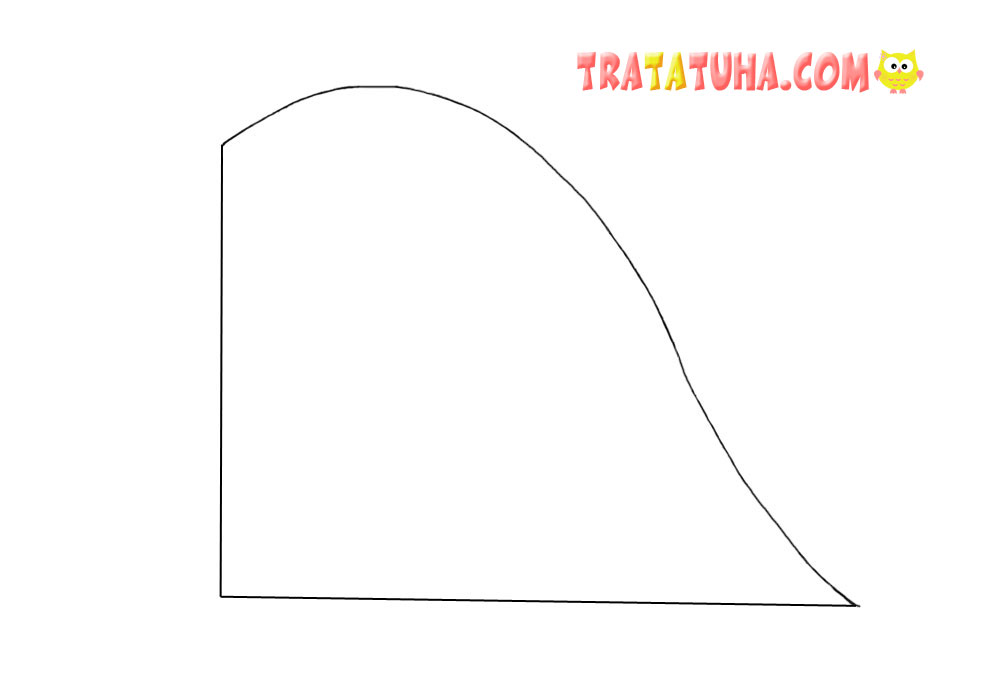
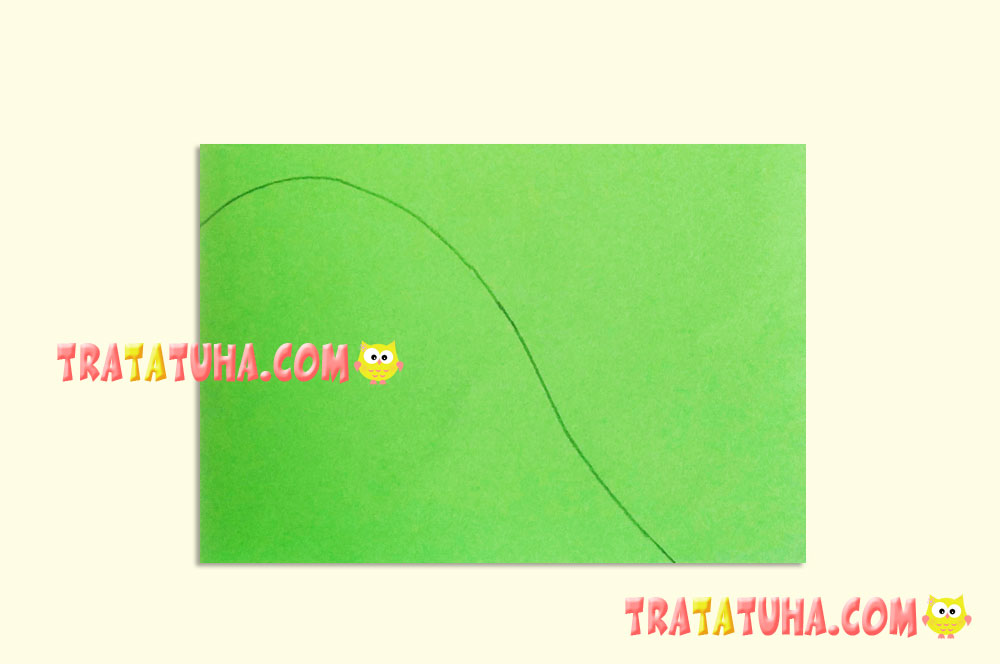
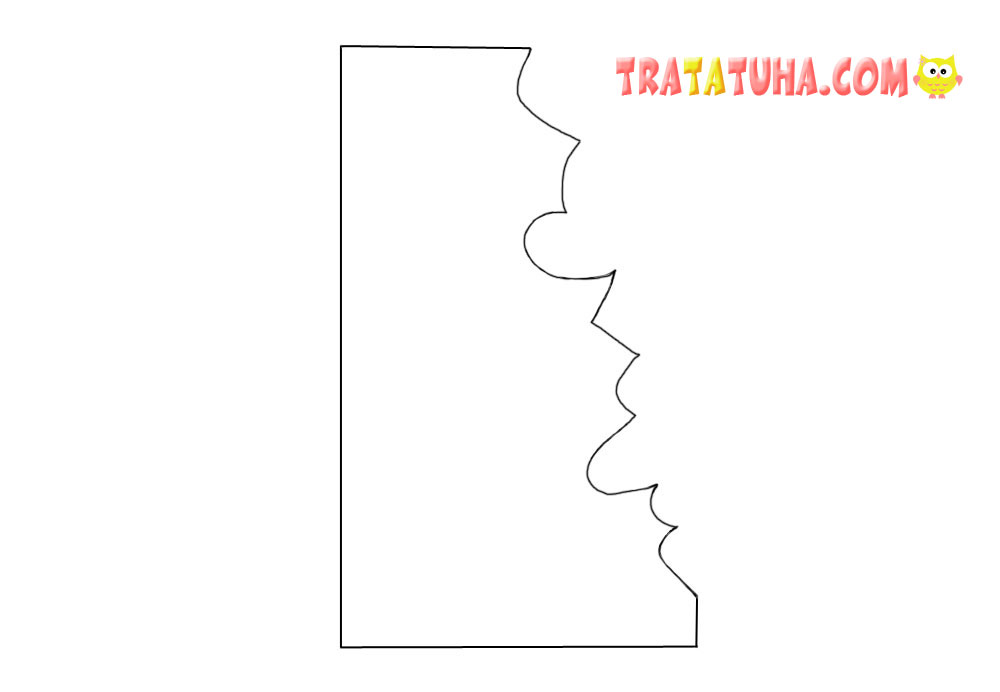
Then you should use the template or draw a not complicated zigzag line, resembling one part of a Christmas tree.
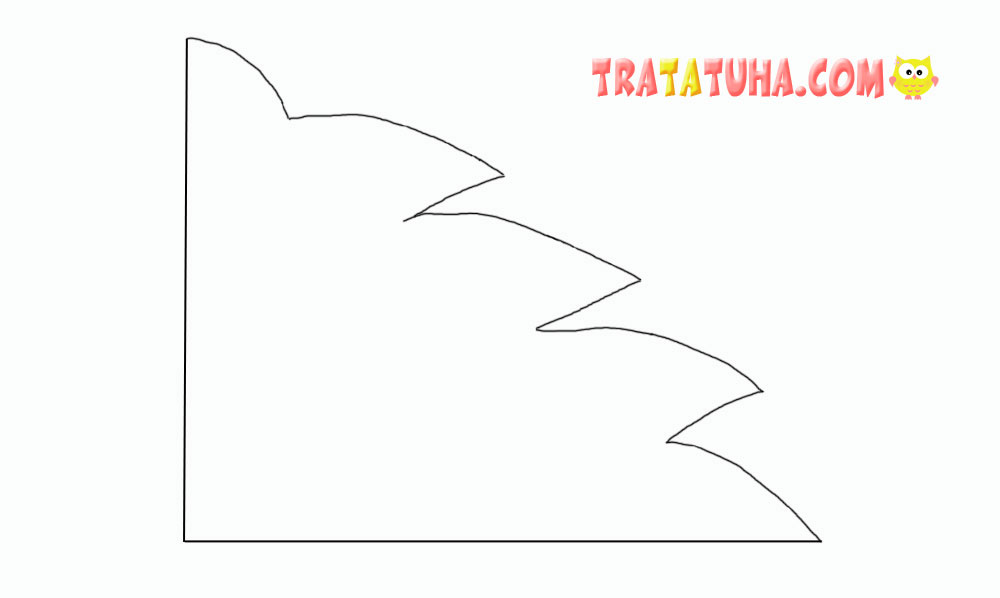
This line should start from the fold of the paper and end at the bottom.
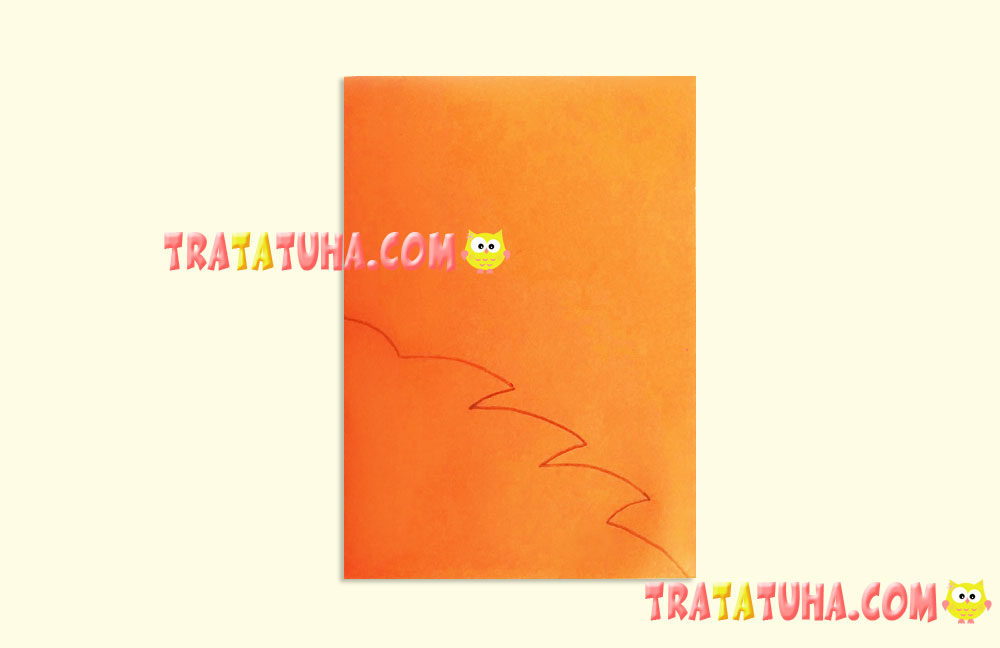
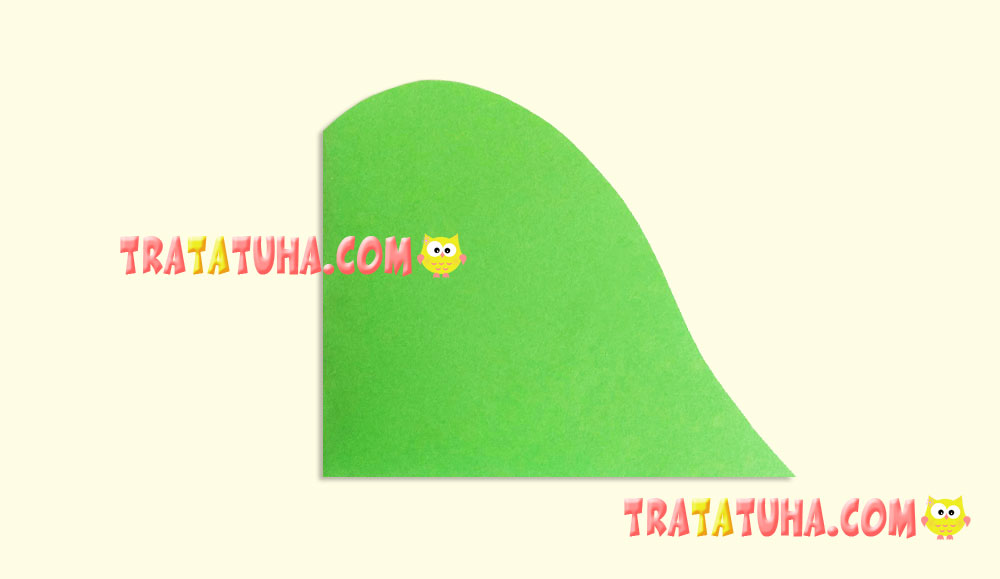
Cut the drawing you have thanks to the template or your hands.
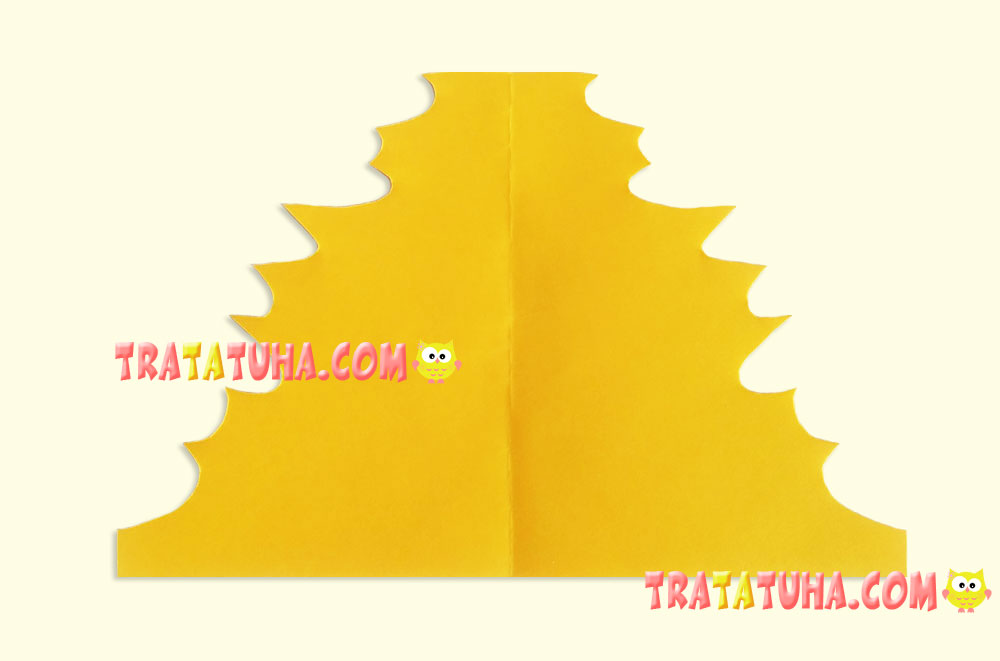
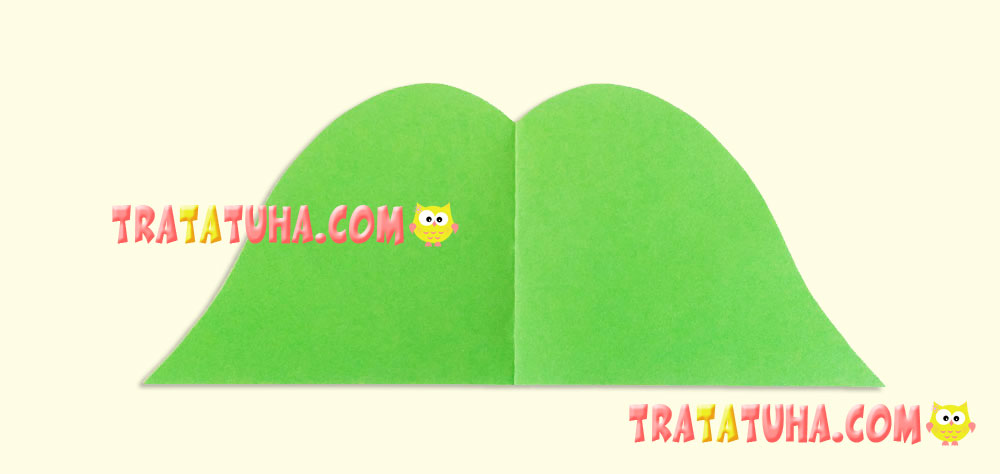
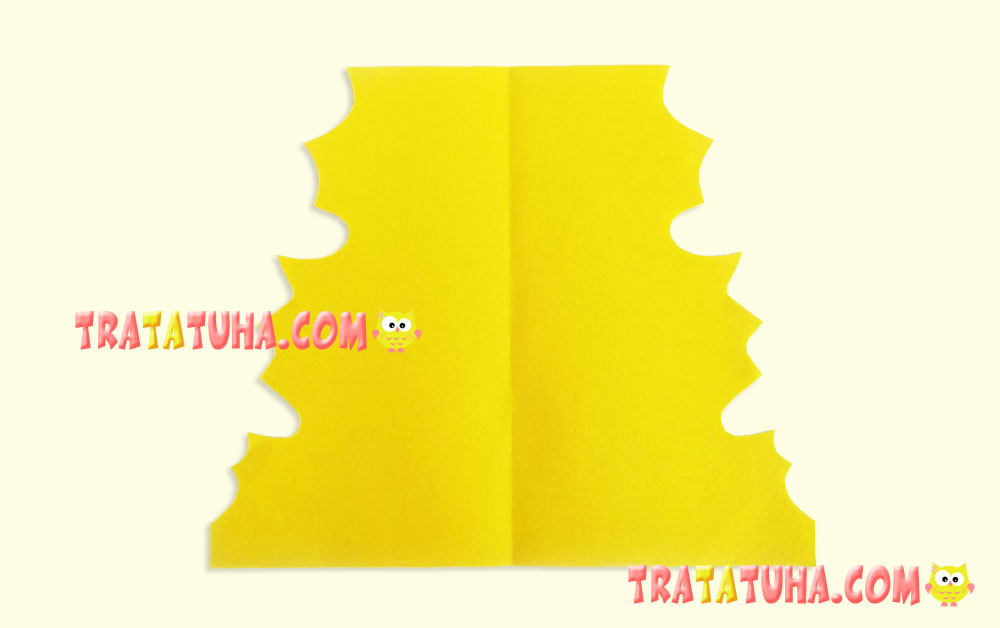
Open the sides.

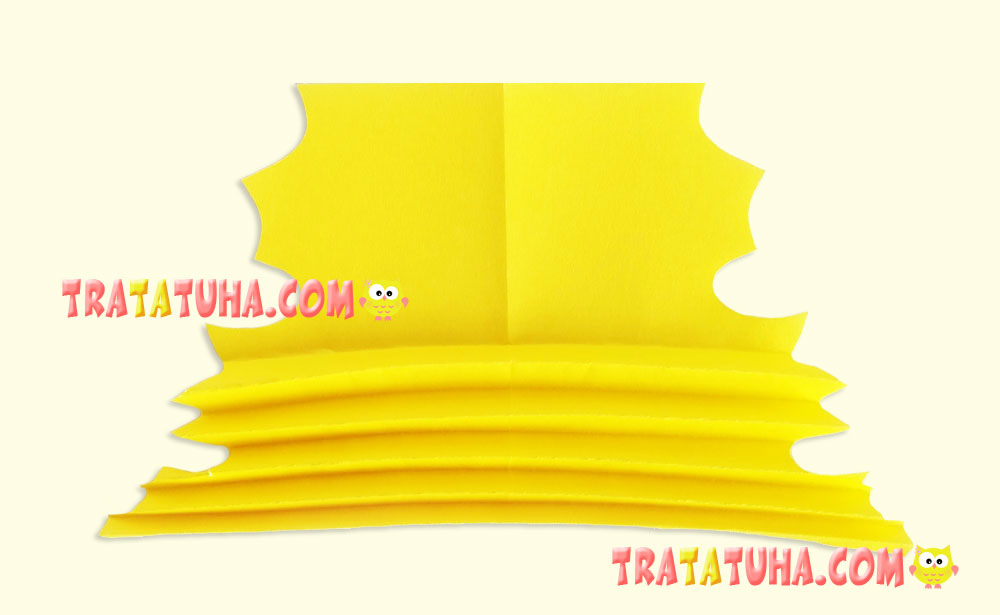
Make small folds, the length is from one side to the other, and the width is of 5-7 mm. If the leaf is large or the children are small, the folds may be larger.

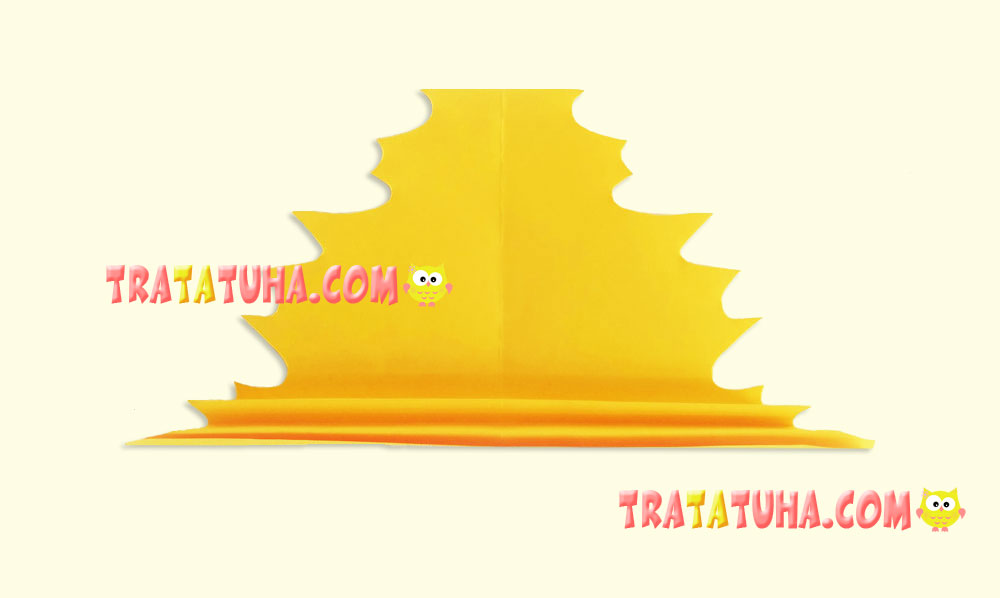
The accordion is made, for convenience, turn it wide side up.

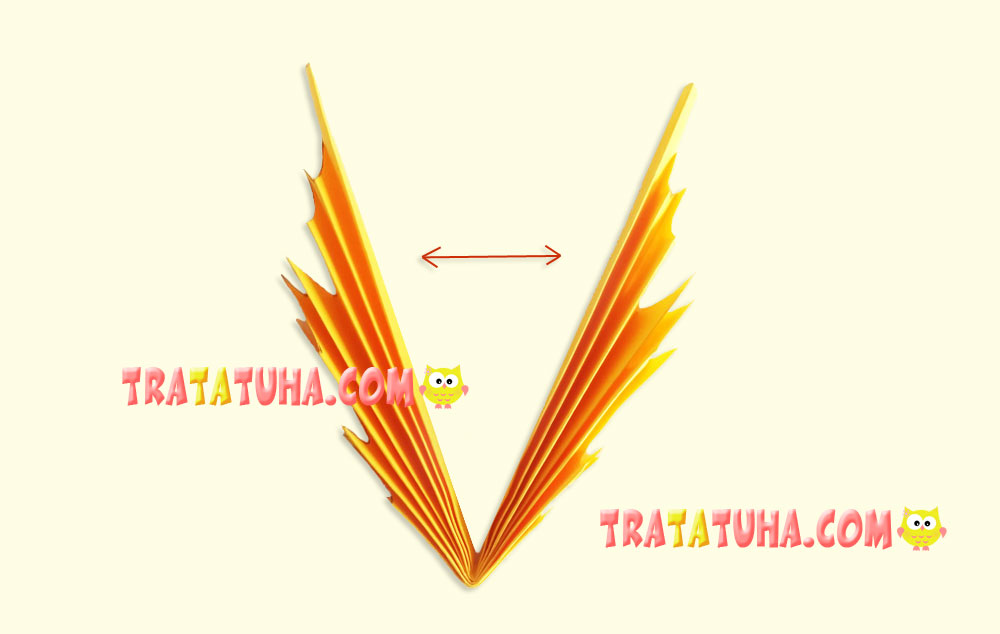
Mark the middle and gently fold in half. Press down, especially at the very bottom. Apply glue to one of the inner sides and glue them together. In the photo this area is shown by arrows. If necessary, glue a few folds at the very bottom of the leaf.
At the end, unfold the accordion leaf a little and stick the stalk. Use a thin strip of colored paper from which the leaf is made. Note that such a stalk is not durable, it can only complement the leaf, and, for example, you cannot glue the leaves to this hand-made tree. It is better to use colored cardboard or colored paper rolled into a wisp and threaded through a hole in the bottom of the leaf.
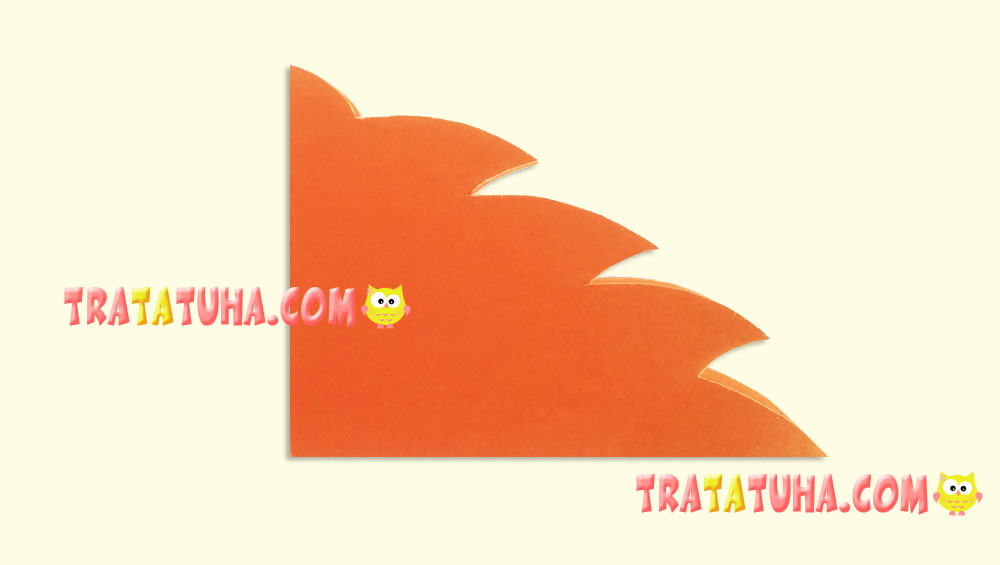
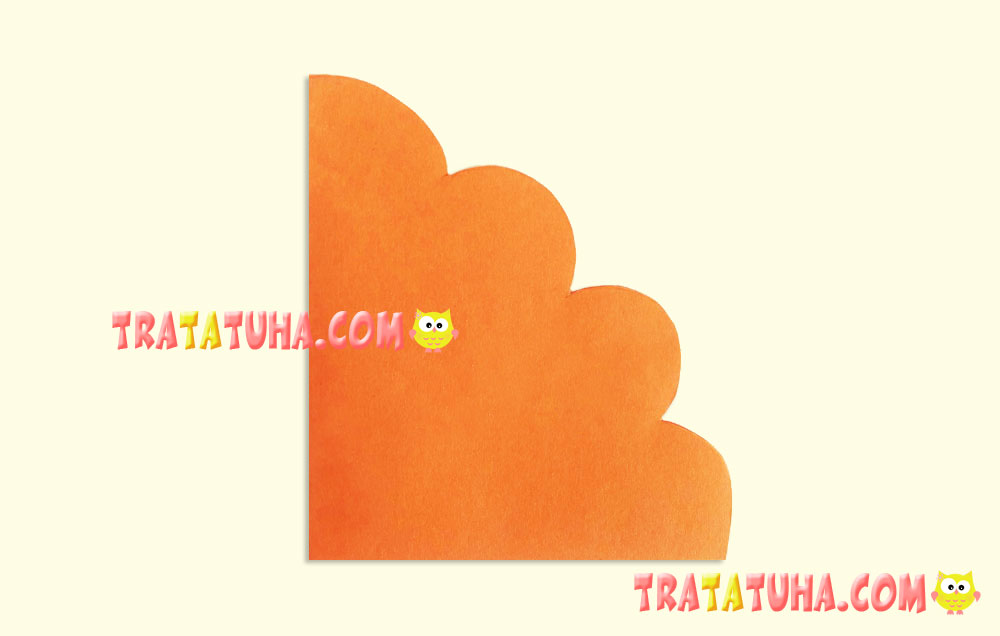
Option 3. Accordion Paper Oak Leaf

The outline of this leaf looks like an oak one, only the longitudinal folds worsen this definition a little. But as a variety, this variant of the leaf is useful, especially in those crafts or events where you need a lot of leaves of the most different forms.
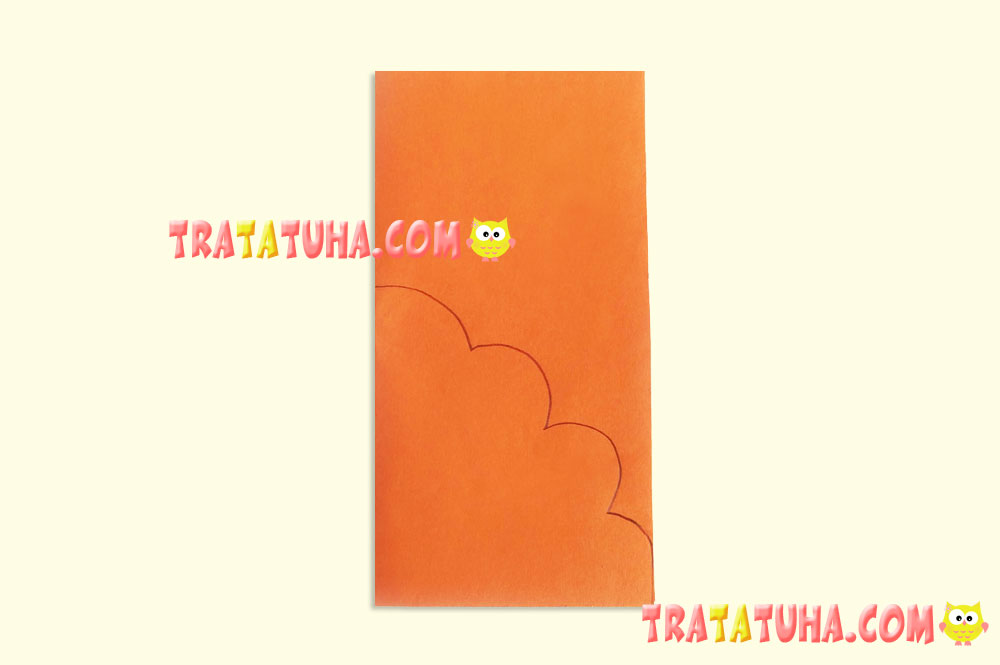
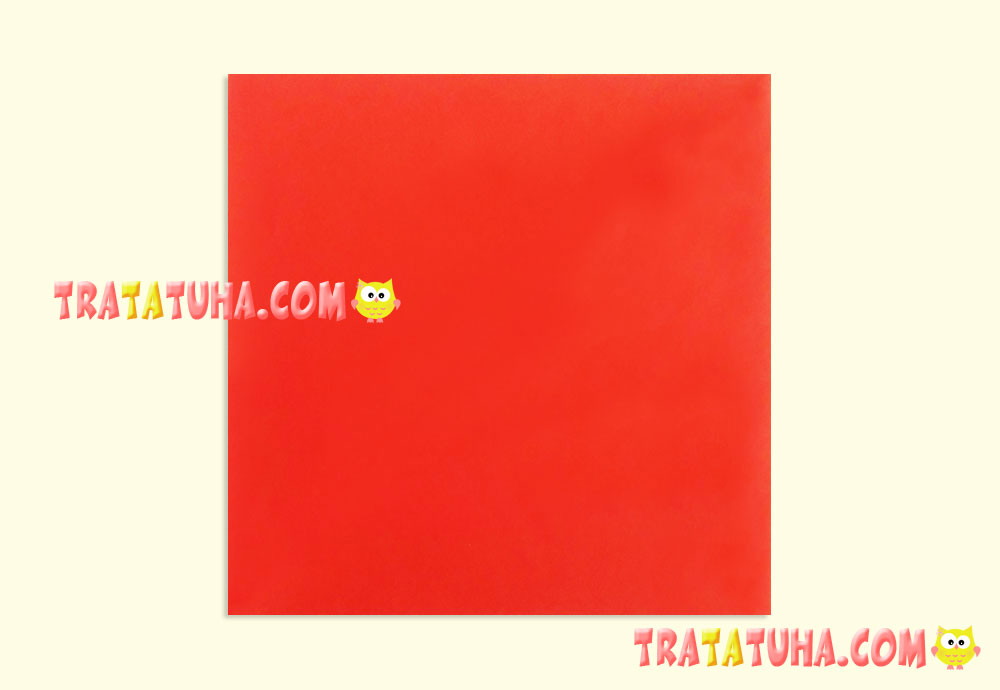
Cut a square out of paper.

Fold it in half, the fold is from the left.

Use the template or draw large waves by yourself, starting from the bend and reaching the bottom.
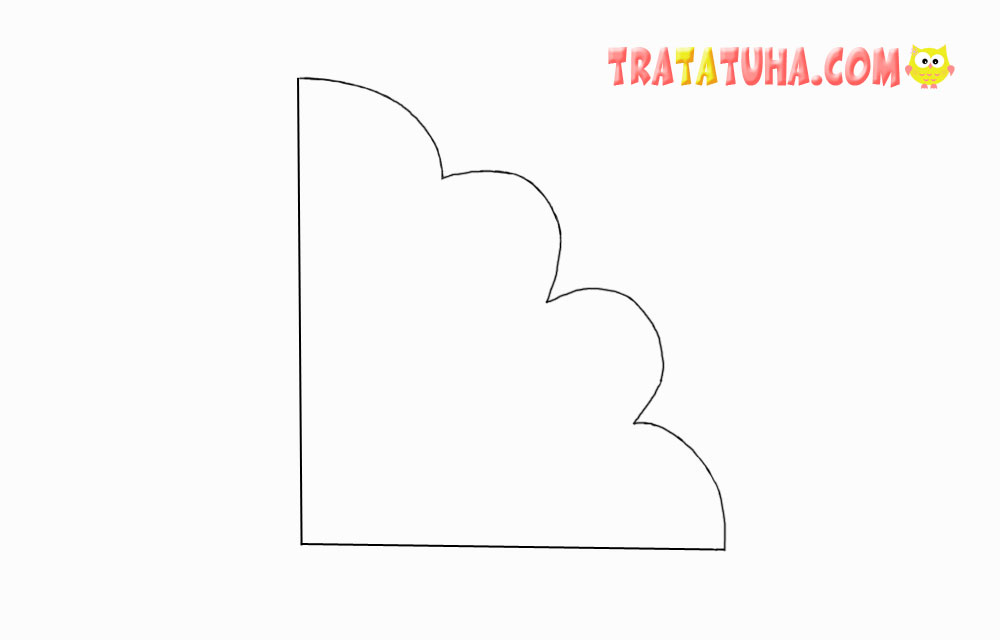
Cut the part through two sides at once, but not touching the left side. It must be whole.
Open the paper.

And, as always, make thin folds, starting with the widest part of the paper. Gently fold all the paper in an accordion, one fold in one direction, the next is in the other. For convenience, the paper during the work can be turned. In extreme cases, draw light longitudinal lines with a graphite pencil and fold the leaf over it.

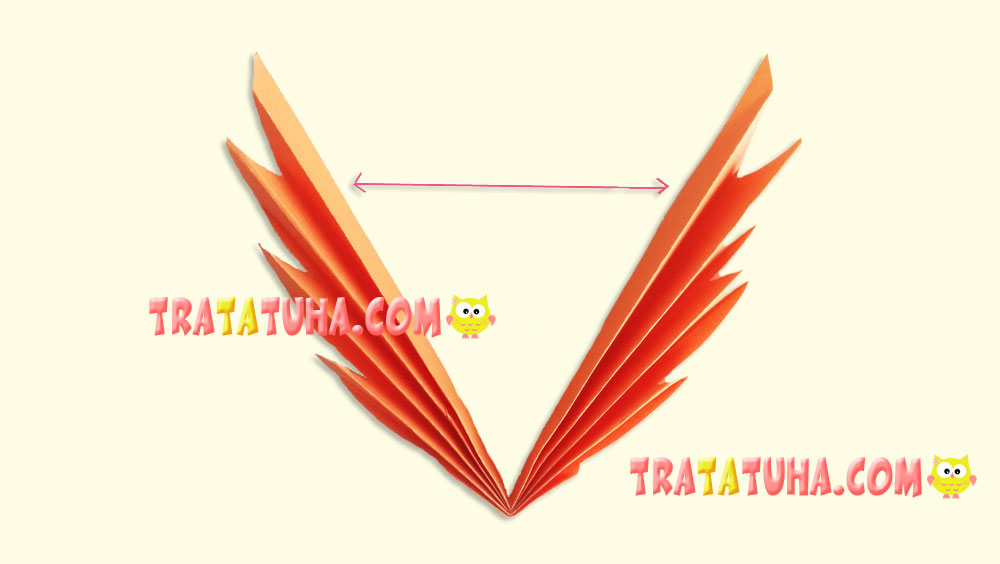
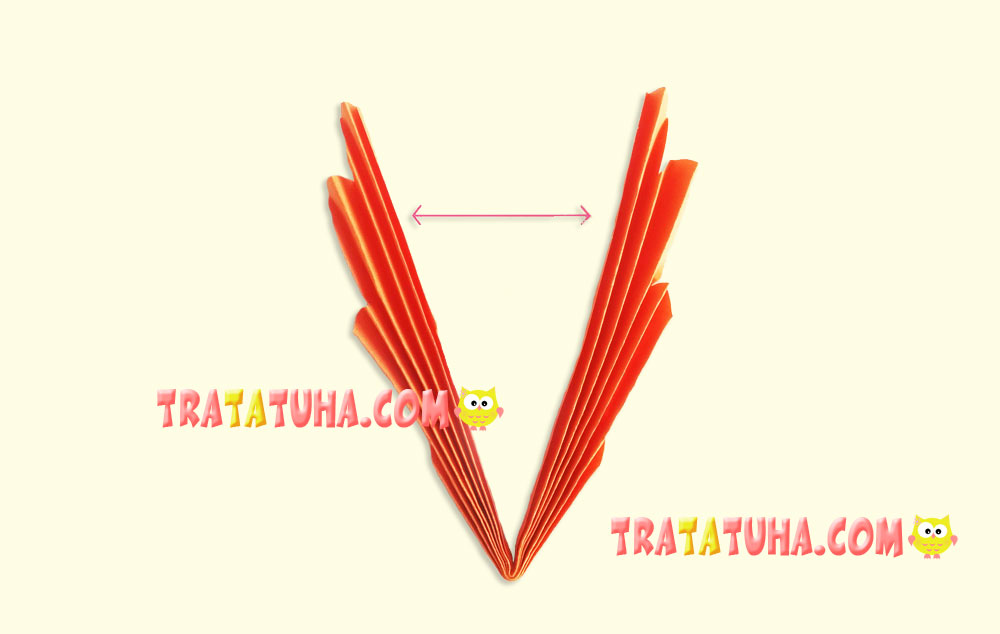
Place the accordion you get with the longest side up.

Find the midpoint and fold the accordion in half. Glue the inner sides.
Straighten the folds, glue the stem and accordion oak leaf accordion is ready.
Option 4 of The Accordion Paper Leaf

This kind looks like a hornbeam or beech leaf as well as on the leaves of many other trees. The main thing is that it does not need any templates. It is extremely simple to make it.
To make this oblong leaf, you need a triangular paper. You can first cut a square out of paper.
Fold in half by connecting opposite corners.
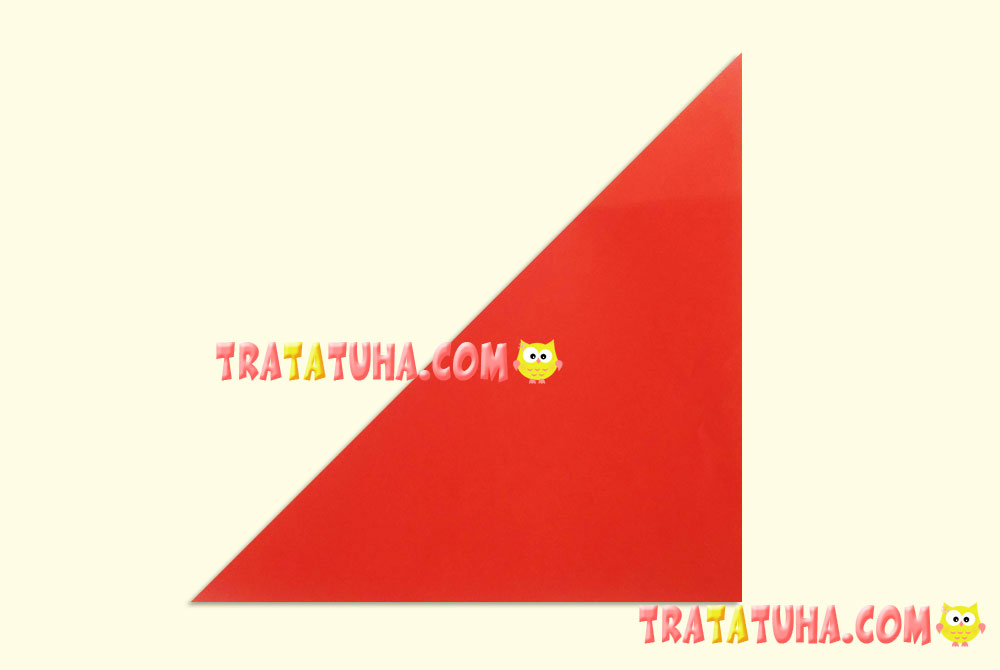
Cut in half and get two triangles.
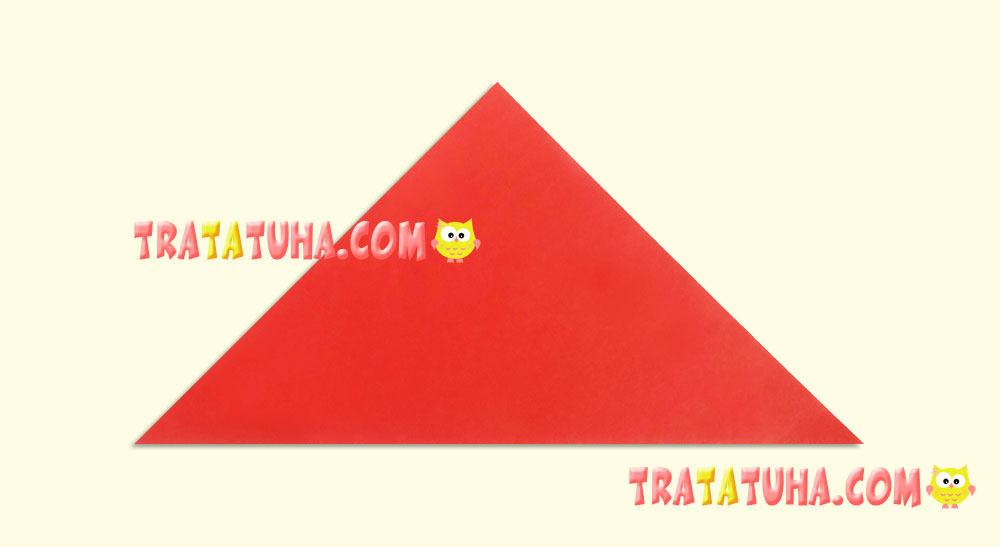
One leaf is one triangle. Turn it wide side down and start making folds in the same place as an accordion.

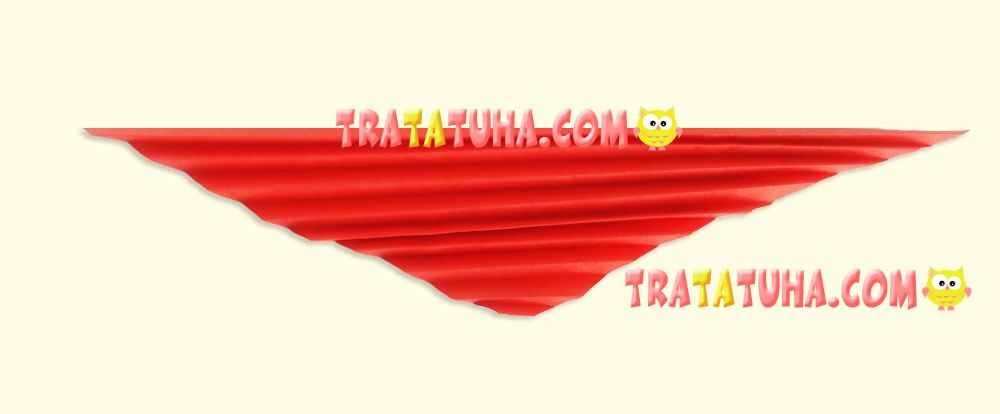
Turn the whole triangle into an accordion.
For convenience, flip it with the longest side up.
Find the middle and fold exactly in half by connecting the tips. In the middle, on one side, apply glue and glue the side pieces together.
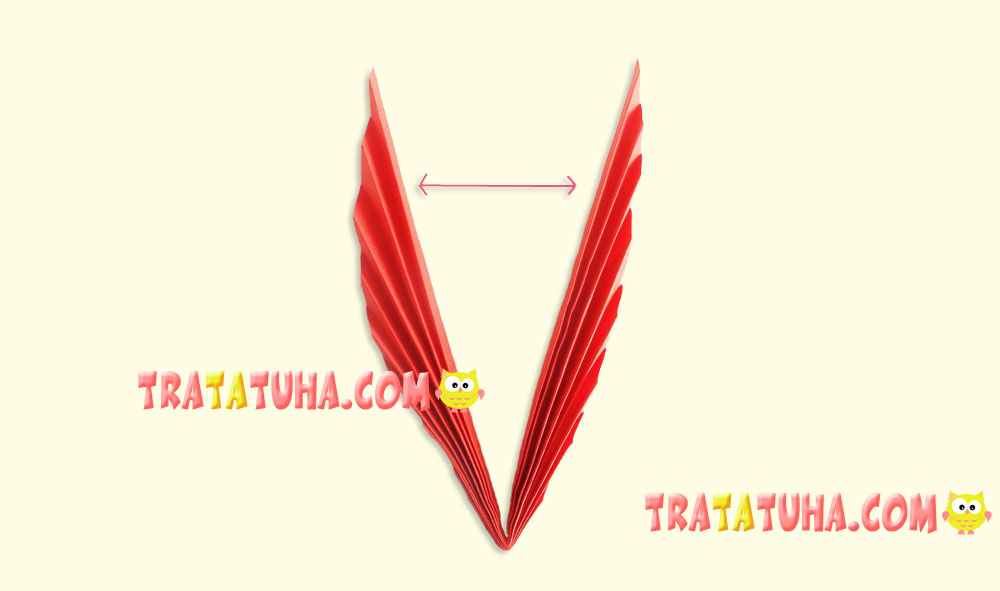
Spread a little and stick the stalk. The leaf is ready.
Option 5 of The Accordion Paper Leaf

This is the most common kind; the form resembles leaves of poplar, linden, and birch. For a change, let it be green, although the leaf in the autumn, yellow-orange version is no less interesting.
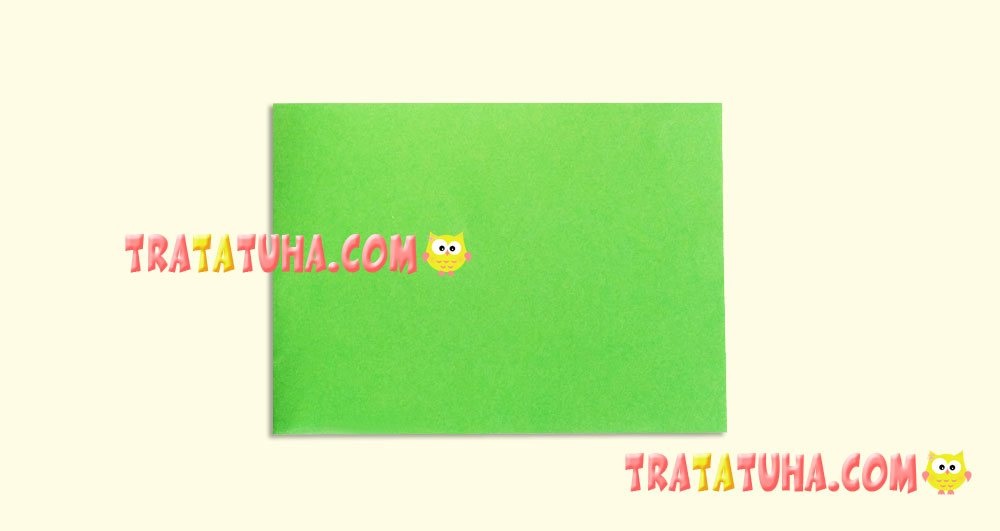
You will need a not very wide paper rectangle.

Fold the rectangle in half; the fold is from the left in the photo.
Use the template or draw a convex line, the beginning of which is from the side of the fold, and the sloping slope reaches the bottom side of the folded sheet.
There are no exact proportions and layouts. If you need a more prominent narrow tip, the groove on the line can be made more pronounced.
Cut out the pattern without touching the left side.
Open the paper.
Make an accordion, starting with the straight, longest side. As usual, the width of the folds is ideal if it is of about 5-7 mm.
Turn the accordion straight side up.

Fold in half and glue the inner sides. If necessary, glue the bottom folds.
Spread the leaf and stick the stem.
Option 6. Another Accordion Maple Leaf

There are quite a few varieties of maple leaves from paper folded as an accordion. It all depends on the template. There are very simple ones, which can be drawn almost arbitrarily, and more complex patterns, which are still desirable to follow as accurately as possible. In the second case, the maple leaves are more perfect, close to the original.
Despite the fact that I have already shown one kind of maple leaf (it was the first one), I still cannot resist, and show another one that I really liked.
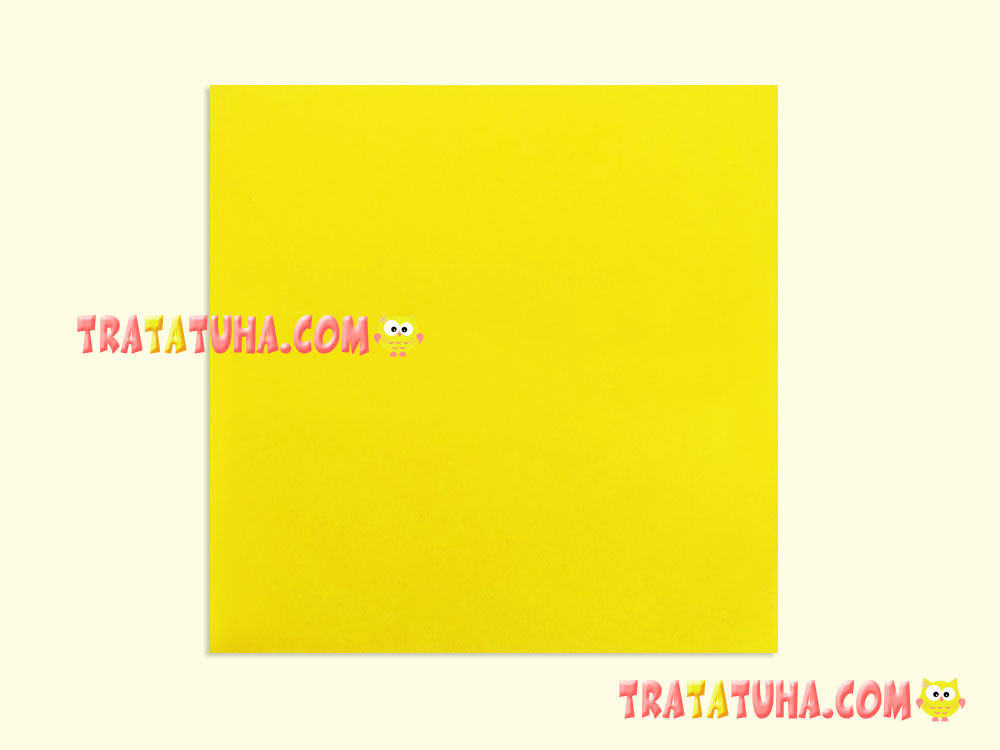
You will need colored square paper.
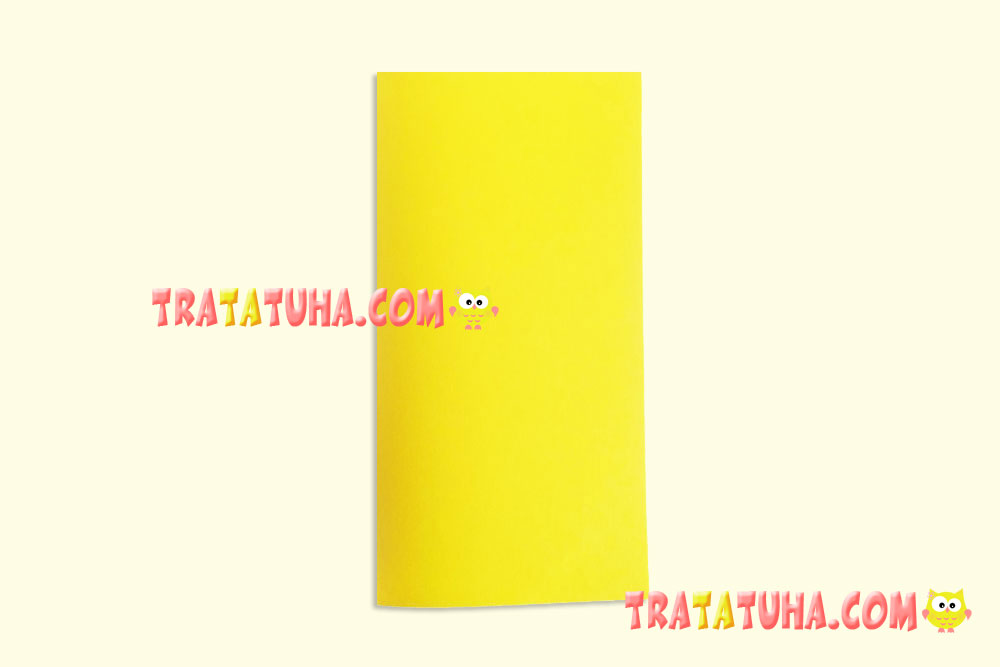
This square then needs to be folded in half.
Print the template and carefully reproduce its lines on colored paper, given that the fold is from the left.
Next you need to cut out all the drawn zigzags and grooves without touching the left side. If the sheet is small, such work is quite scrupulous, for cutting it is better to use nail scissors.

Then everything is as usual. Open the paper part.
Make the narrow folds, starting from the straight, wide side of it and to the very top.

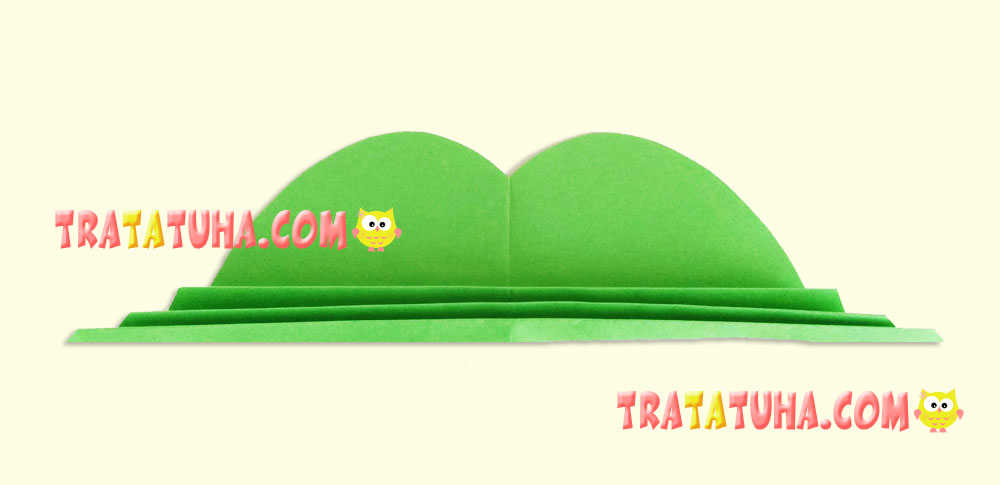
Find the middle and fold the accordion paper in half. Here you can see that this yellow paper is thinner, in comparison with the previous ones, the folds are not kept together at the bottom. Therefore, they need to be made to do it with glue. You can safely apply glue at the bend on the three bottom folds. And, of course, glue the inner two sides, where indicated by the arrows.
Slightly straighten the folds, glue the stalk and the beautiful, in this case, autumn accordion maple leaf is done.
Option 7 of The Accordion Leaves

It is a simple round shaped leaf. There may be a variety of the colors inherent in the leaves.
You will need a piece of rectangular shape.
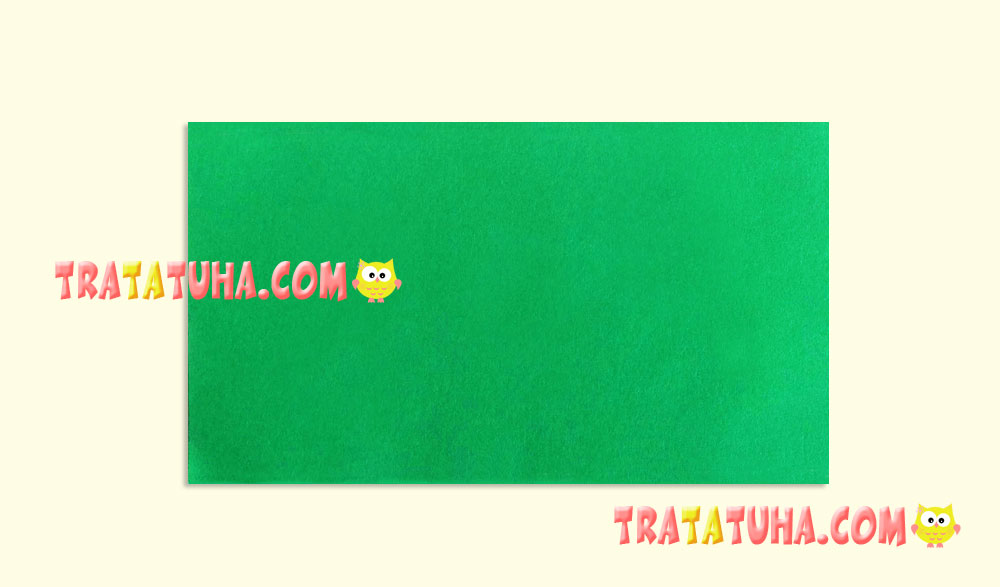
Fold it in half.

With a divider or something suitable round, draw a rounded line connecting the sides of the paper. The fold is from the left in the photo.
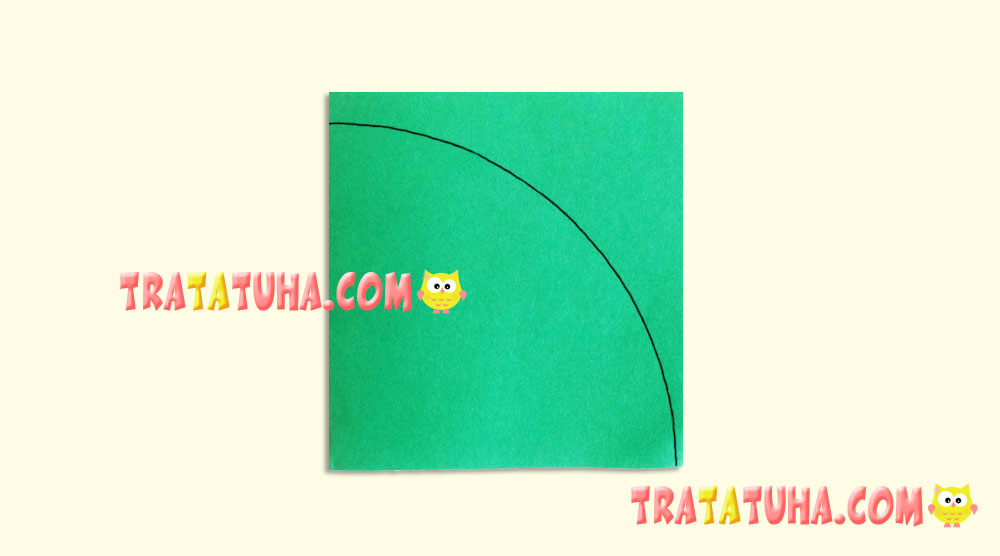
Cut along the contour.

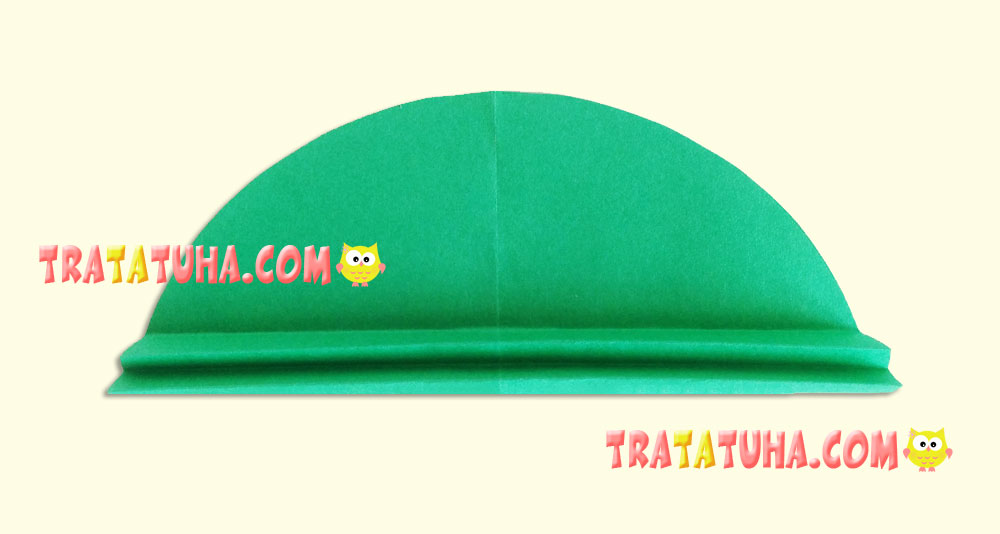
Open, and you get an even semicircle.
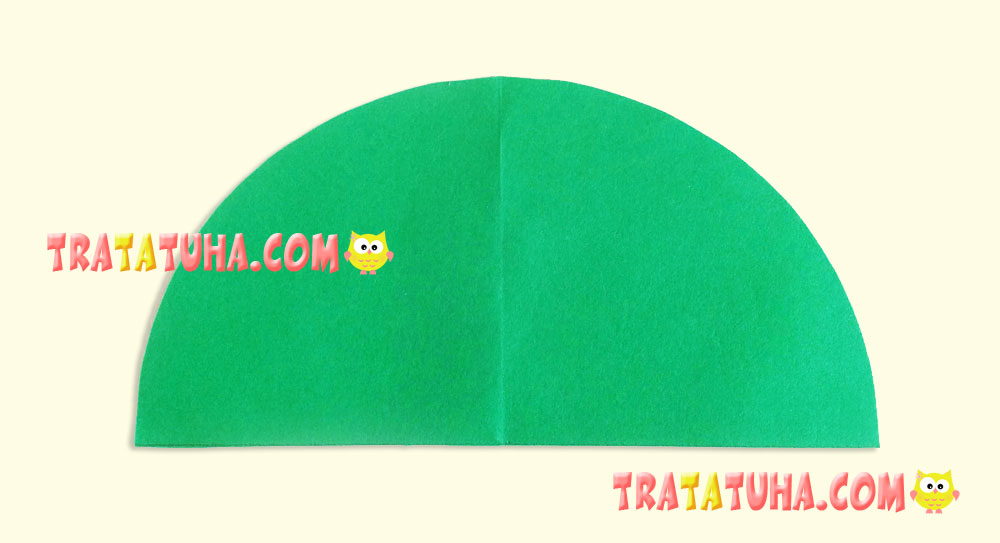
Make small folds from the straight side of the semicircle to the very top.
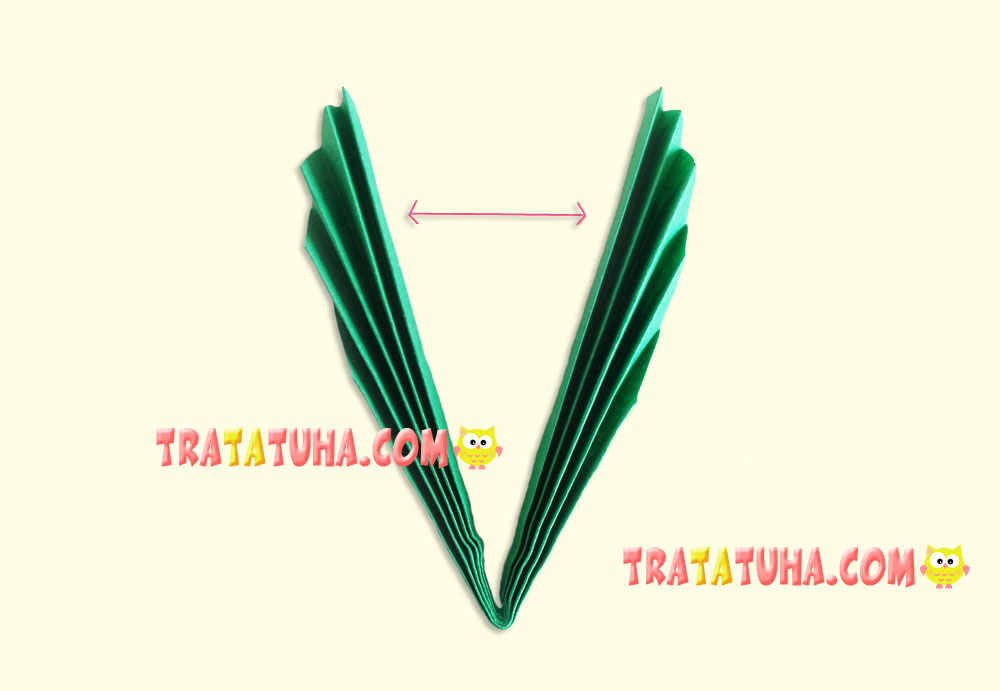
Turn the accordion detail with the long straight side up.

Fold it in half and glue the inner sides.
Carefully flatten and glue the stalk. The round leaf is done.
Option 8. The Thin Accordion Oblong Leaves

The form is inherent in the leaves of willow, olive and some others.
To make such a leaf, you need a rectangular, rather narrow strip of paper. The narrower it is, the thinner the leaf, although it is more difficult to make very thin one.

Fold the strip in half.

Draw a slash line. Keep in mind that the fold is from the left in the picture.
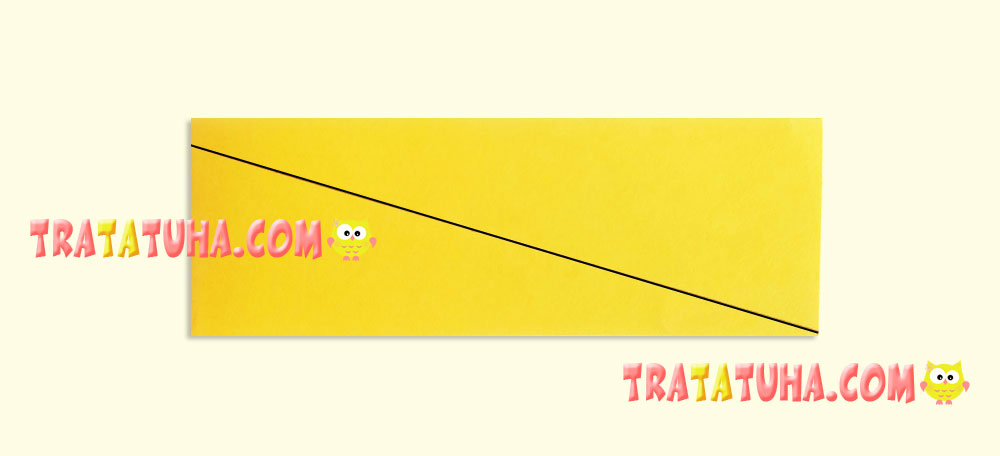
Cut along the line to make a double triangle.

Open the parts of it.

Fold it in a small fold. As you can see, it is problematic to make even folds on very narrow paper, but this will not appear on the leaf.

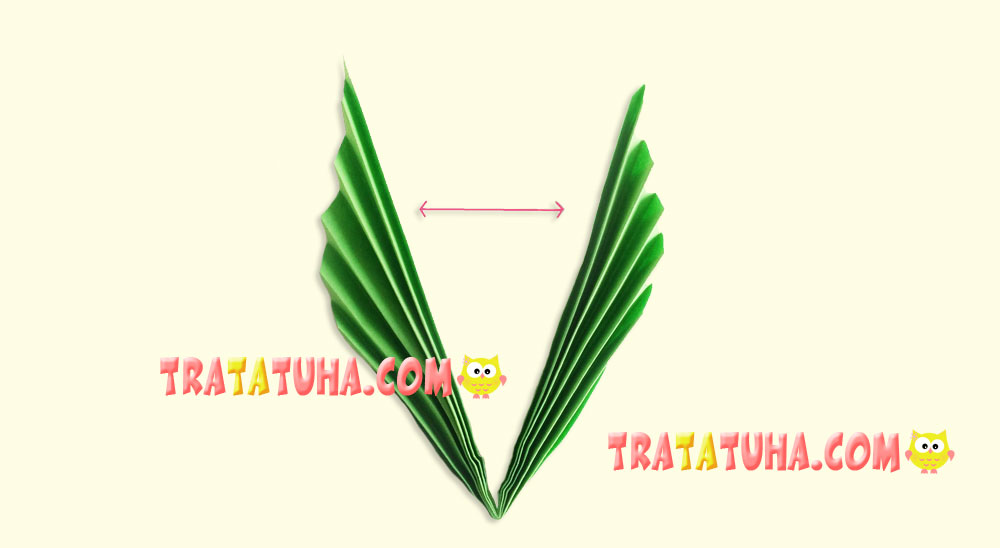
Turn the long side up and fold the accordion in half. Glue the middle part.
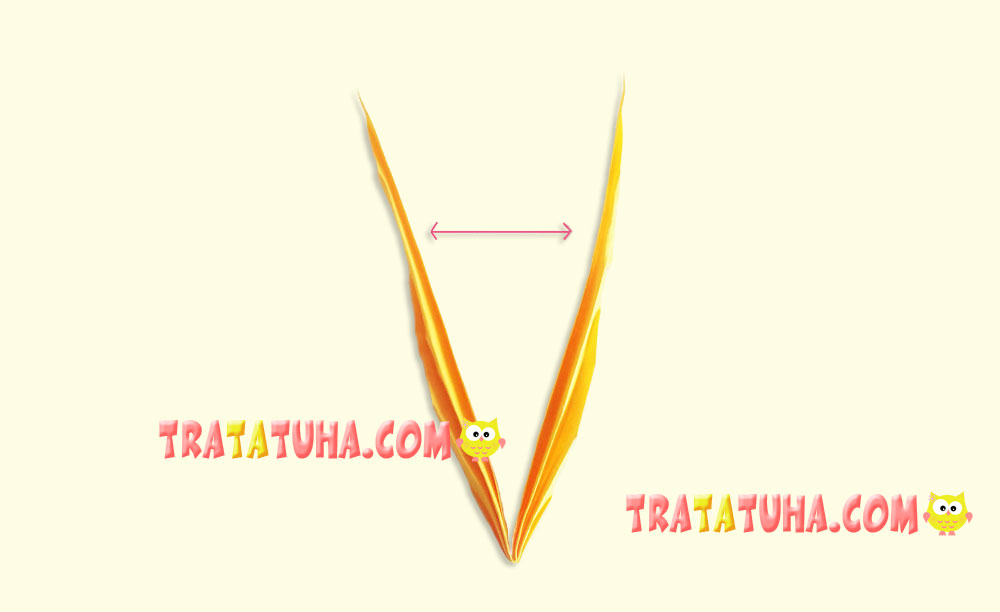
Now you get a narrow accordion paper leaf.
Crafts for Kids – learn how to make craft at home! Super cute crafts for all age groups!
Related Post: