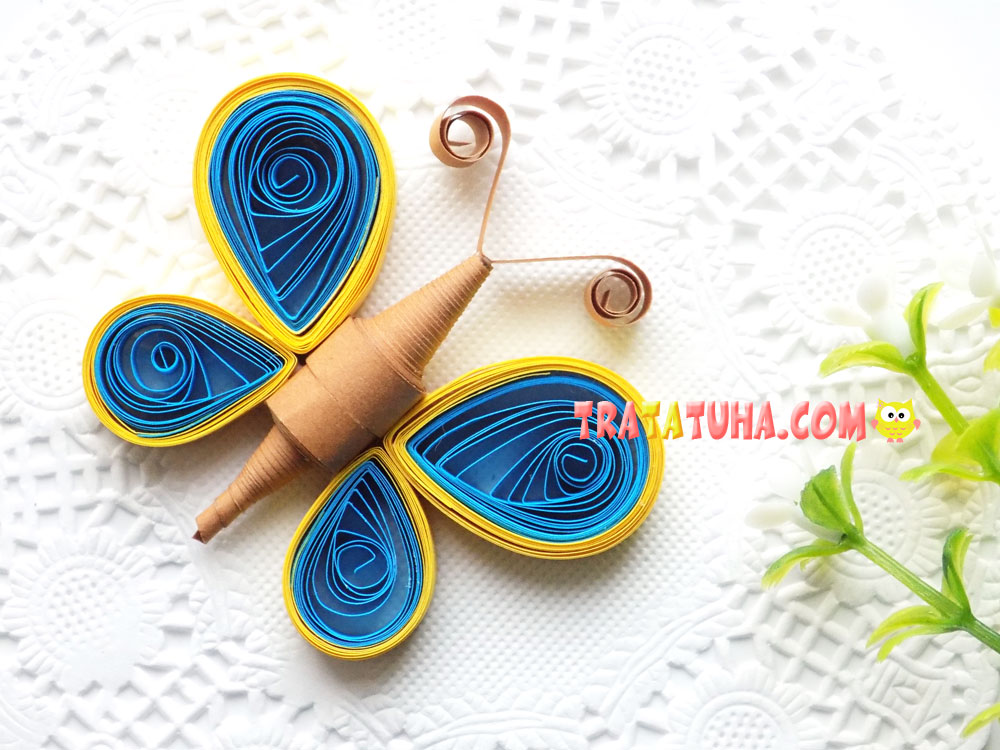
Openwork elements allow you to create the quilling technique. For example, paper strips can make a beautiful butterfly quilling, which then becomes part of a greeting card.
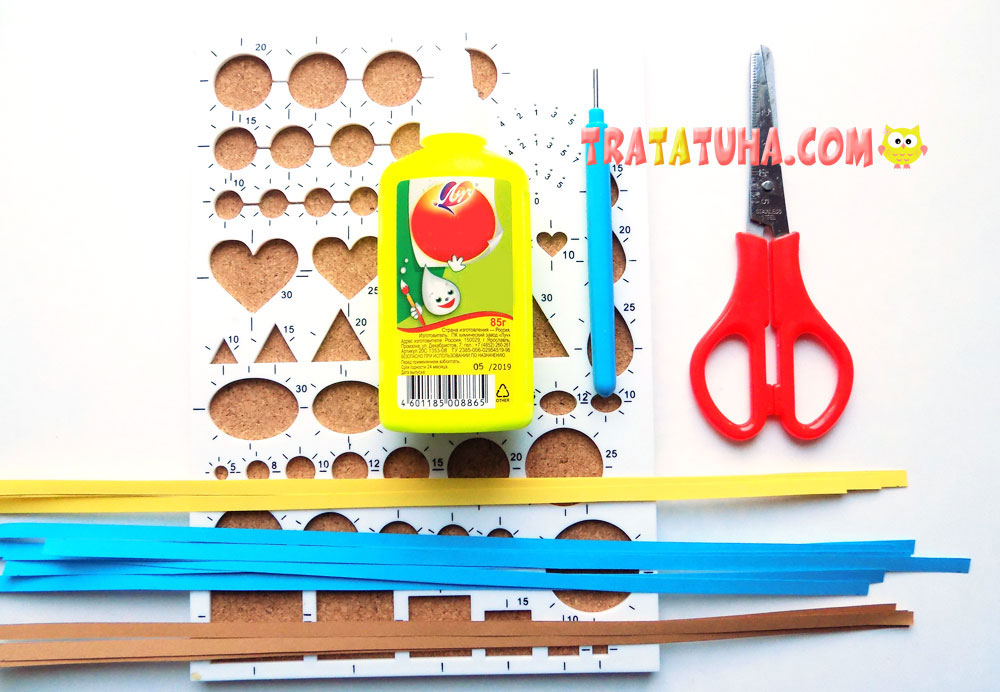
To make a butterfly in this technique, take:
- paper strips of different colors;
- special tool;
- white glue;
- quilling template;
- scissors.
Quilling Butterfly Step by Step
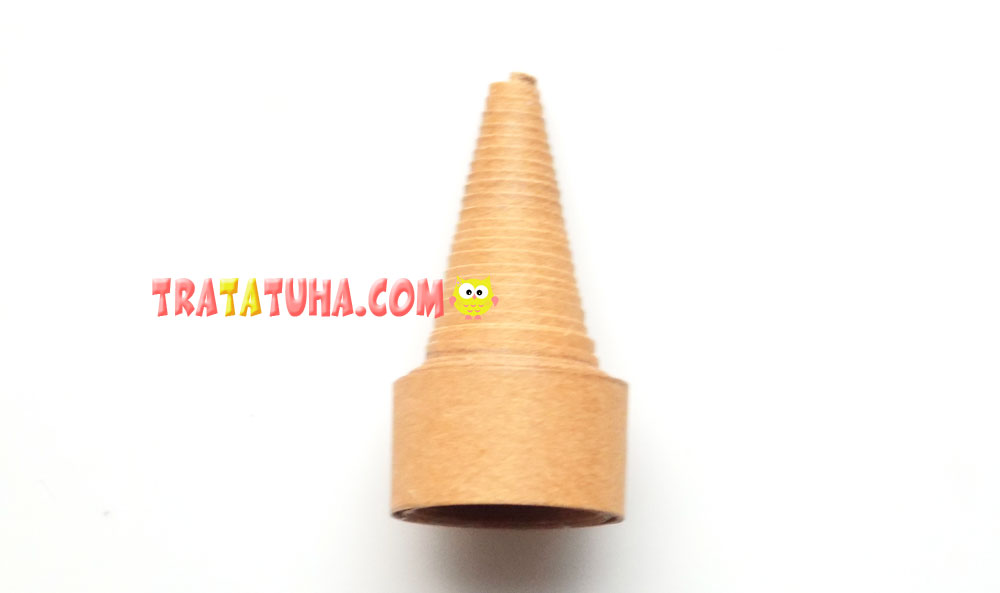
Let’s start creating crafts from the body of a butterfly. To do this, first glue 2 brown strips, then twist them into a tight roll.
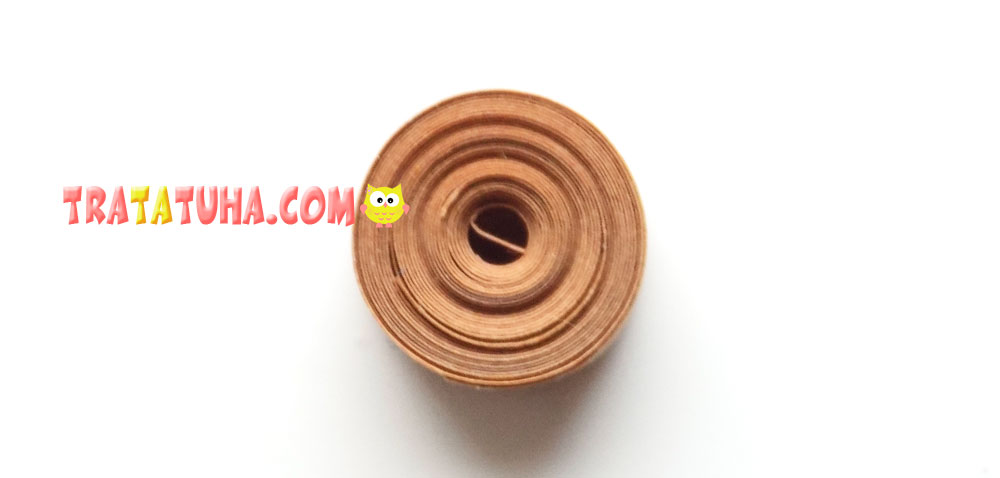
After that, gently push the workpiece from the inside with a toothpick. You should get such a cone.
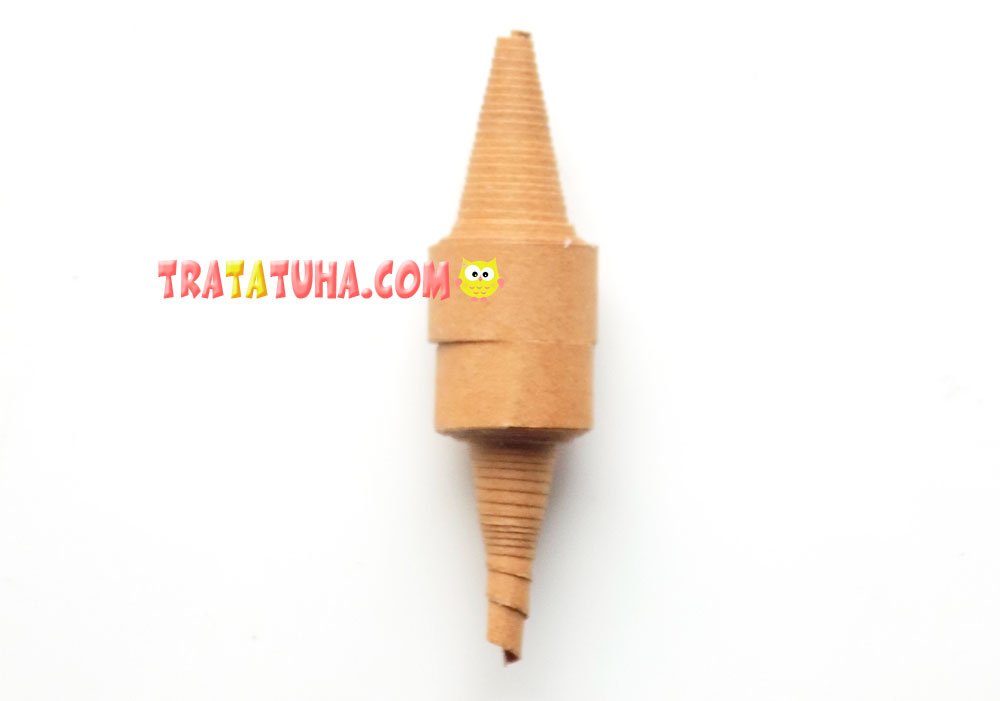
We make one more of the same blank, then glue them as follows. So we got the body of a butterfly.
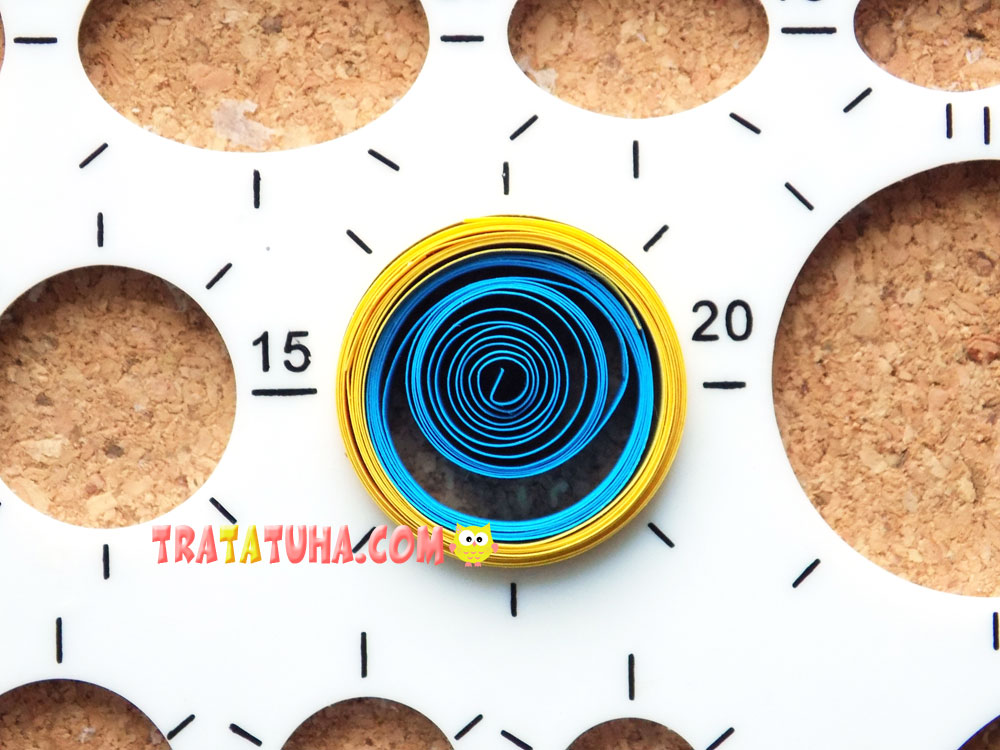
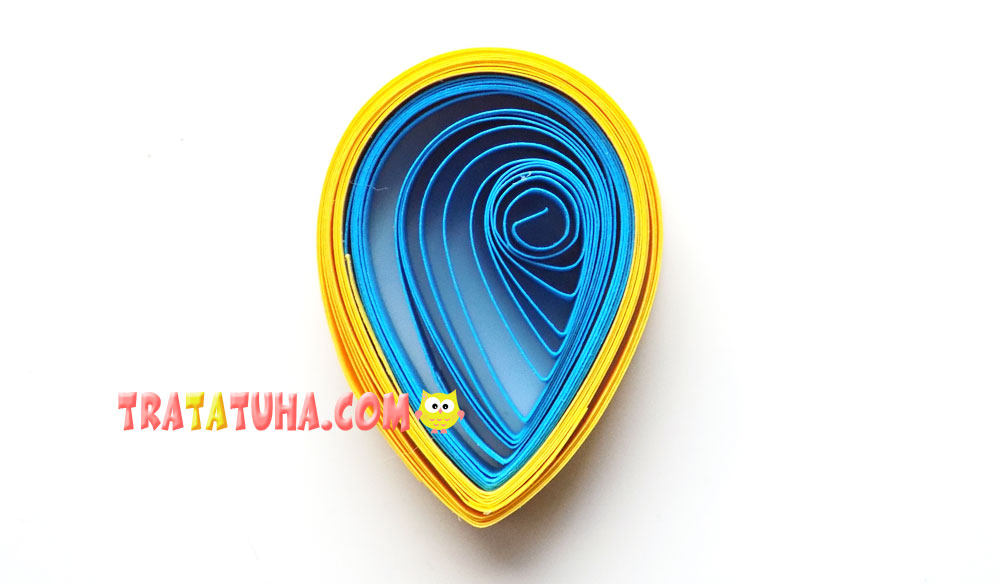
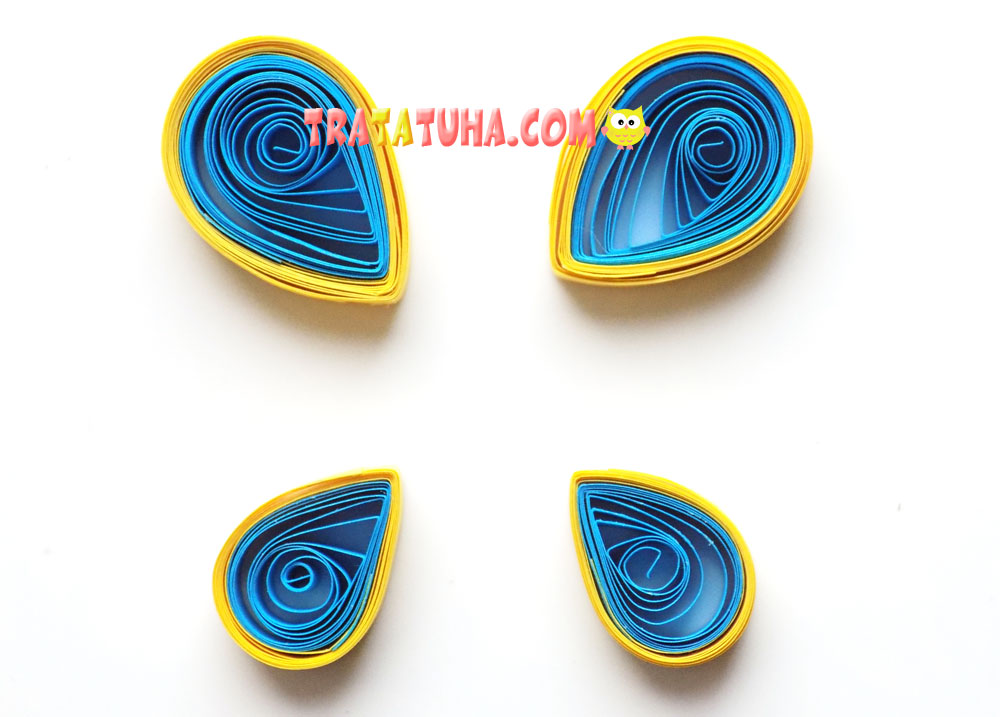
Wings will be made from stripes of blue and yellow. Sequentially glue 2 strips of each color. Then we twist them and place them in a template marked “20”.
We take out and glue the end.
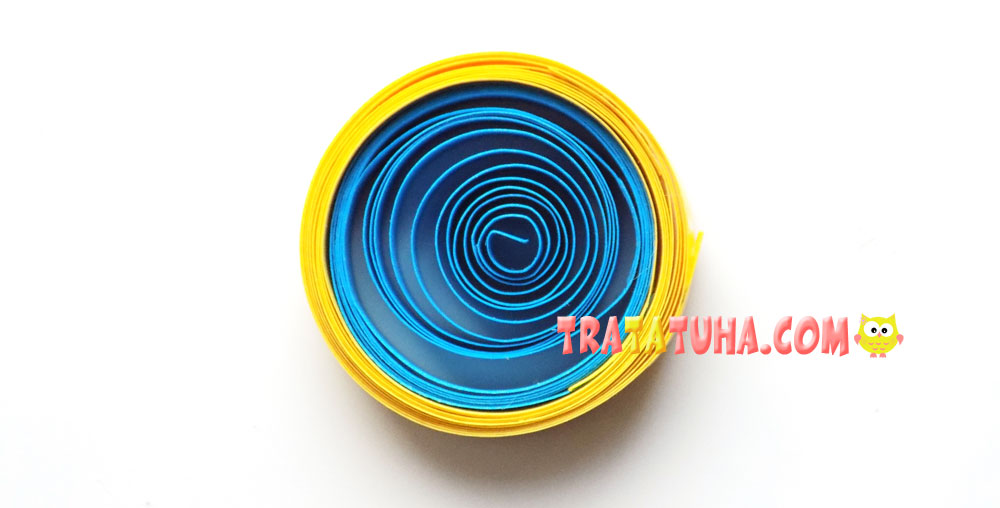
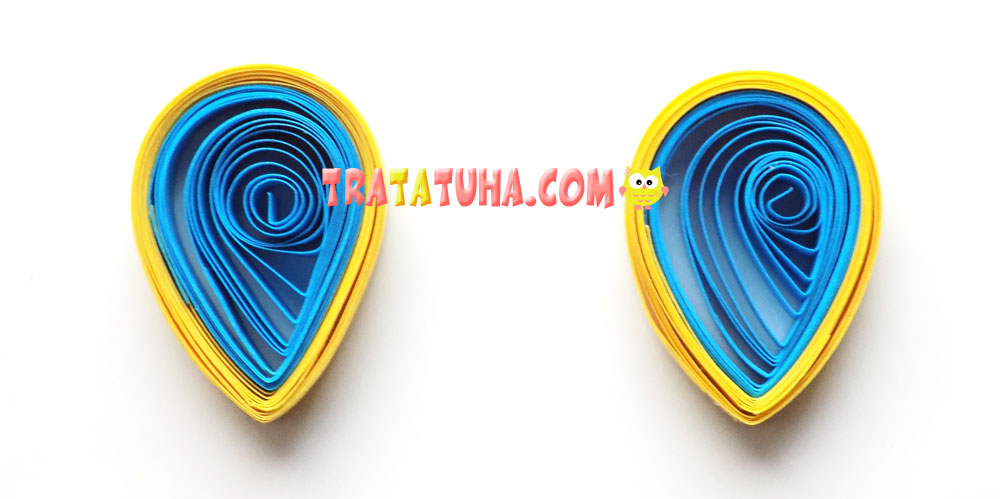
Then gently squeeze this circle on one side. So we made the first wing for the future butterfly.
Similarly, we create another wing of the same size.
The other pair of wings will be smaller. We will make them from circles with a diameter of 15 mm.
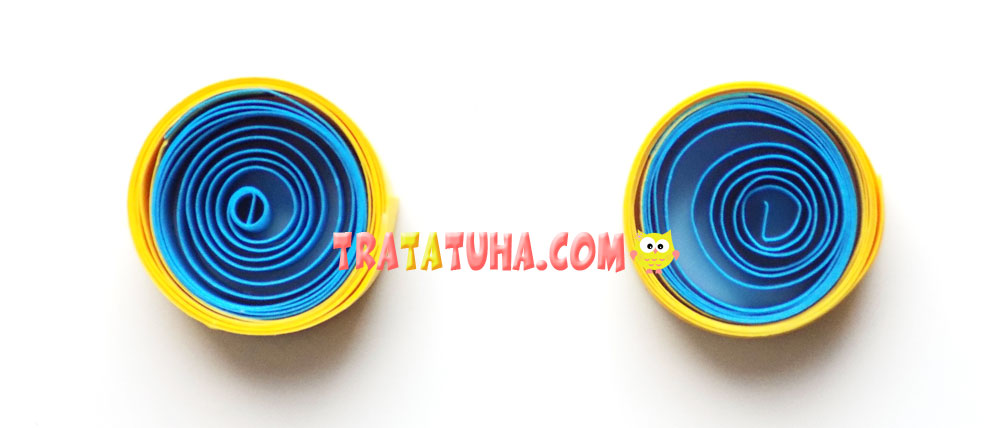
First we twist 2 such blanks. Then we form wings from them.
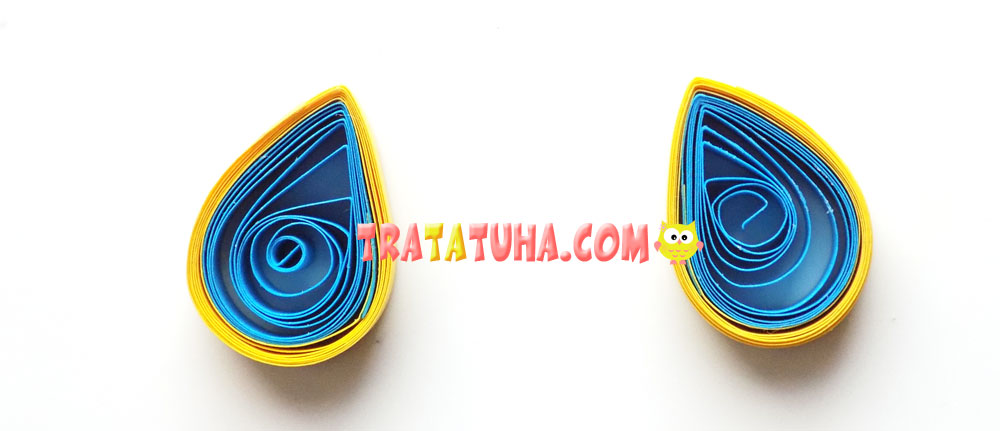
Everything, the wings for our crafts are ready.
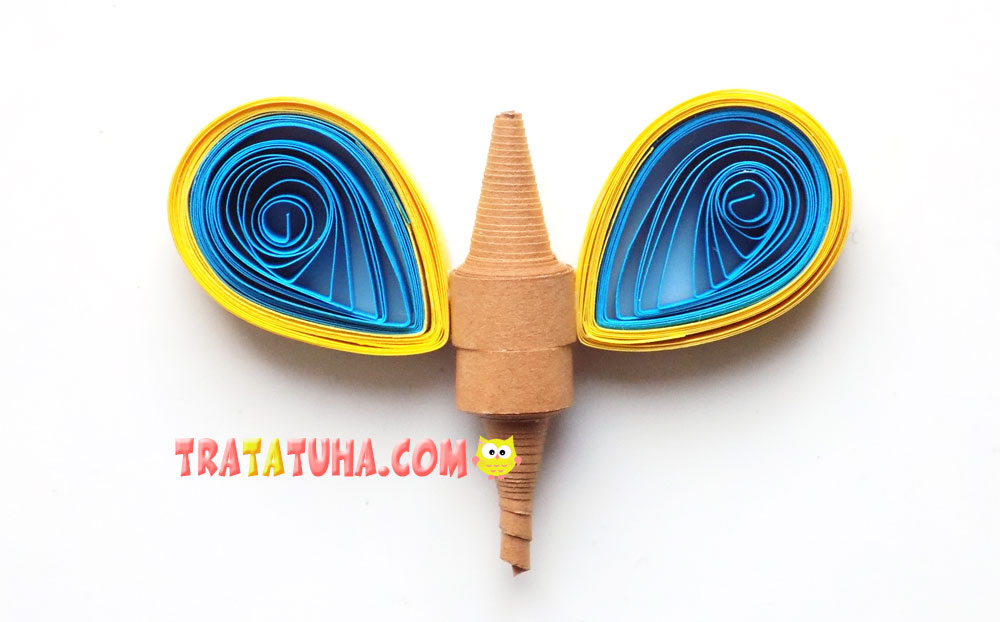
We begin to glue them to the brown body. First, glue the upper wings with glue.
Then add the bottom ones.
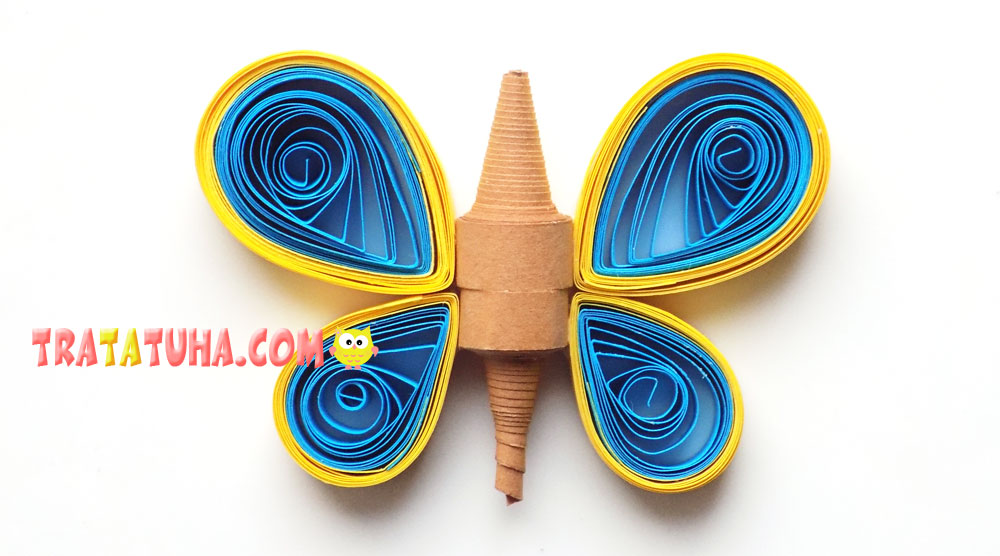
It remains to make a mustache. For them, it is enough to take a piece of a brown strip 10 cm long, fold it in half, and twist the ends.
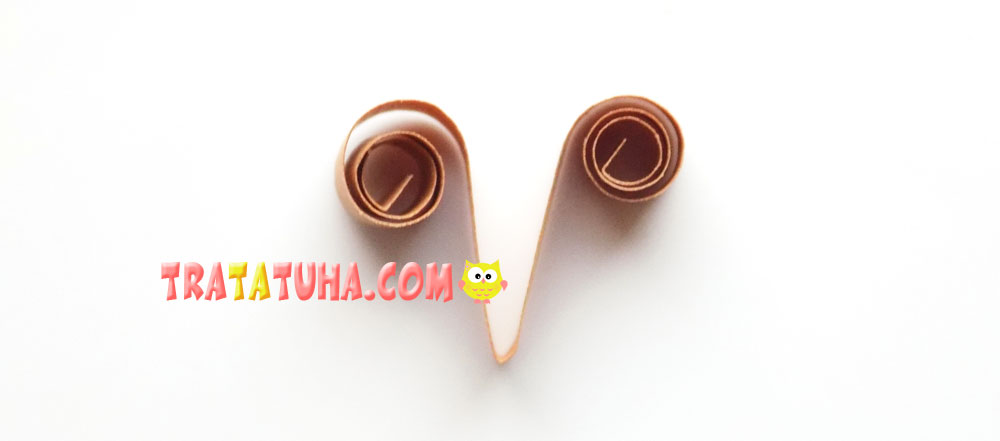
Glue these antennae. Butterfly quilling is ready.
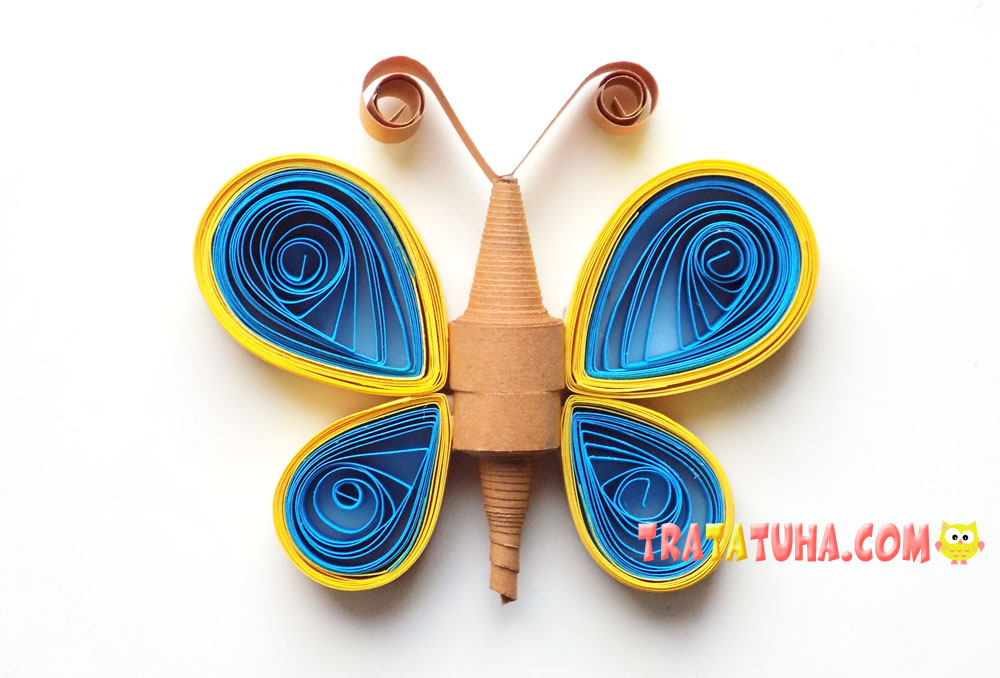
See more ideas about Easy Paper Quilling.
Crafts for Kids – learn how to make craft at home! Super cute crafts for all age groups!
Related Post: