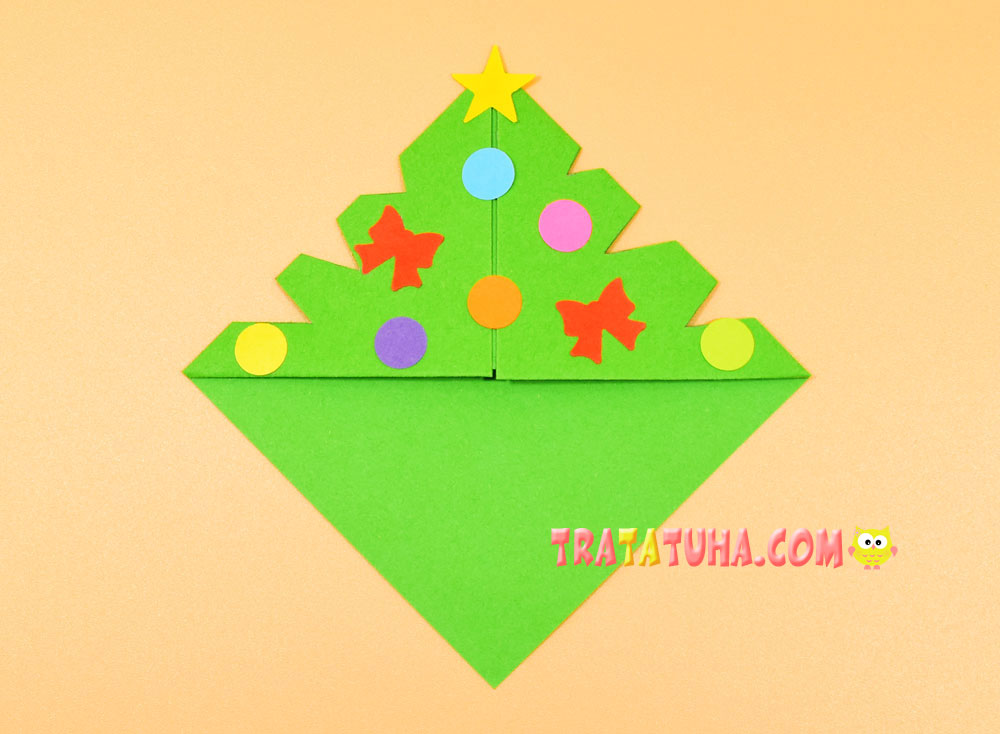
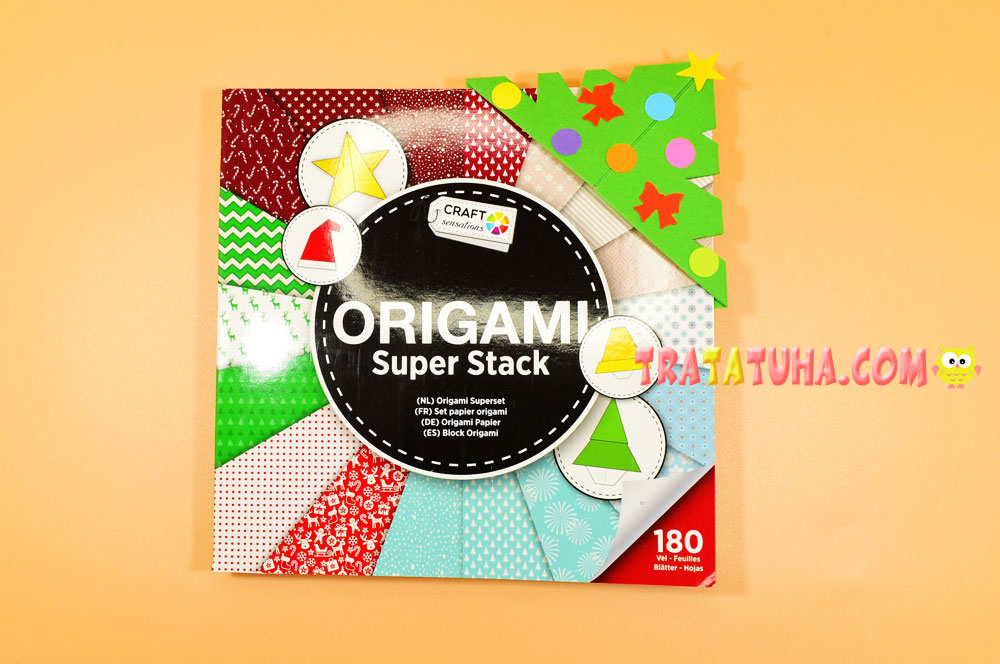
Bright Christmas tree bookmark in the technique of origami. Simple creative work for kids and beginners.
Many other paper corners in the selection — origami corner bookmark.
Materials for the corner:
- Green paper;
- Small pieces of paper of different colors;
- Figured hole punch, glue, scissors, a simple pencil.
Christmas Tree Bookmark Step by Step
Prepare the paper in the shape of a square. The size depends on the size of the book. For small books, a segment with sides equal to 10 or 15 cm is enough. For larger books, you can use A4 paper. Measure a square on the square and cut off the excess strip.

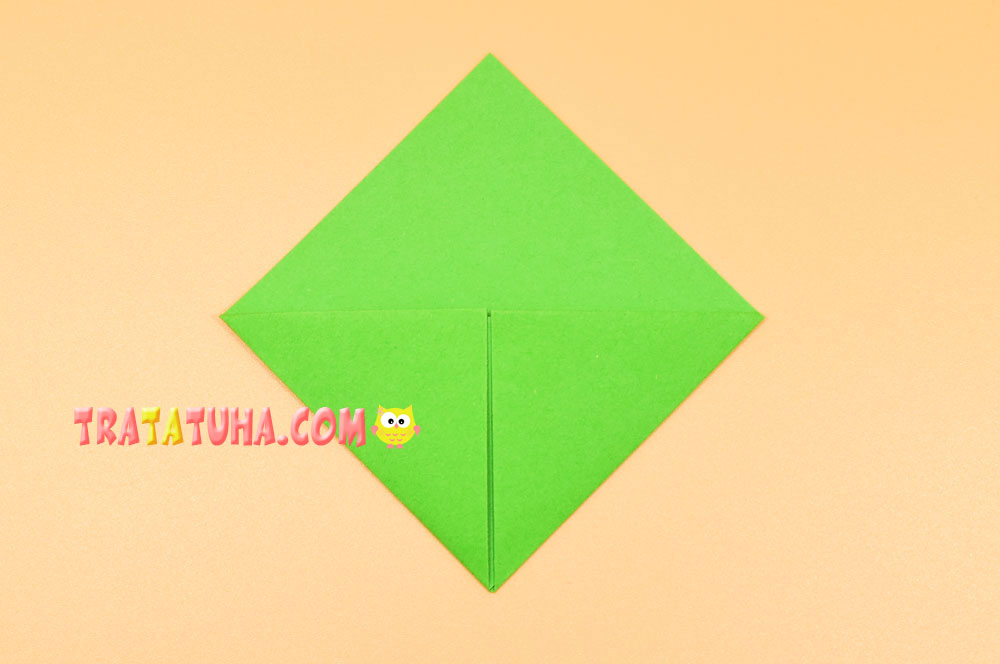
Fold the paper in half corner to corner to make a triangle.

Direct the side two corners to the top corner.

Then return the paper to a triangular shape, and pull the top corner down to the very edge of the bottom side.

After the side corners bend again to the top corner.

And put them in a pocket. Bend the right corner and place inside.

Then the left.
The origami corner is ready. It’s time to turn it into a Christmas tree. Swap top and bottom.
Draw small corners on the sides of the part. They can be of different sizes. It’s not scary if the symmetry of the sides is slightly disturbed, this will not affect the appearance of the Christmas tree.
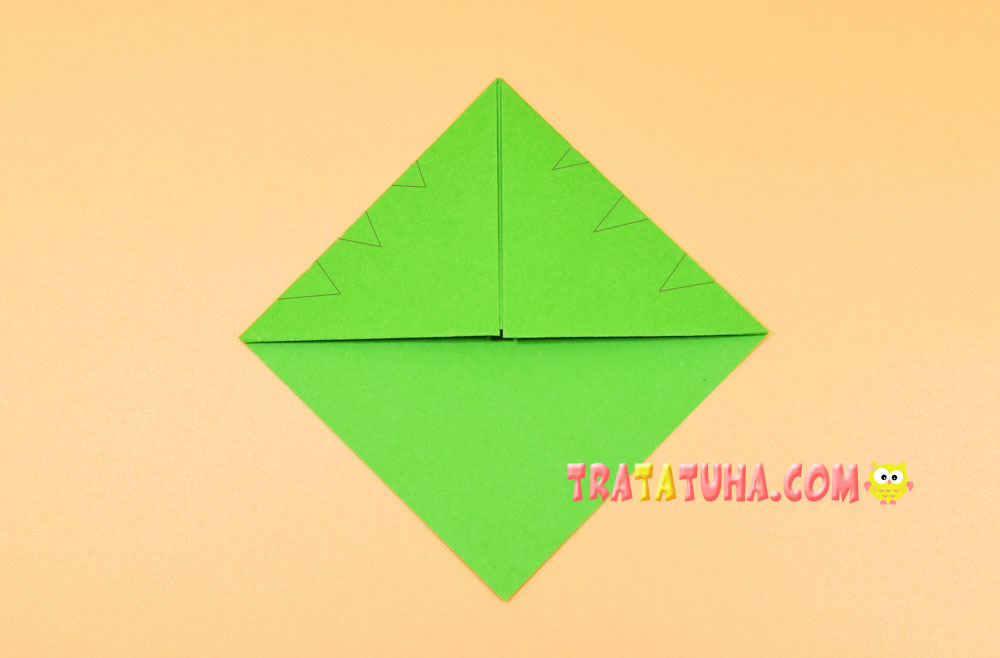
Cut out the corners on the sides.
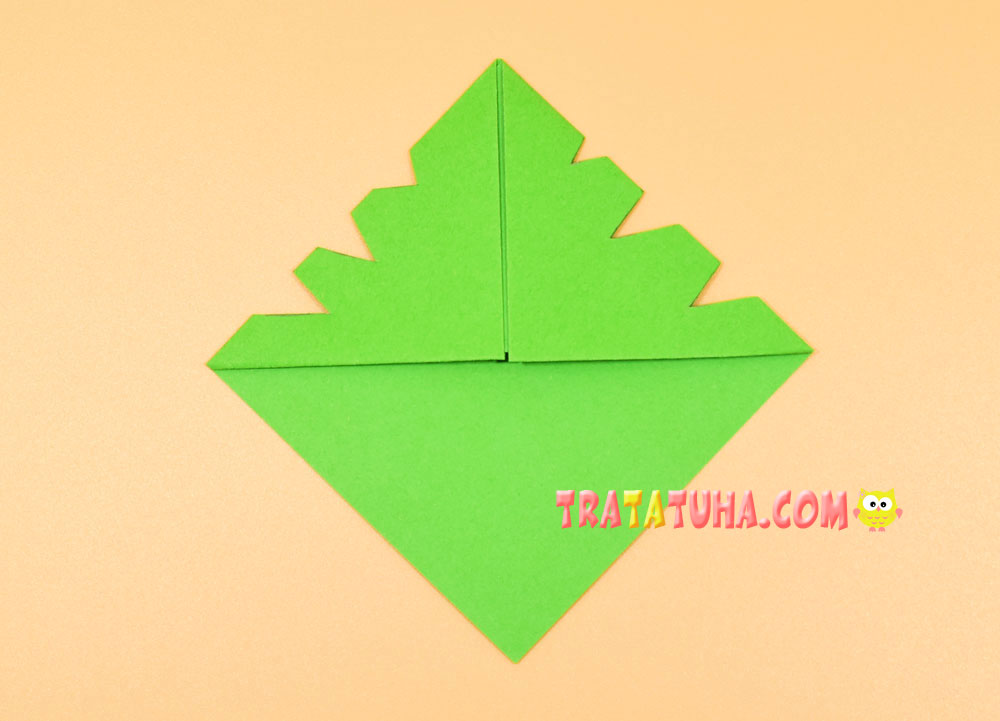
Decorate the Christmas tree with paper balls, bows, a star made using a figured hole punch. In its absence, simple circles, rhombuses can be cut out of colored paper. This is how we got a Christmas tree bookmark. Excellent Christmas origami is ready.
Related Post: