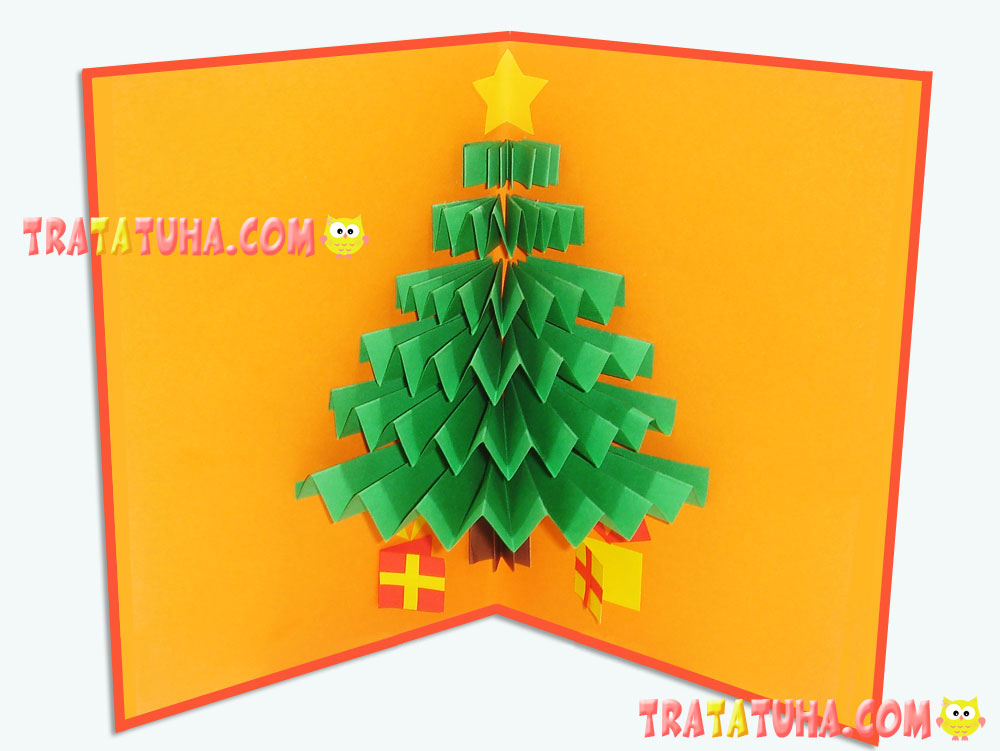
A simple Christmas Tree Cards for kid’s creativity. Easy and interesting work, minimum effort, actions and time.
What you need to create a postcard:
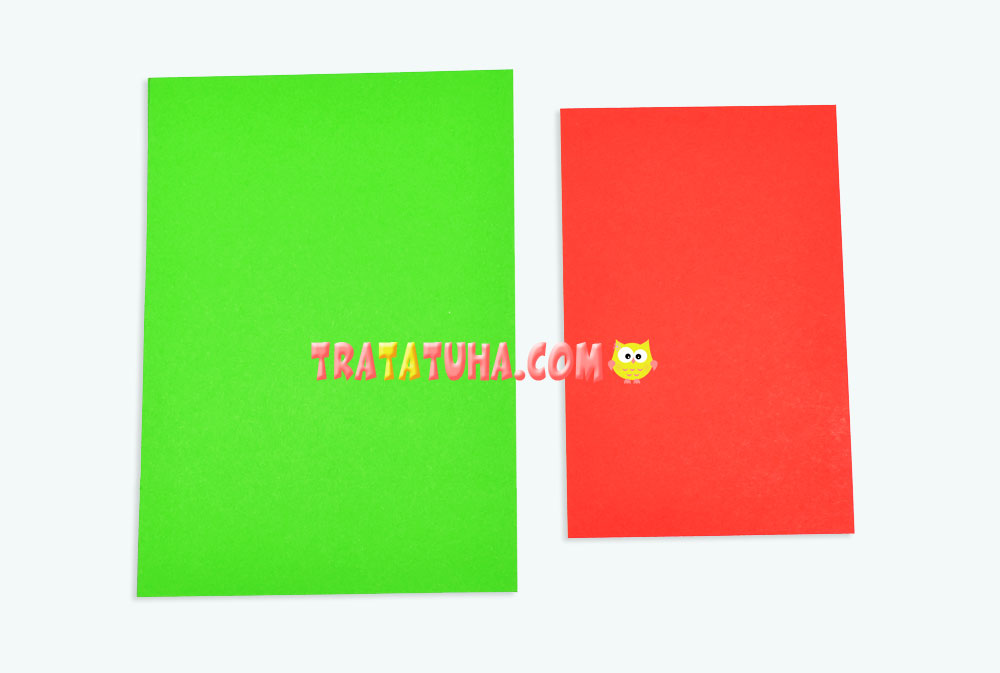
- Red and green paper (cardboard is best). Of course, the colors can be changed to any desired. Unless the Christmas tree should still remain green;
- Some yellow and beige paper;
- Plastic moving eyes;
- Red small pom-pom for the nose;
- Decorative paper for decoration;
- Ruler, simple pencil, glue, felt-tip pen.
DIY Christmas Tree Cards: Step by Step Overview
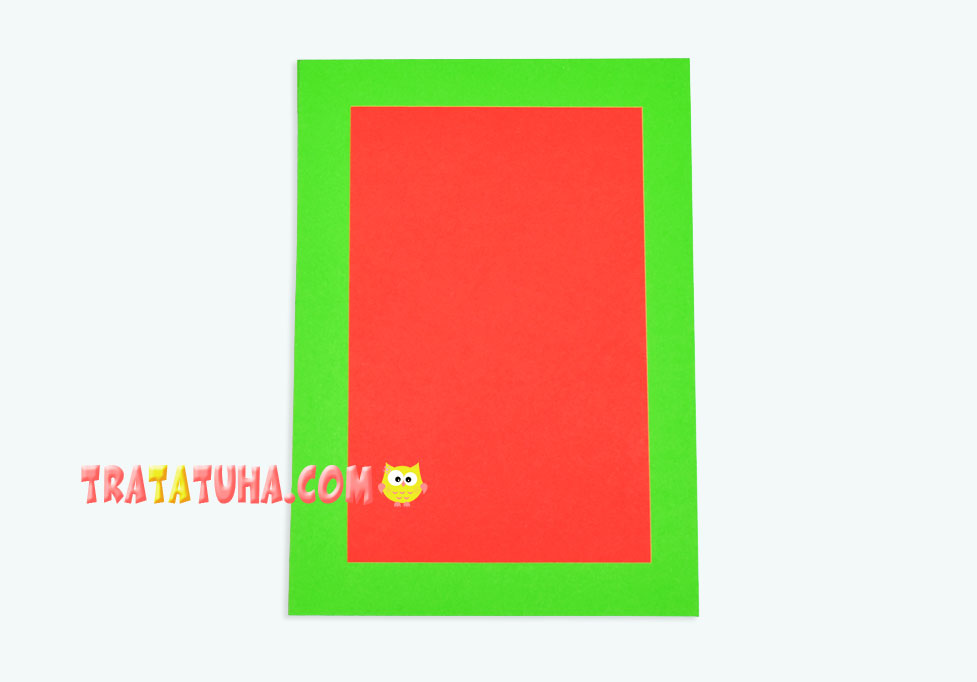
At the first stage, prepare the base or cover of the postcard. In this version, it consists of an outer part of green and an inner part of red. Cut off the rectangles, keeping in mind that the cut should be smaller for the inside. Thanks to this, a beautiful edging will turn out. By the way, if there are curly scissors, the edges can be made wavy, which will make the work even more perfect.
Glue the red cardboard on top of the green one so that there are symmetrical indents on the sides.
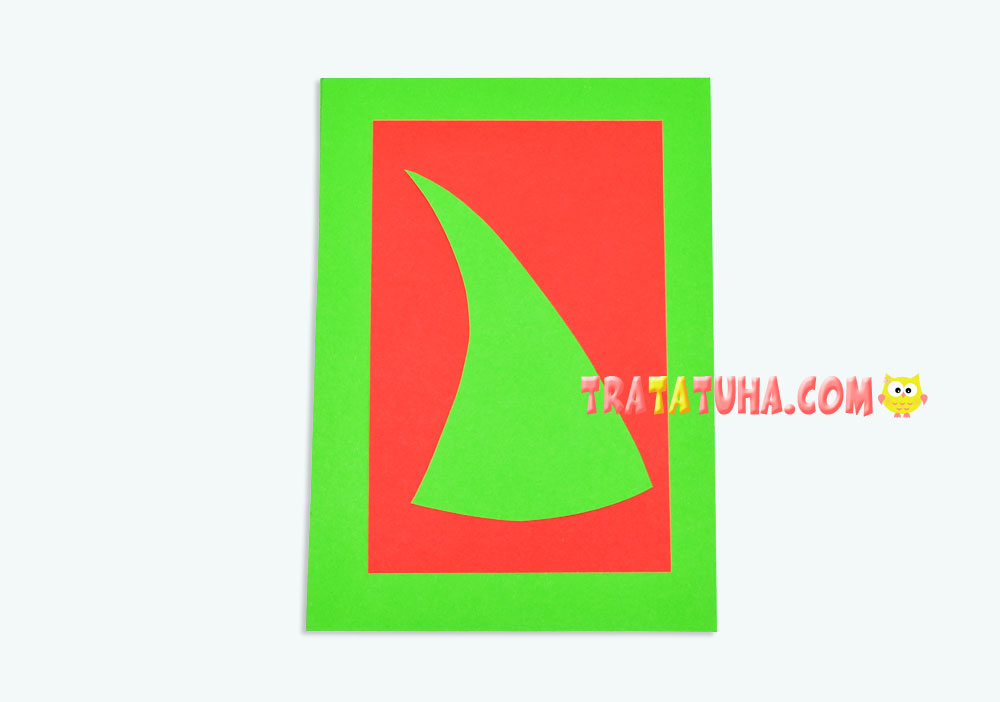
Now cut out the Christmas tree in the form of a triangle. In this version, it is slightly tilted to the side, which gives the final result fun and originality. Cut out an asterisk from the yellow paper as well. If there is a decorative hole punch, decoration can be made with it. You will also need a small trunk made of beige paper.

Glue the tree onto the cover.
Add a nose, eyes, draw a smile. Cut out round balls – Christmas decorations. In this work, decorative paper with a sheen was used. But the usual color is fine. Also cut out a small trunk from beige paper and glue it to the bottom of the Christmas tree.
That’s it, the Christmas tree card is ready. On the reverse side, you can write a Merry Christmas greeting.
Related Post: