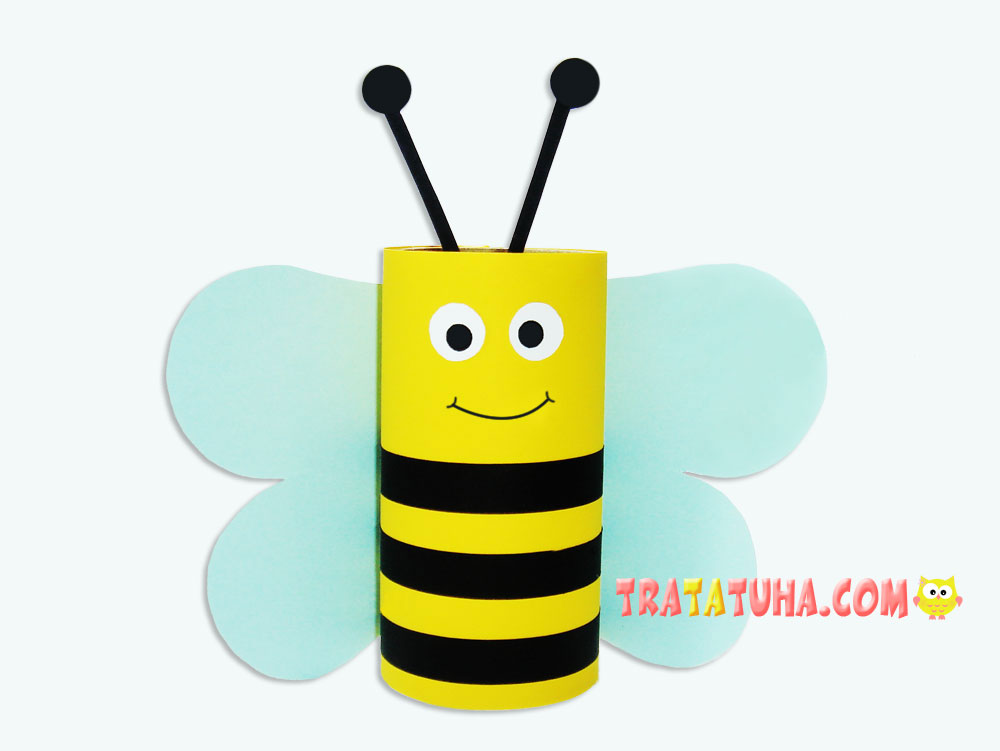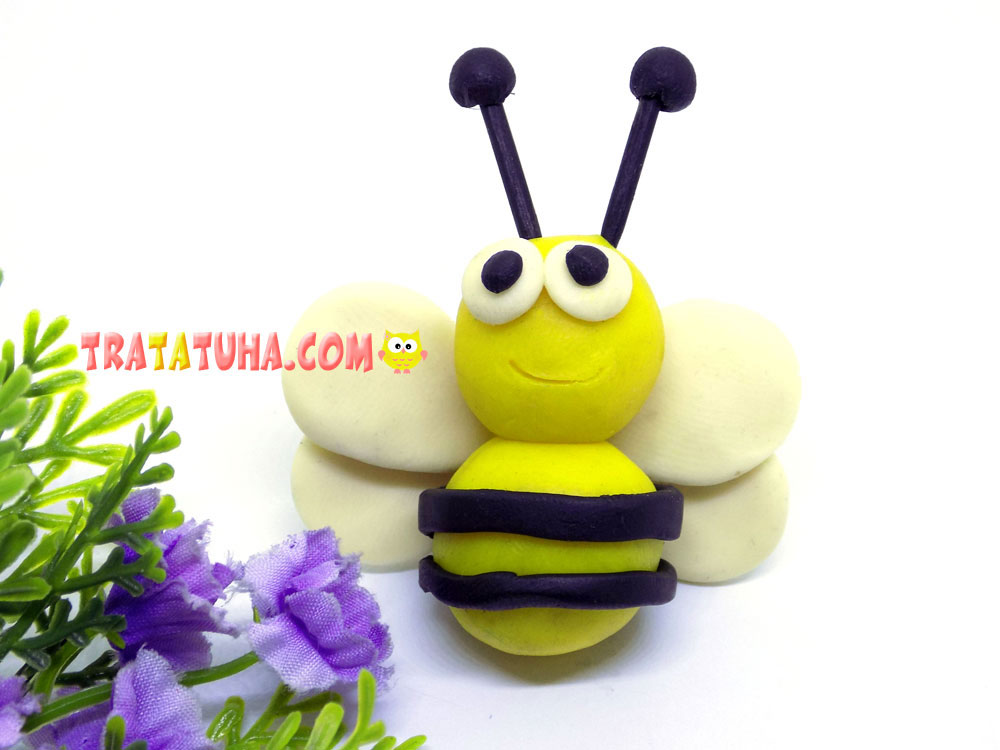
This tutorial presents a bright insect — a clay bee. The creation of such crafts is available to many kids who have mastered the initial skills of working with clay.
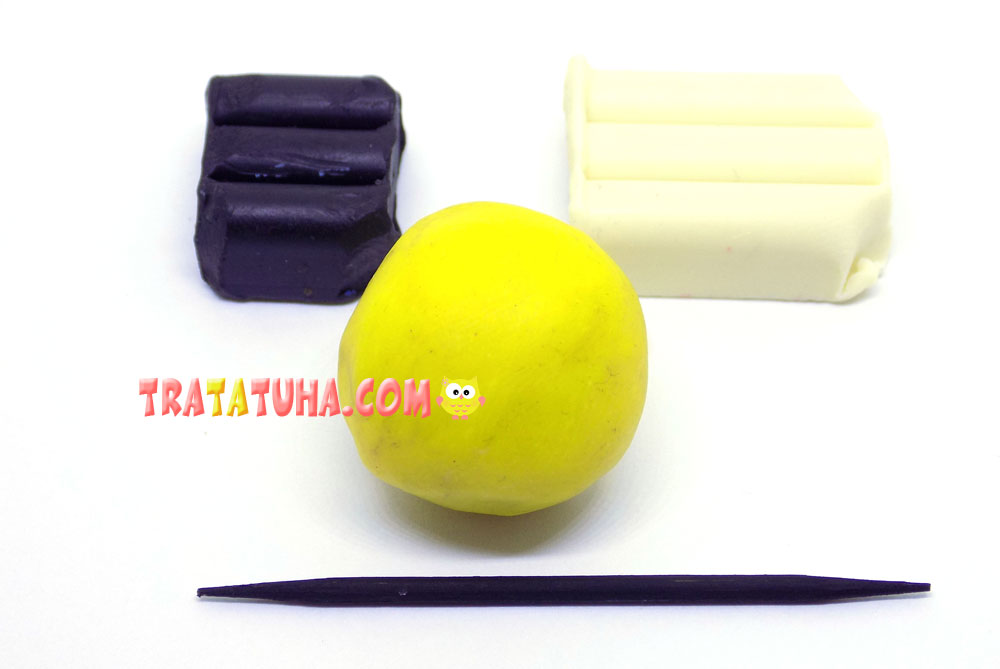
You will need:
- clay (yellow, black, white);
- toothpick, pre-painted black;
- as well as auxiliary items for working with clay – a board, a stack.
Clay Bee Step by Step
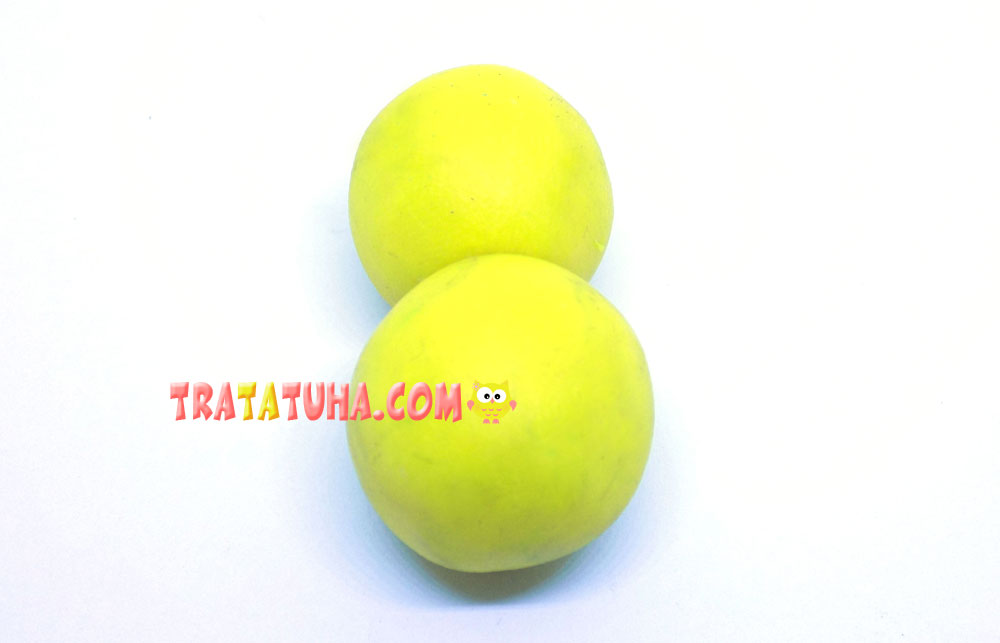
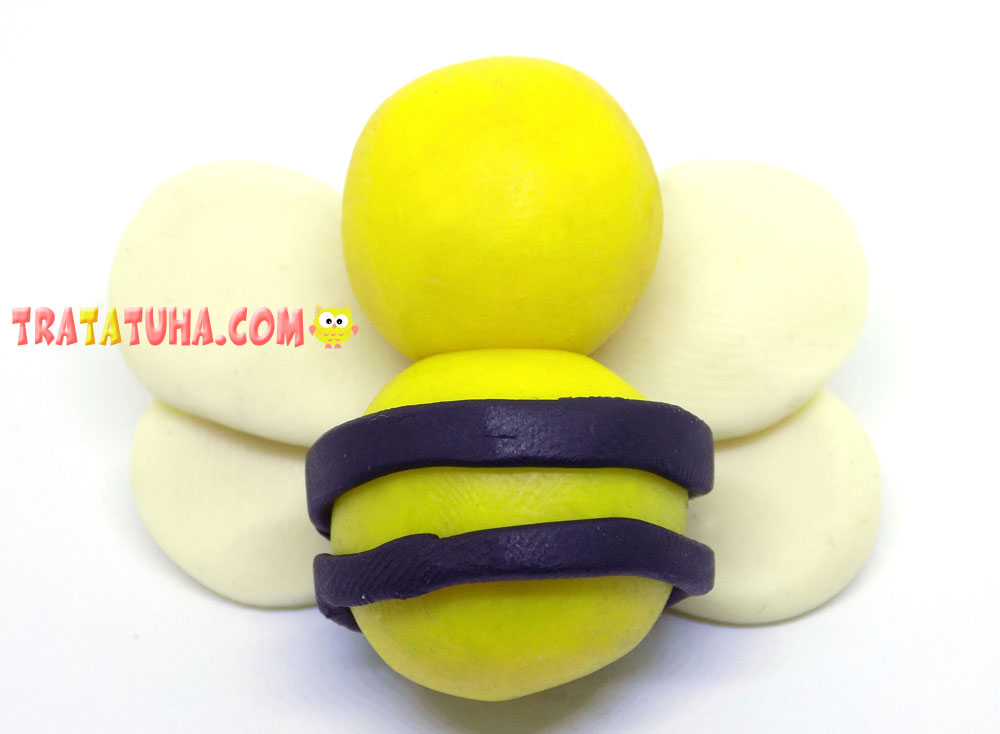
First, let’s create the head and body of the bee. To do this, we need 2 balls rolled from yellow clay (for the head, the blank should be slightly smaller).
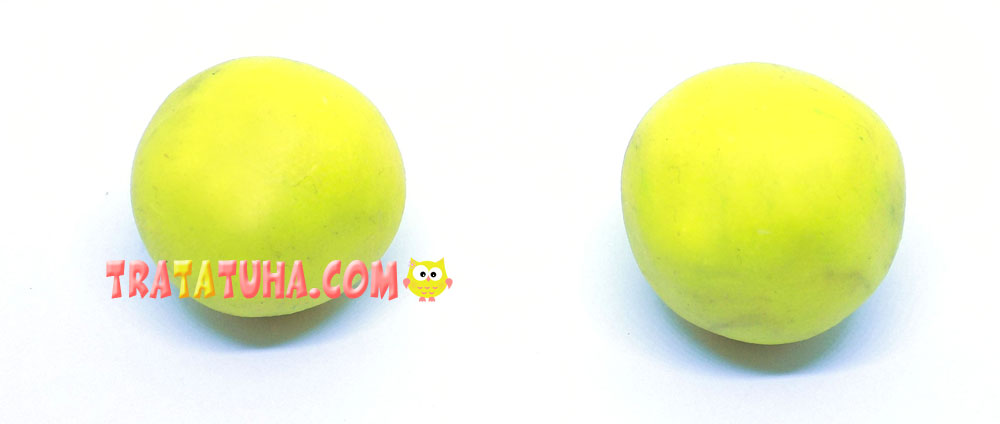
We connect them together.
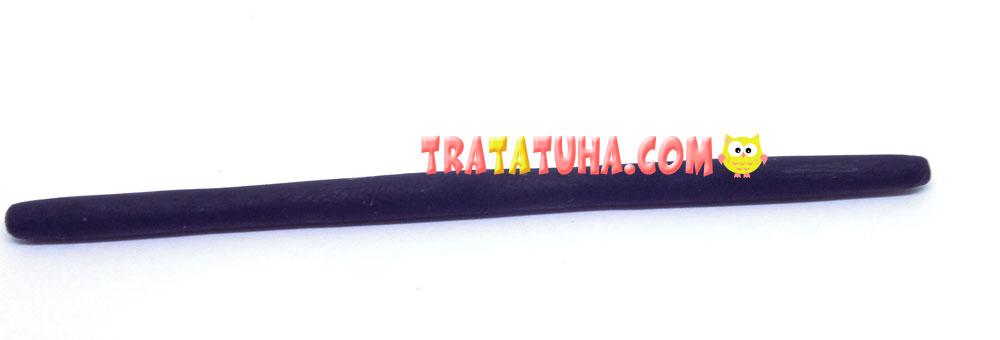
On the body of the bee, we will perform black stripes. From black clay you need to roll a thin sausage.
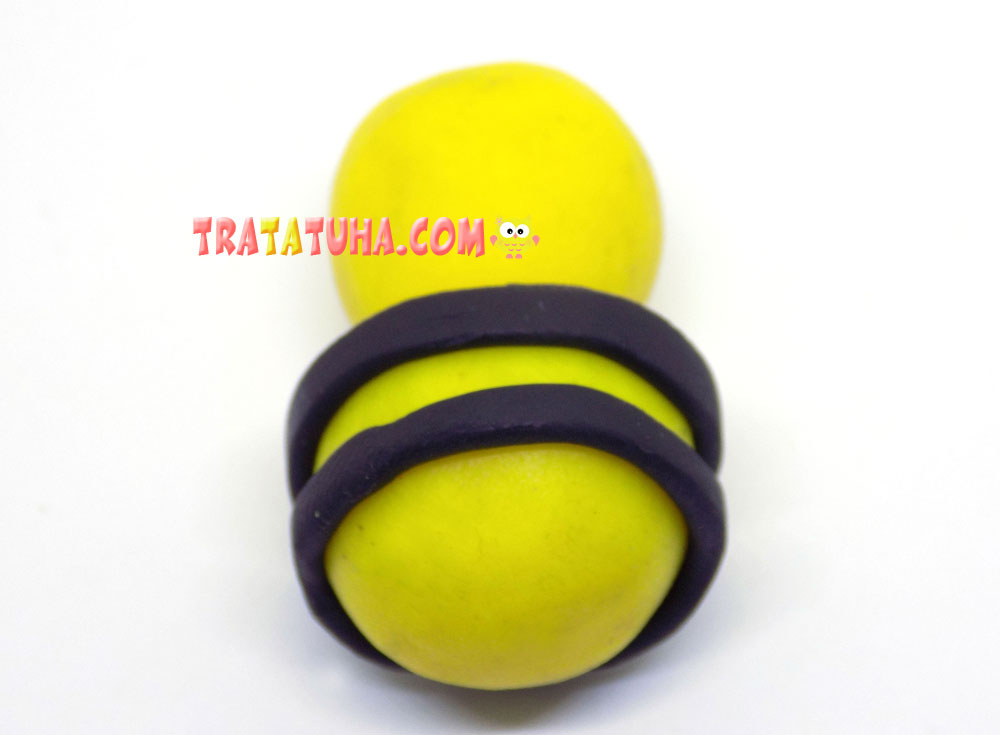
Then we divide it into 2 parts and fix it in the form of strips on the body.
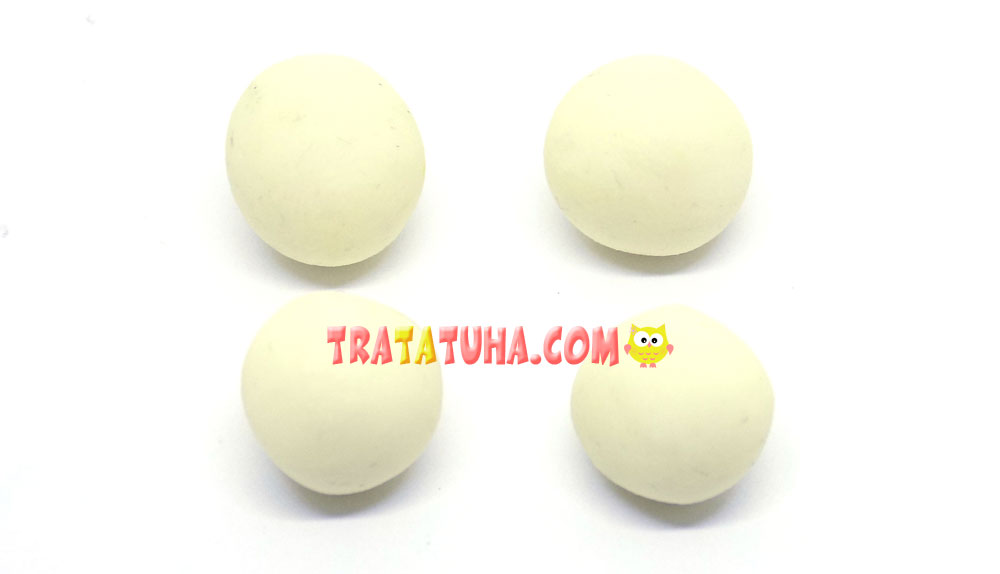
Now let’s take care of the wings. We will make them from white clay, first we roll 4 balls (all of the same size).
We form wings from them, flattening a little and giving an oval shape to each ball.
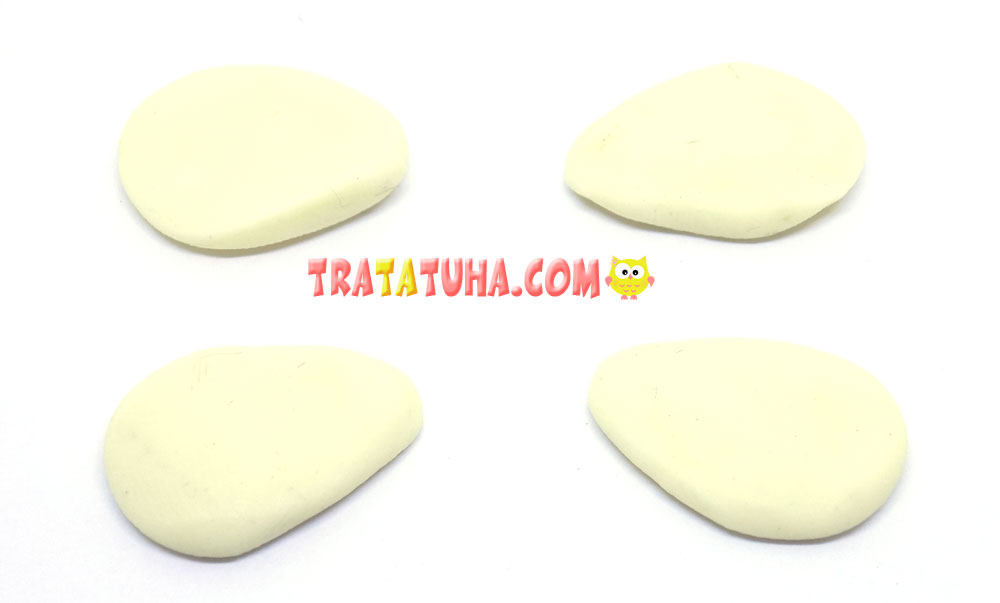
We fix these white wings on the back of the craft, two wings slightly overlapping on each side.
From pieces of white and black clay we create eyes for a bee. It remains to complete her mustache. To do this, we need a toothpick, which we painted with black paint. We break the toothpick in half, fix small balls of black clay on the tips, and then we fix the antennae on the head.
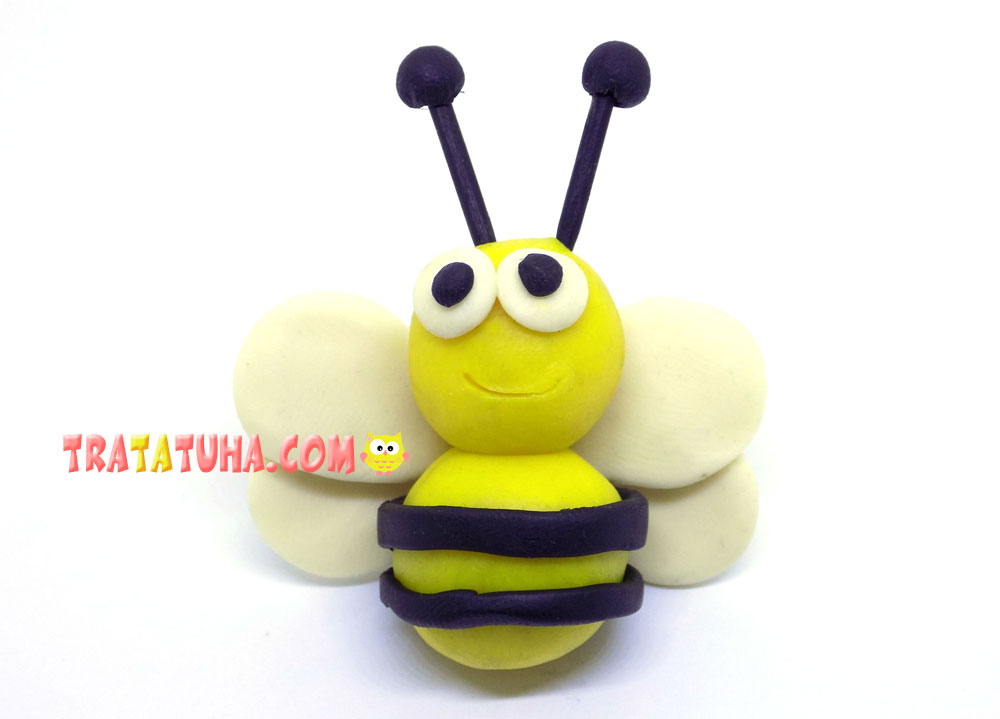
This is how we got a bee made of clay.
See more ideas about Clay Crafts.
Many other Insects Crafts for kids.
Crafts for Kids – learn how to make craft at home! Super cute crafts for all age groups!
