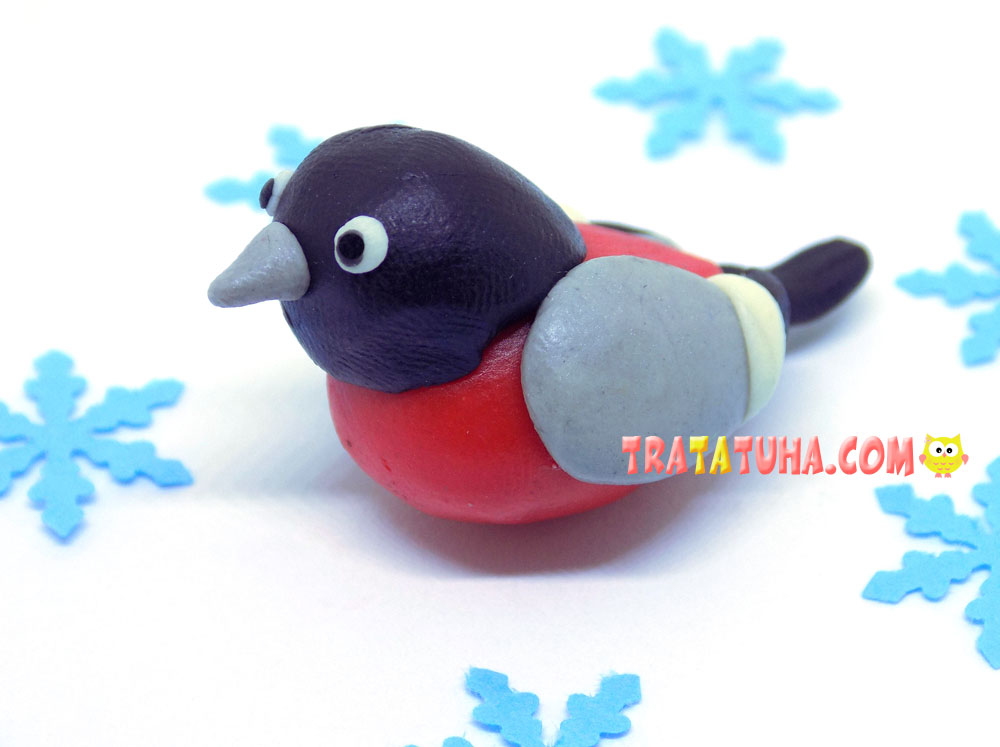
This clay bullfinch is a great option for creative activities for kids on the eve of winter and throughout this cold season.
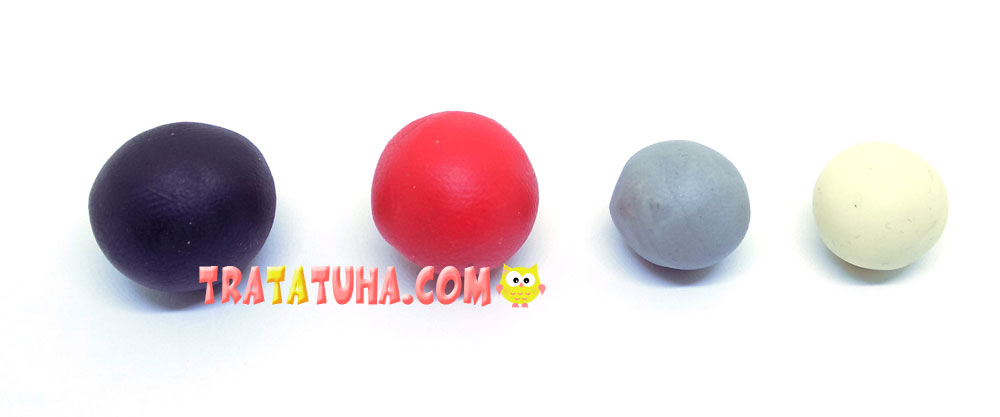
Materials for work:
- red clay;
- black clay;
- gray and white clay;
- stack;
- board for work.
Clay Bullfinch Step by Step
Prepare the clay of the desired colors, knead and roll into balls for convenience.
The main blank will be a ball of red clay from which you need to make the body of a bird.
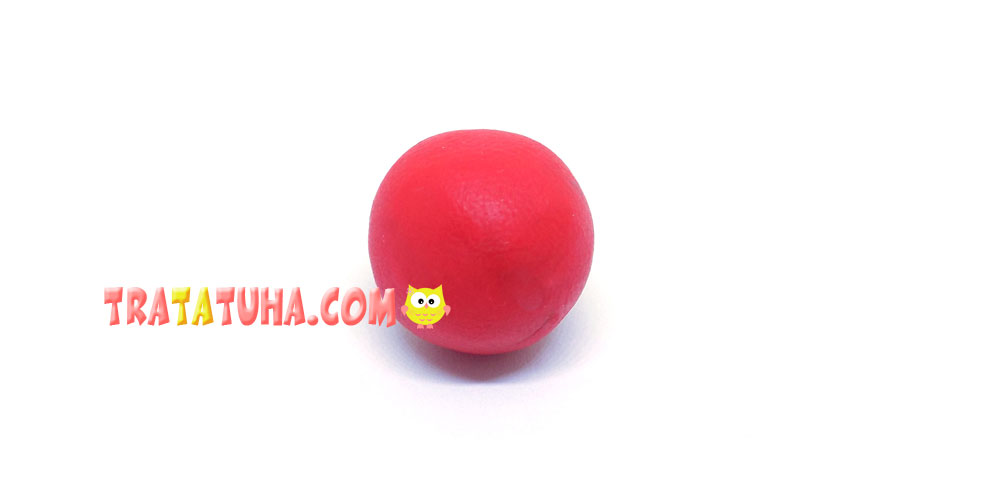
We slightly change its shape by pulling it from one end. This is the body of our bird.

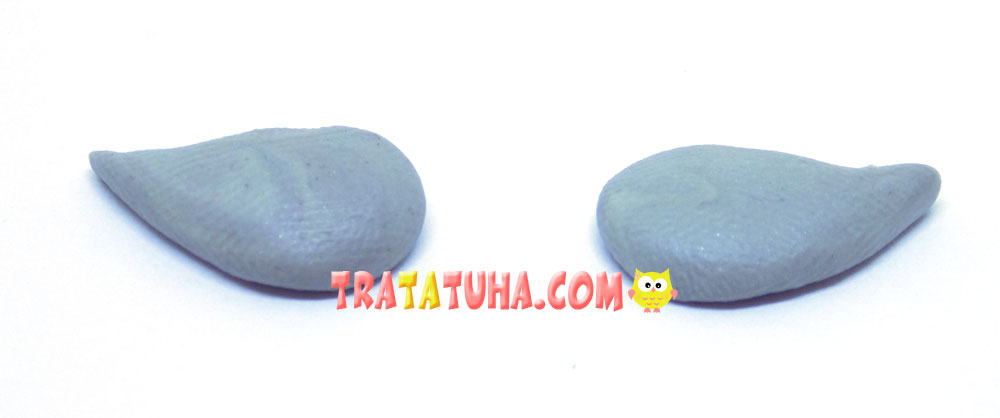
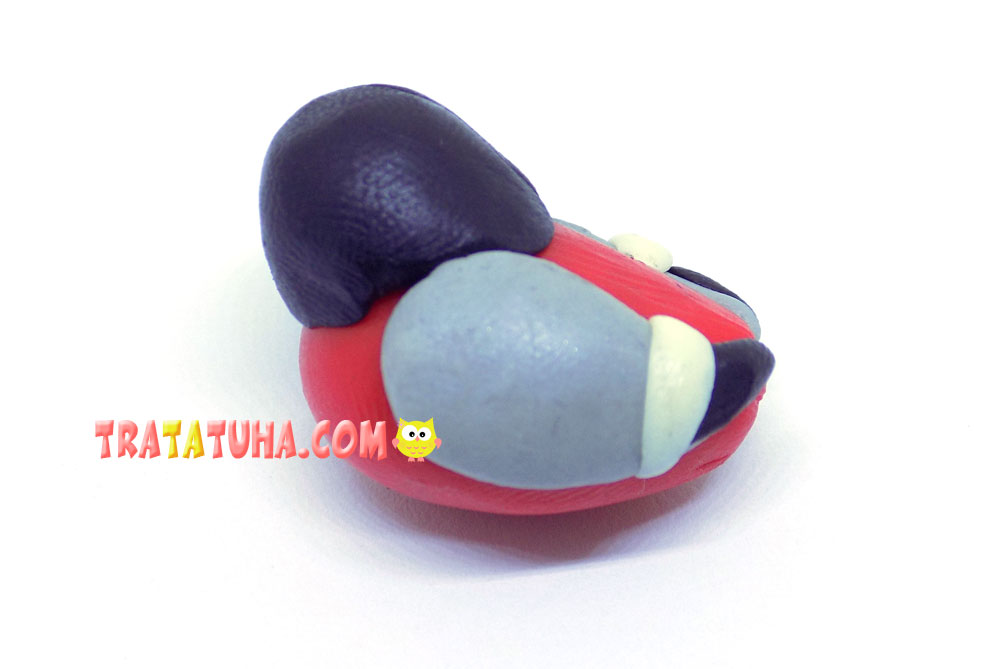
The bullfinch wings are made of gray clay; for this, mold 2 blanks in the form of droplets.
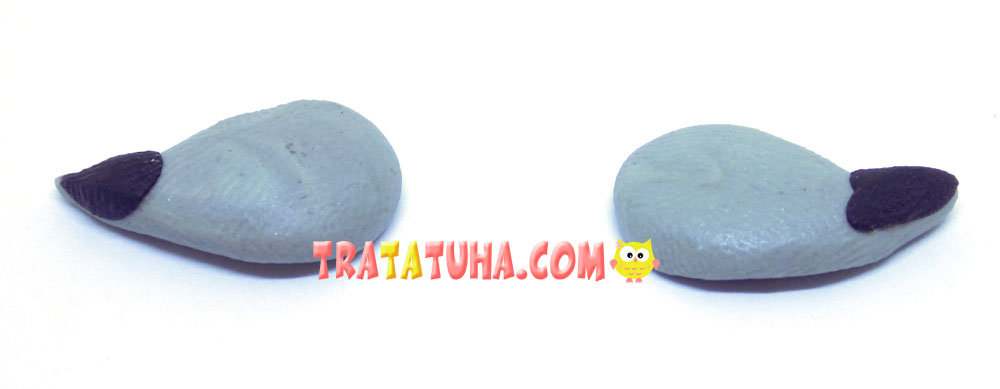
Add some black clay to the tips of these wings.
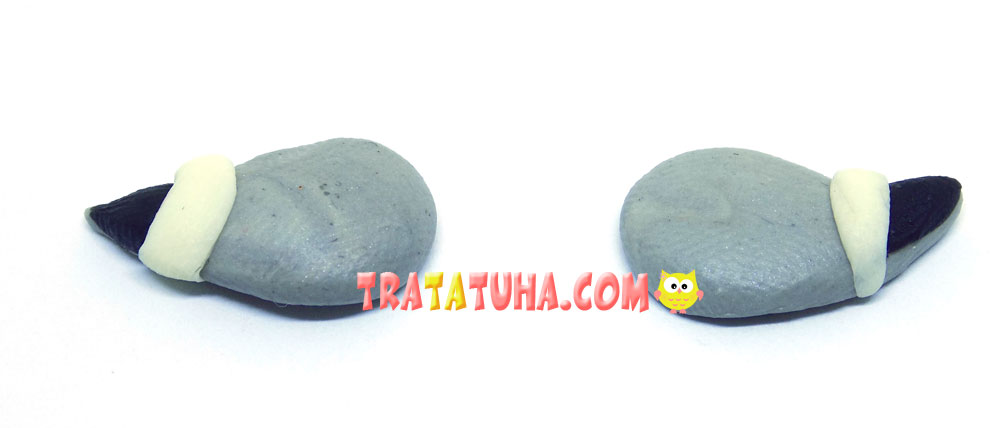
After that, stick a strip of white clay on each wing.
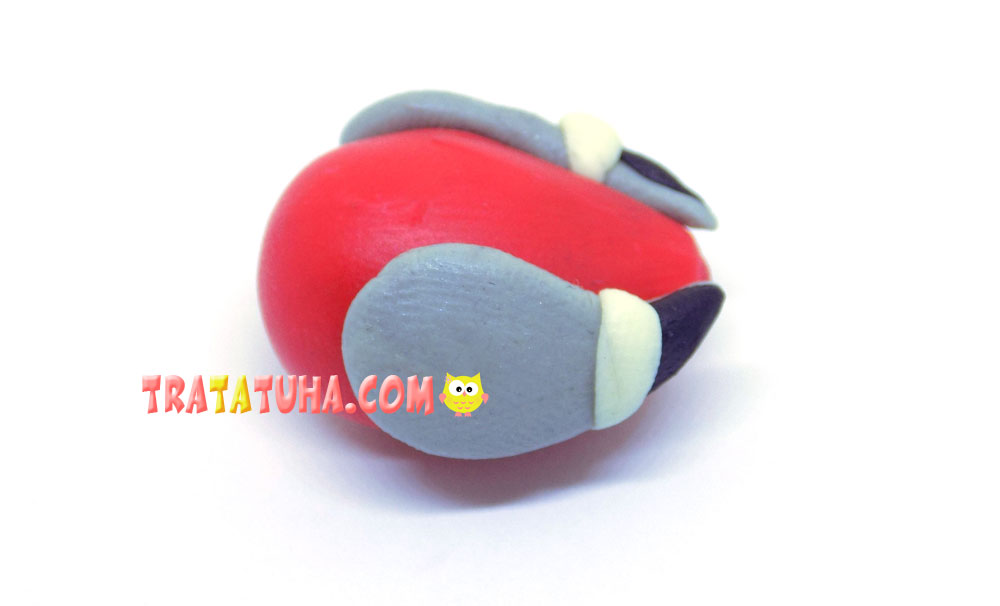
Attach the wings to the sides of the bullfinch’s red body.
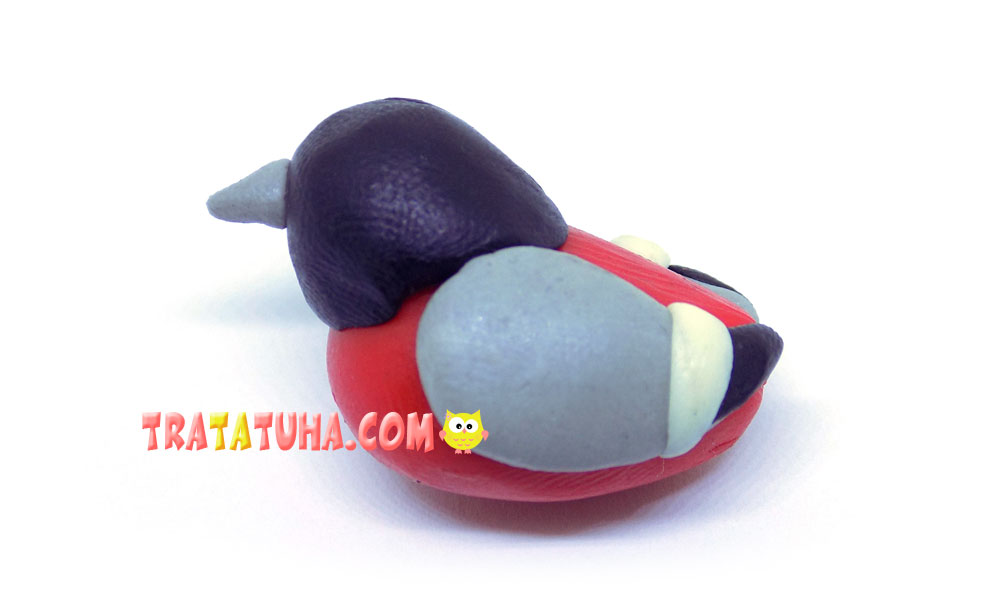
We sculpt the head of our bird. It will be made of black clay.
We sculpt the beak from a small piece of gray clay, make it in the form of a small cone and fix it in front of the head.
Let’s start creating the eyes. Their basis will be small circles of white clay.
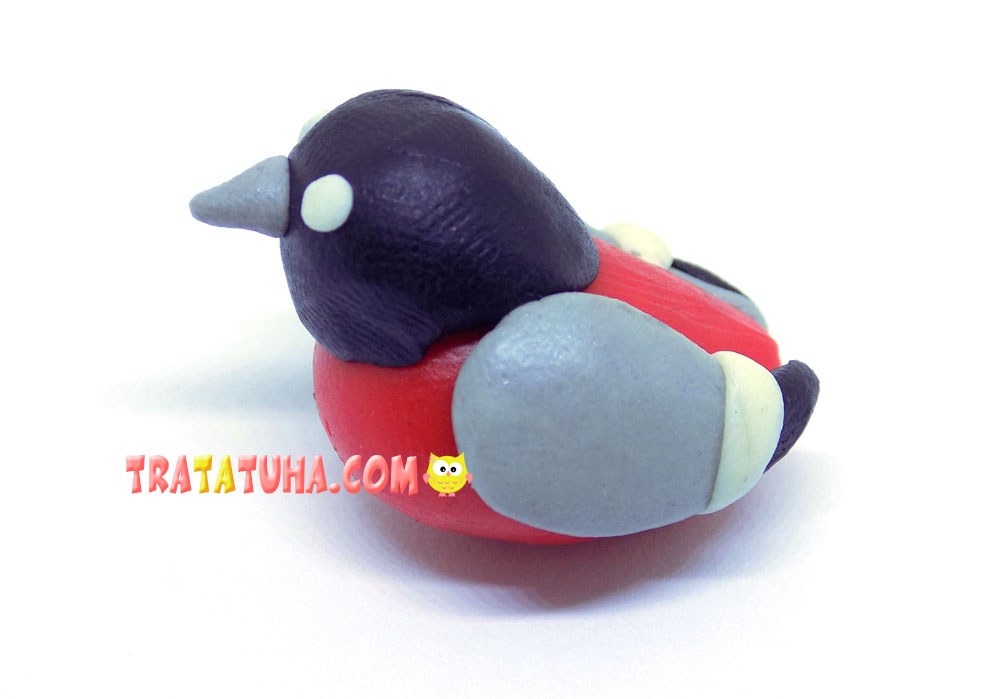
The center of the eyes will be made from small pieces of black clay.
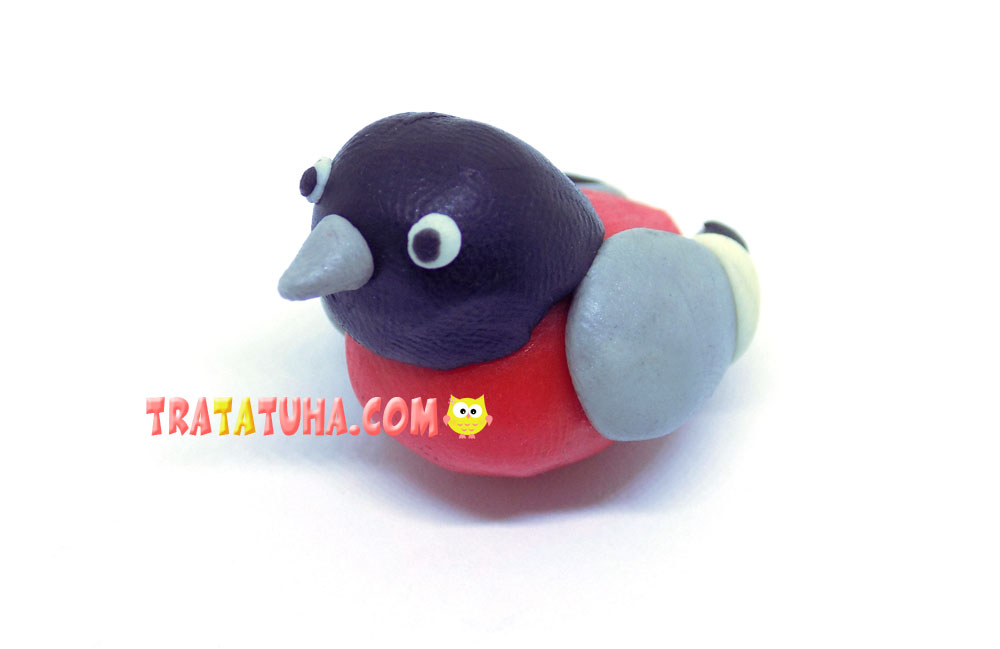
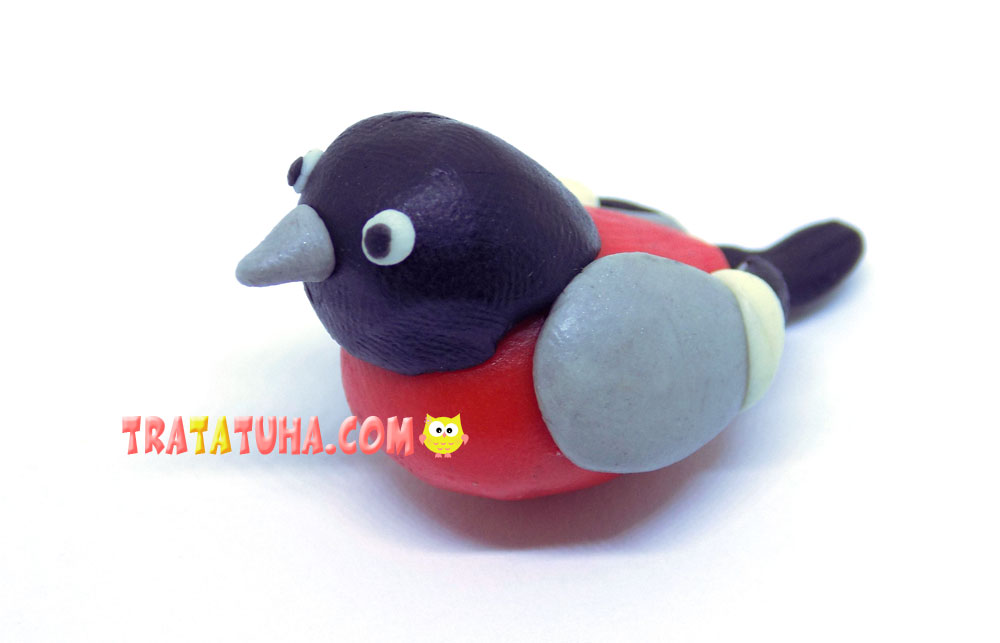
It remains to add a tail, we sculpt it from black clay. Clay bullfinch is ready.
See more ideas about Clay Crafts.
Crafts for Kids – learn how to make craft at home! Super cute crafts for all age groups!
Related Post: