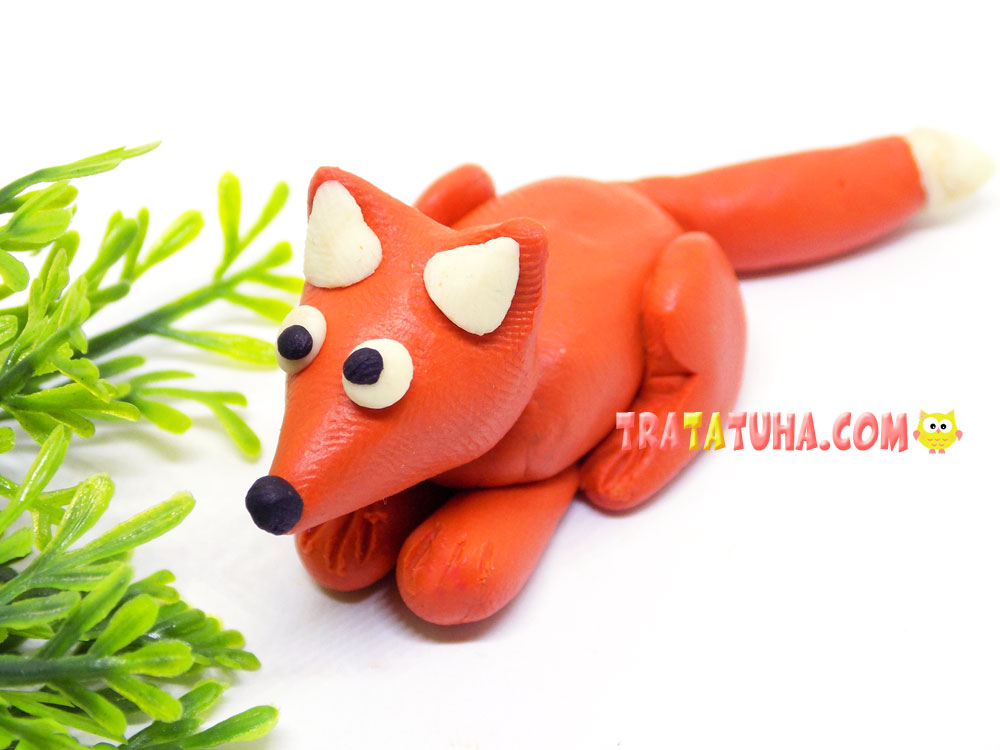
The sly fox is a character in many fairy tales. But everywhere she, as a rule, turns out to be not at all the most intelligent and resourceful. A clay fox can become the heroine of your personal fairy tale. Try to mold it according to the proposed tutorial.
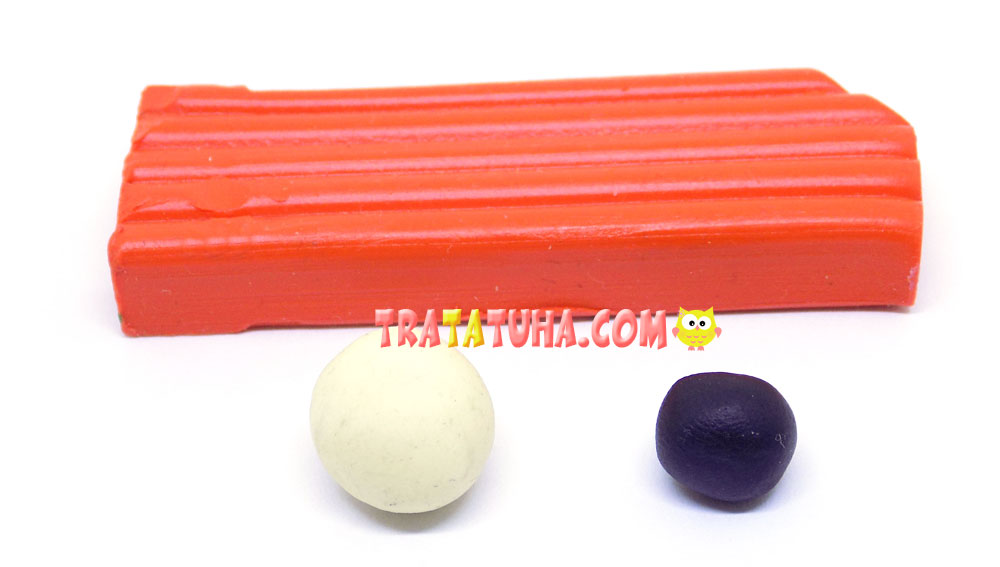
For this creative work you will need:
- orange clay, as well as some white and black
- stack
- board for modeling
Clay Fox Step by Step
First, roll up a couple of balls of different sizes. One will be required for the body of the fox, and the second for the creation of her head.

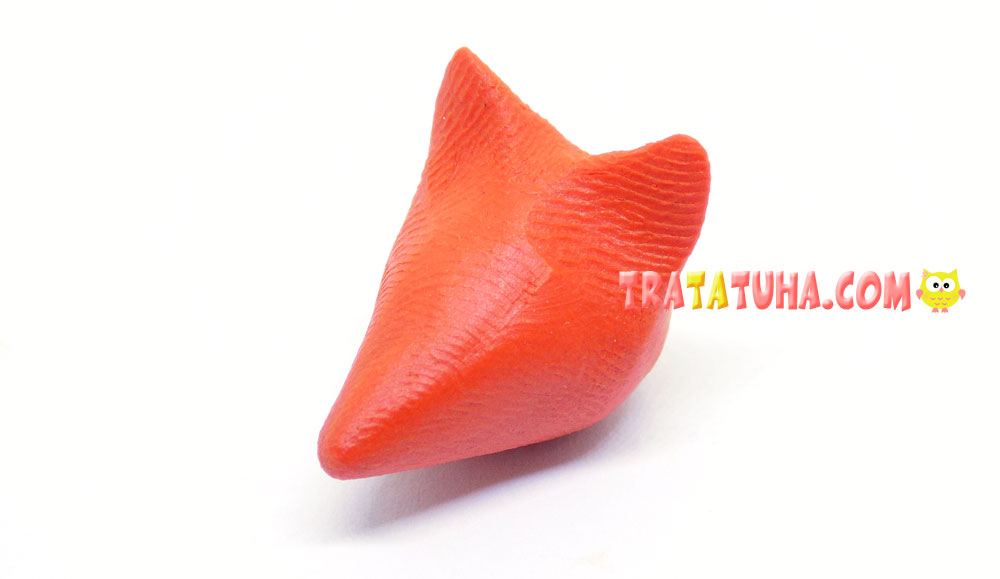
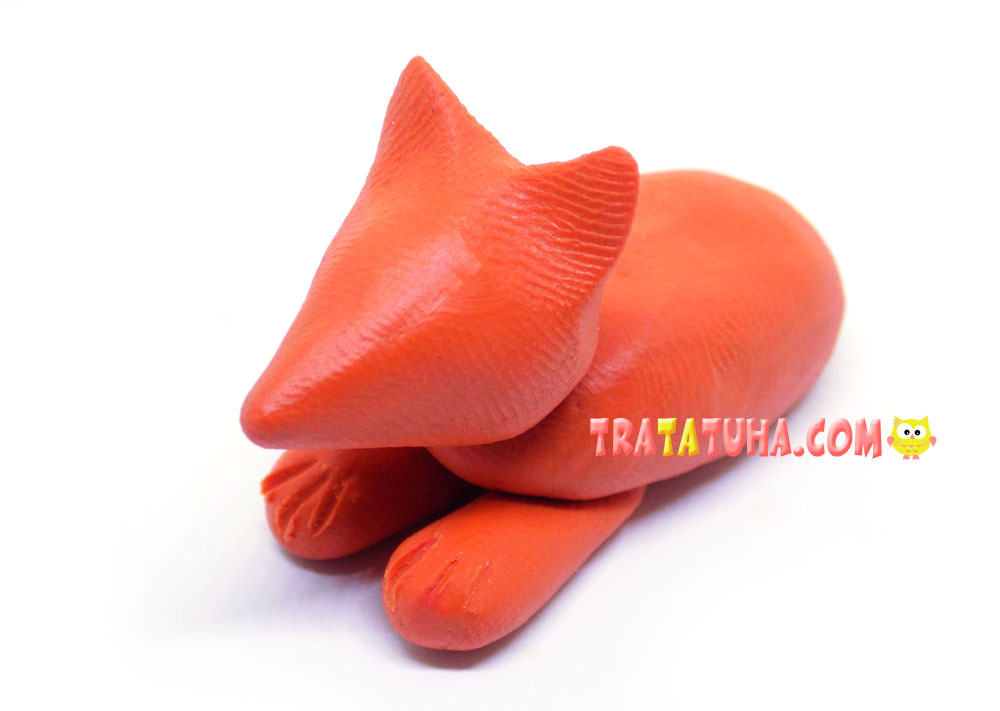
We take a smaller ball and begin to form a fox’s head out of it. To do this, first we draw out the workpiece, narrow it, and in the upper part we fashion a pair of ears.
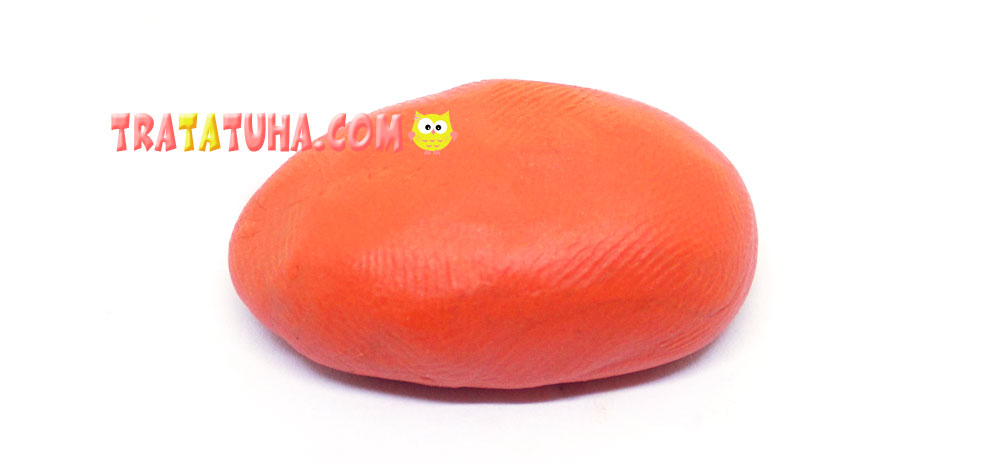
The ball intended for the body is a little flattened.
We connect the head and body together.

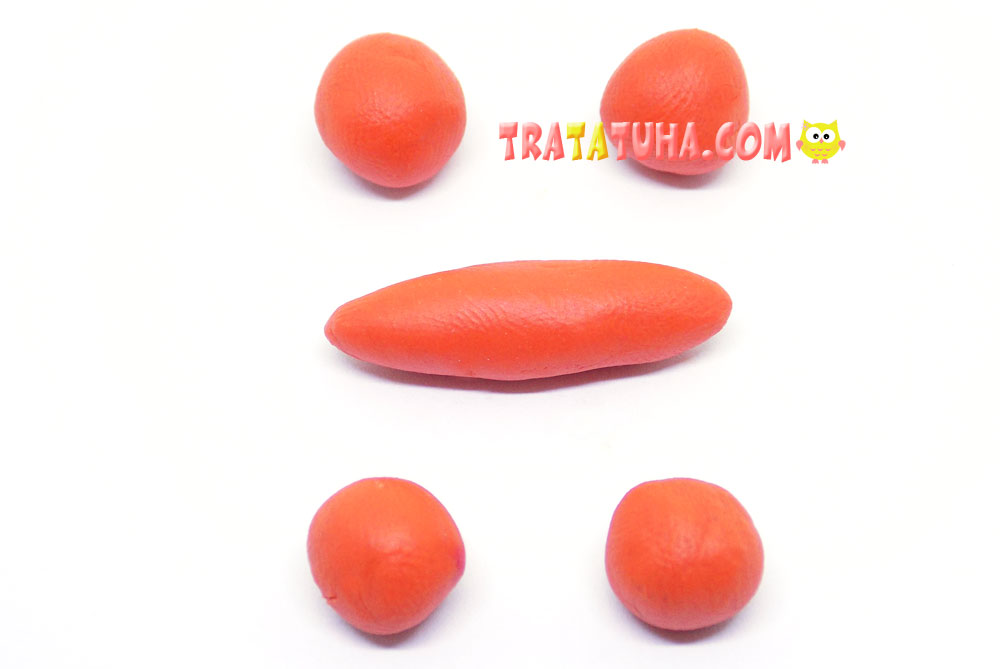
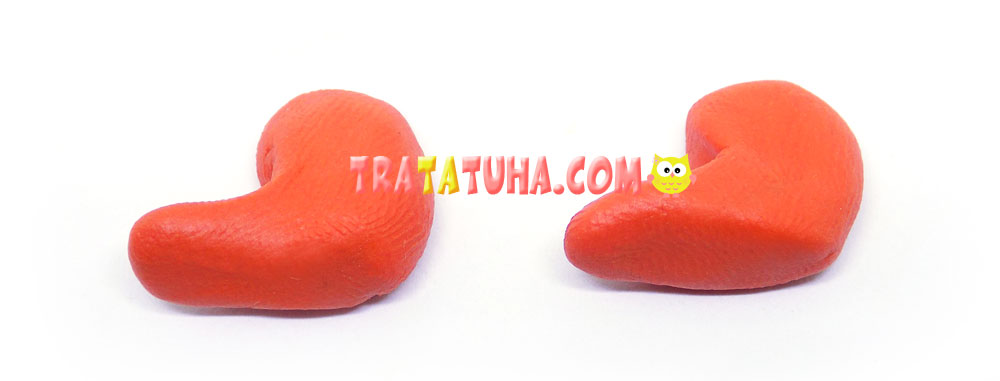
Prepare blanks for the paws and tail. For the paws of the fox, we need 4 balls, and for the tail we roll up a thick short flagellum, pointed at both ends.
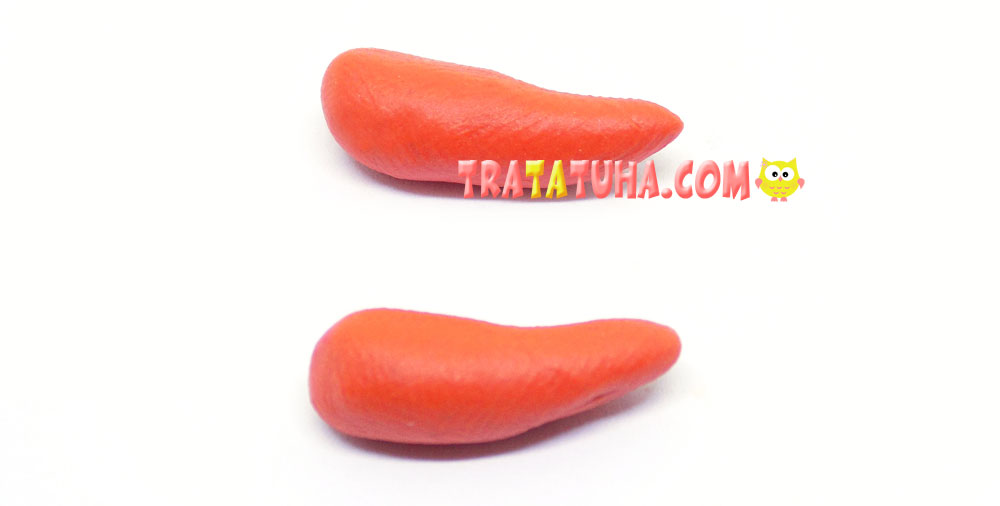
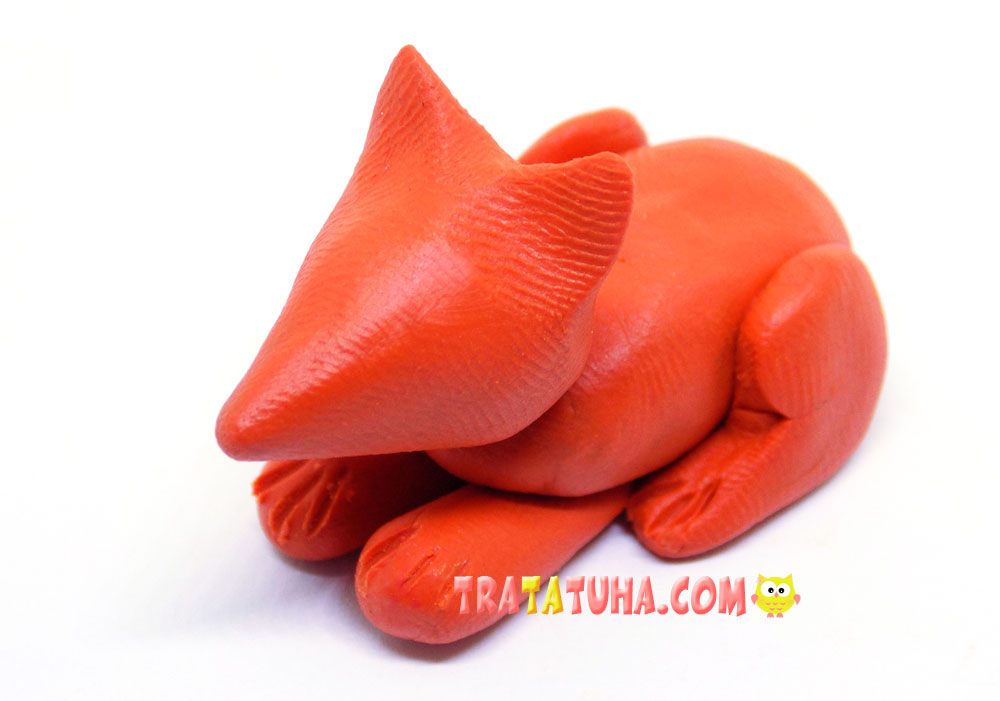
First we form the front paws, they will look like this.
We fix them in front of the body.
Then we sculpt the fox’s hind legs, they look like this.
We attach them.
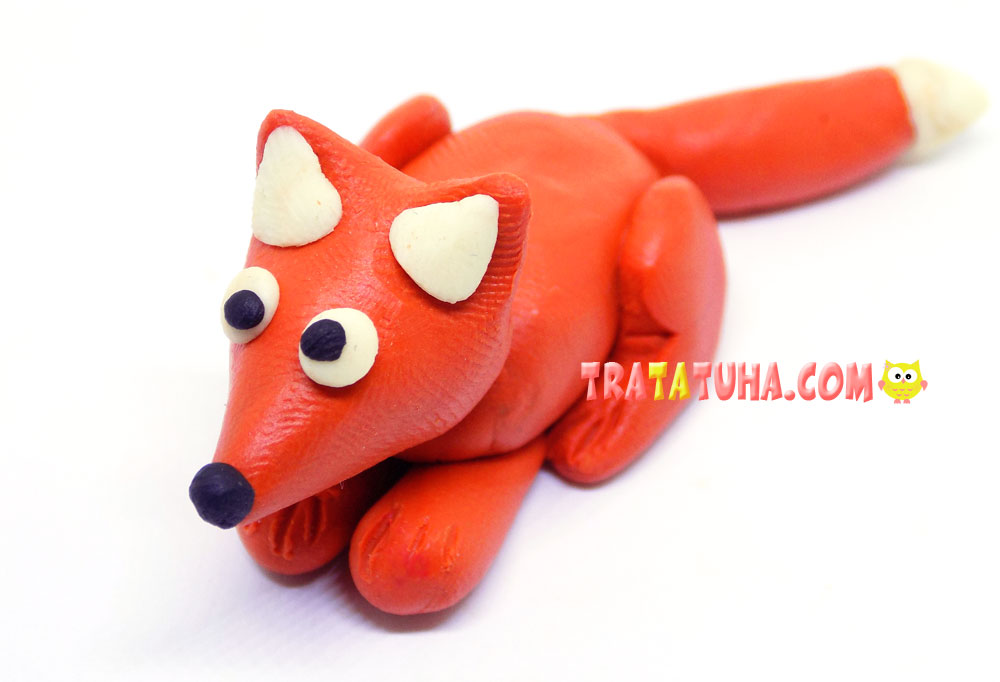
Next, let’s take a look at the tail. At the tip of it, we will add a little white clay, after which we fix the tail. It remains to draw a muzzle. Again we take small pieces of white clay, form triangles from them and fix them on the ears of the fox.
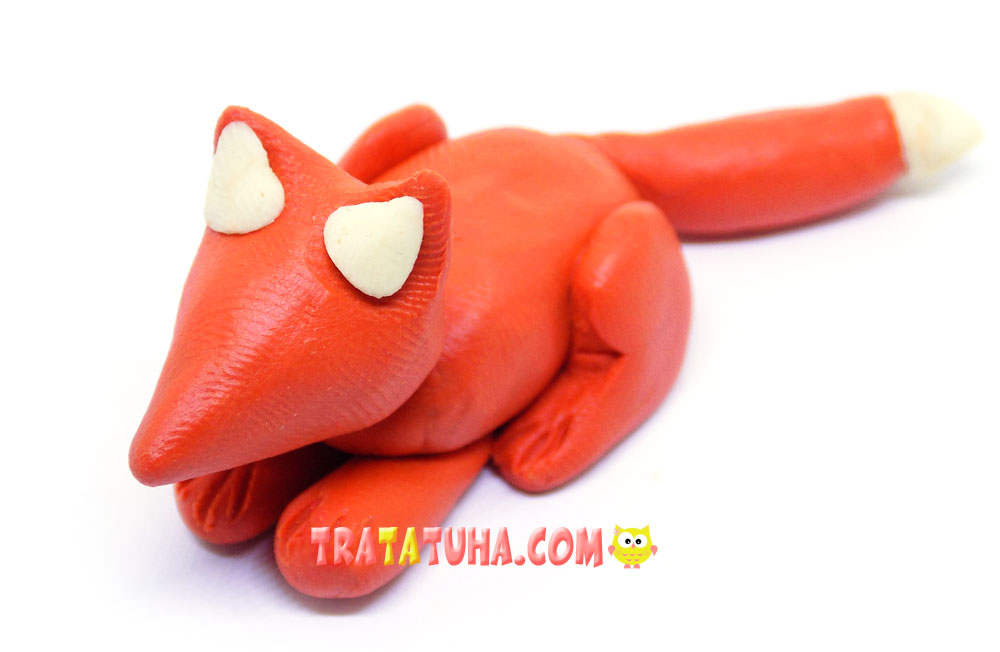
Add eyes and a black nose. The clay fox is ready.
See more ideas about Clay Crafts.
Clay Animals – art and craft ideas for all ages.
Crafts for Kids – learn how to make craft at home! Super cute crafts for all age groups!
Related Post: