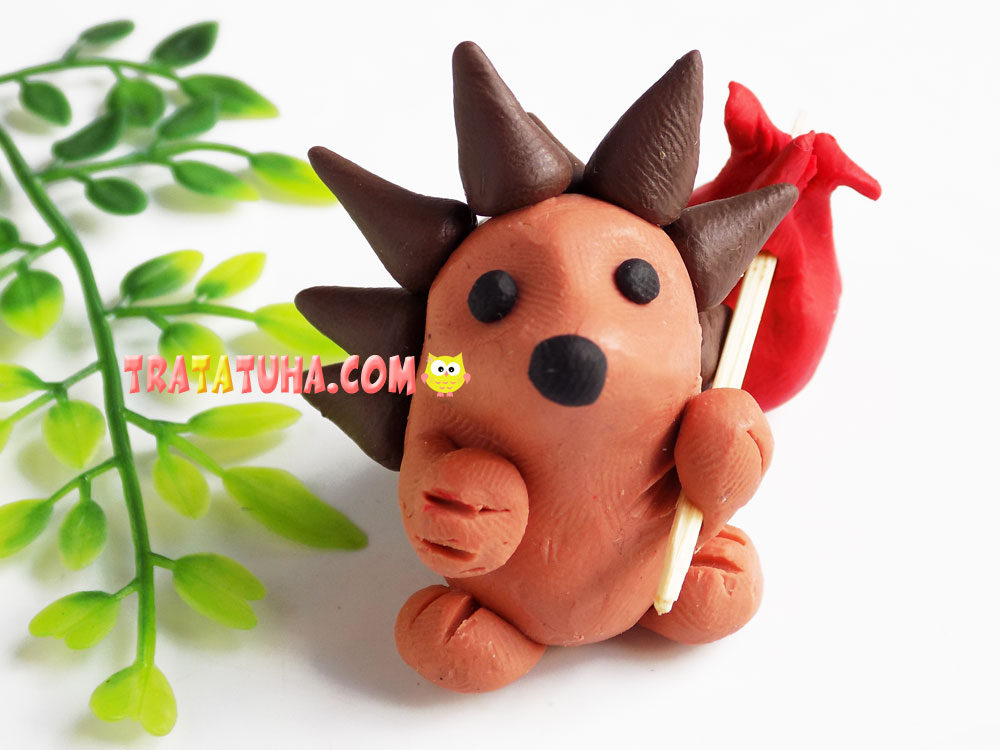
Our today’s tutorial is a clay hedgehog. Before class, you can discuss and try with your child options for mixing different colors of clay. This may be required in the manufacture of this craft.
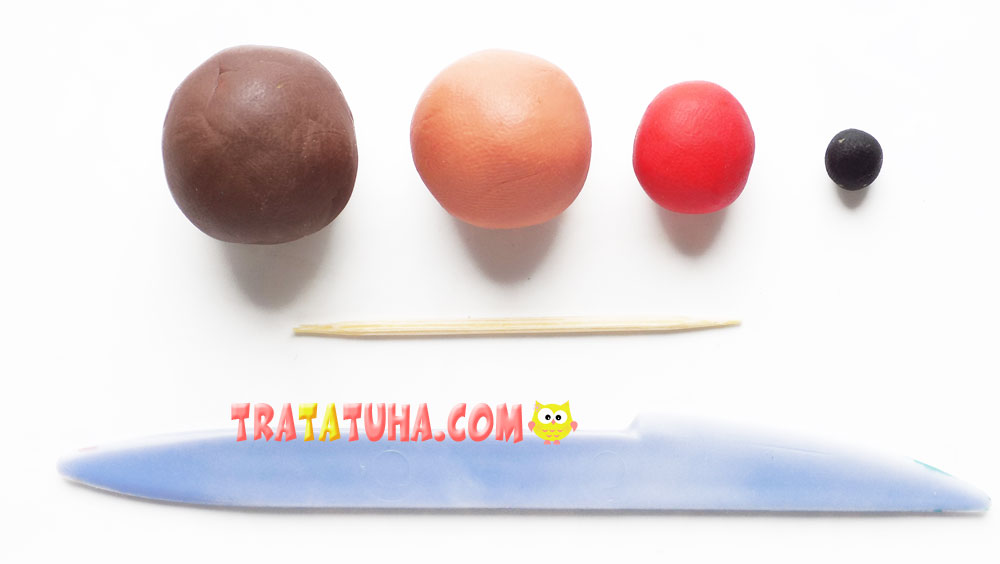
You will need the following materials:
- clays of dark brown, beige, red, black;
- toothpick;
- plastic stack.
Clay Hedgehog Step by Step
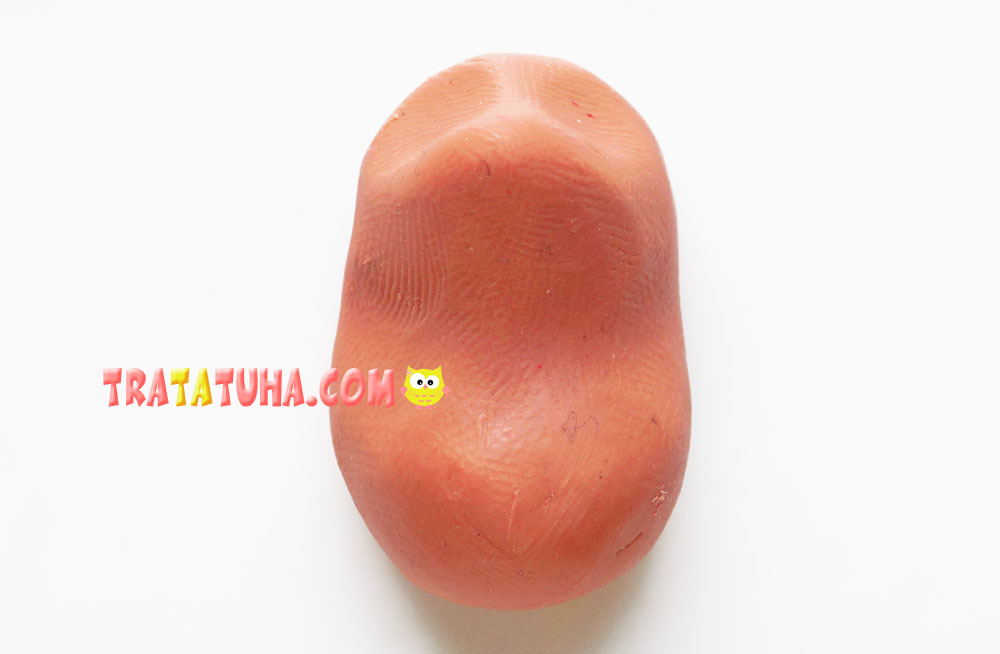
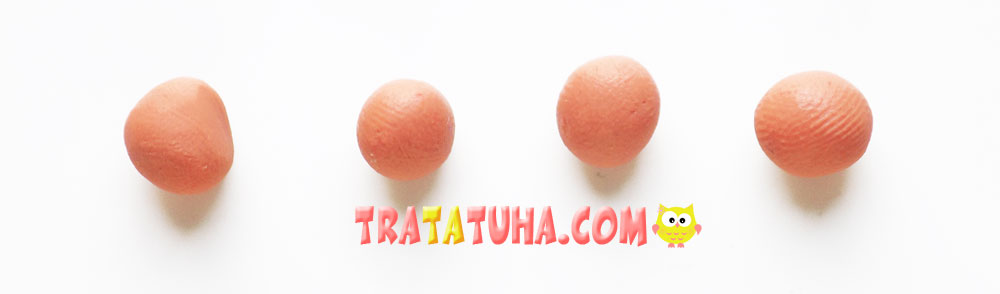
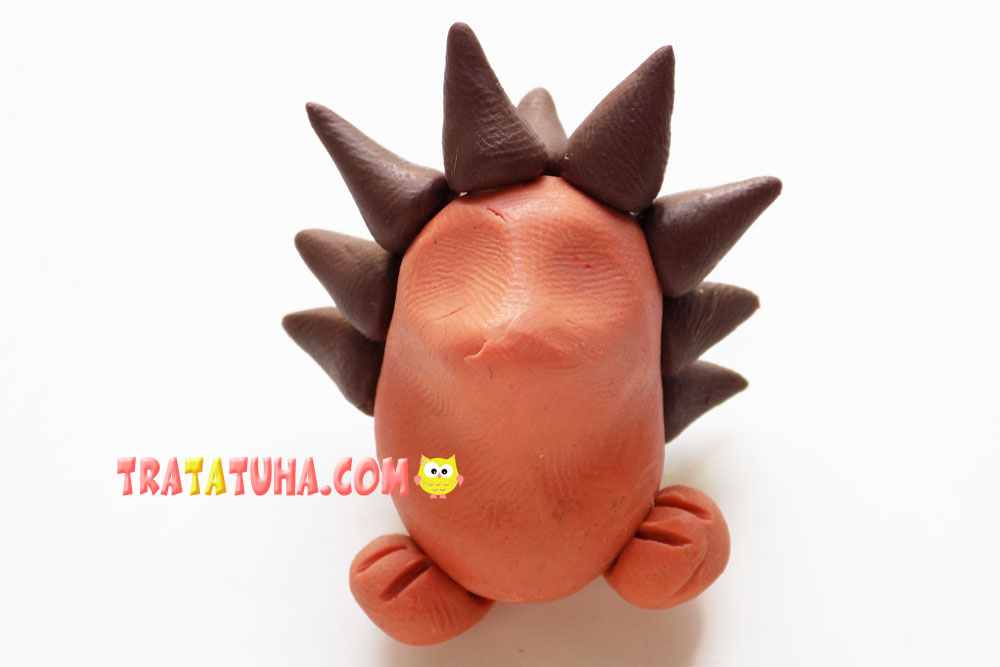
First, we blind the body of the future hedgehog. For this we use beige clay. If this is not in your kit, then you can mix orange clay with white clay together. From it we form the body.
From the same clay we roll 4 small balls. We need them to form the legs of a hedgehog.
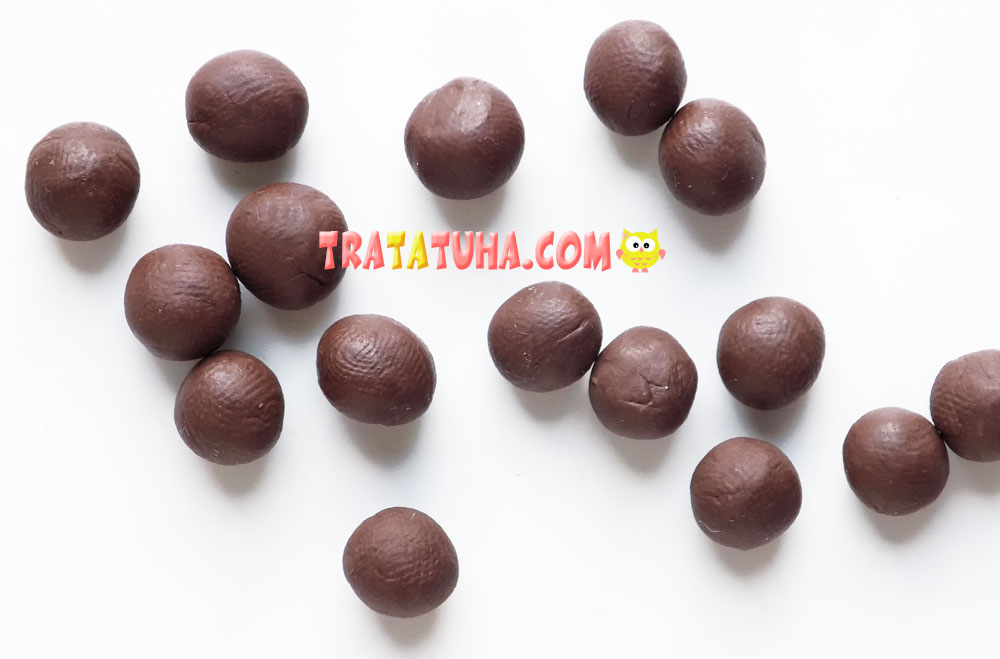
Now let’s use dark brown clay. We roll small balls out of it, which will then become hedgehog needles.
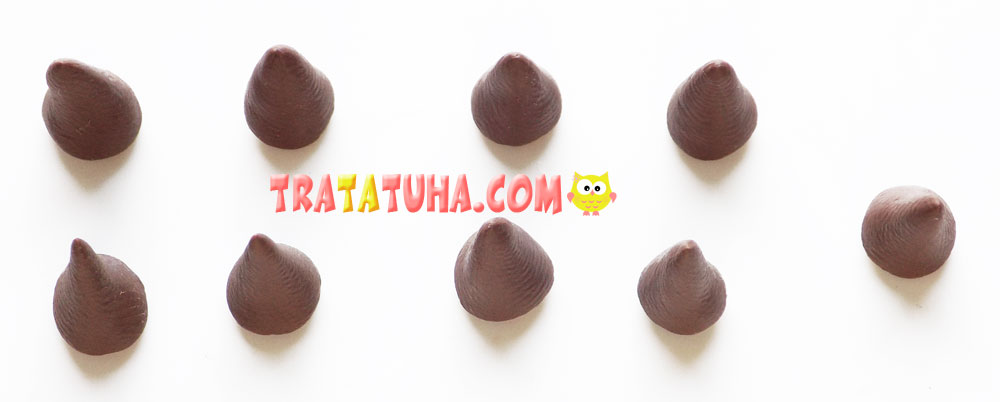
From these balls we form cones.
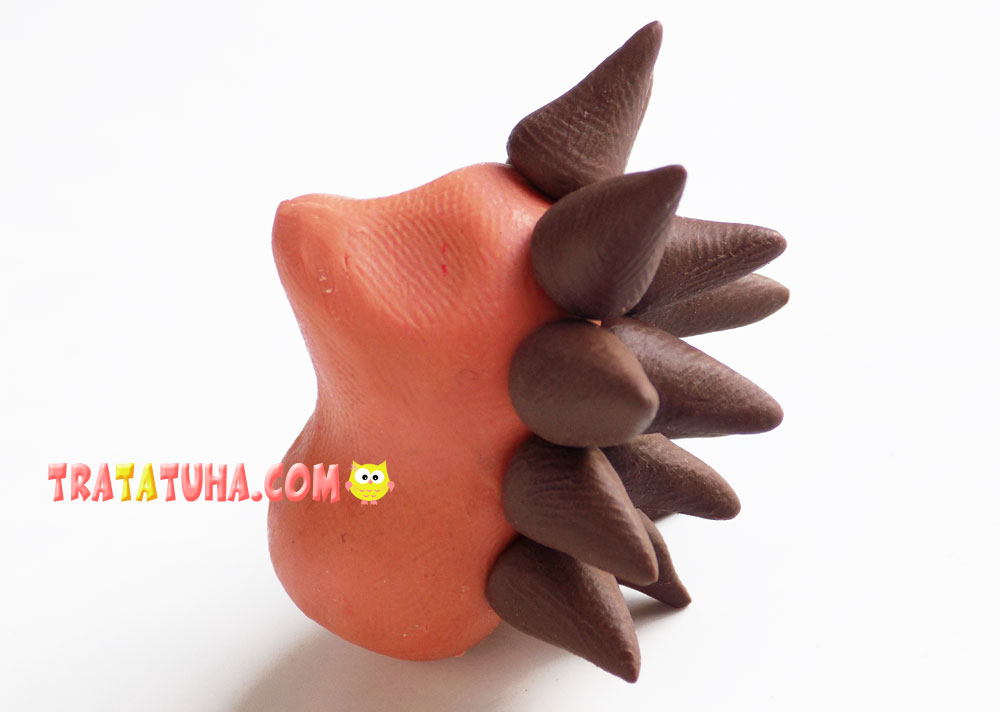
We fix the resulting needles on the back of the hedgehog.
The next step is to add the hind legs. Additionally, we decorate them with a toothpick.
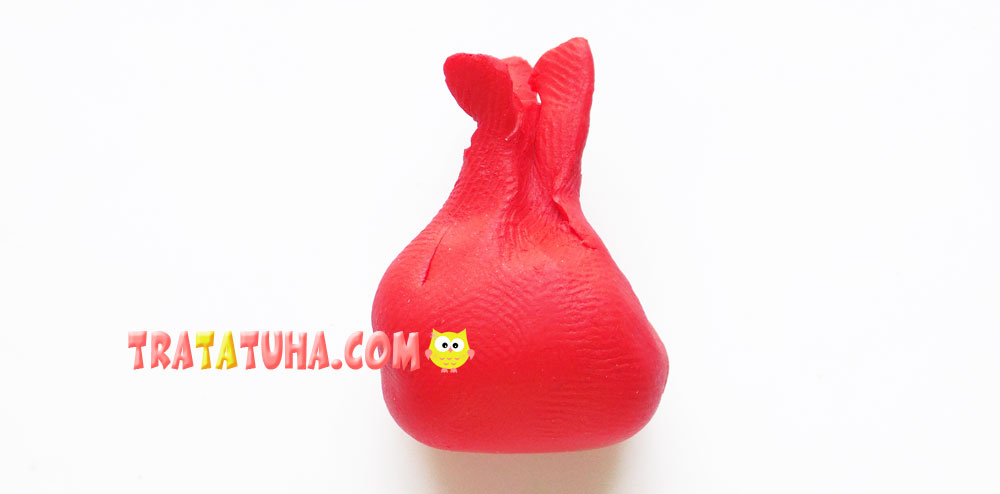
We will not attach the front paws yet. First, we will make a knot of red clay.
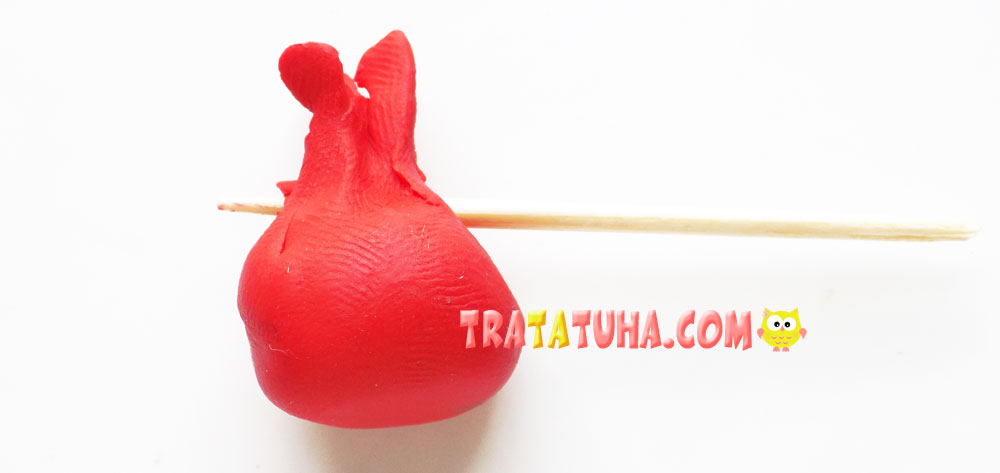
Additionally, we need a toothpick. We string a red knot on it.
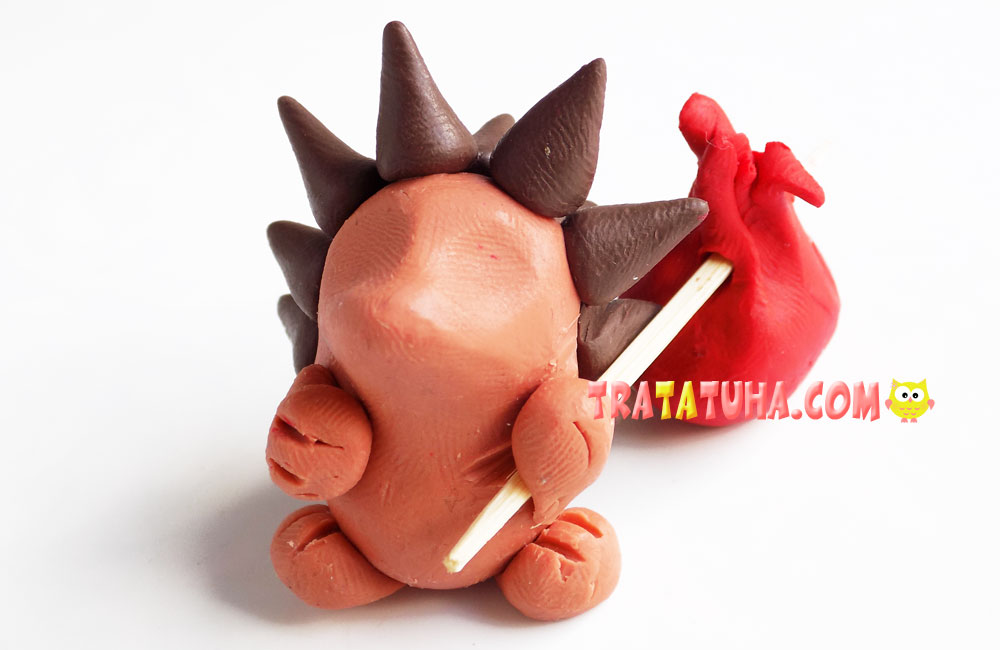
Now you need to fix the toothpick in one of the front legs of the hedgehog.
It remains to make a hedgehog muzzle. For this we need small black clay balls. They will become eyes and a nose. Alternatively, they can be carnations, buttons. Clay hedgehog is ready.

See more ideas about Clay Crafts.
Clay Animals – art and craft ideas for all ages.
Crafts for Kids – learn how to make craft at home! Super cute crafts for all age groups!
Related Post: