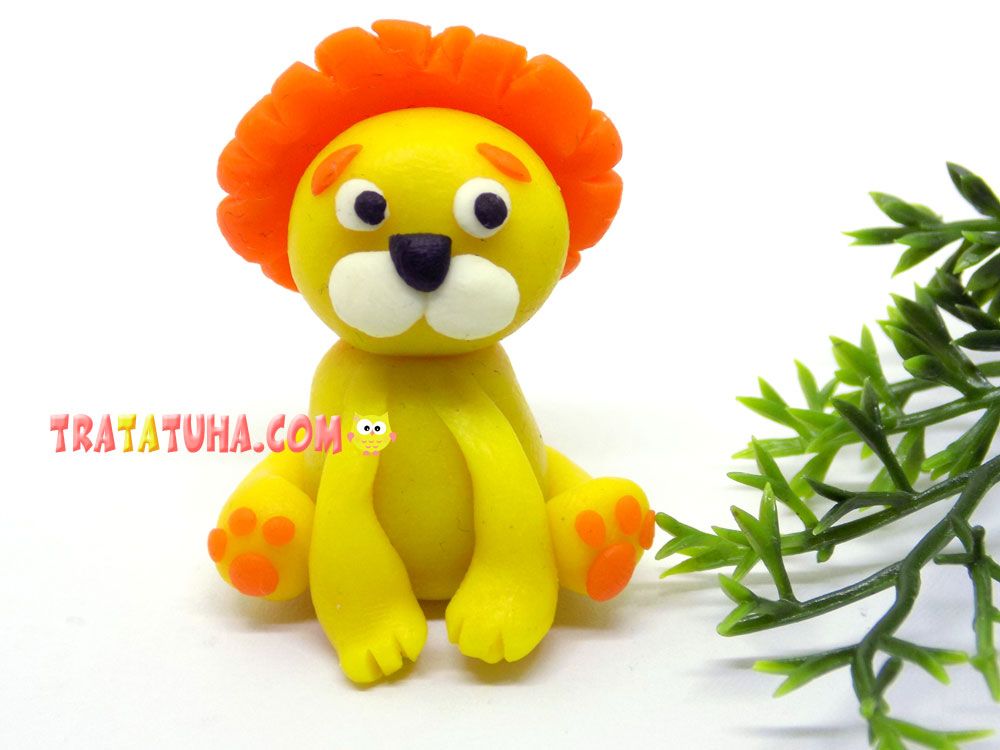
Cute clay lion. A detailed description of the modeling steps with a photo. A simple clay craft idea for kids.
You can start working on creating this craft for kids with a riddle. If the child can name the king of animals, then you can start working on our tutorial.
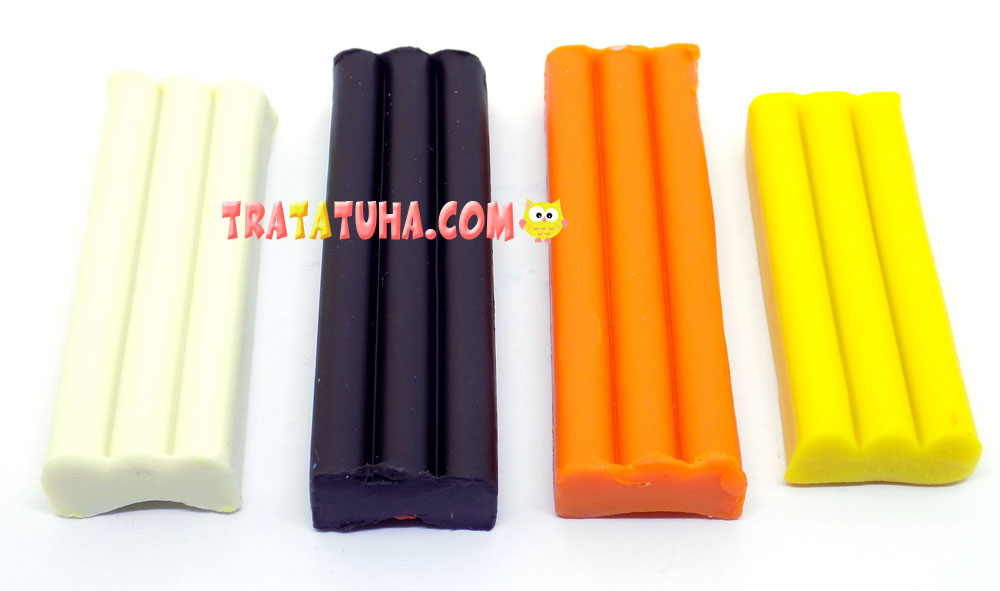
To modeling such a predator you will need:
- yellow, orange, black and white clay
- stack
- protective coating on the work surface.
Clay Lion Step by Step
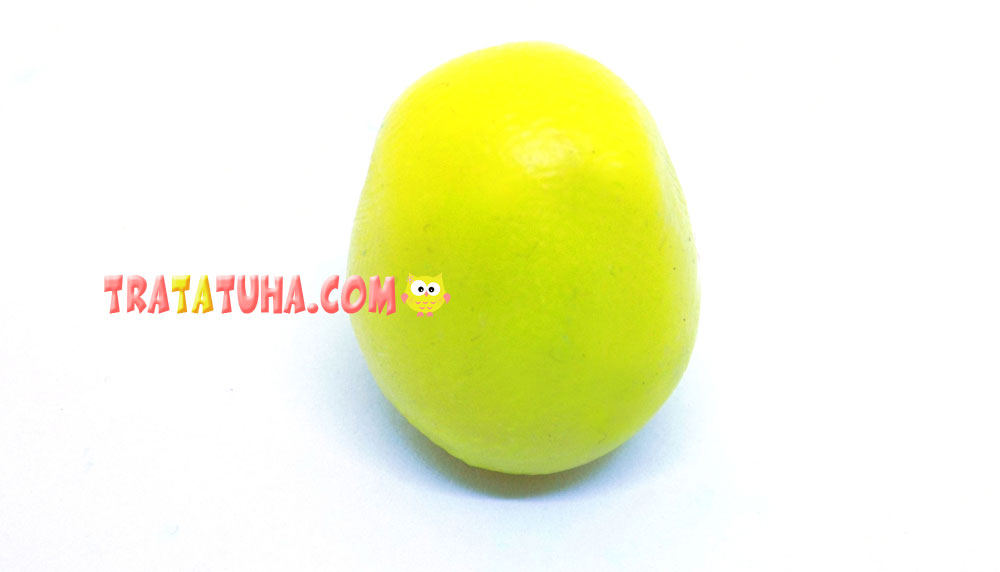
The main color in our craft will be yellow. Therefore, from this clay we sculpt a blank for the body. At first it will be a simple ball.
Then slightly stretch it, giving the shape of an egg.
Modeling the Body
Next, we sculpt the thin front paws of the lion. In the lower part, it is required to designate the claws, this can be done using a plastic stack.
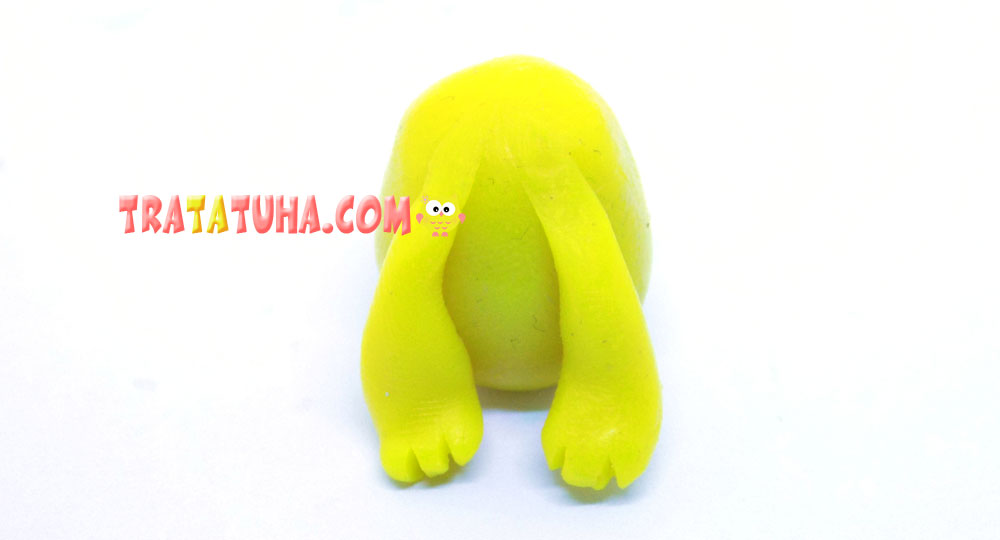
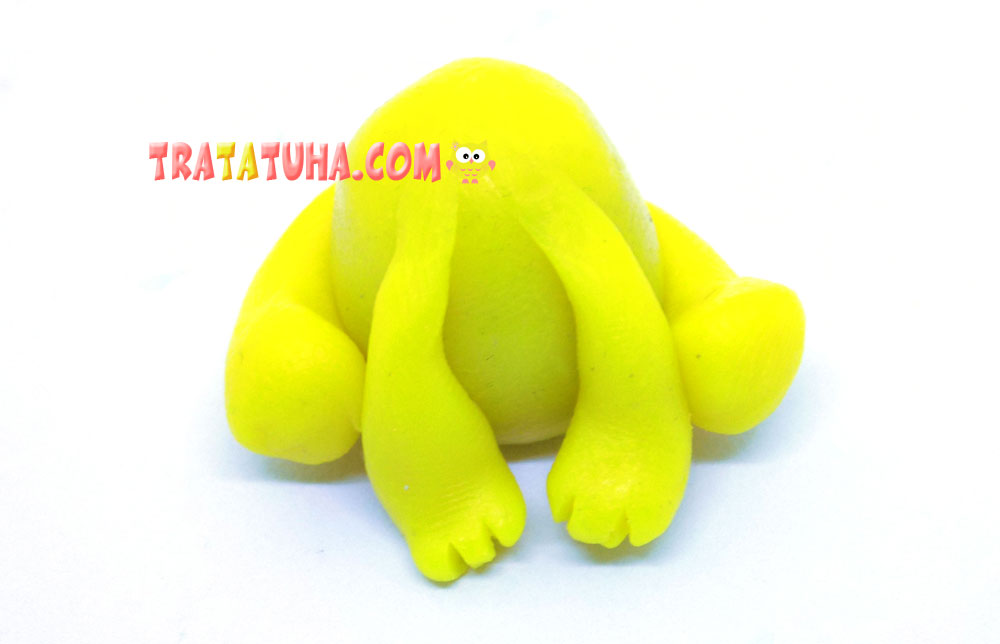
The hind legs will be larger, attach them to the body.
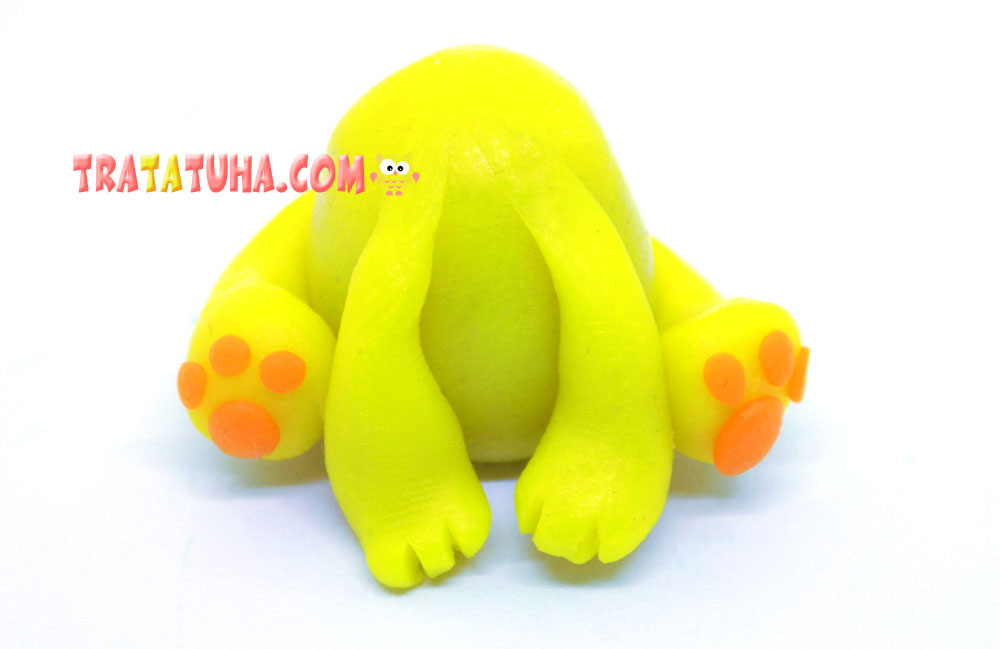
At the bottom of the hind legs, add details made from small balls of orange clay.
Modeling the Head
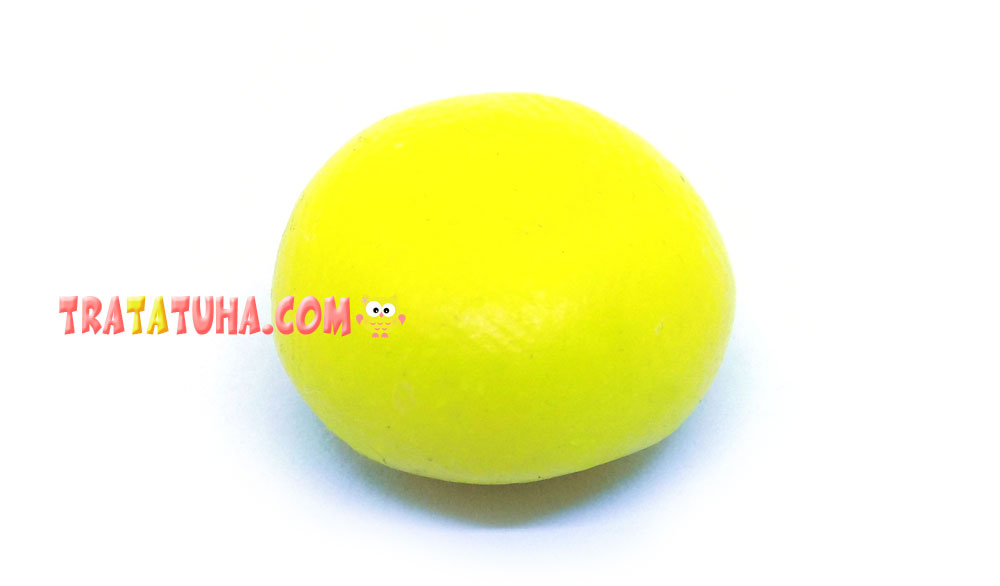
Now we will make the head of the lion. The base will be a ball of yellow clay. In size, this blank should be slightly smaller than the body.
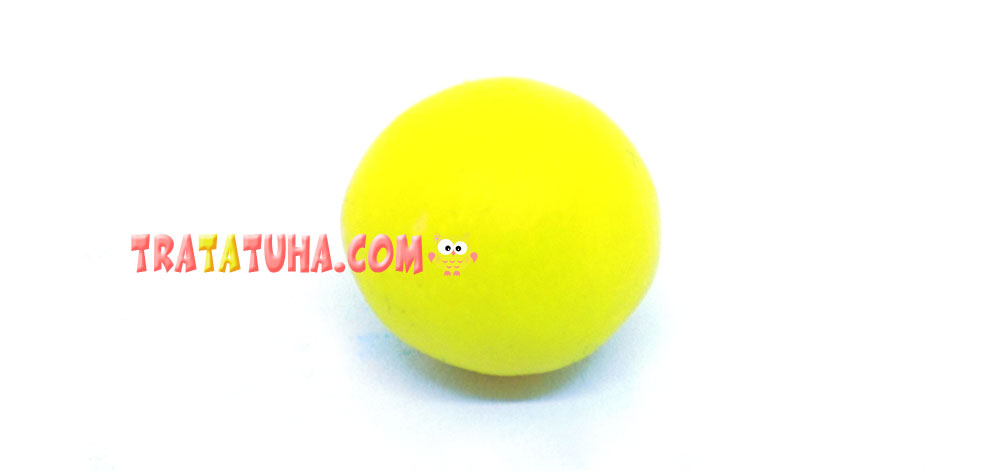
Lightly press this ball.
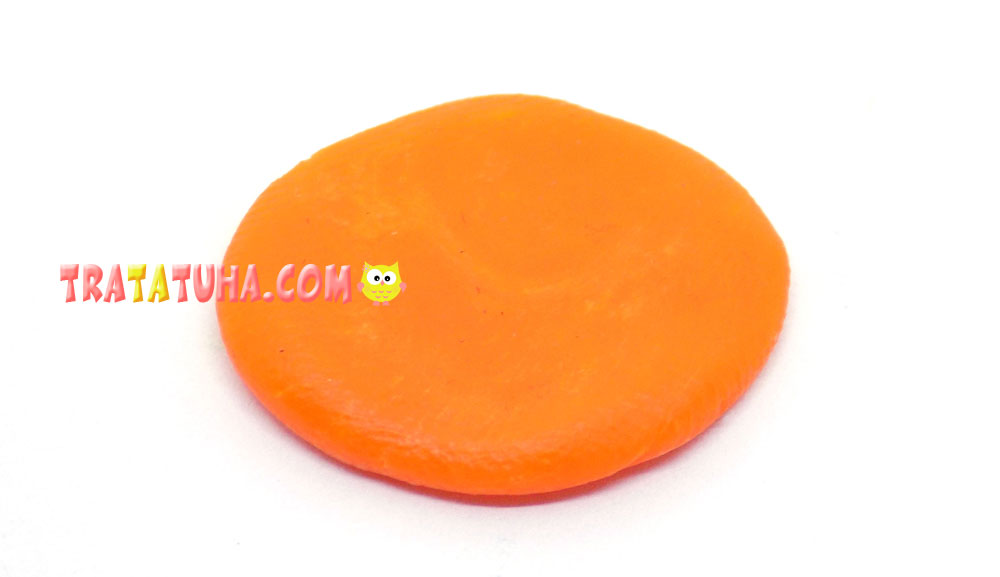
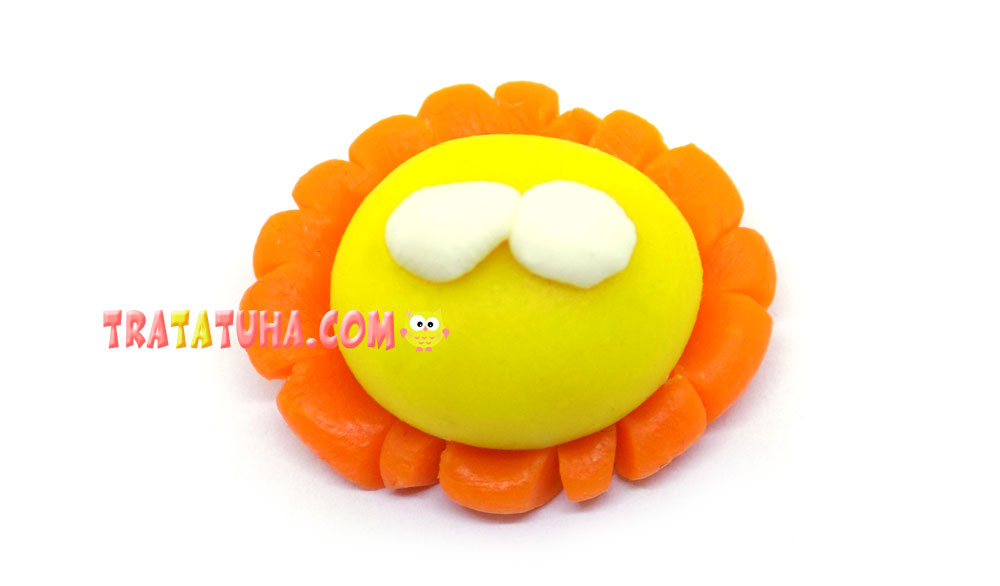
For the mane, we will take orange clay. From it, first we create a flat cake.
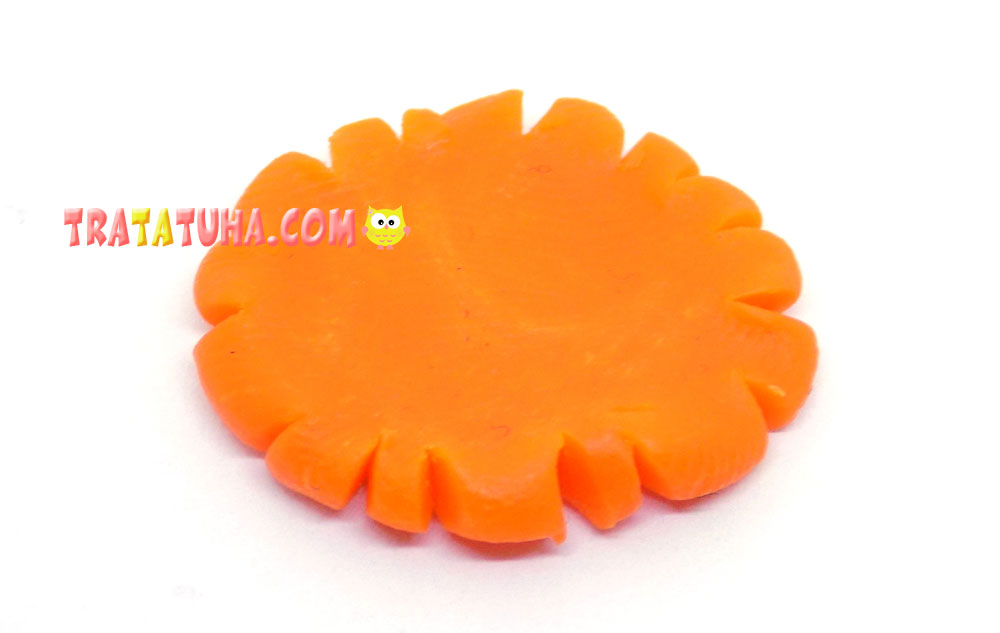
Then we make notches around the circumference with a plastic stack.
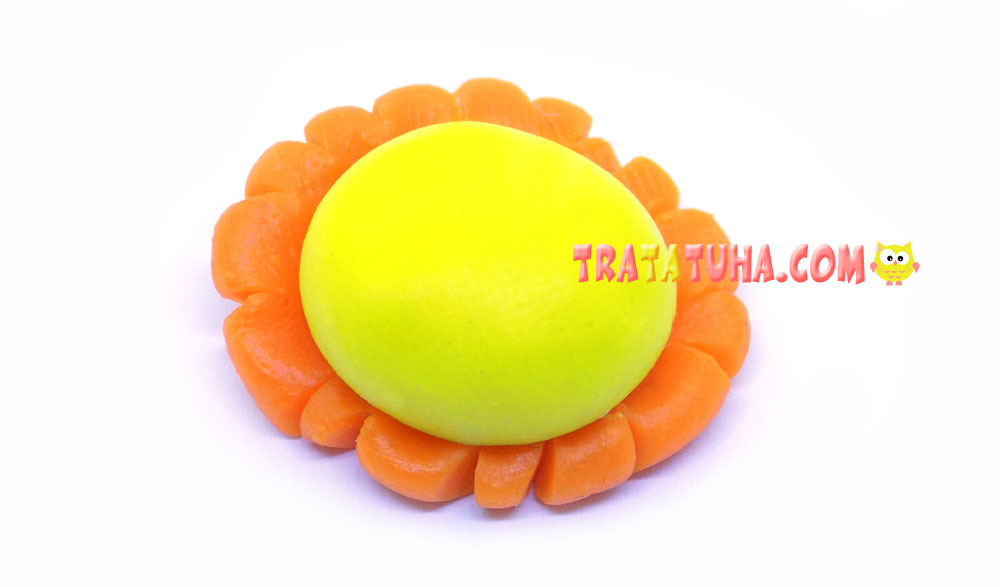
We fix the yellow blank on top.
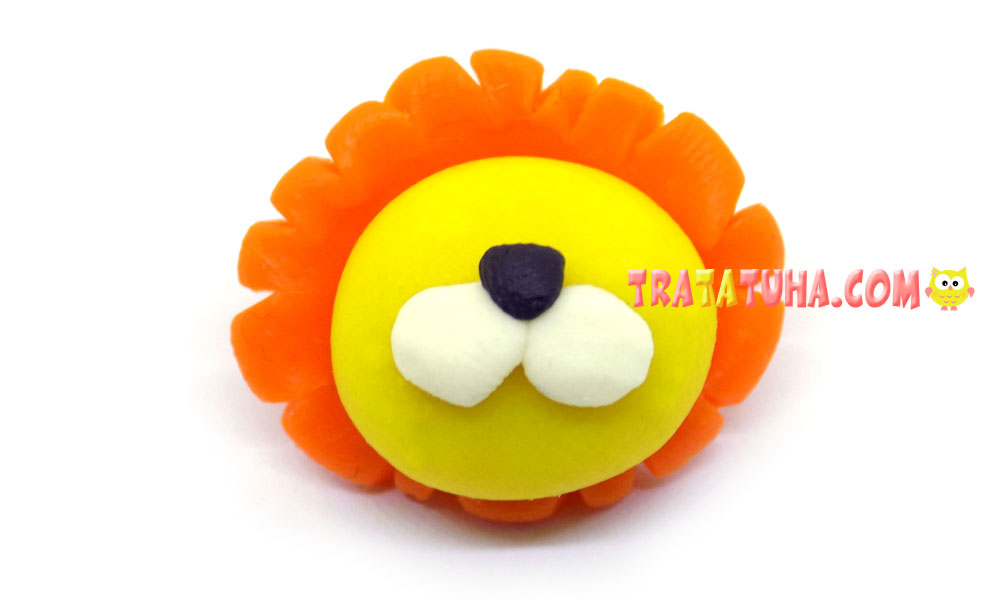
To decorate the muzzle, we need white circles, which we fix almost in the center.
Between them we fix a black nose.
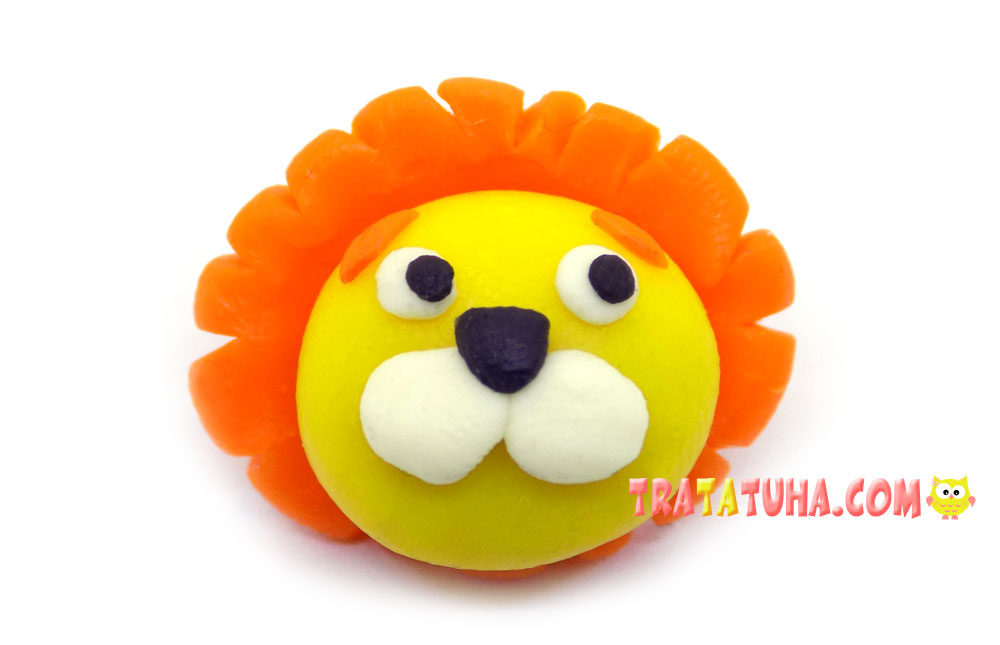
Add eyes to our lion. The expressiveness of the muzzle will be given by eyebrows made of thin flagella of orange clay.
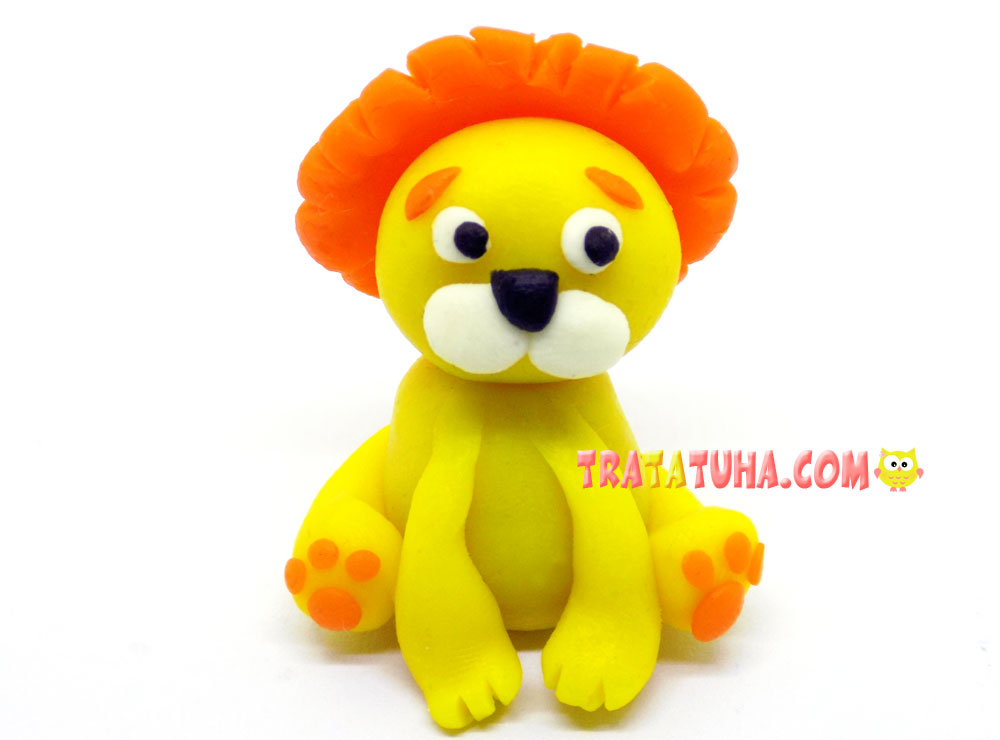
We connect the head with the body. It turned out such a lion made of clay. Very funny and not at all evil.
See more ideas about Clay Crafts.
Clay Animals – art and craft ideas for all ages.
Crafts for Kids – learn how to make craft at home! Super cute crafts for all age groups!
