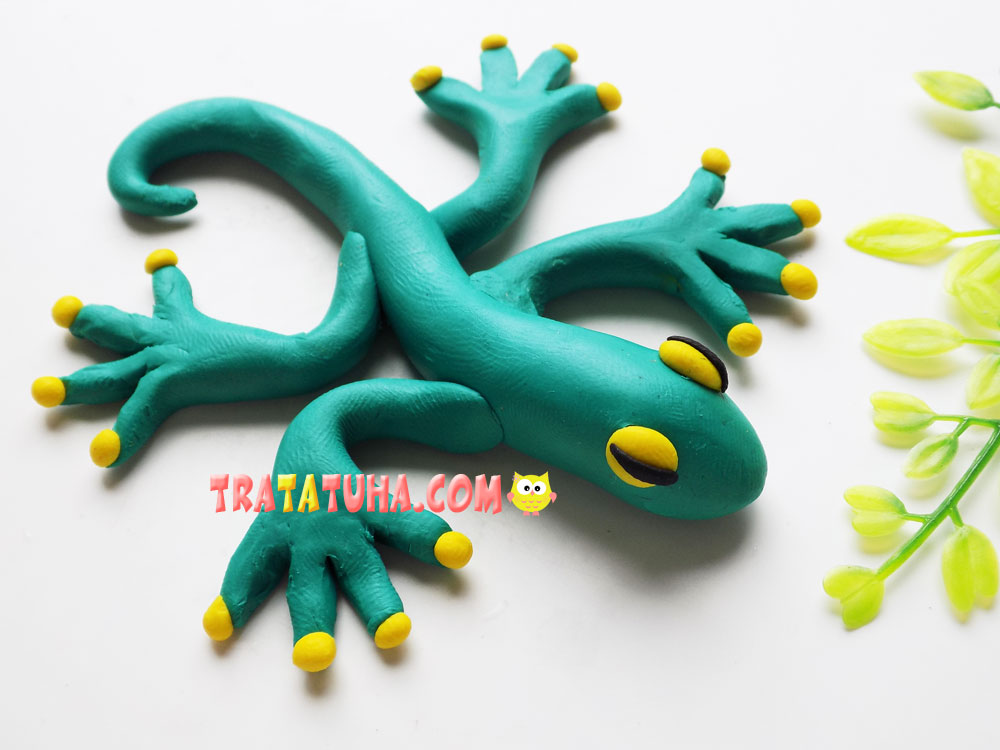
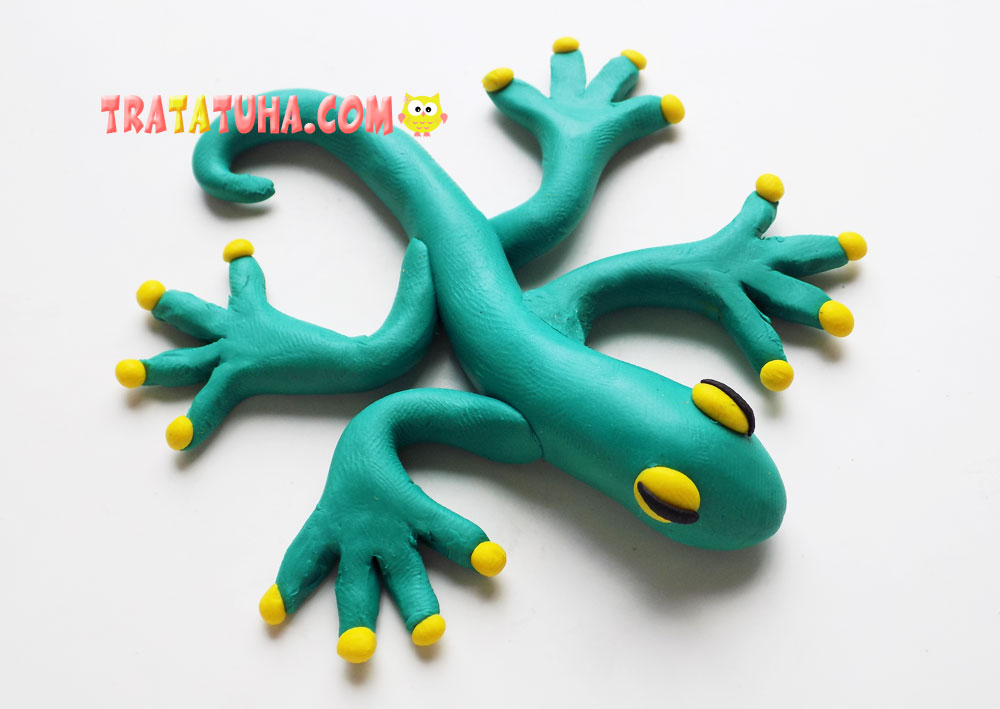
The idea of modeling for kids is a clay lizard. Step-by-step description of work with detailed photos.
A simple craft for kids. Before this activity, you can talk with your child about lizards, which are ancient representatives of reptiles. They are believed to have lived on Earth for several million years. Many interesting facts are connected with the tail of lizards, which can drop it in order to save their lives and thereby distract the enemy. After that, the lizards grow a new tail. You can tell a child about this and much more while sculpting a lizard presented in this tutorial.
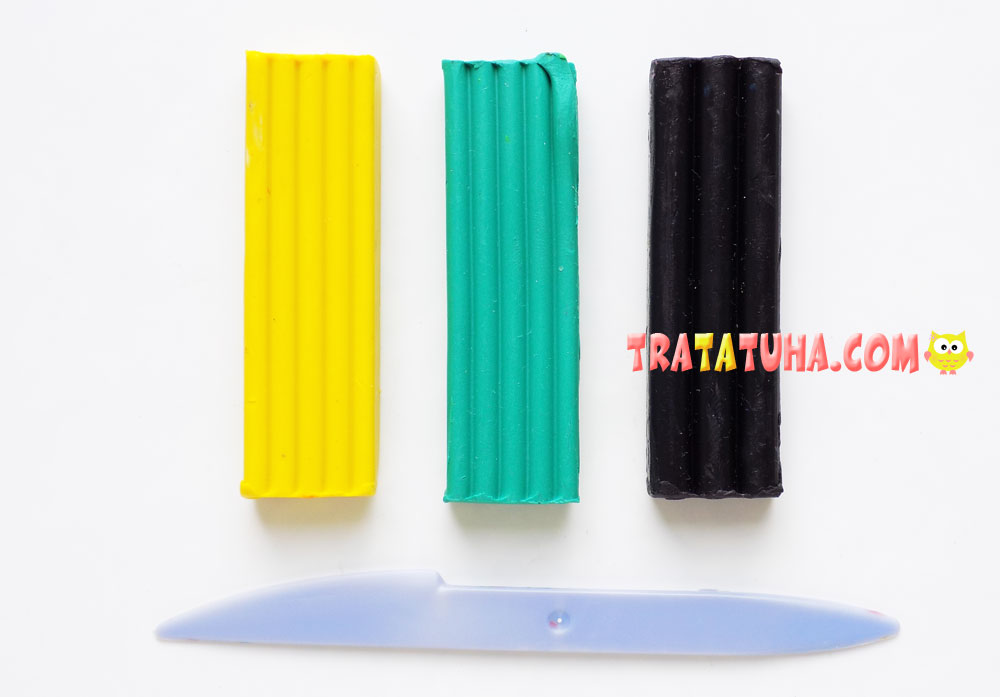
To sculpt such crafts, we will take:
- green, yellow and black clay;
- plastic stack.
Clay Lizard Step by Step
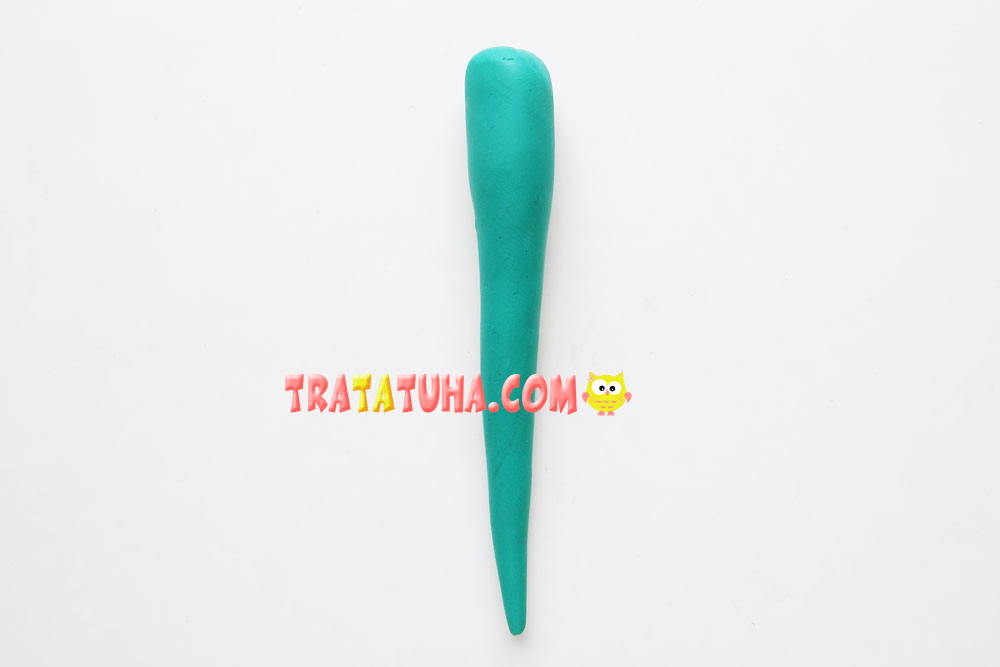
First, let’s make the main blank for our lizard. To do this, we roll up a long sausage from green clay, which should be wider at one end, there will be a head here. And we make the other end narrow, this will be the tail of the lizard.
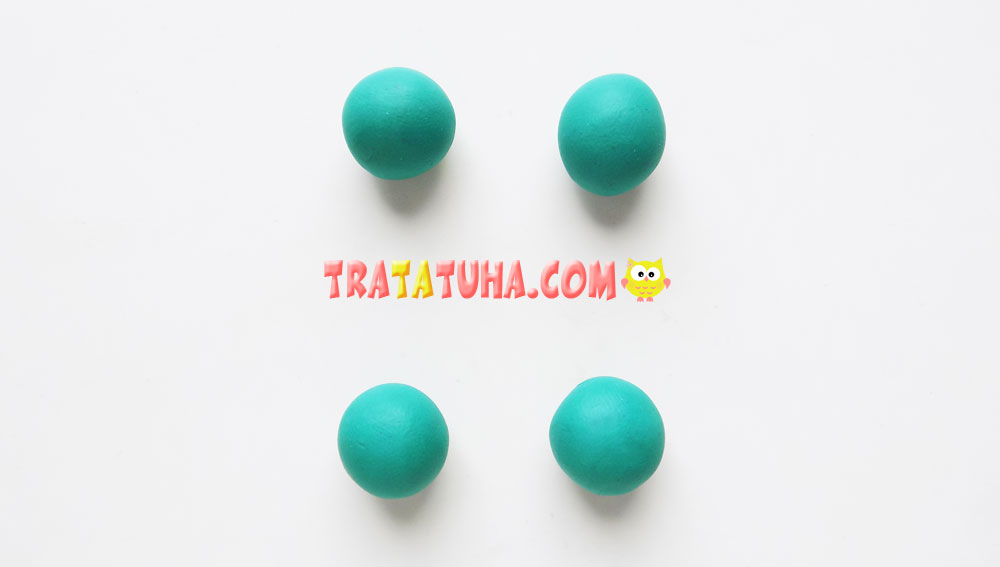
For paws, you need to roll 4 identical balls.
The body of the lizard is slightly bent.

And we give the paws the desired shape. To do this, roll up sausages from green balls, which will have a thickening at one end.
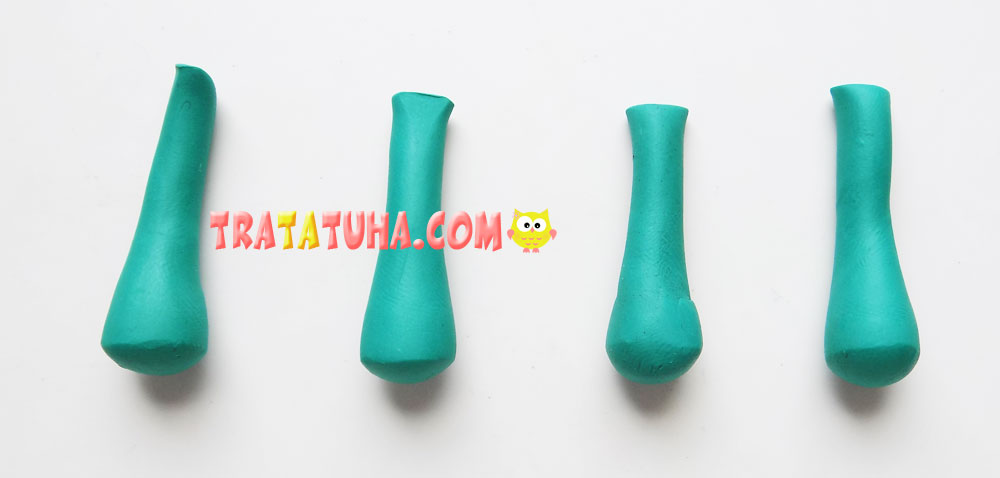
Next we need a plastic stack. With its help, we will make paws for the lizard. To do this, flatten the thickenings, and then cut them into a stack into 4 parts. After that, we finally form the paws.
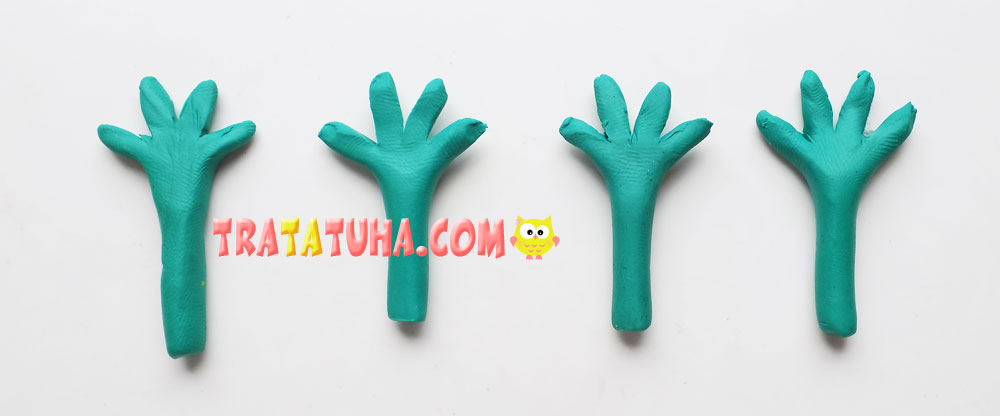
Now take the yellow clay. From it you need to roll 16 small balls. We fix them on the tips of the paws.
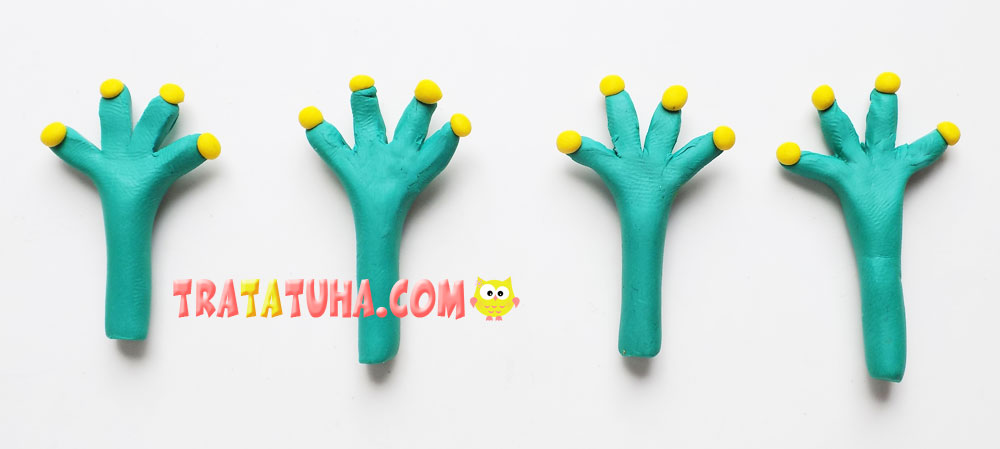
We attach these paws to the body of the lizard. Additionally, we roll 2 more small balls from yellow clay, this will be the base for the eyes.
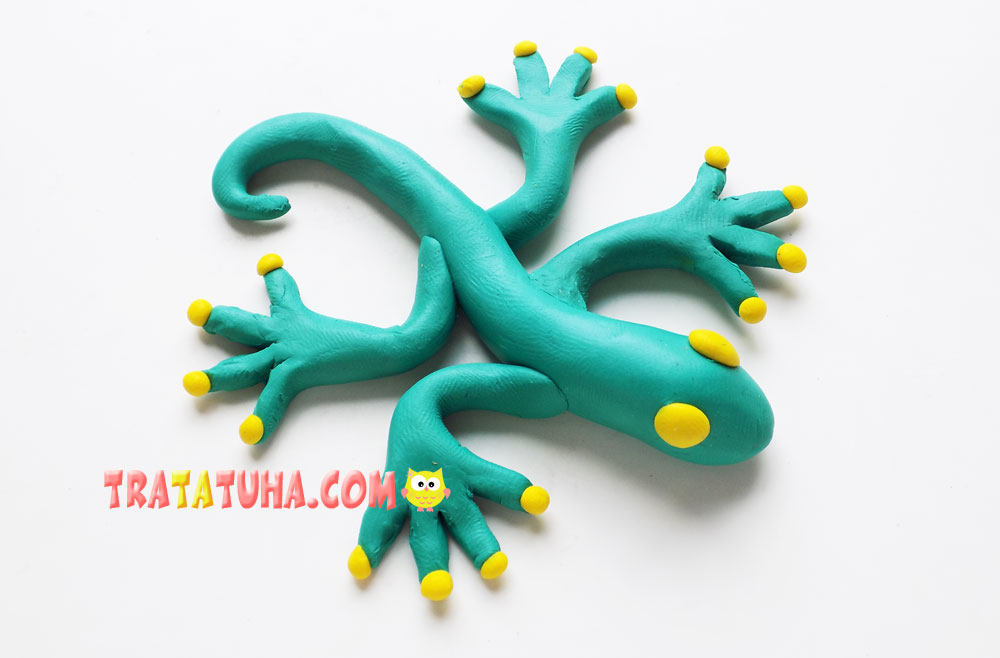
And we make out the middle of the eyes with small flagella made of black clay. The clay lizard is ready.
See more ideas about Clay Crafts.
Crafts for Kids – learn how to make craft at home! Super cute crafts for all age groups!

