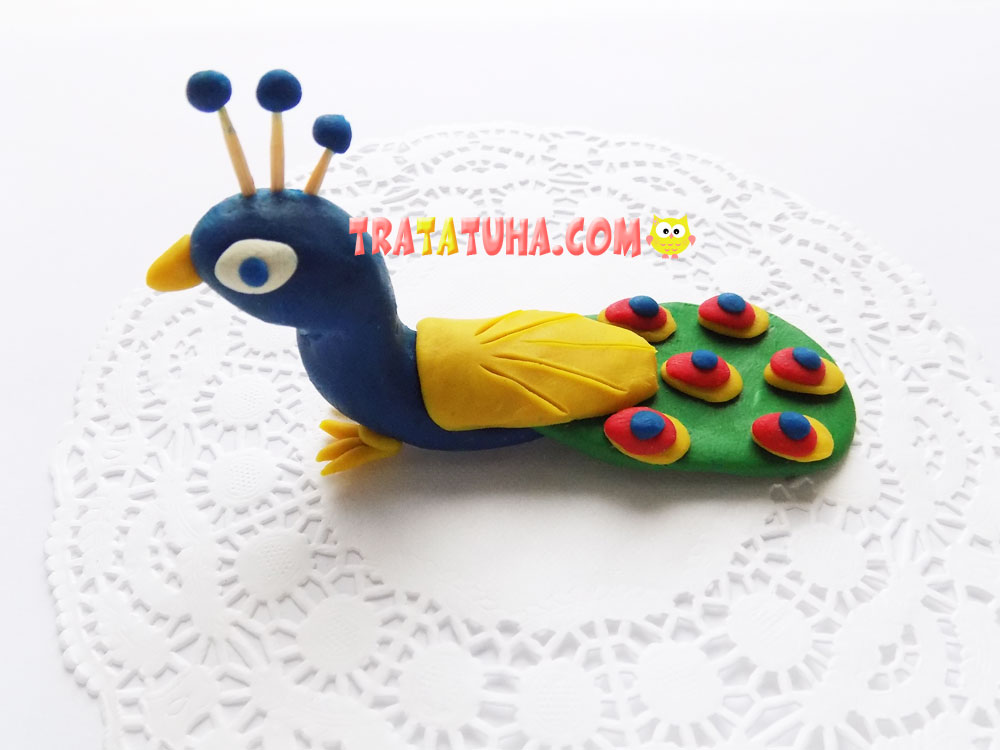
These expressive birds are easily recognizable due to their bushy tail. Of course, we are talking about peacocks and the theme of this tutorial is a clay peacock.
To create a peacock we will use:
- a set of colored clay;
- toothpick;
- plastic stack.

Clay Peacock Step by Step
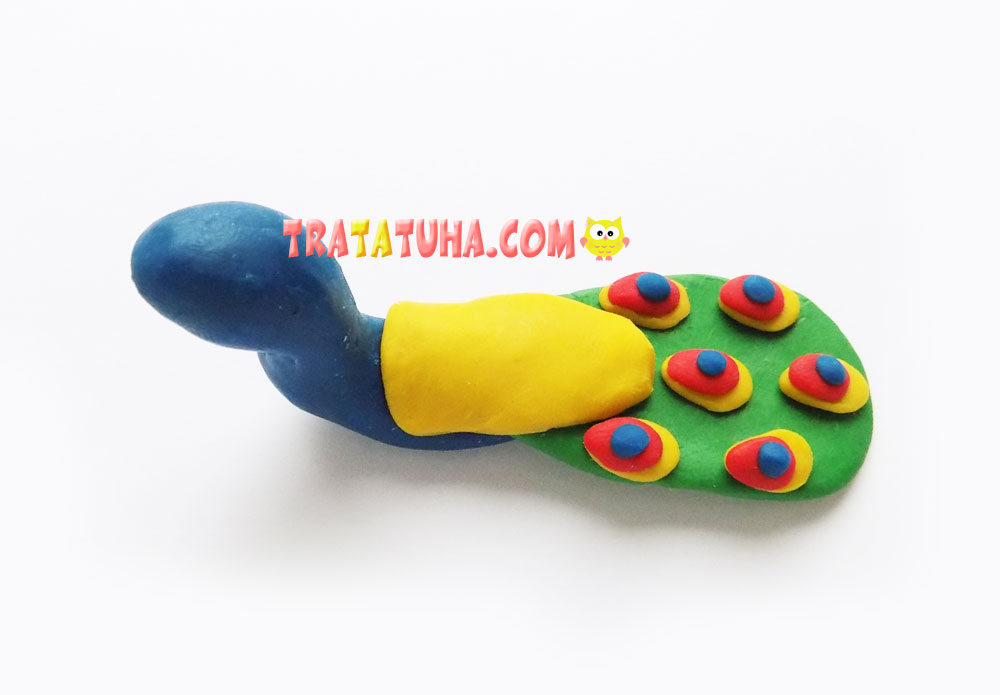
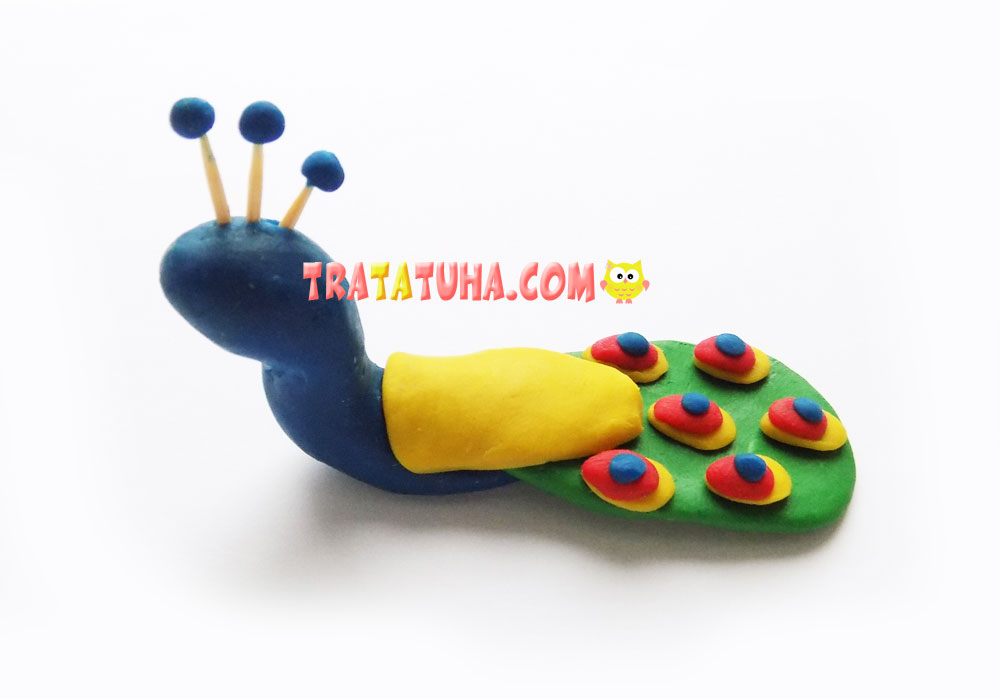
First, prepare balls of blue and green clay. These will be blanks for the body and tail of our bird.

From blue clay we sculpt a curved blank that will include a head and body.

And from the green ball we will form the basis for a fluffy tail.

Let’s connect these parts together.

Additionally, we will make a small element from yellow clay.

It will become part of our peacock’s plumage. We fix it at the junction of the blue and green elements.

To decorate the tail, we need to roll many small balls of yellow, red and blue clay.

We take one ball of each color, form small drop-shaped blanks, and then connect them together, placing them on top of each other.

We attach the resulting blanks to the green base of the tail.
For the crest of our bird we will use a toothpick and blue clay. Roll 3 small balls and secure them with toothpick pieces.

Then we fix the elements in this form on the peacock’s head.
Add a yellow beak and elongated eyes from white and blue clay.
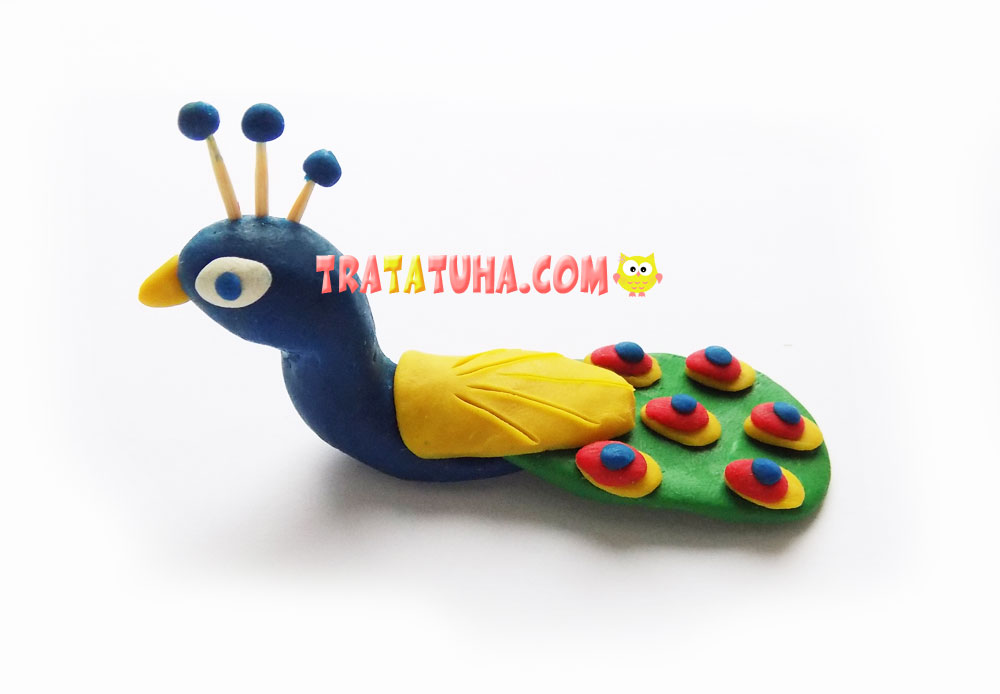
All that remains is to make the paws. To do this, we take yellow clay and form legs from thin short flagella.

Then we additionally take one ball of clay of the same color and secure the paws at the bottom of the body.
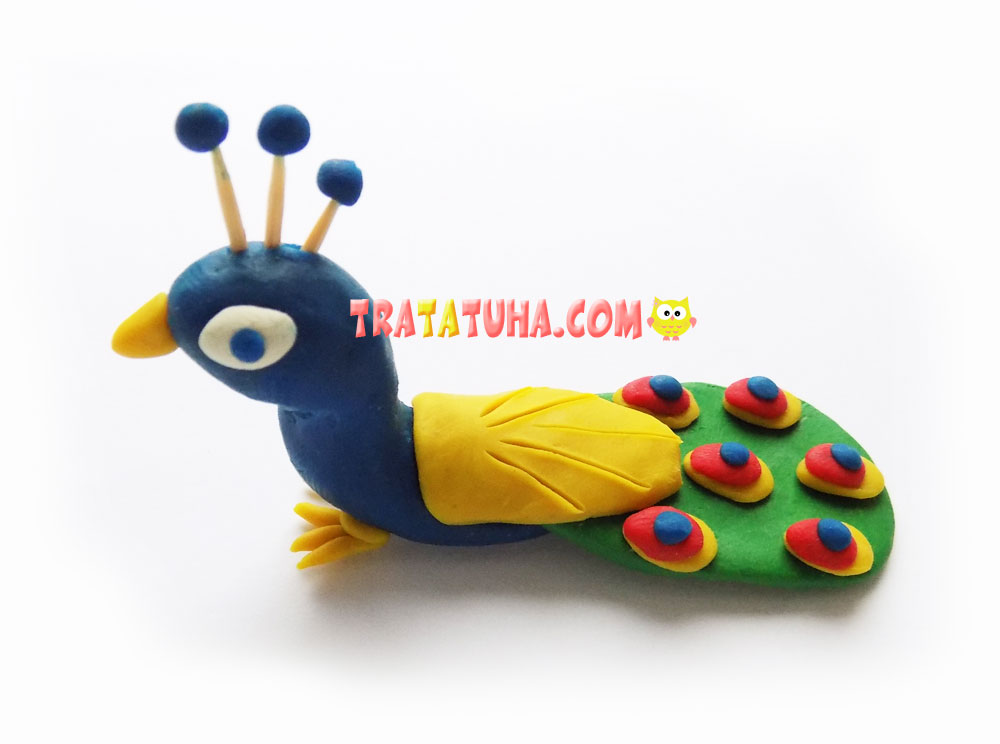
This is how we got a clay peacock.
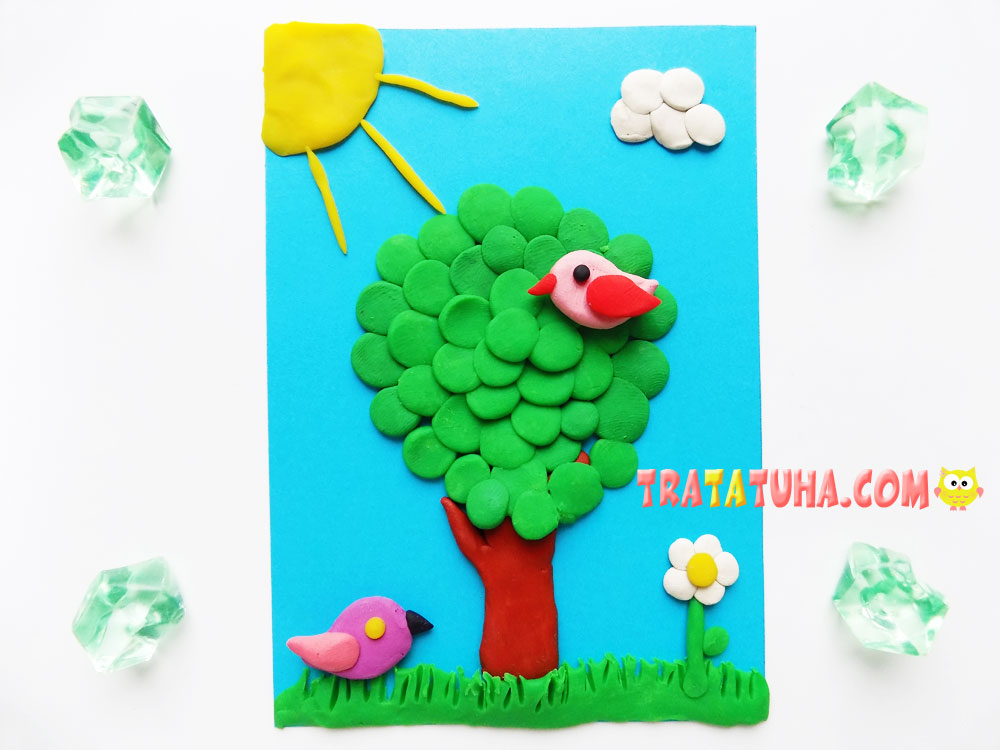
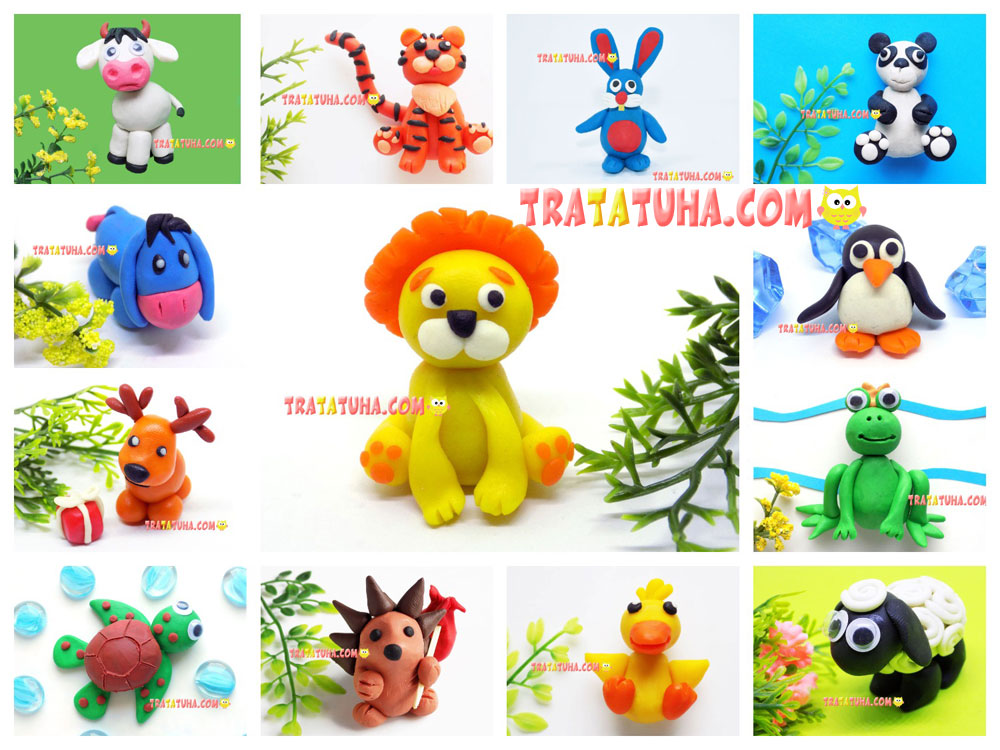
More collection ideas:
Related Post: