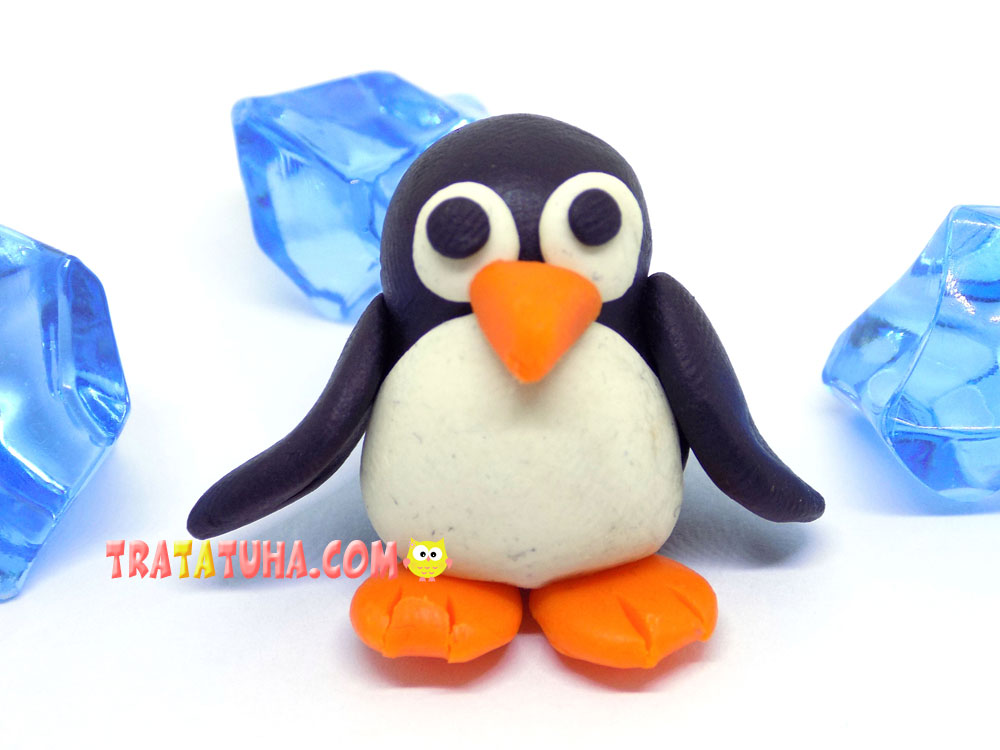
Interested in a clay penguin? Then you have come to the right place. A step-by-step overview of the modeling process will help you mold this interesting bird.
Clay modeling can be a very simple and fun activity. Especially if you have clear instructions at hand that allow you to create the desired craft. This instruction in this case is our tutorial.
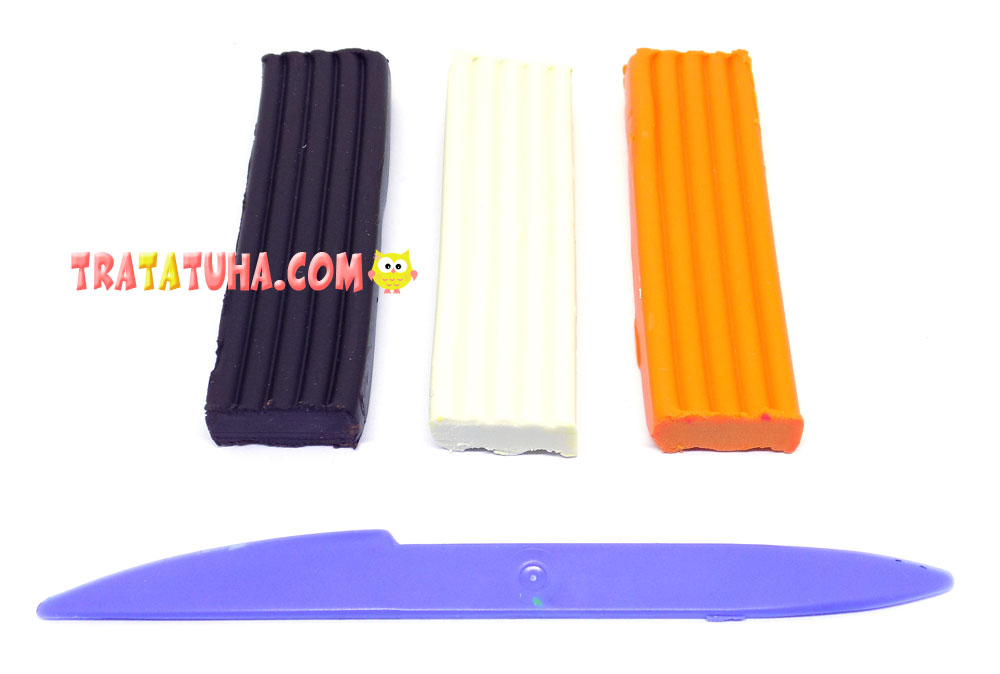
For such crafts you will need:
- clay black, orange, white;
- plastic stack.
Clay Penguin Step by Step
First, we will make blanks for the future penguin. This will be a large ball (for the head and body), as well as 2 small ones (for the wings).
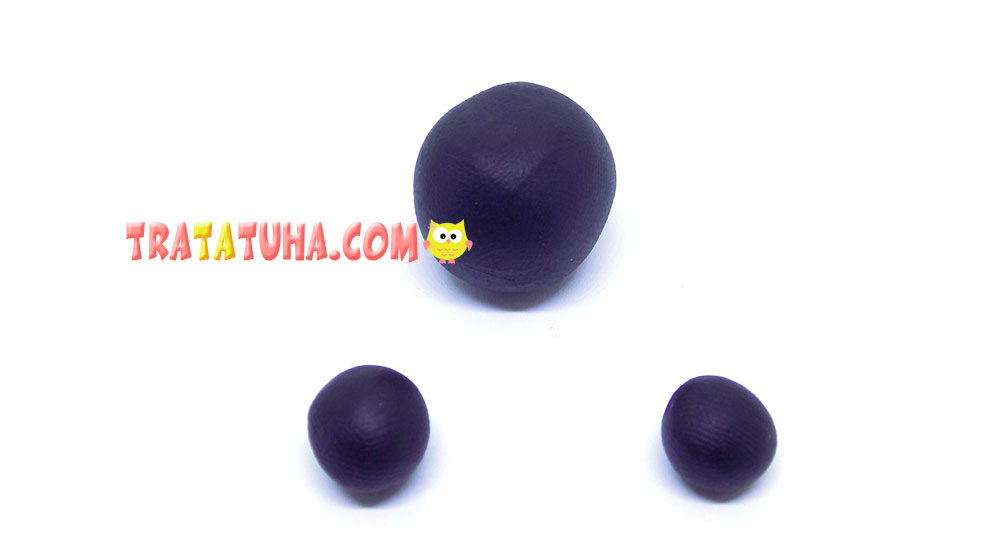
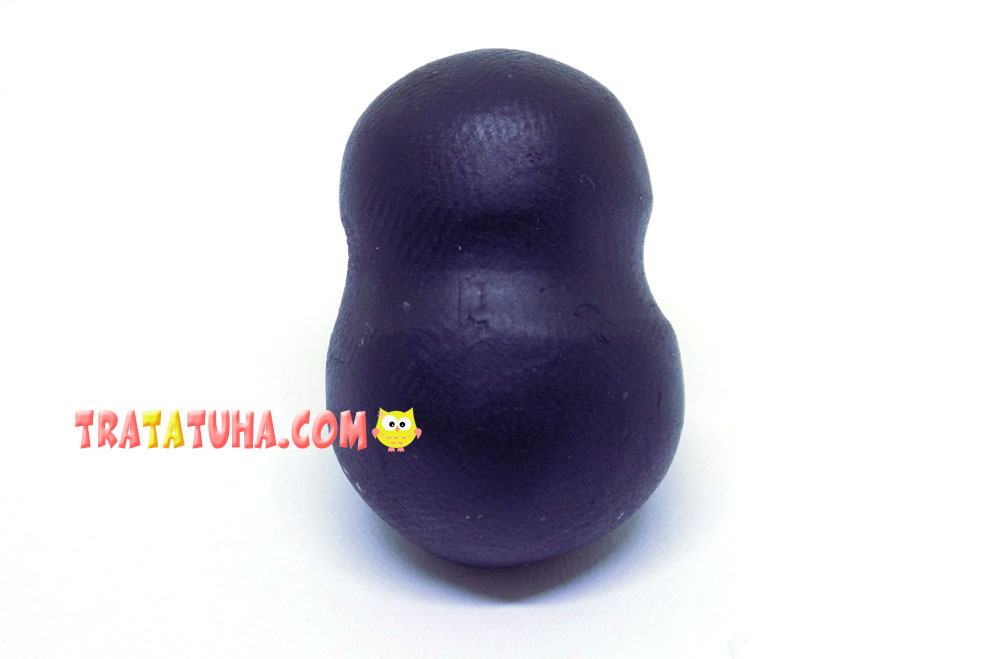
From a large ball we form a blank of the following shape.
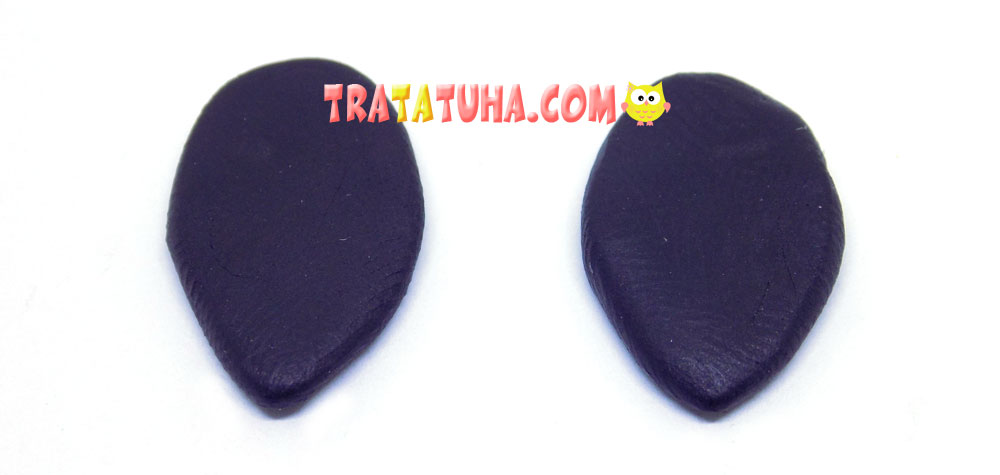
From small balls we sculpt wings, these will be flat blanks made in the form of a drop.
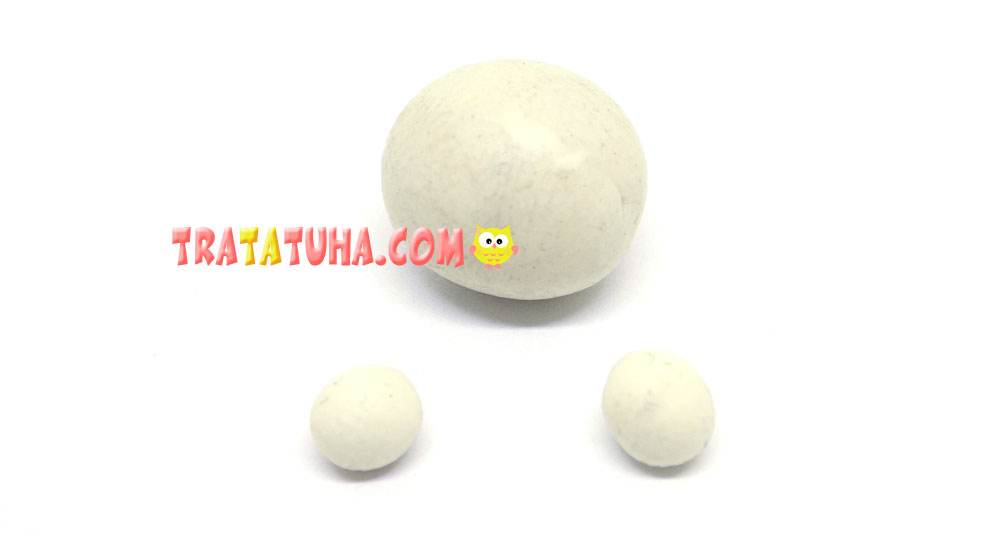
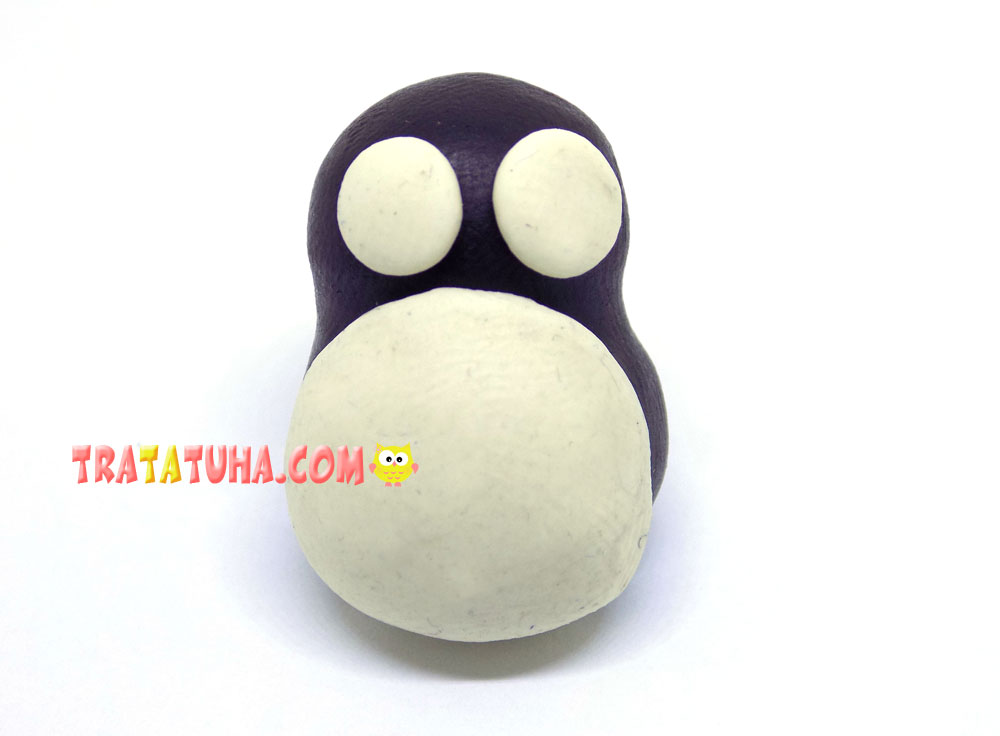
Now we need white clay. We also make 3 blanks from it. A large ball is required to decorate the front of the penguin. And from small blanks we will make eyes.
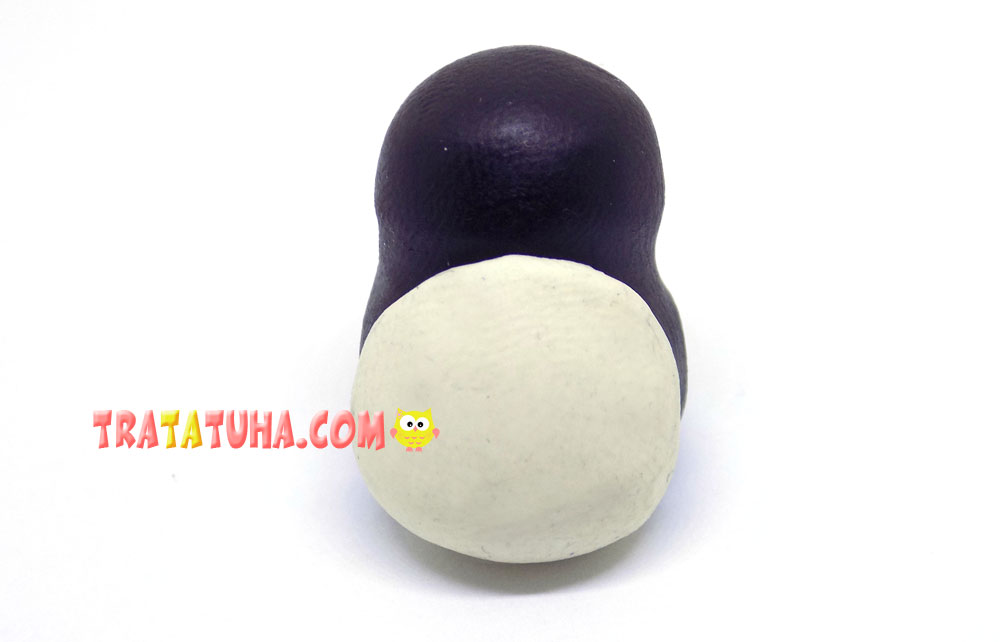
Roll out a large ball into a flat circle.
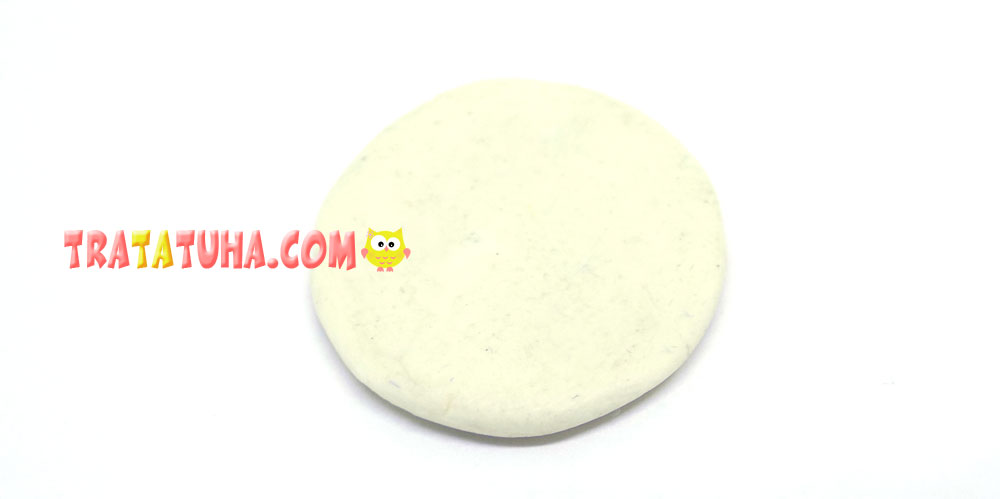
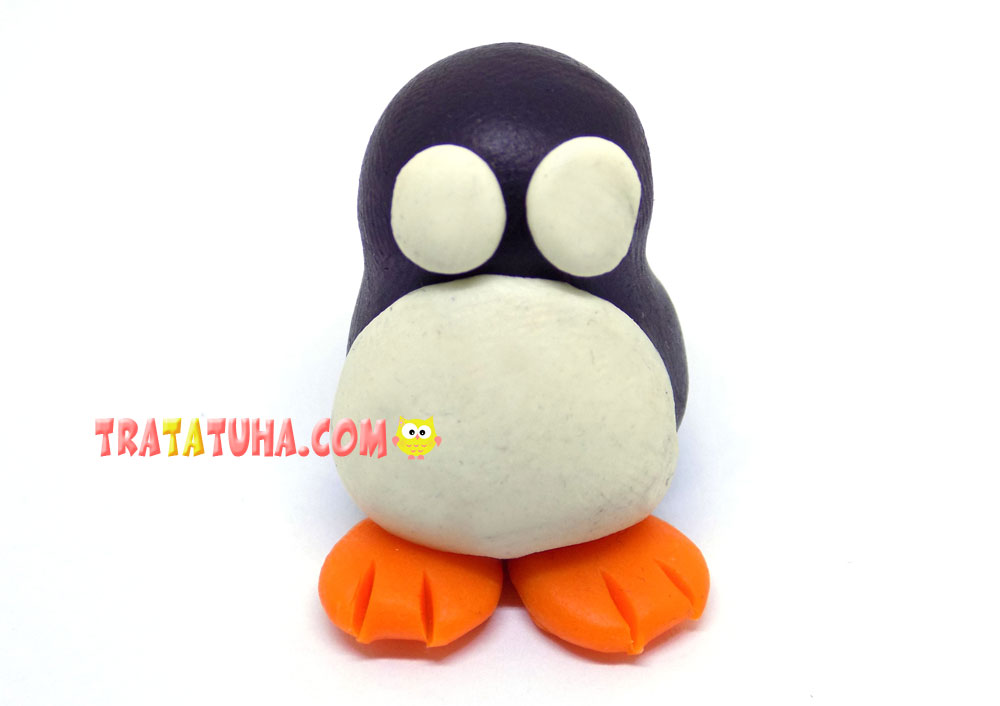
We fix it on the front of the penguin.
We make the basis for the eyes of small white balls.
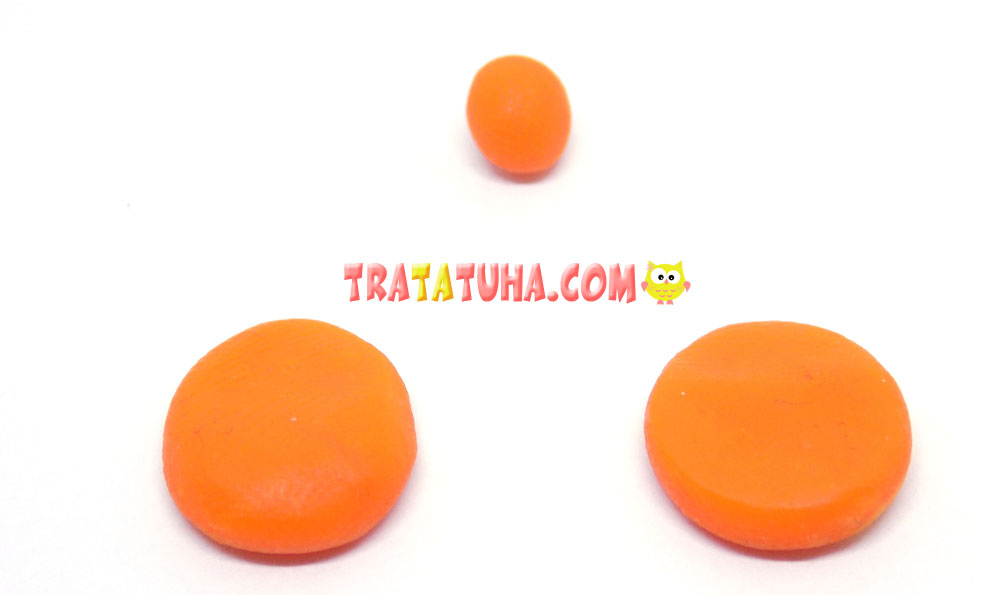
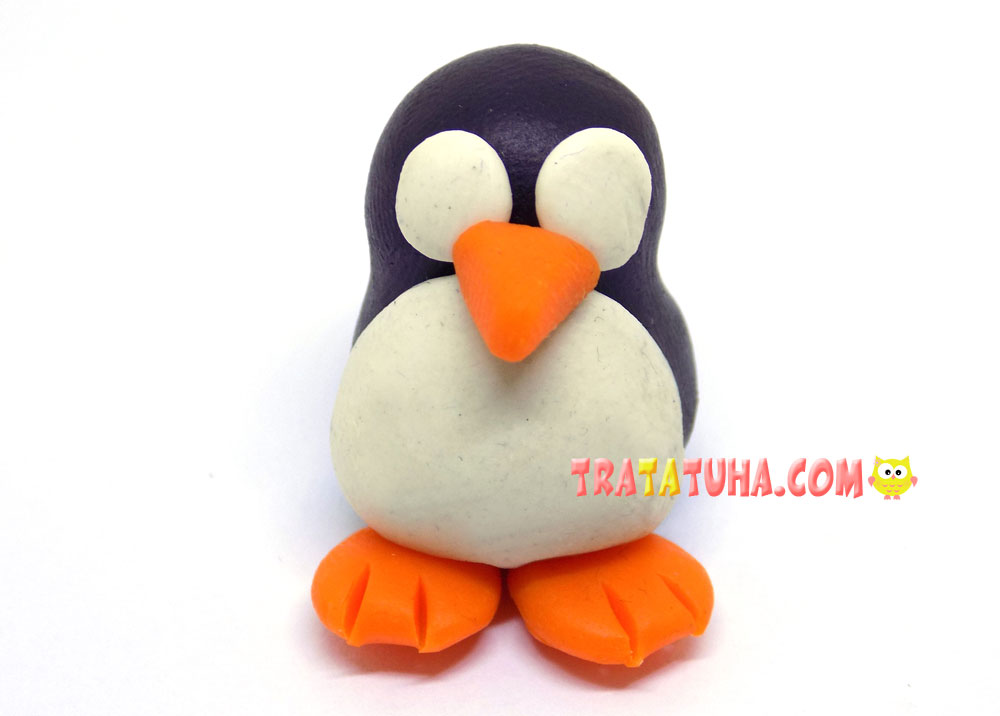
Next, take the orange clay. From it we will sculpt the paws for the penguin, and also make a small blank for the beak.
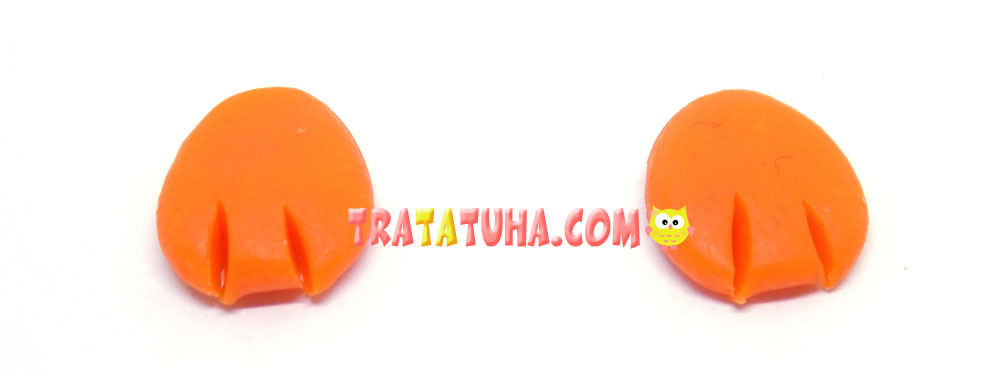
On the paws we make notches with a plastic stack.
We attach the paws to the bottom of our craft.
Add an orange triangular beak.
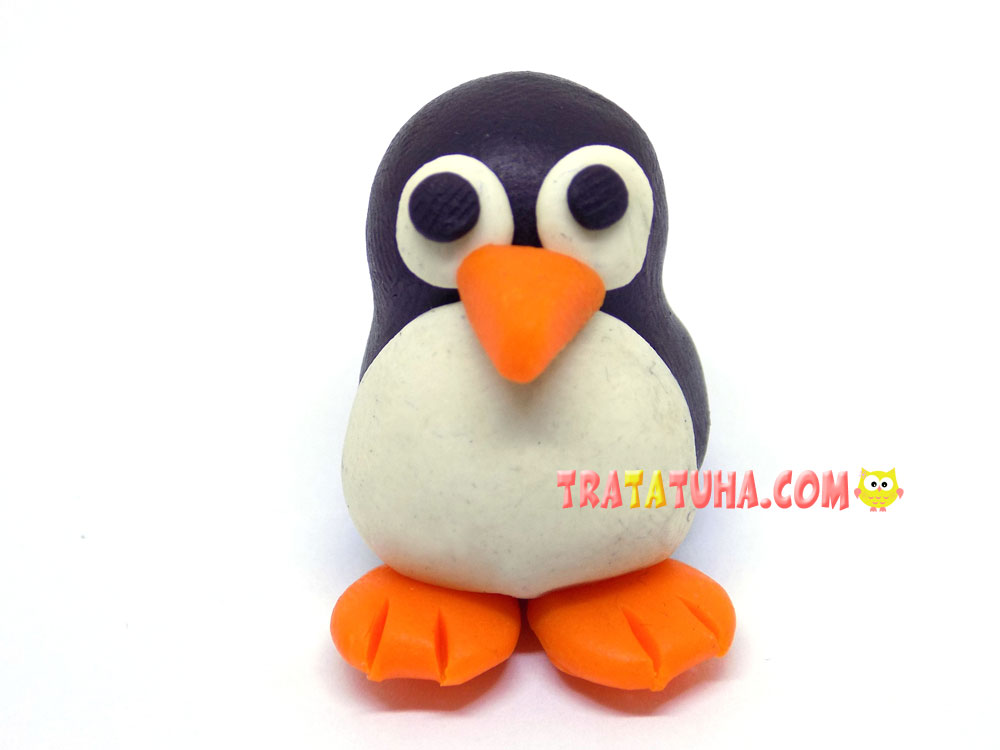
We make black pupils on the eyes.
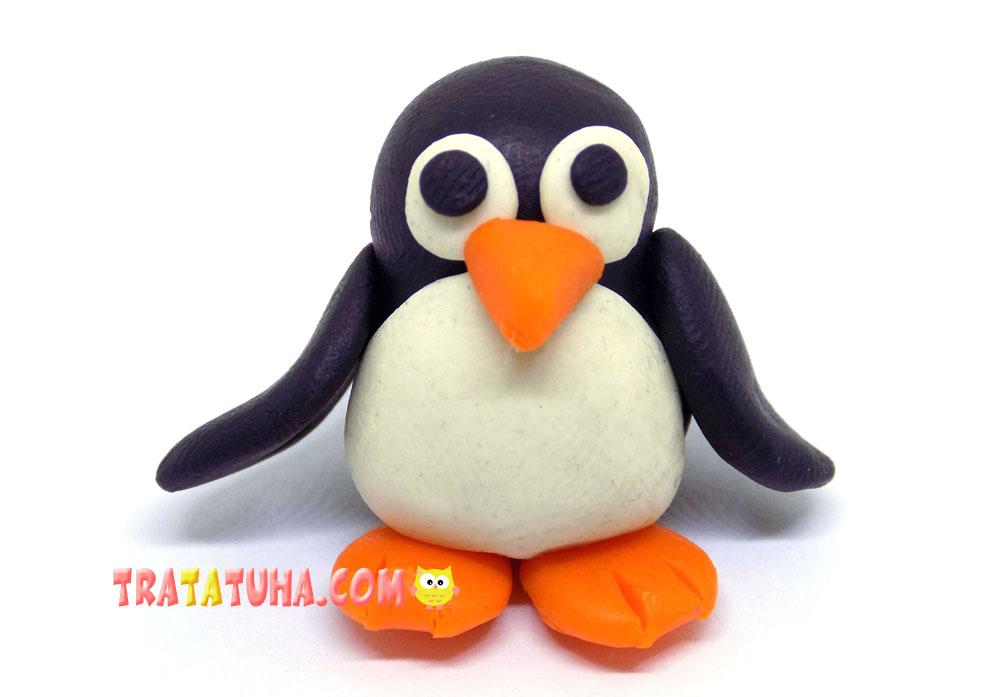
It remains to attach the black wings that we made earlier. The clay penguin is ready.
See more ideas about Clay Crafts.
Crafts for Kids – learn how to make craft at home! Super cute crafts for all age groups!

