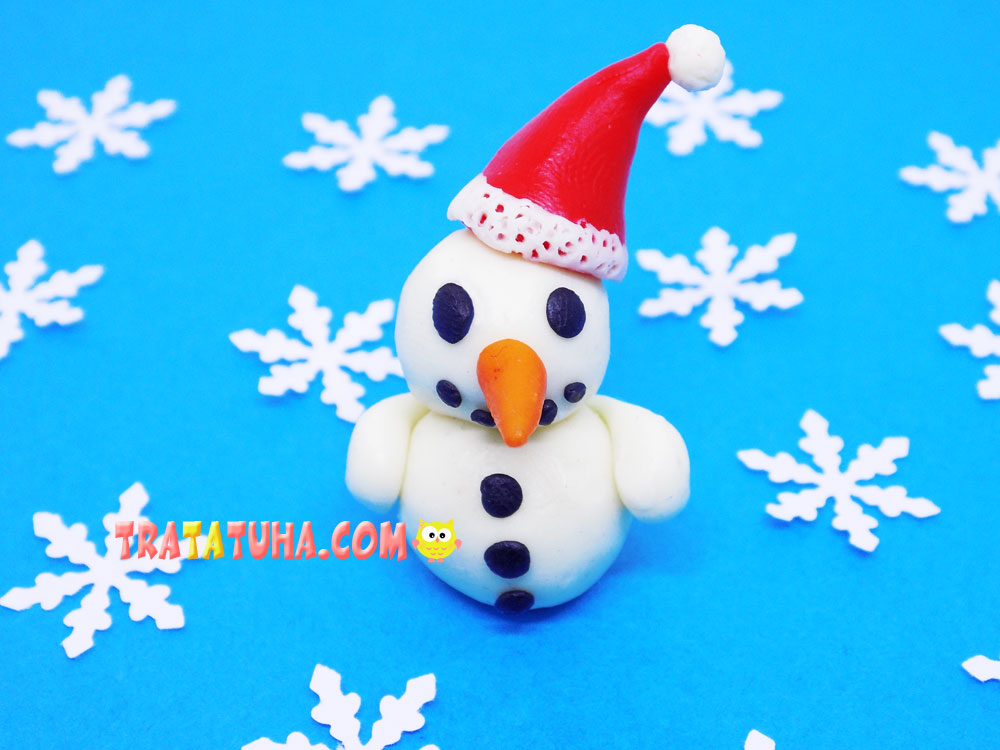
A simple clay snowman for kids. Great craft for Christmas. So let’s make such a snowman, and you can decorate it to your taste.
Materials for creative activity:
- Clay white, red, black, orange;
- Toothpick;
- Stack, plank for the surface.

Clay Snowman Step by Step
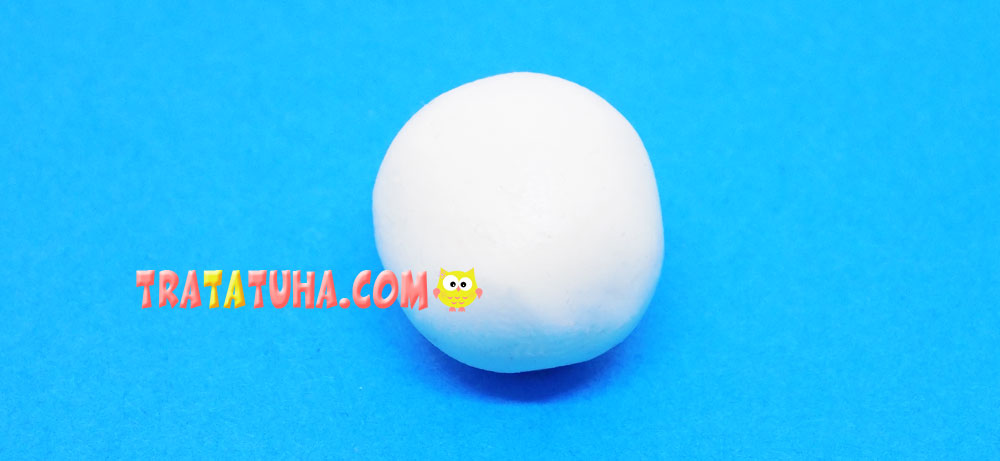
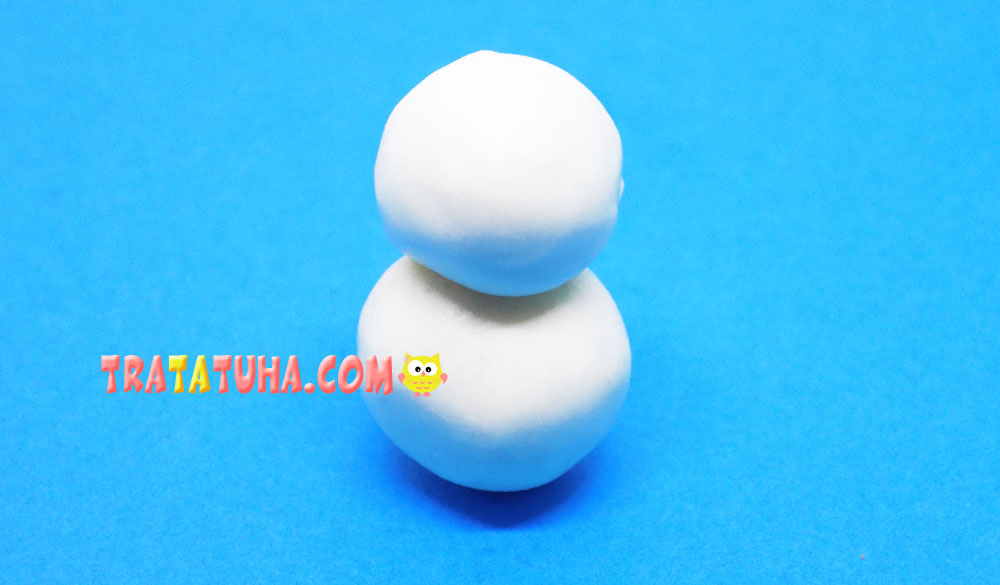
Our snowman will consist of two balls that we mold from white clay. First, roll up the first even ball.
Then add a second ball of the same type to it. The base of the snowman is ready.
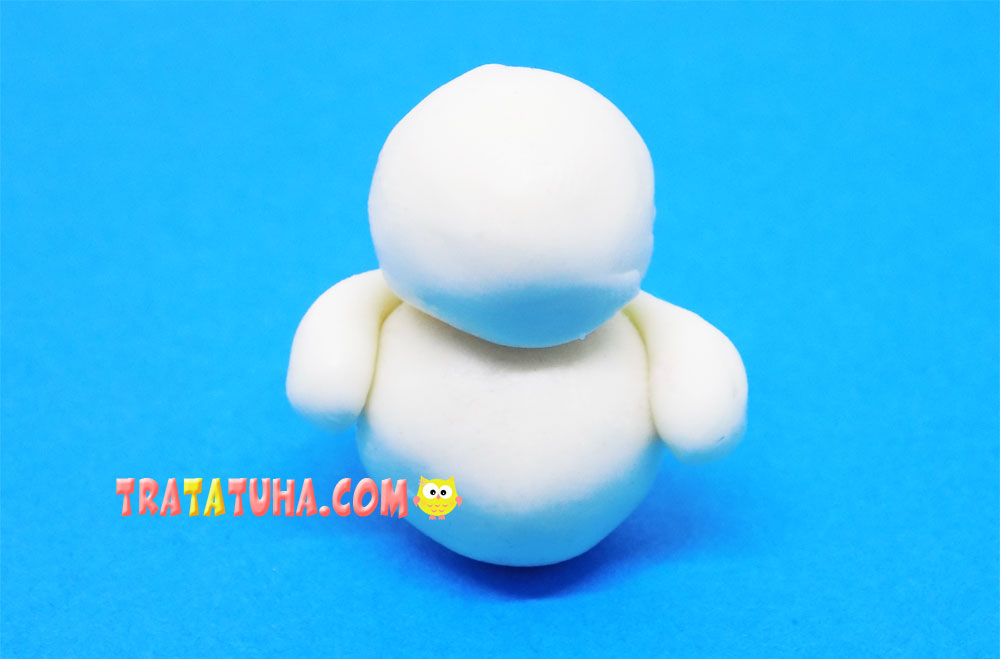
Now we blind his hands. To do this, we again take white clay and fashion a pair of hands, fix them on the sides of the body.
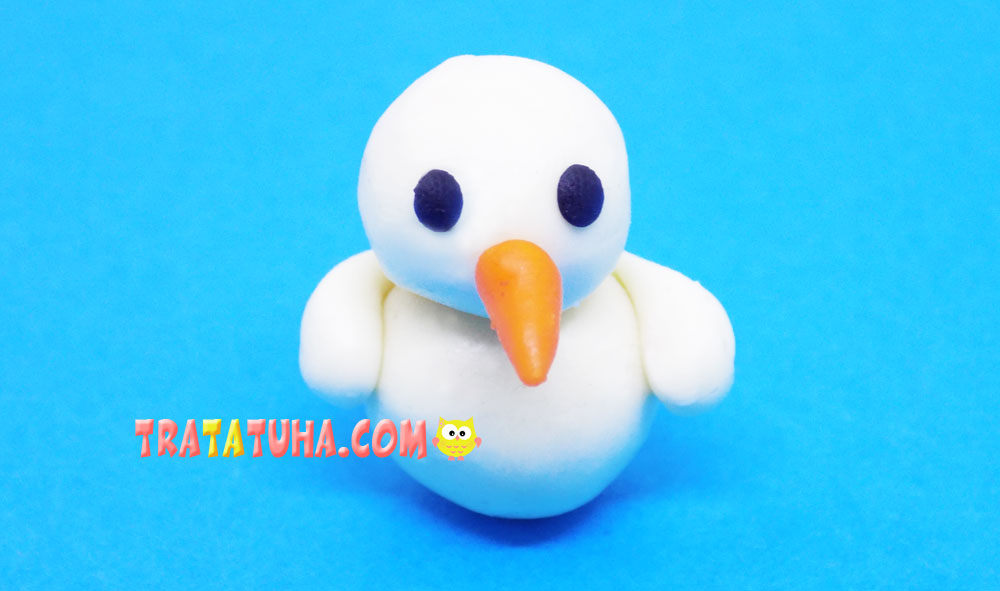
Let’s do the decorating. Add eyes, these will be small pieces of black clay.
Let’s make a carrot nose, for this you need to roll a narrow cone from orange clay.
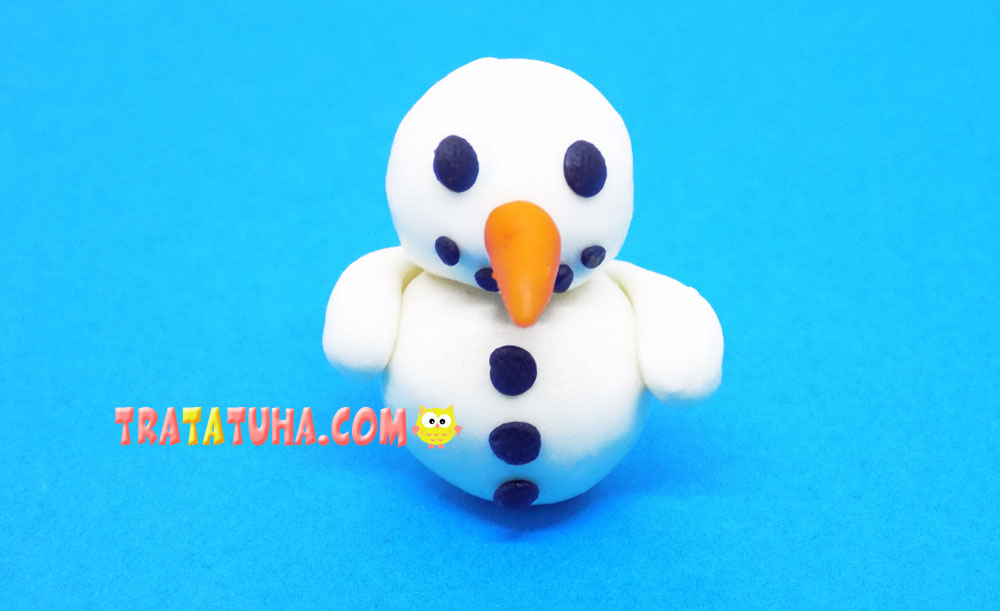
To create a mouth, you will also need black clay, from its small balls we make a mouth for a snowman.
Let’s add buttons to the body.
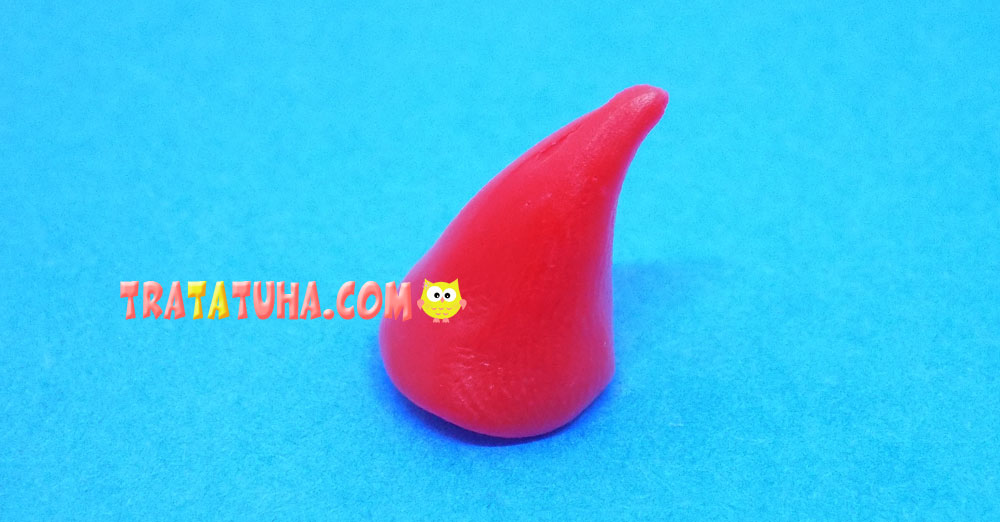
Clay cap
Our snowman will be wearing a red hat. Therefore, we are preparing a ball of such clay.

Then we make a cap out of it.
We decorate the top of the cap with a small white ball.
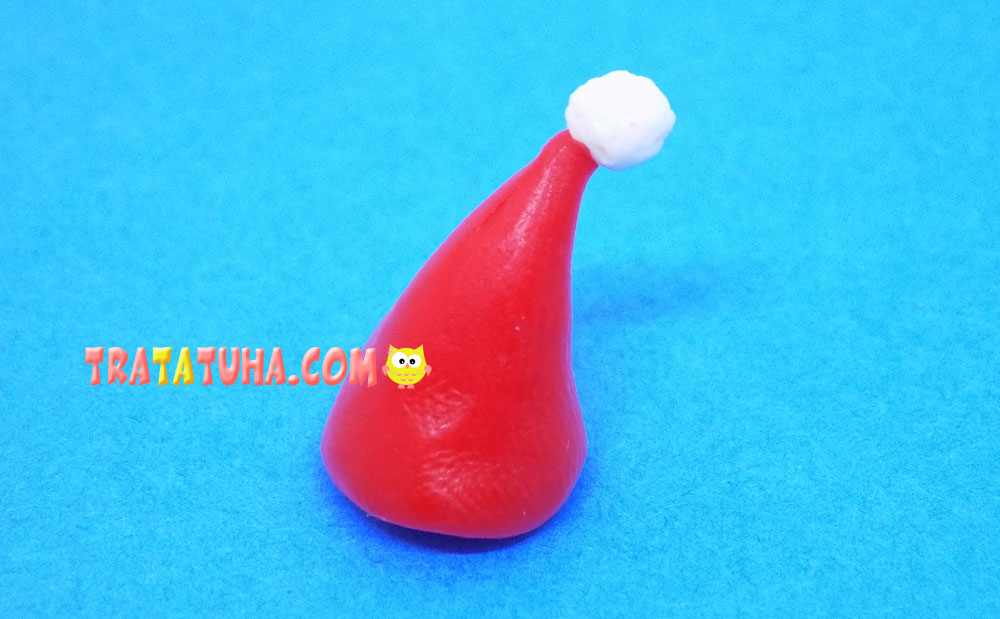
Additionally, we fix a white strip from the bottom of the cap, we will go through it with a toothpick. We put on a cap.
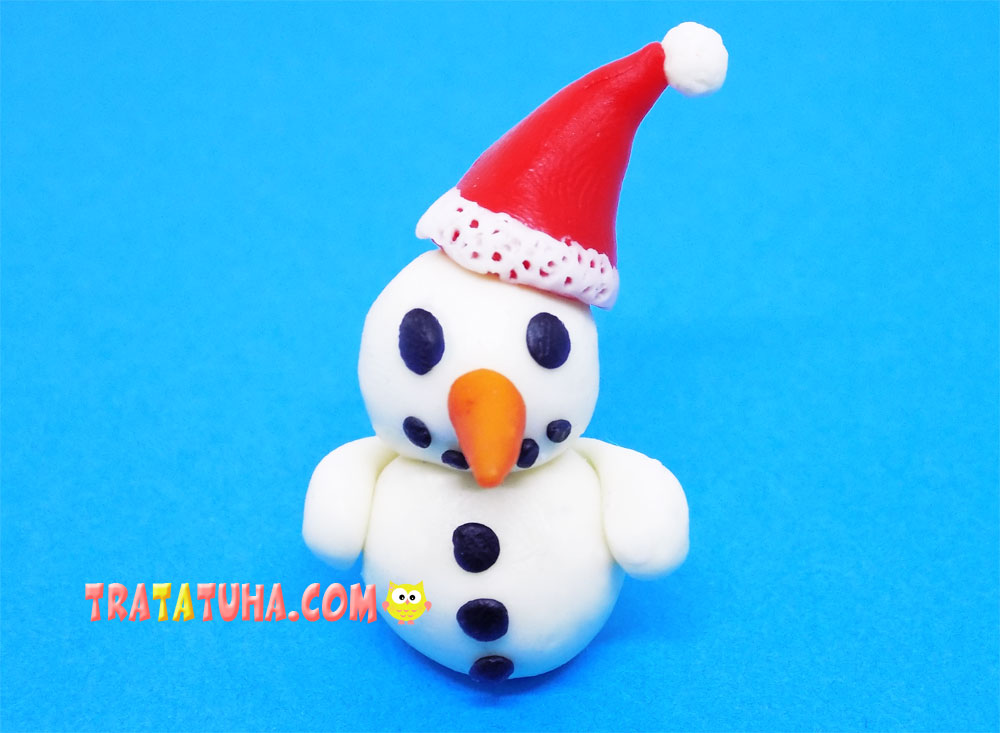
This is how we got a clay snowman. You can decorate it in different ways, showing your imagination. For example, instead of a cap, you can attach a clay bucket, a cone, a black cylinder hat to the snowman’s head. Put a broom in your hands, tie a scarf, which, of course, will also be made of clay.
Related Post: