Clay walrus for kids. Simple animal modeling with step by step photos. You will need clay, a stack and a mat for work.
In this tutorial, we propose to mold the only representative of the walrus family. These animals live in the northern hemisphere. Of course, you guessed that we are talking about walruses. We will make it from clay.
For modeling we will prepare:
- clay set;
- plastic stack.
Clay Walrus Step by Step
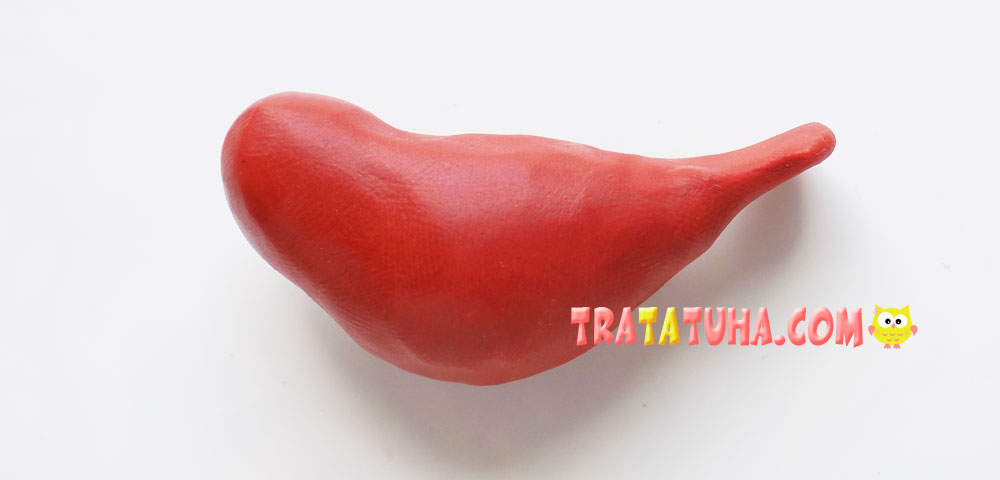
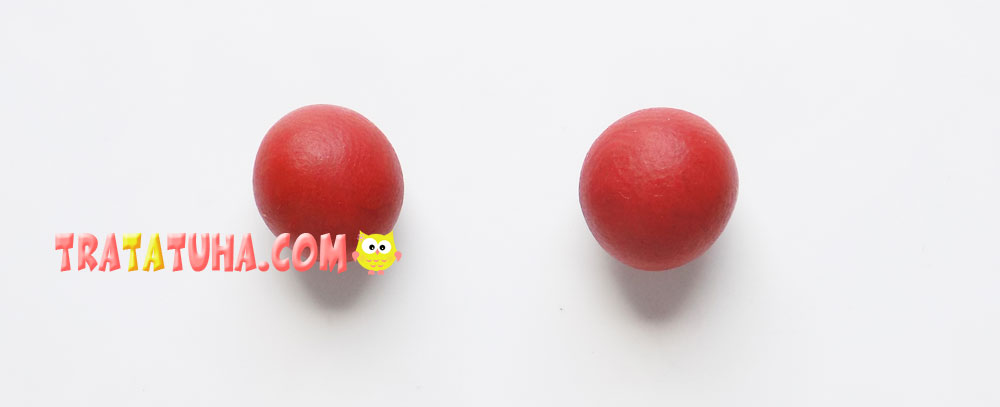
First, prepare a ball rolled from brown clay. This will be the main color of our craft.

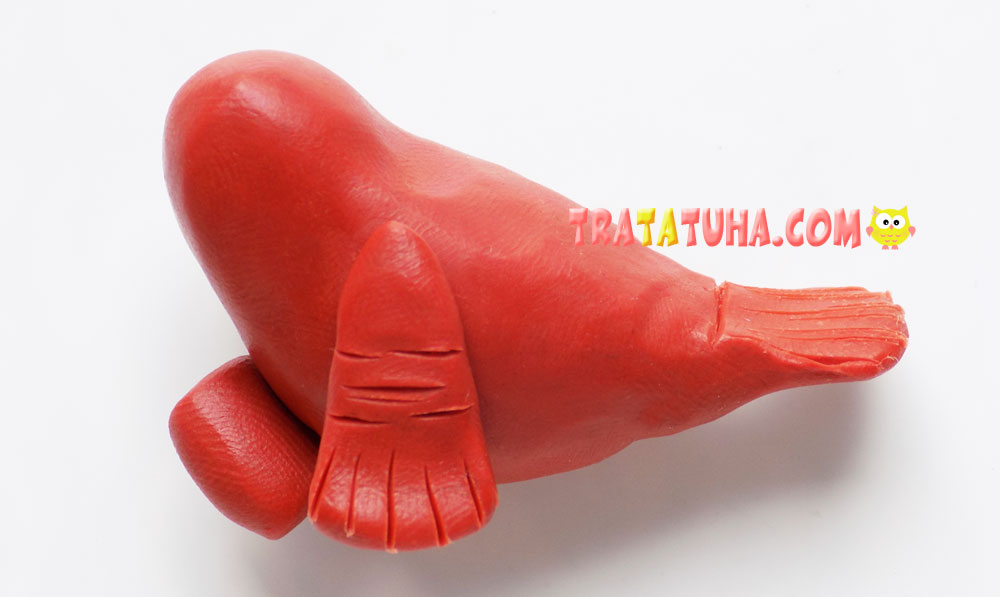
Then we begin to form the body of the walrus. To do this, we draw out the workpiece. At one end we sculpt a round head, and at the second end we will have a flat tail fin.
To create the front flippers, we additionally roll up a couple of small brown clay balls.
We form flippers from them, after which we fix them on both sides of the body. Next, you can use a plastic stack, with its help we are working on the flippers and the tail fin of the walrus.
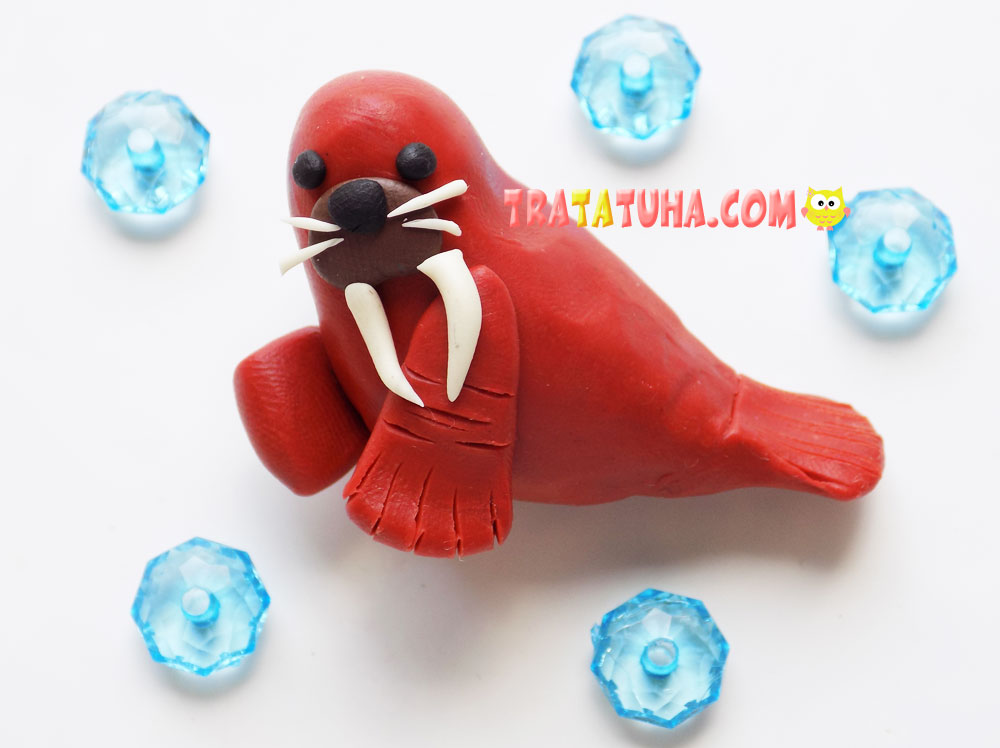
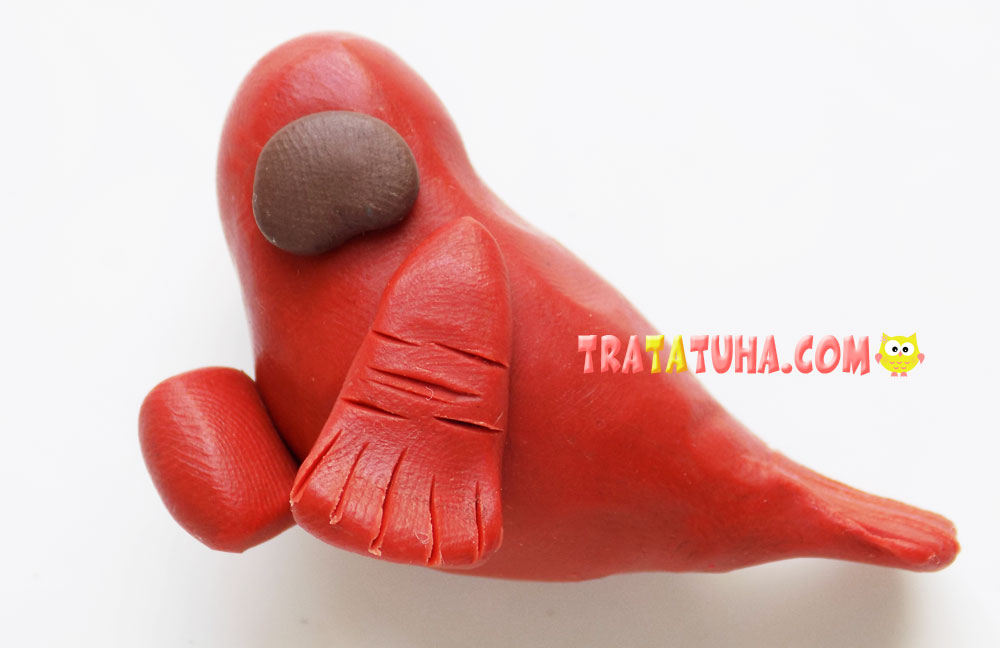
Now let’s start making out the muzzle. For this we need a small piece of dark brown clay. First, we make a ball out of it, then we flatten it and fix it on the head of the walrus.
We take black clay. From two small balls we make eyes, and one more will become the nose of our pinniped animal.

It remains to use white clay. From it we roll a pair of flagella, one end of which will be sharp. These will be tusks, we fix them on the muzzle. We also form thin antennae from white clay. Clay walrus is ready.

See more ideas about Clay Crafts.
Clay Animals – art and craft ideas for all ages.
Crafts for Kids – learn how to make craft at home! Super cute crafts for all age groups!
Related Post: