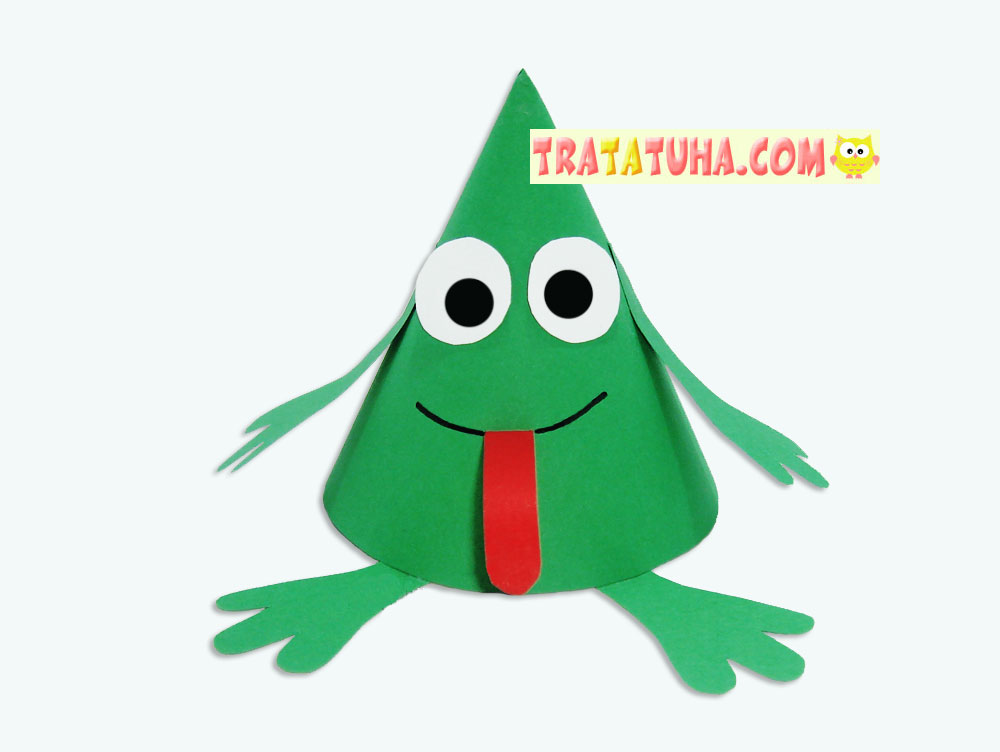
A frog can be made in a variety of ways and from various materials. This time it’s a very simple paper cone frog.
The craft is ideal for preschool children, because the main difficulty in creating it is to successfully twist the paper into a pointed cone.
The work uses:
- Green cardboard;
- White cardboard;
- Red colored paper;
- Glue stick, compasses, scissors, black felt-tip pen, simple pencil.
Cone Frog Step by Step
Using a compass or any rounded object, draw a circle on green, not very thick cardboard. You can also take paper, but then the frog will turn out to be fragile. The size is at your own discretion, the larger the circle, the larger the frog will be, respectively. Cut the circle in half.
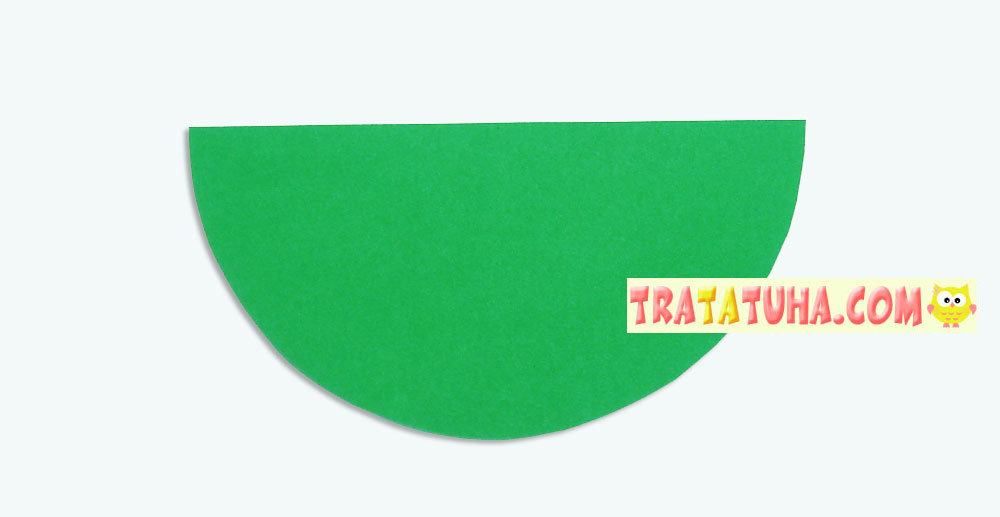
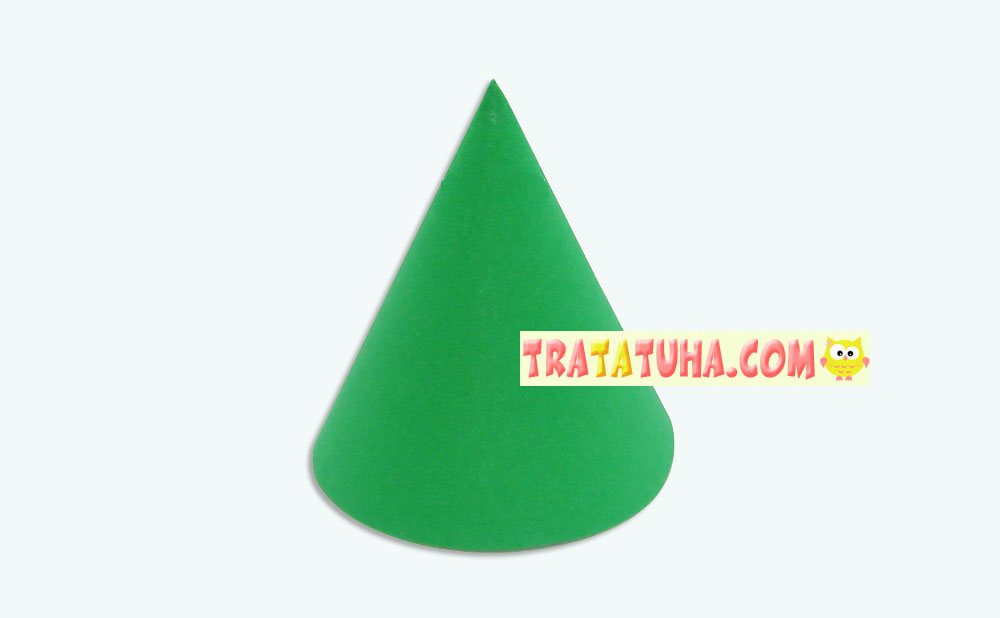
Twist the resulting semicircle into a cone, trying to make its top closed and sharp. Glue the side, if necessary, cut off the excess.
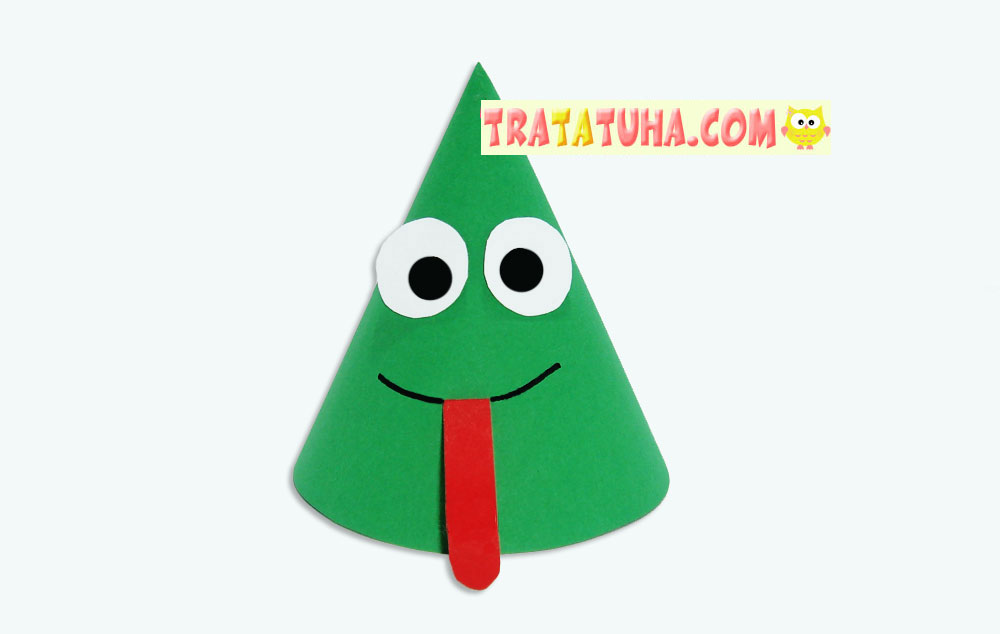
Cut out two circles from white cardboard and draw smaller circles in the middle with a black felt-tip pen, which will be the pupils. It’s fun to place the pupils not exactly in the center, but on the side. Then the frog can squint funny or slyly glance in one of the directions. Cut a long strip of red paper, and then round it from one tip. Glue the eyes on the frog, draw a smile with a felt-tip pen, and make an incision in the center of the line. Place a red tongue in the incision, glue it on the inside of the cone, and bend it down on the outside. Small children can simply bend the tip of their tongue and stick it on top of their smile.
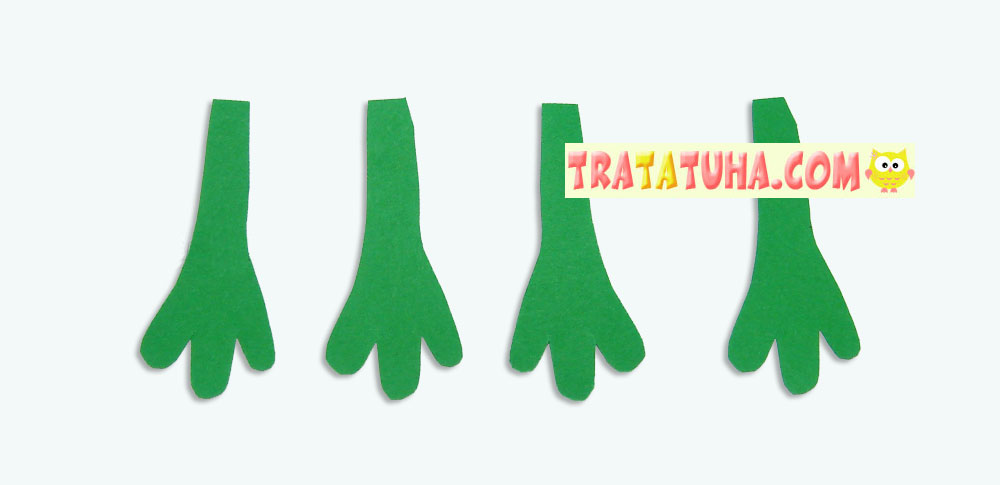
Cut out 4 three-toed paws from green cardboard. The shape and size can be absolutely any. The end result will also differ.
Glue one pair of legs on the sides of the cone, and the second pair on the bottom, fastening them to the body on the inside. Everything, the paper frog from the cone is ready. Simple and fast.

Many other ideas in the collection:
More super cute frog crafts for all age groups!
