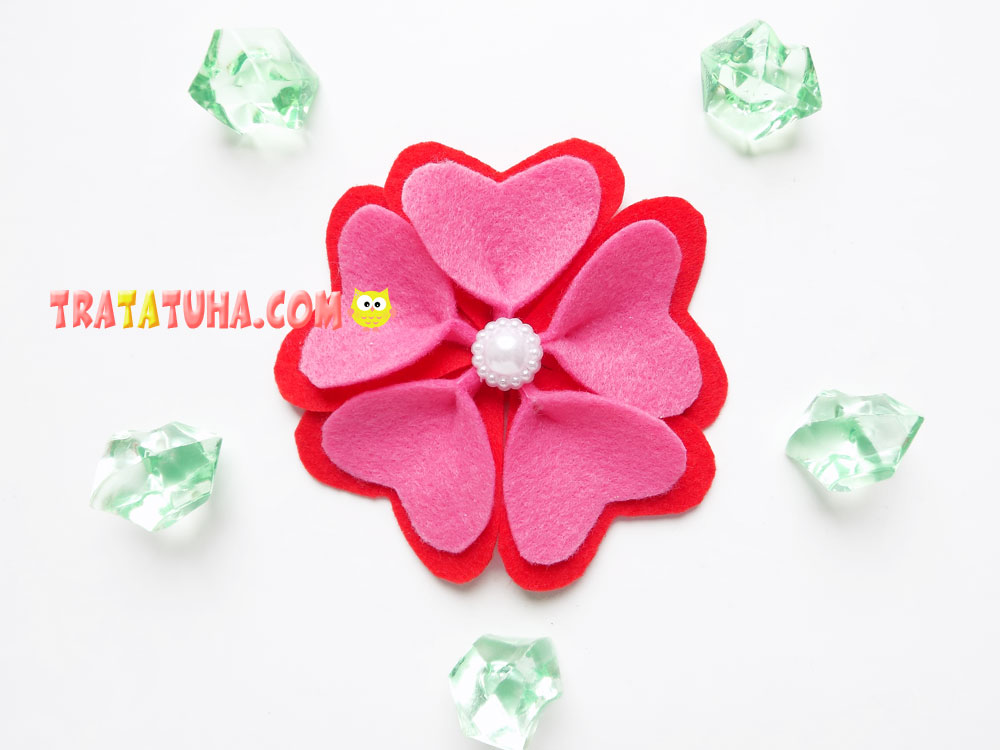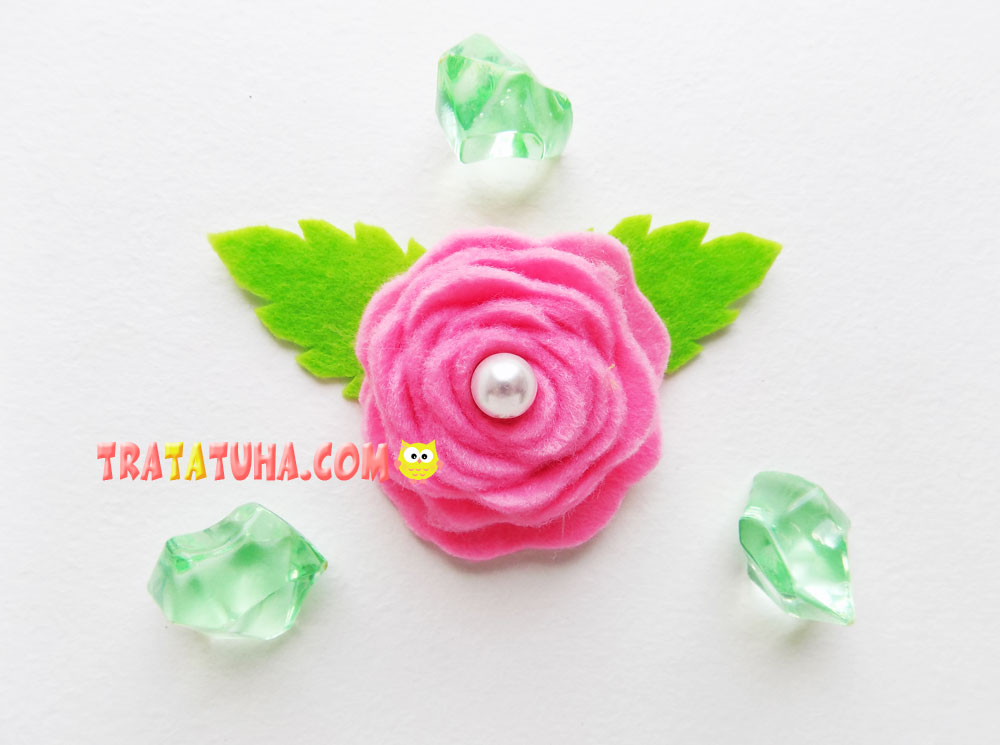
In today’s tutorial, we have a DIY felt rose. Such a beautiful flower can become the basis for any decoration, for this it remains only to add the appropriate fittings.
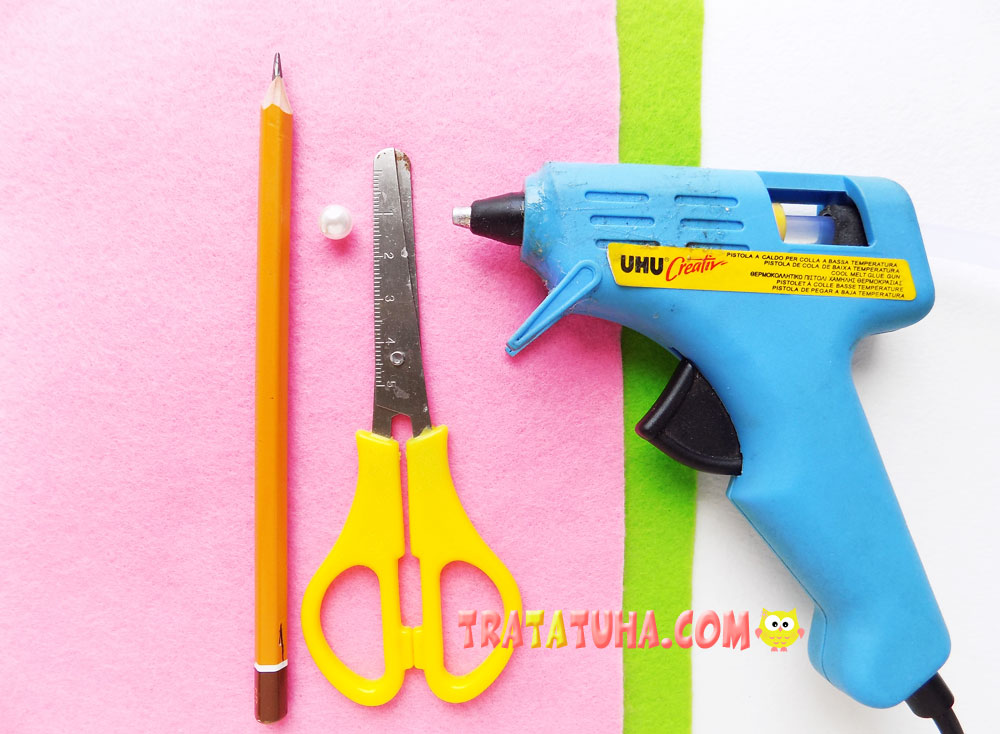
To make such a rose, we will take:
- pink and green felt;
- soft simple pencil;
- decorative bead;
- glue gun;
- scissors.
DIY Felt Rose Step by Step
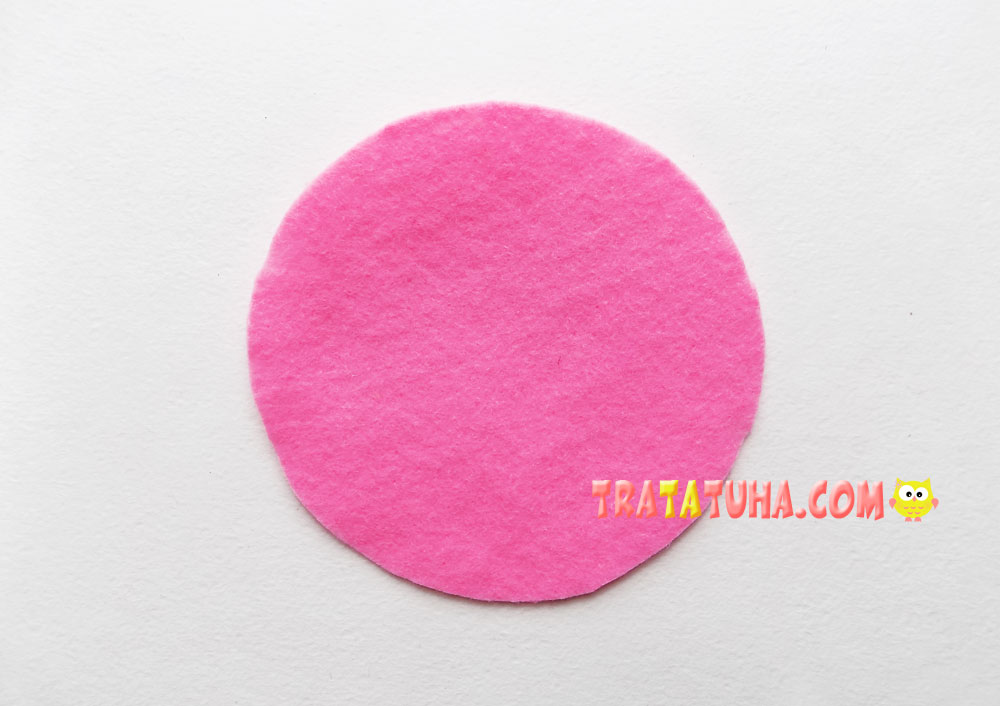
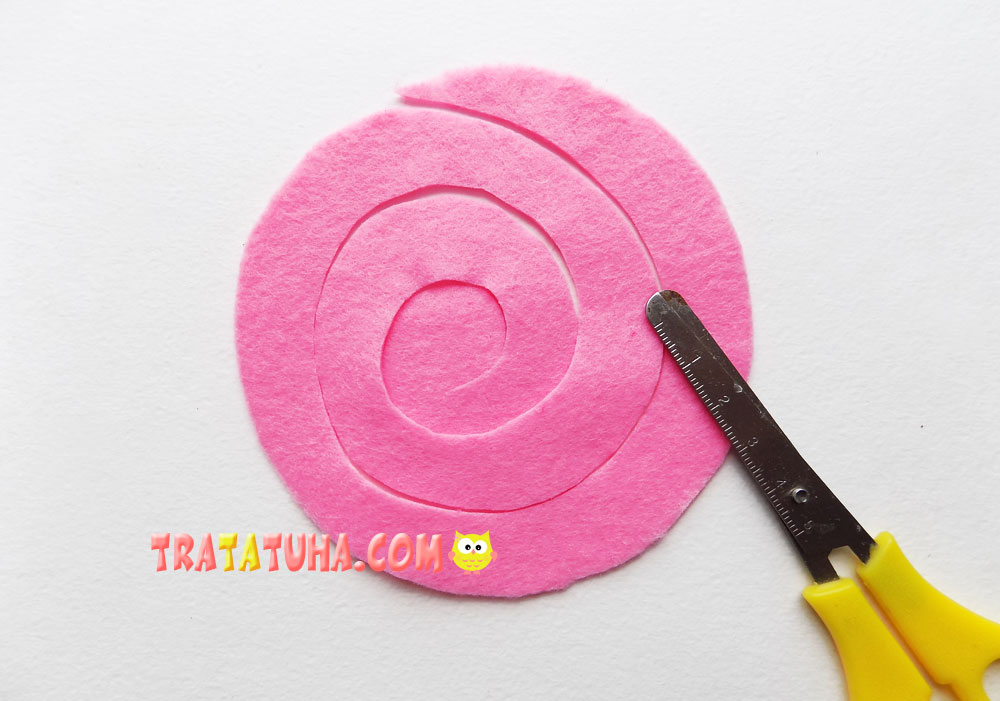
The basis for our flower will be a circle cut out of pink felt. To make it even, it is better to circle a round object with a simple pencil, and then cut it out.
The resulting round blank must be cut in a spiral, starting from the edge. At the same time, a small circle should remain in the center, in the future it will become the base of our rose.
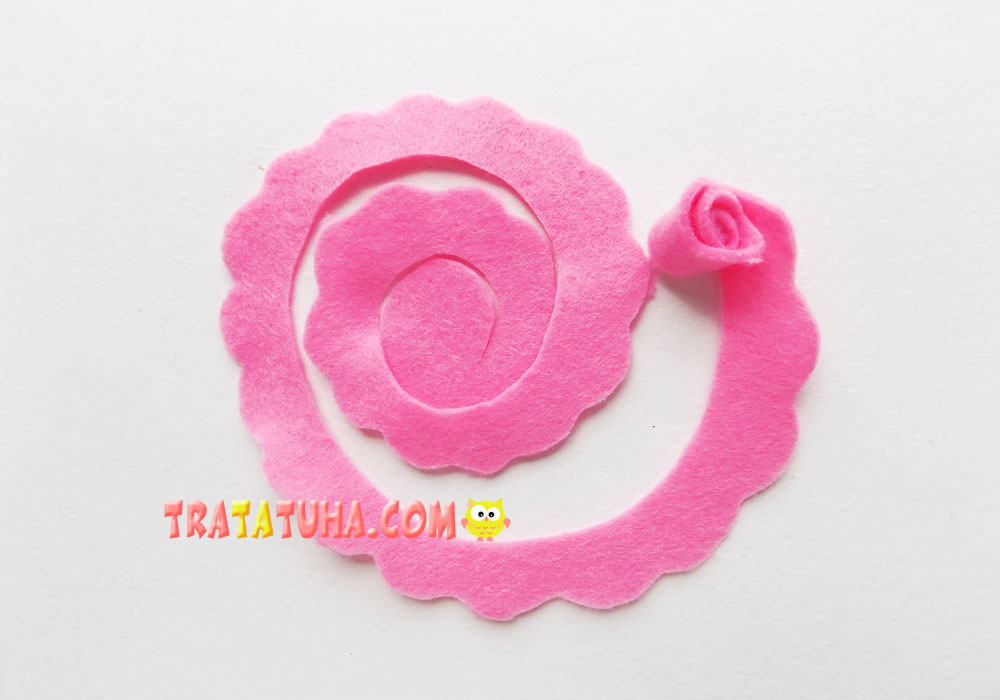
Next, on the resulting spiral strip, you need to make a wavy edge. Due to it, the flower will look more interesting.

Now we need a glue gun. We begin to twist our pink spiral strip, periodically fixing it from below with a drop of hot glue.
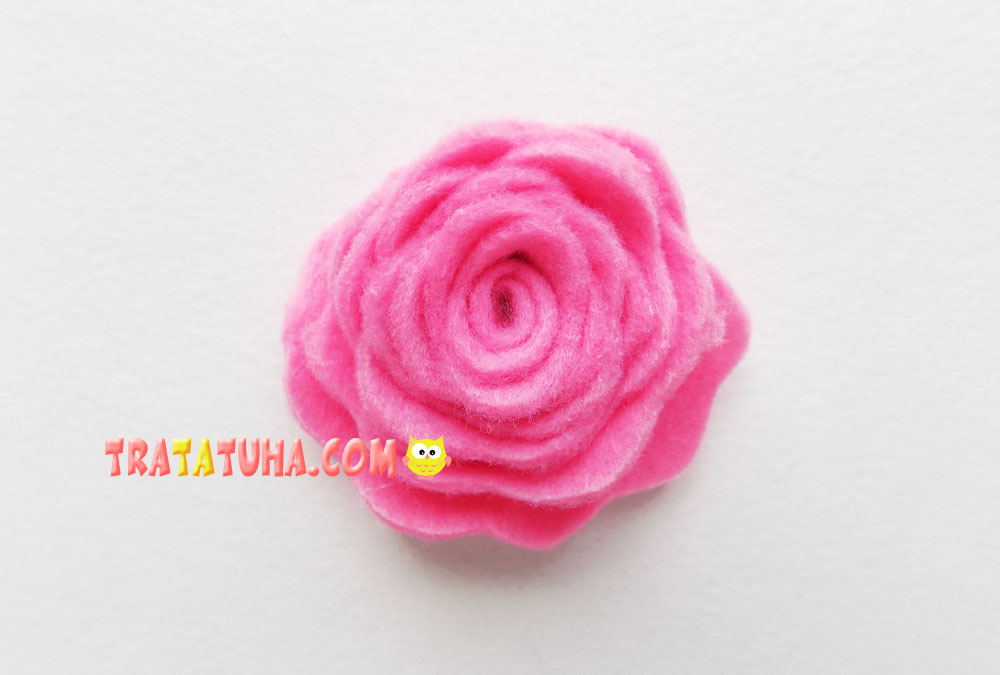
In this way, we must twist the entire workpiece, and then glue it on a small circle left earlier when cutting. We get such a rose flower.
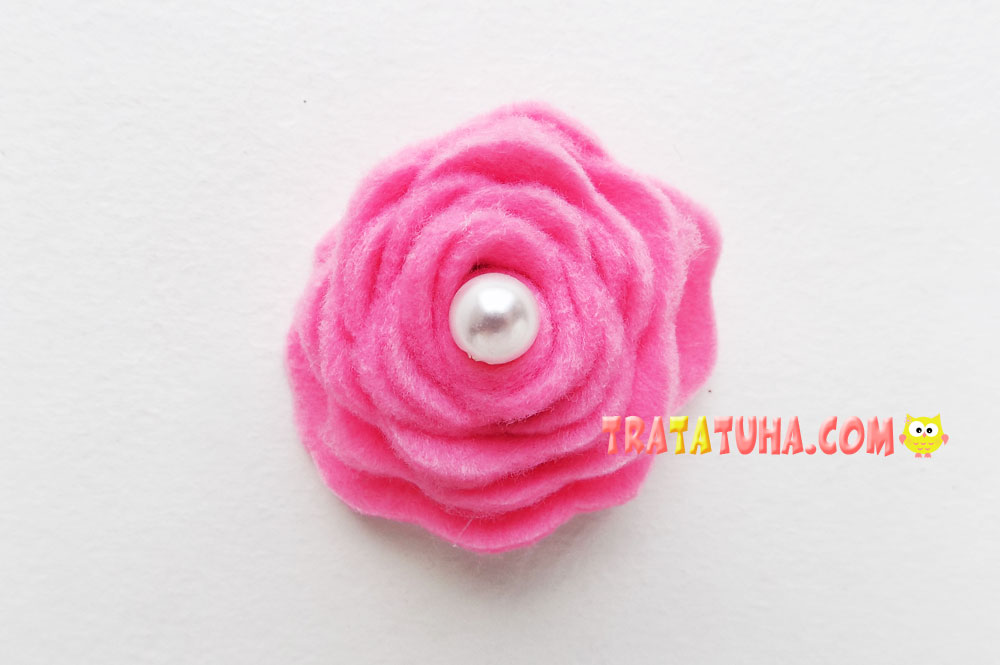
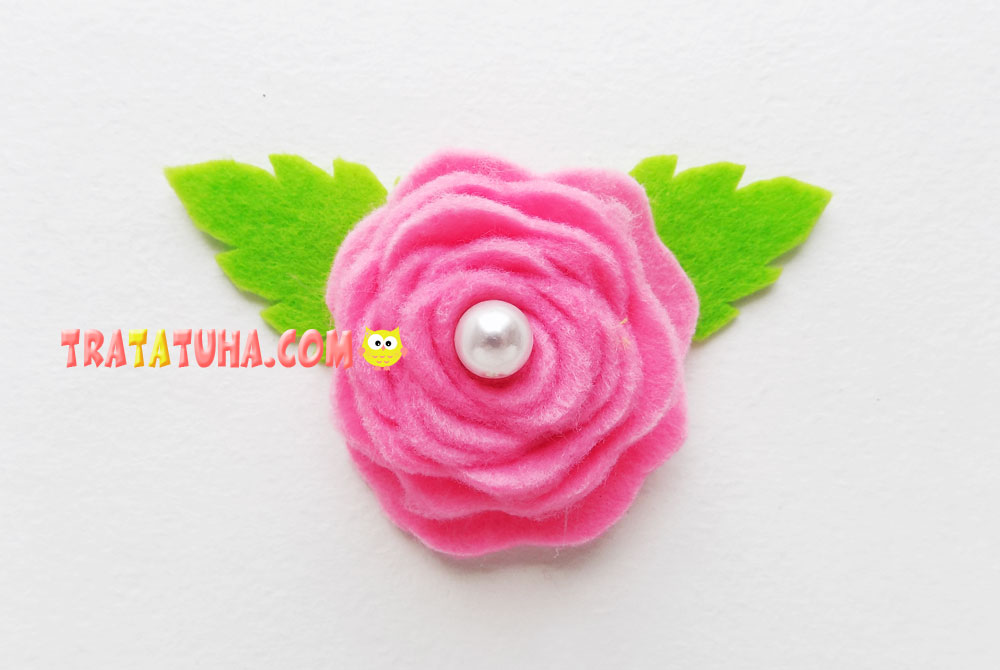
We decided to decorate the middle with a decorative bead that looks like a pearl. We fix it using a small drop of hot glue.
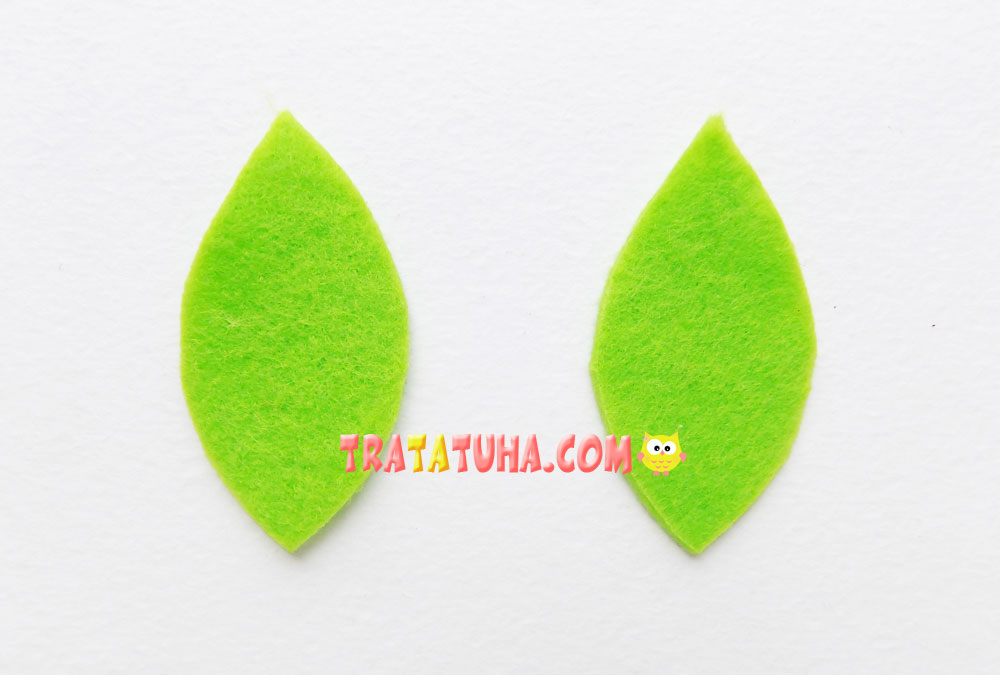
It remains to add leaves. Cut them out of light green felt. First, we simply prepare blanks in the form of leaflets.
And then we make a jagged edge with scissors, after which we glue the leaves to the bottom of the flower. Our do-it-yourself felt rose is ready.
Even more ideas in the review are felt crafts for kids.
Related Post: