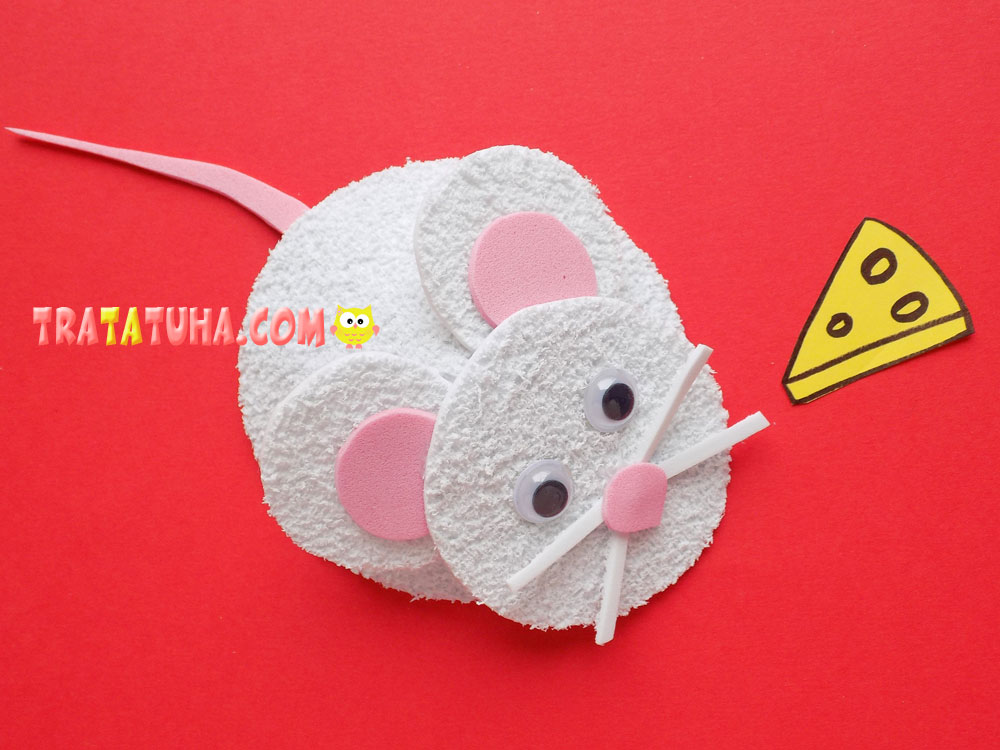
A simple foam mouse step by step. This is an easy option for creating a rodent from this material, ideal for children.
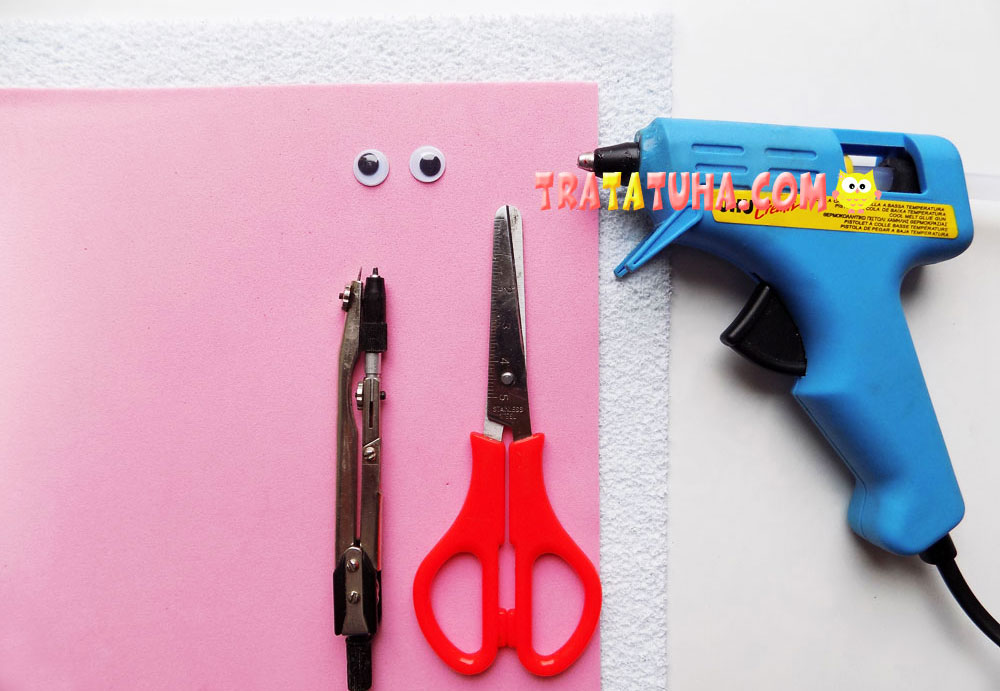
Materials used:
- textured white foam;
- simple pink foam;
- compass;
- glue gun;
- decorative eyes;
- scissors.
Foam Mouse Step by Step
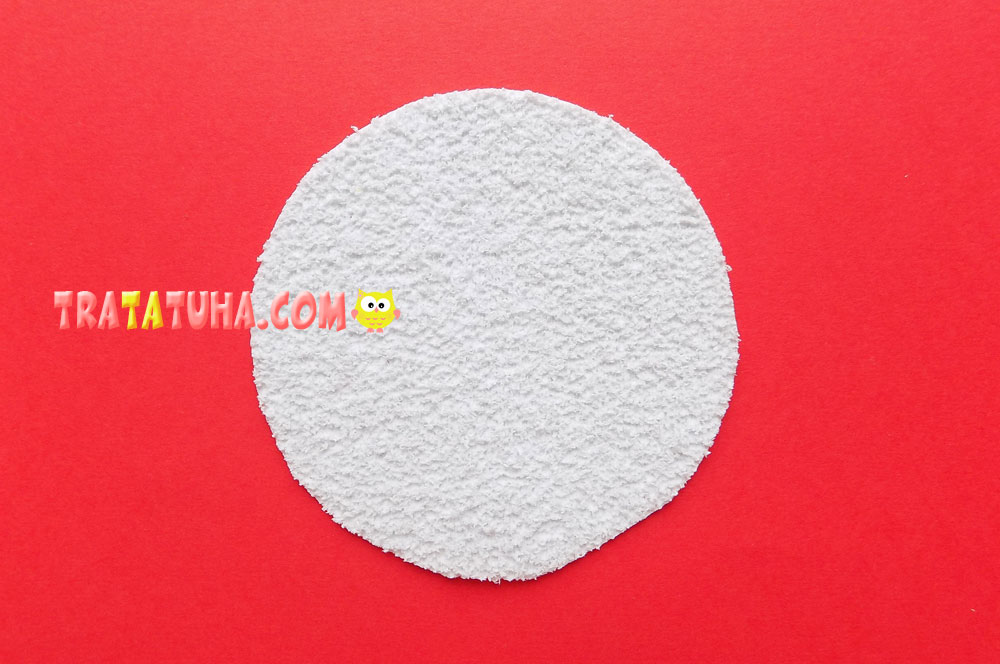
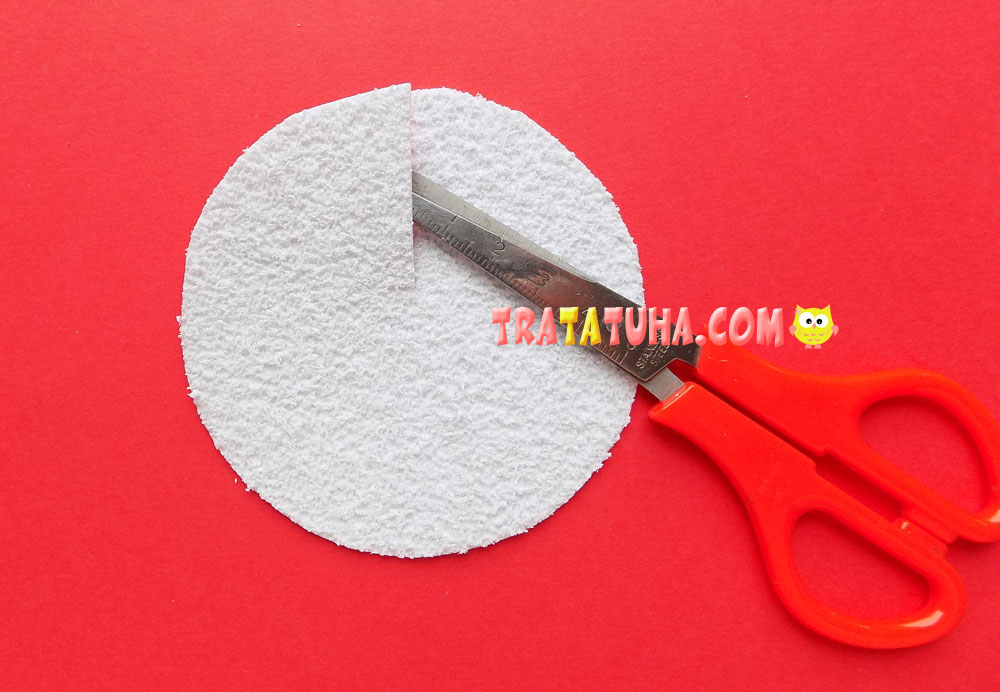
The main detail when making a craft will be a circle. Therefore, a compass is required to create round parts of the mouse. First, draw a large circle on the back of the white textured foam and cut it out. This will be the blank for the body.
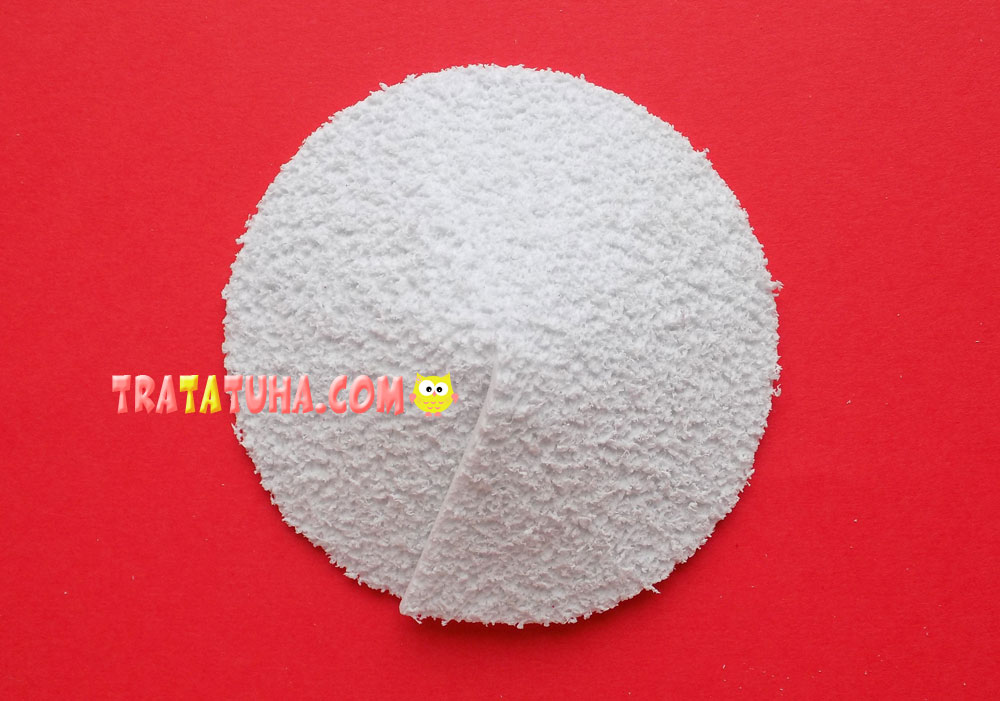
Make a cut from the center of the circle to its edge.
Next you will need a glue gun. Apply hot glue near the cut, then join the edges of the piece together. In this way, the volume of the circle is created. The body for the mouse made of foam is ready.
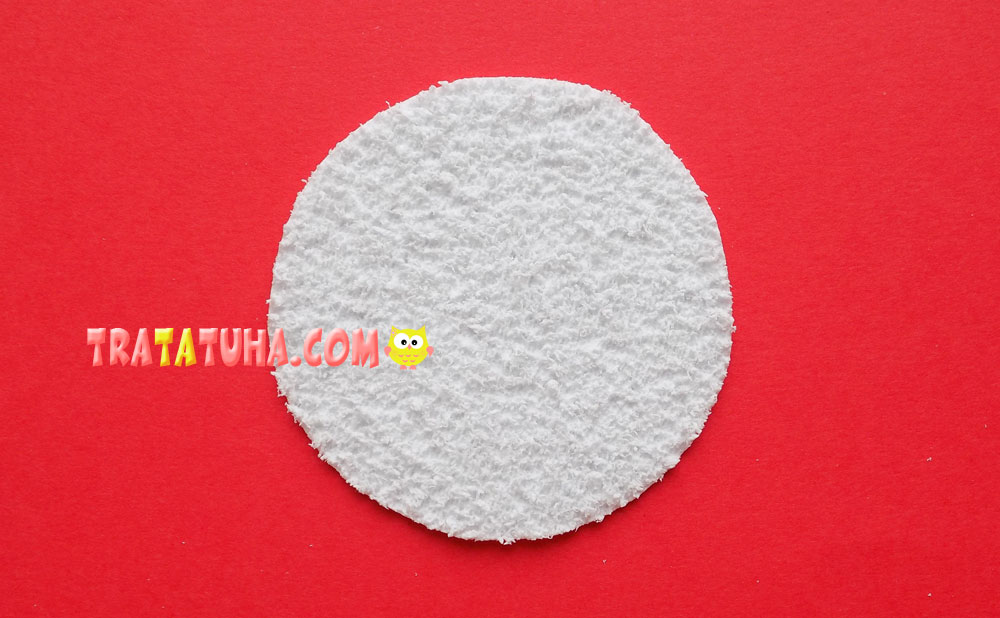
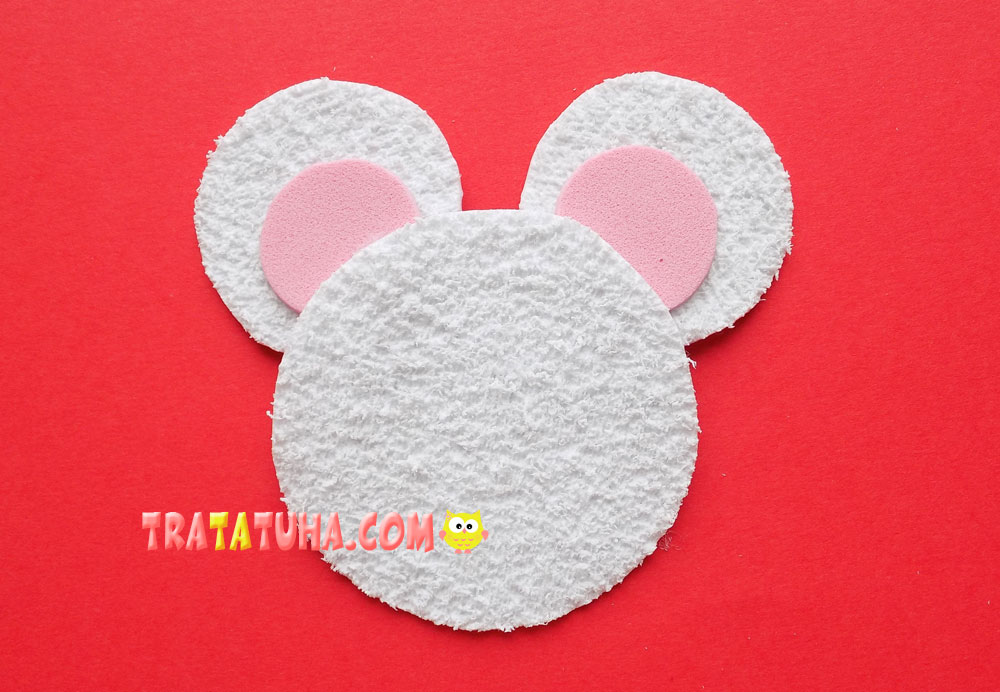
Use the compass again and draw a circle of smaller diameter, this will be the mouse’s head.
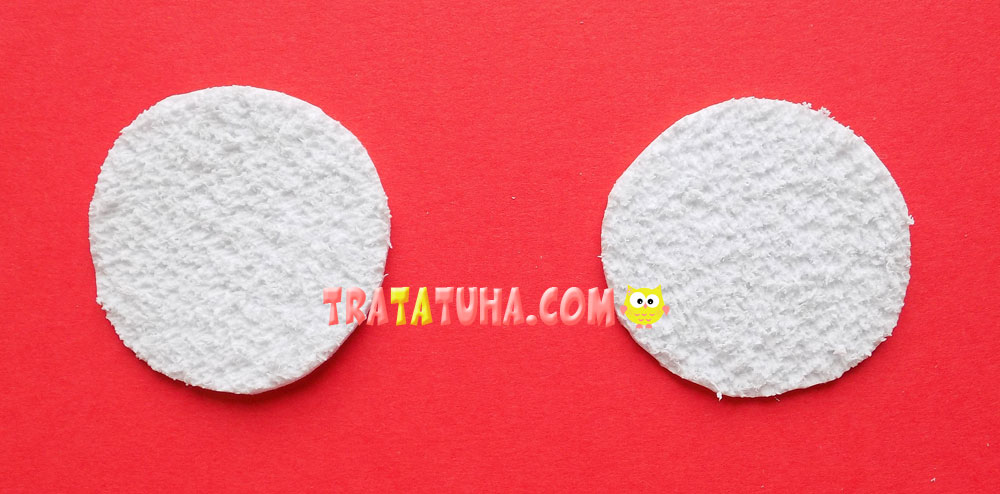
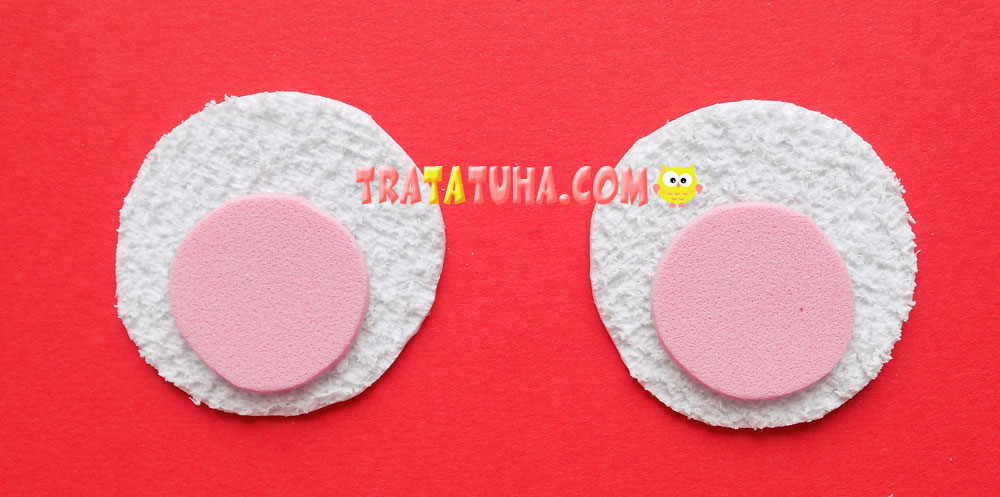
Cut out a couple more small circles from white foam to make blanks for the ears.
Glue smaller pink circles onto the white circles.
Attach the finished ears to the wrong side of the head in the upper part.
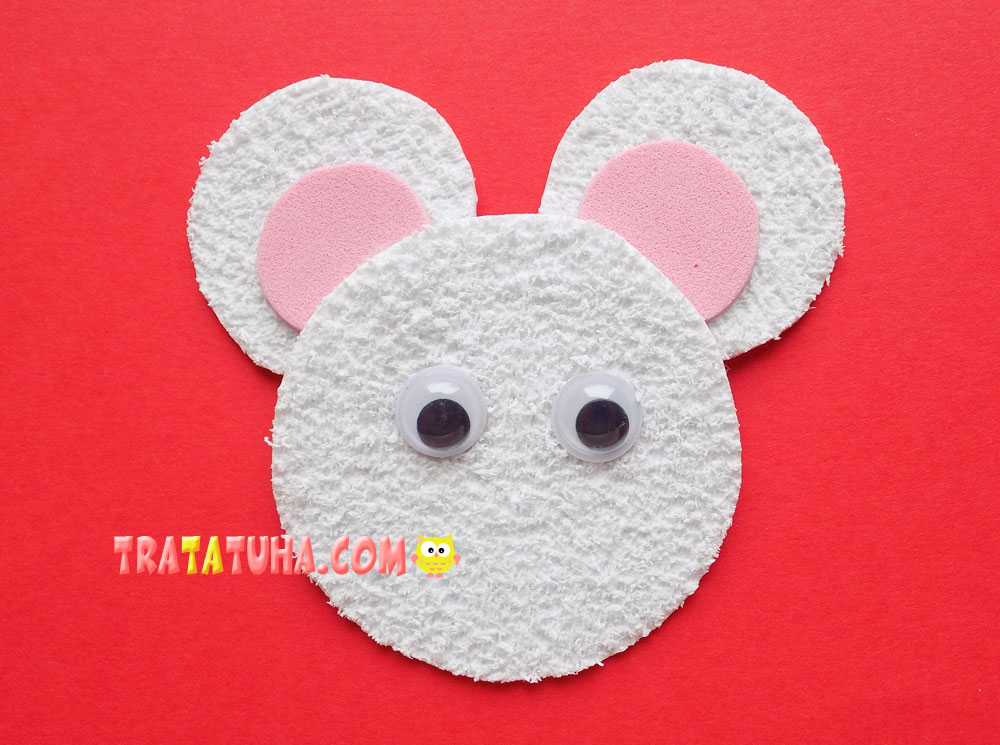
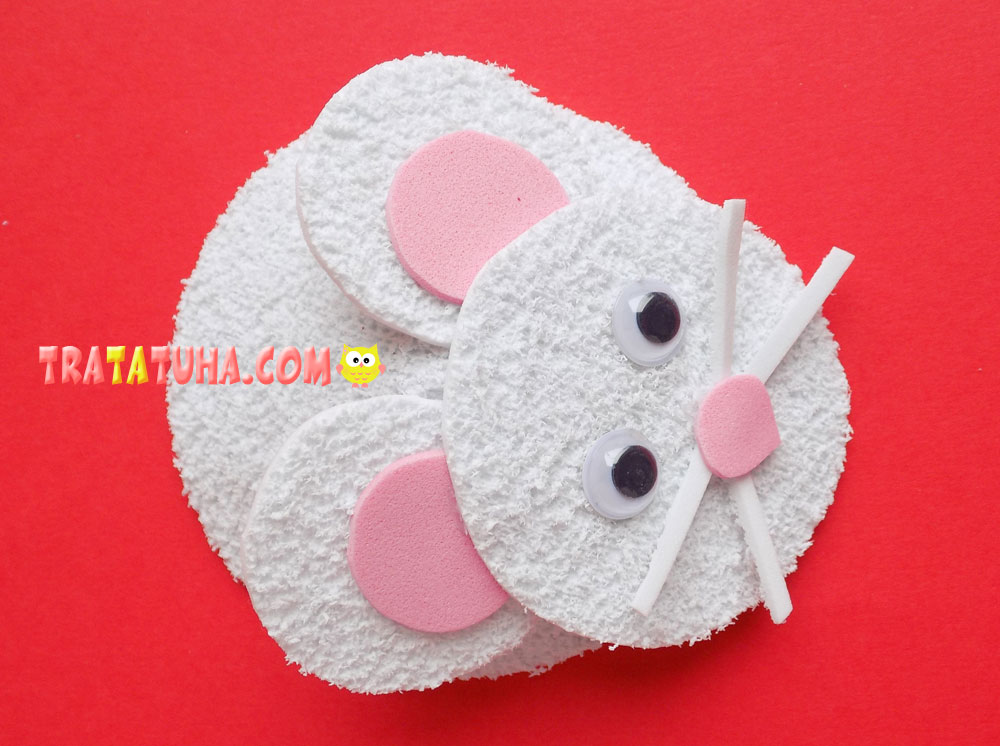
Add plastic wiggling eyes to the face.
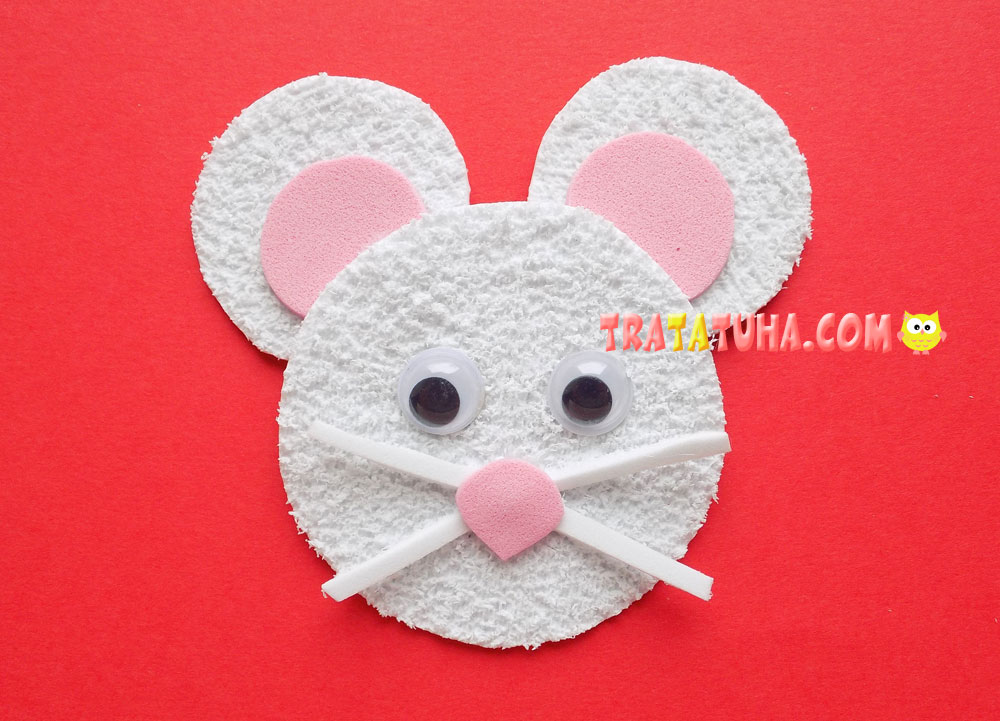
The antennae for the mouse are made of two thin strips of white foam, and the nose is made of pink. The mouse’s face is complete.
Secure the head to the body using a glue gun.
All that’s left is to add the tail. Cut it out of pink foam and glue it to the back.
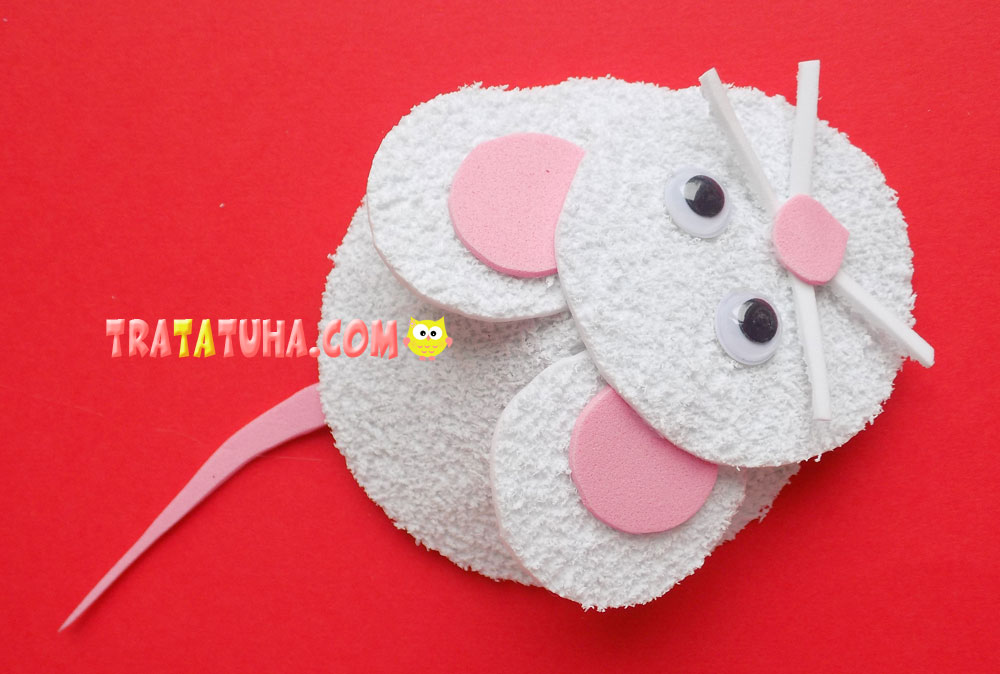
That’s it, the white foam mouse is ready. This is a wonderful children’s product, and just a fun toy, made with your own hands.
More ideas in the review — EVA Foam Crafts for Kids

Related Post: