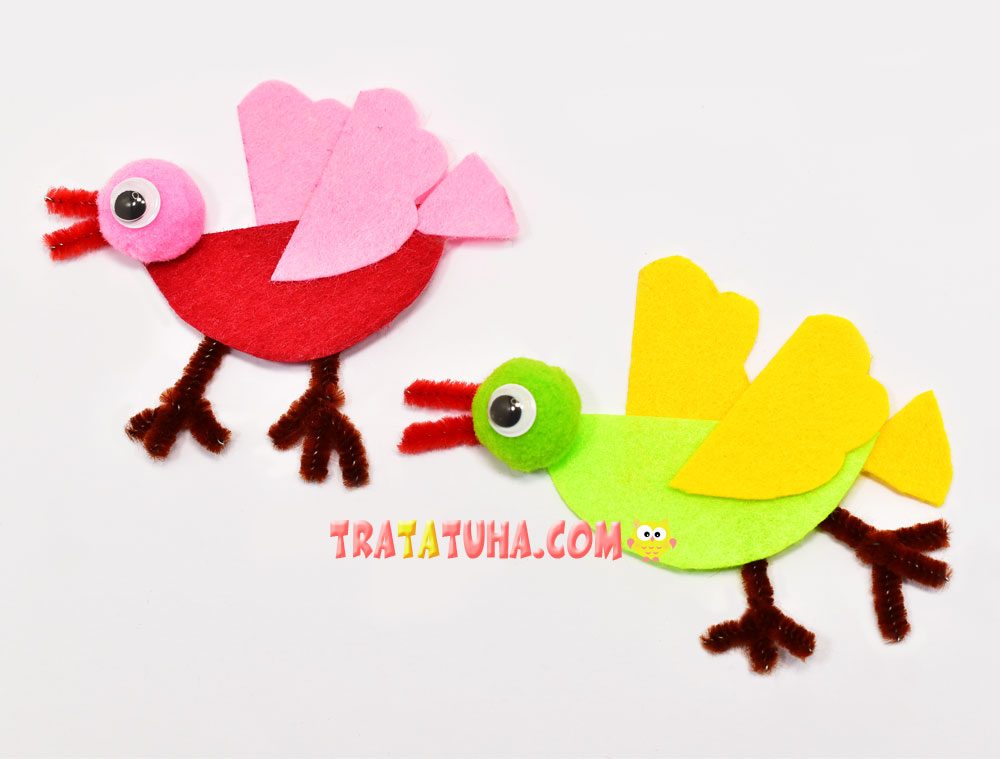
A simple felt bird for kids. In addition to these materials, you will also need pipe cleaner, pompoms and decorative eyes.
For such a bird, a pattern and special skills are not needed. The main thing is the availability of materials, and it is better to use dense felt. In the absence of thick felt, you can cut out two blanks of birds, and place cardboard in the middle between them.
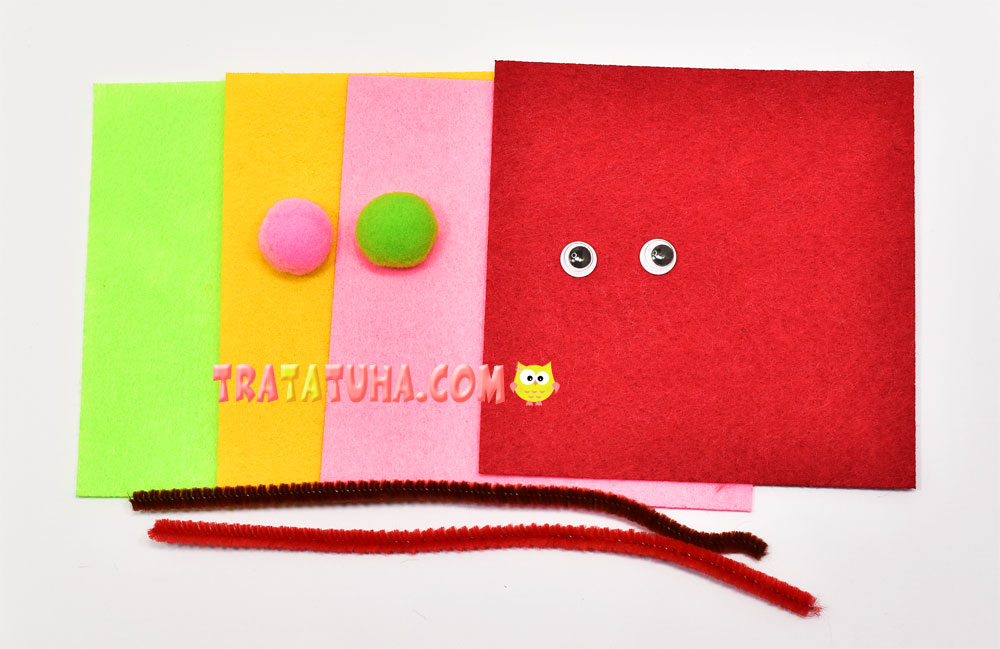
Materials for work:
- Felt of any desired color, and you can take different ones for the body and wings with a tail;
- Pipe cleaner for paws and beak;
- Pompom for the head;
- Scissors, heat gun.
Felt Bird Step by Step
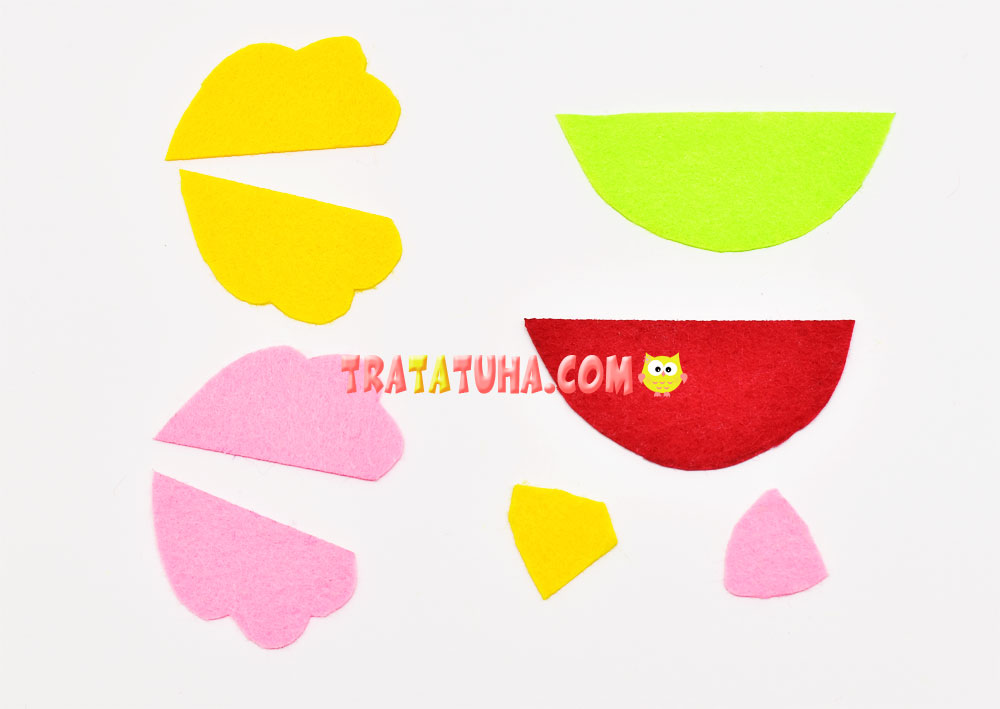
The tutorial consists of two birds of different colors. Therefore, there are twice as many prepared materials. For one bird, cut out of thick felt:
- Semicircle for the body;
- Two wings;
- Tail.
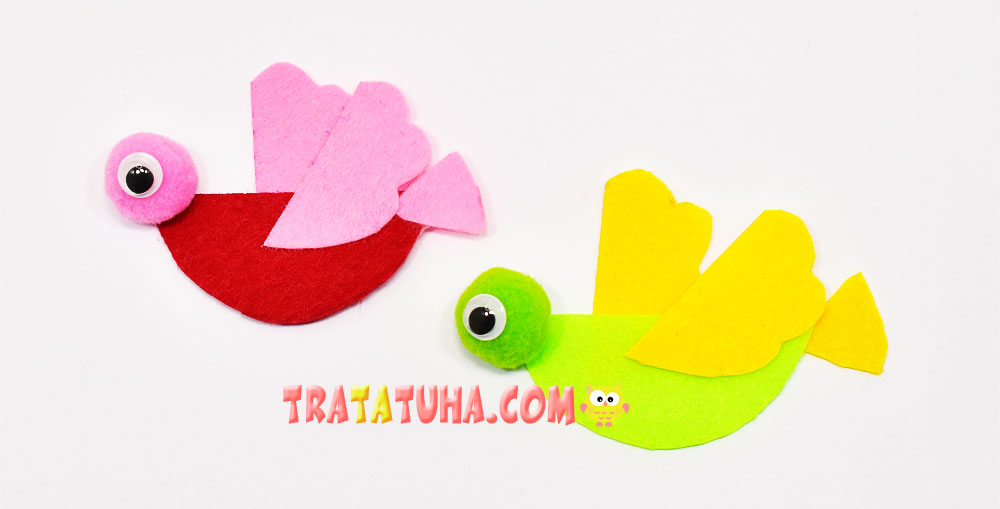
Glue the pom pom on one side of the semicircle with hot glue. Attach the wings on the sides, and the tail on the back. Add eyes on the sides of the head.
Cut off a small piece of pipe cleaner, fold it in half. Open the double side and glue to the pompom. To make the head look more natural on both sides, you can cut the pom-pom in half, glue the narrow part of the beak in the middle, and then glue the pom-pom halves to the sides of the bird’s body. From brown pipe cleaner, twist the paws and glue them at the bottom of the semicircle.

Everything, the felt bird is ready. It can be a separate craft or part of a voluminous collage.
See more ideas about felt crafts.
Crafts for Kids – learn how to make craft at home! Super cute crafts for all age groups!
