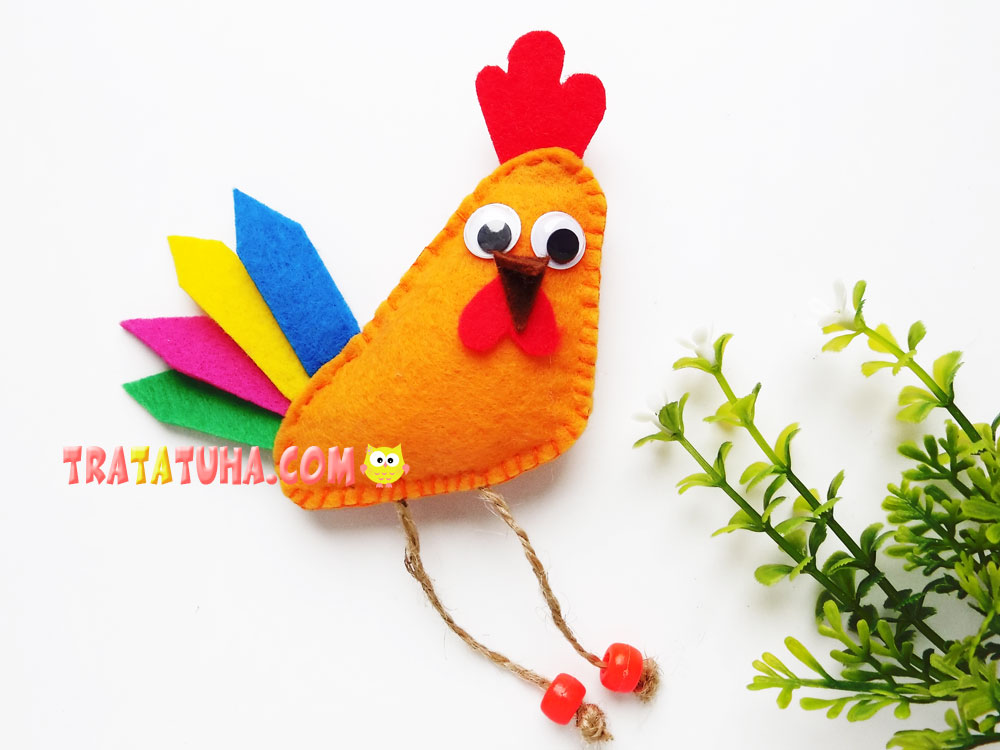
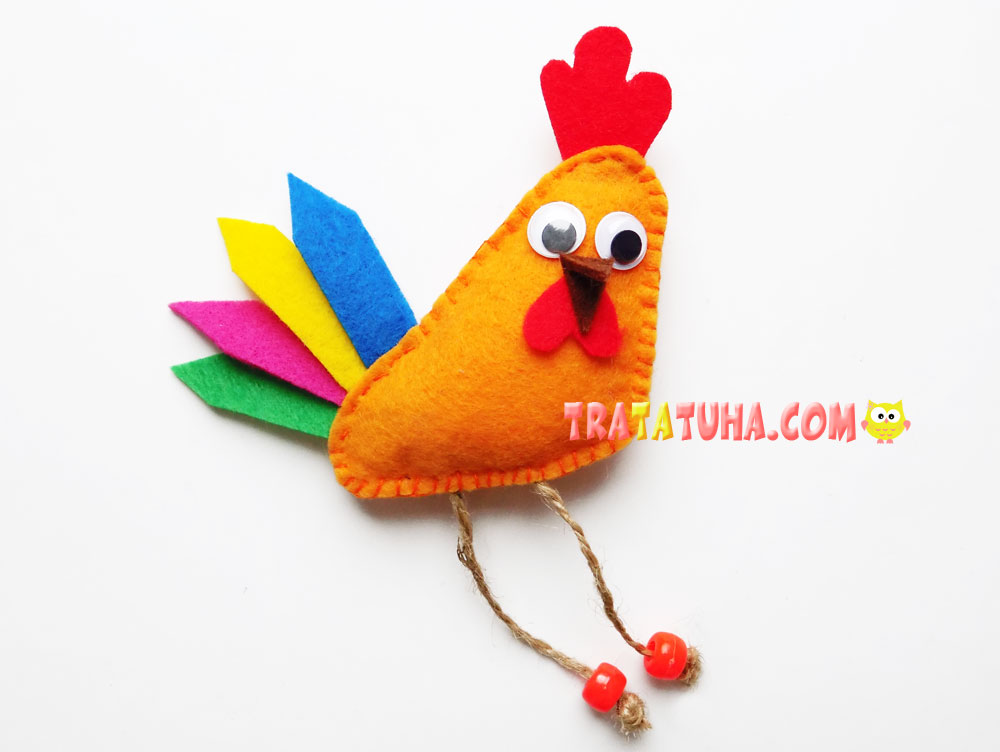
This tutorial presents a funny felt rooster. Creating this craft is not difficult if you follow our step by step photos.
You will need:
- felt of different colors;
- a needle and thread;
- large beads;
- decorative eyes;
- twine;
- scissors;
- filler;
- glue gun.

Felt Rooster: Stages of Work
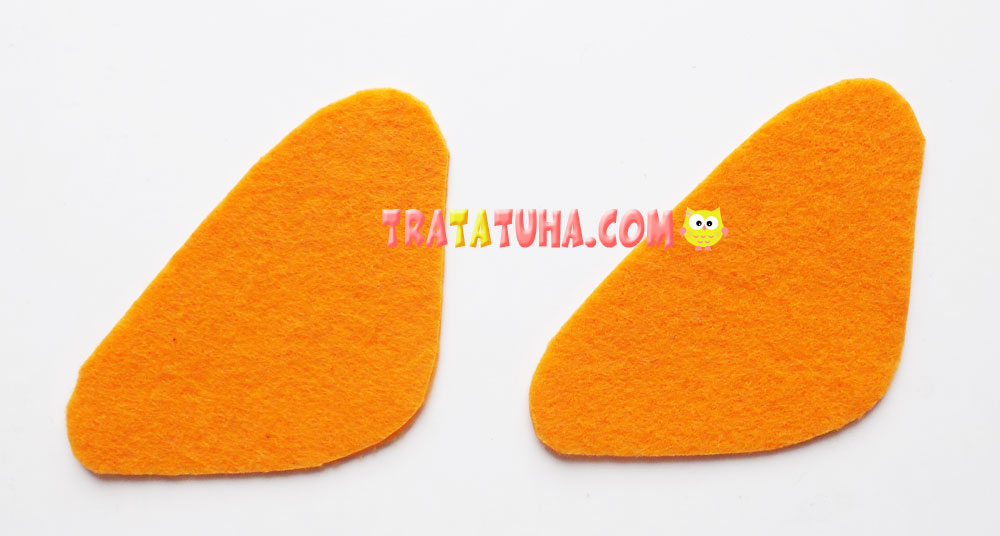
The basis for our rooster will be 2 blanks cut out of orange felt. We make them in the form of triangles with rounded corners.
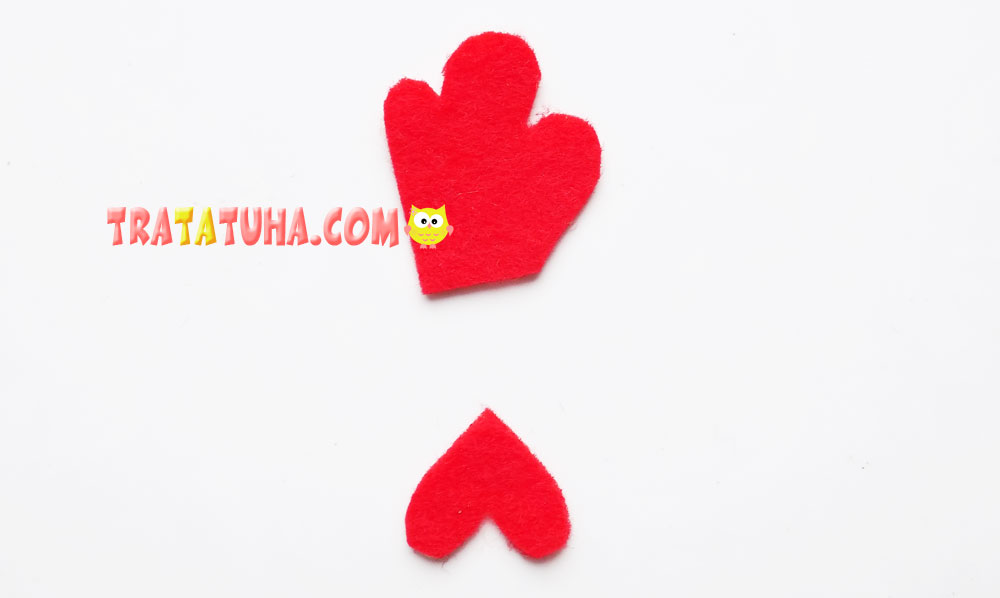
Preparing additional details. Cut out a comb and a beard from red felt.
For the tail of the rooster, cut out multi-colored stripes.
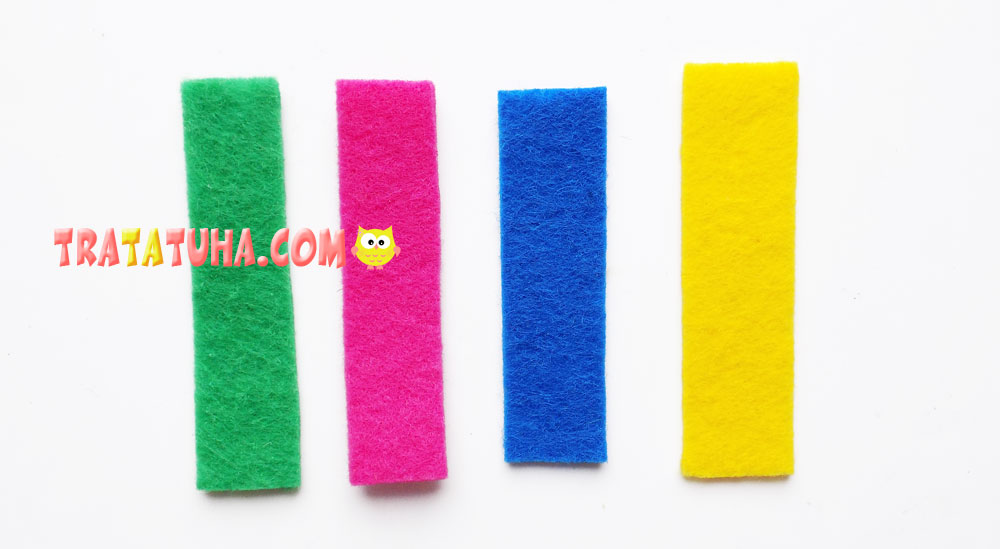
On the one hand, we will make these blanks sharp, forming a triangular edge with scissors.

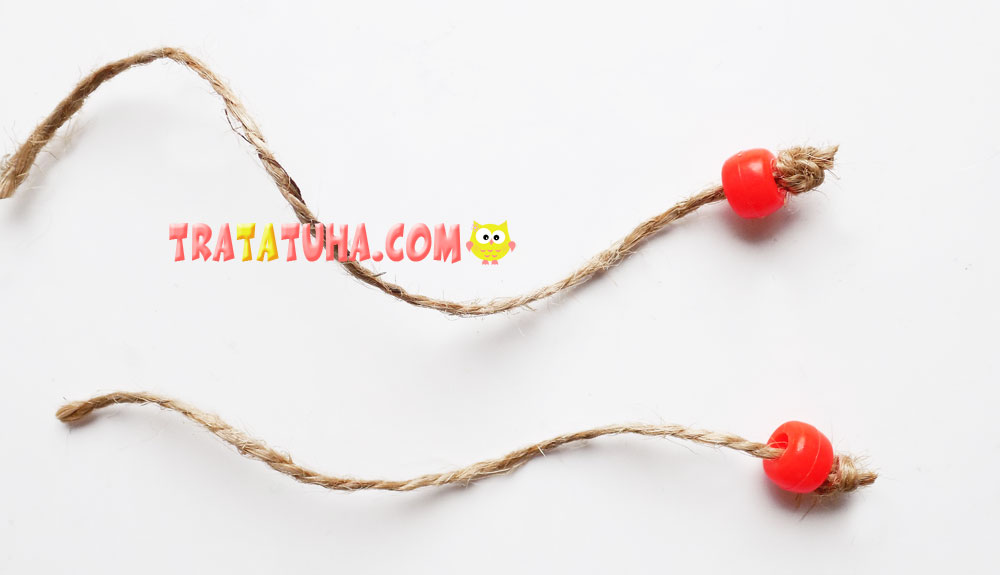
The legs of the bird will be made of two pieces of twine, at the ends of which beads are fixed.
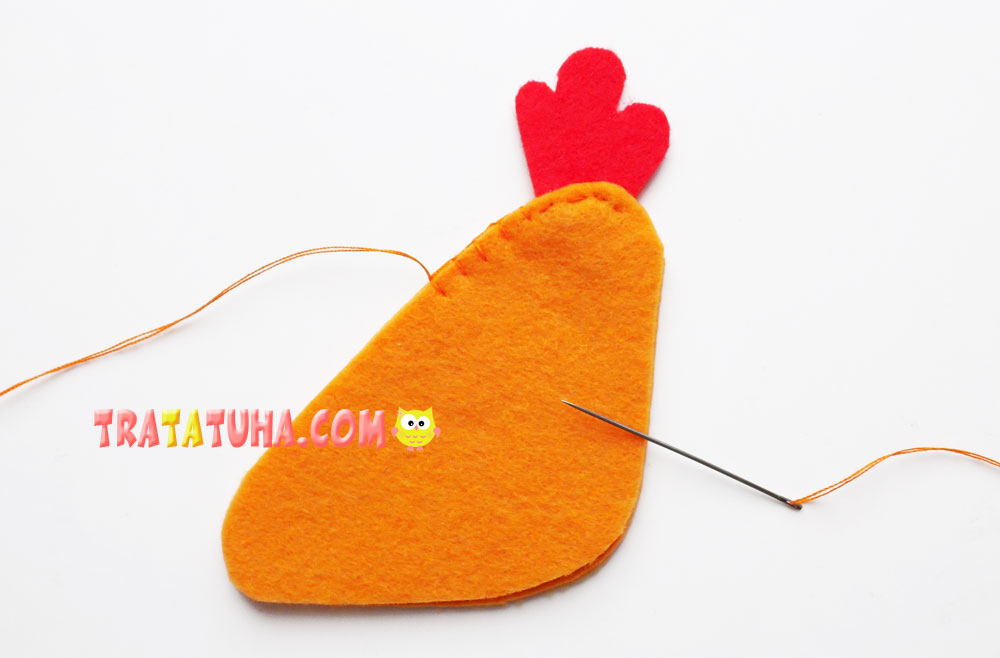
Now you can start stitching the two main orange parts. We use a needle and thread of the corresponding color for this. At the top of the craft we fix the red scallop.
We move on. Then we need to form the tail. To do this, we use previously cut multi-colored blanks. We fold them in the form of a fan and fasten with a needle and thread.
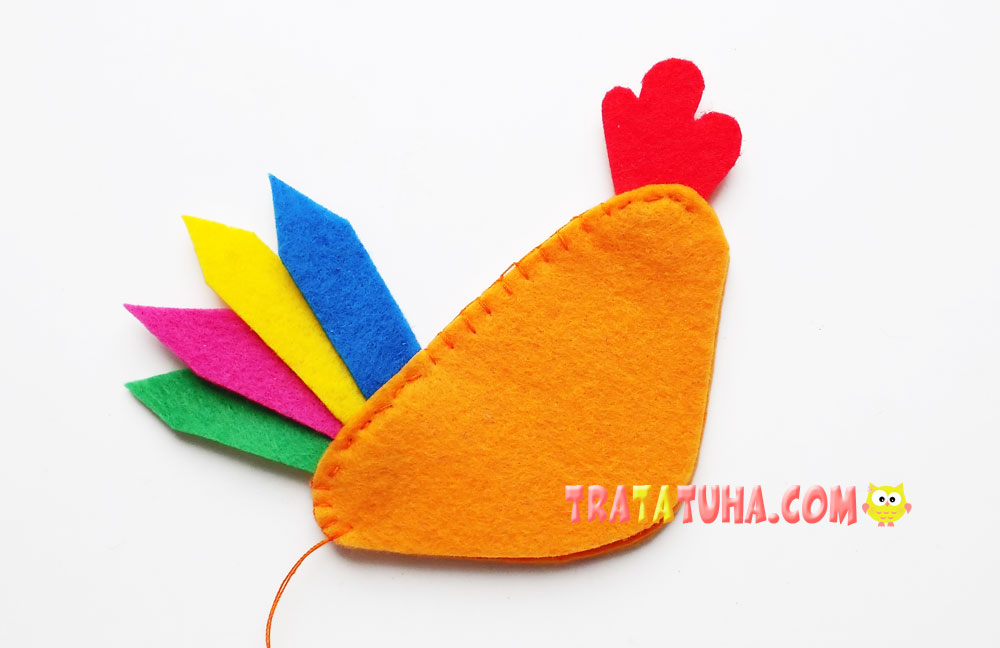
At the bottom of the craft, add paws.
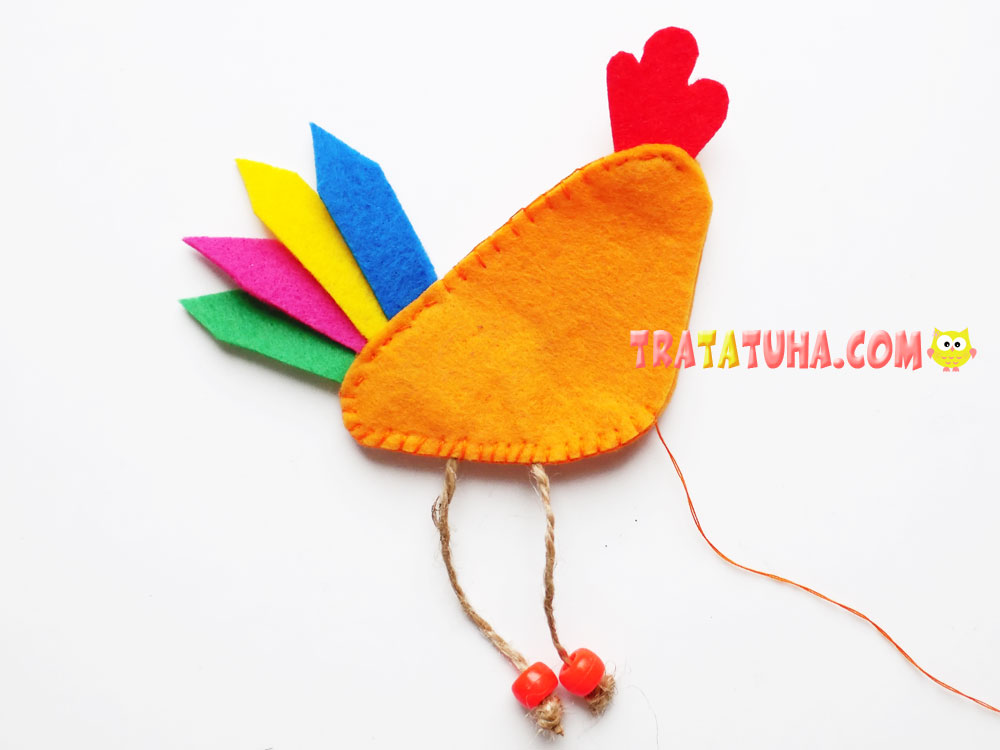
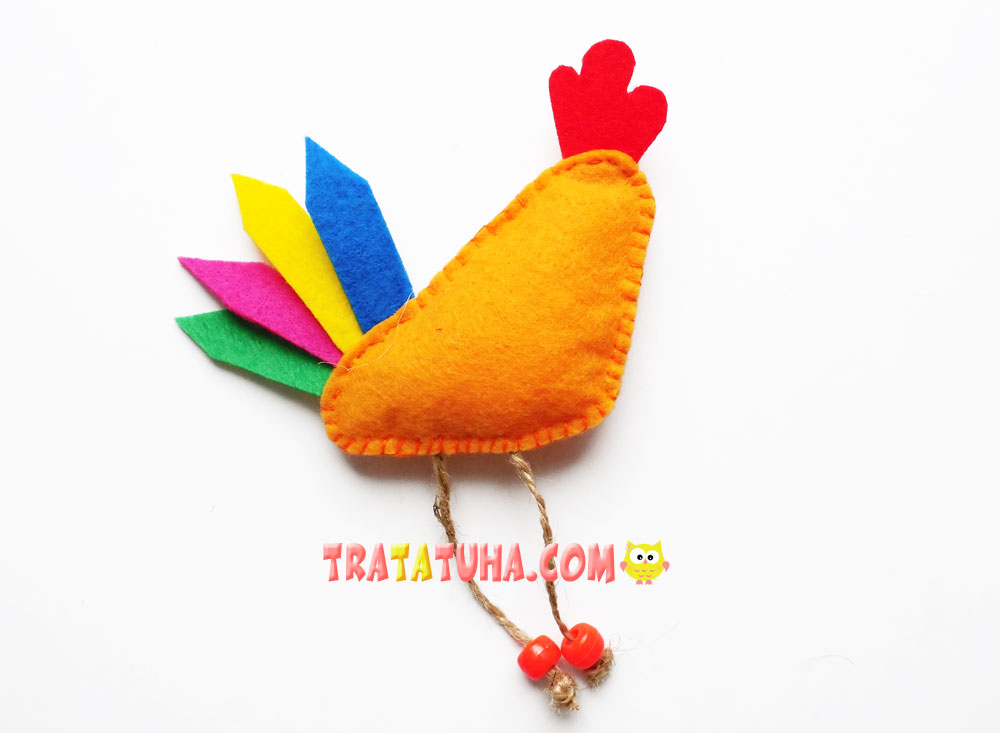
We sew along the edge further, but leave a small hole to add filler inside. After that, we sew the edge completely.
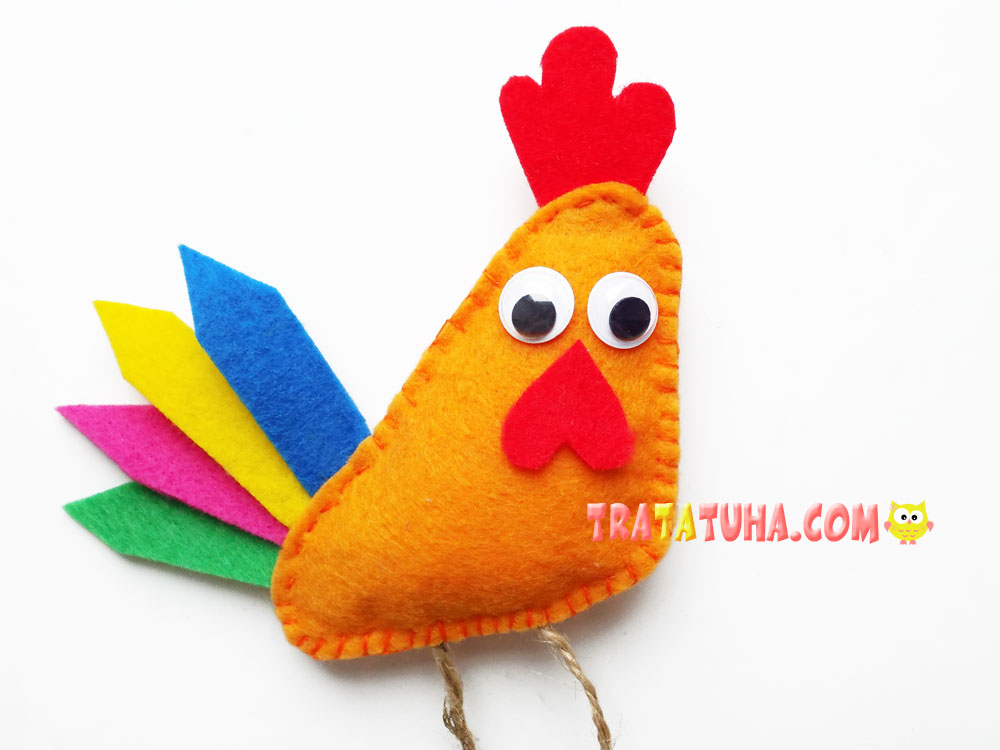
It remains to draw the muzzle of our rooster. Glue decorative eyes with movable pupils. We use hot glue to fix it.

Add a beard cut out of red felt in the shape of a heart.
Finally, glue the beak. We cut it out of brown felt in the shape of a small diamond, fold it in half and fix it with a glue gun.
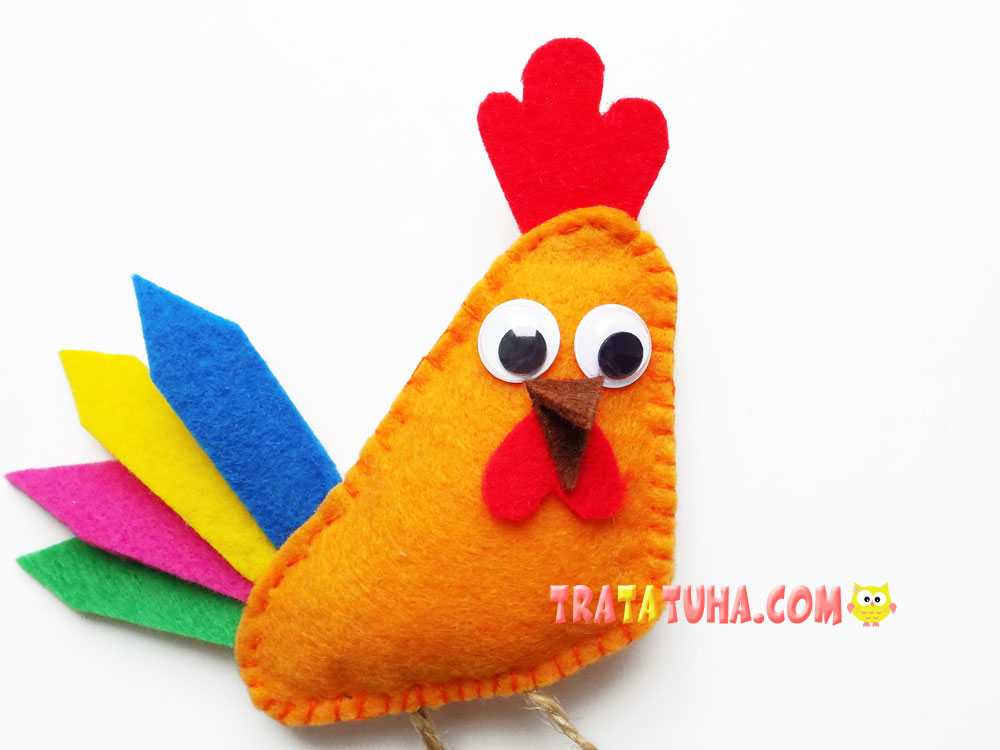
The felt rooster is ready.
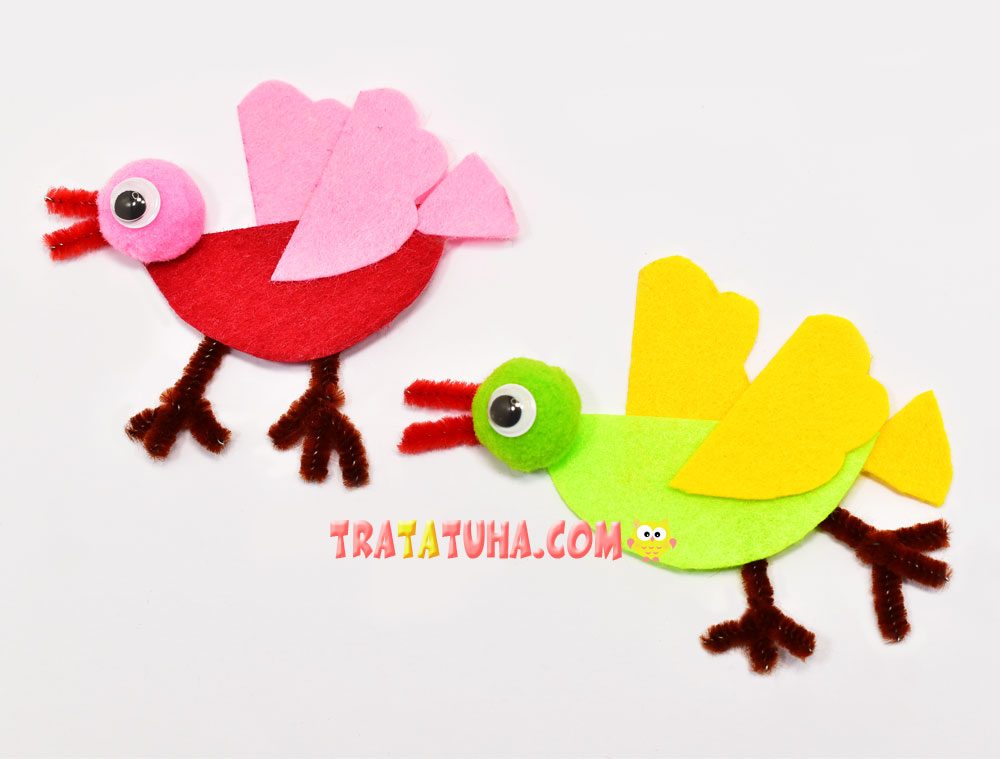
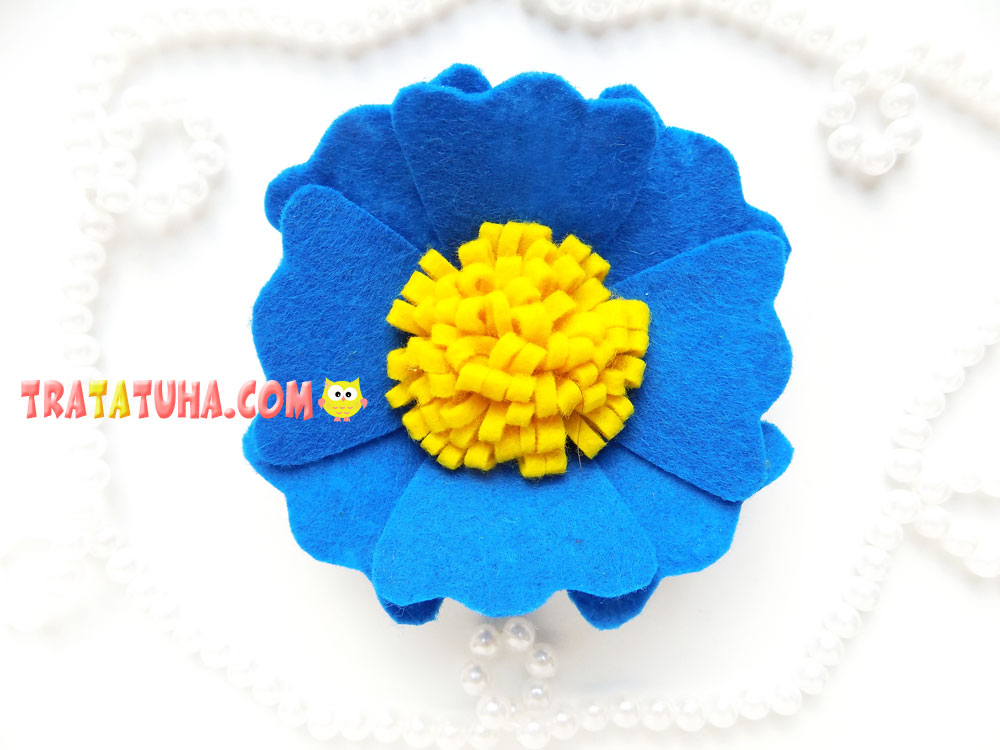
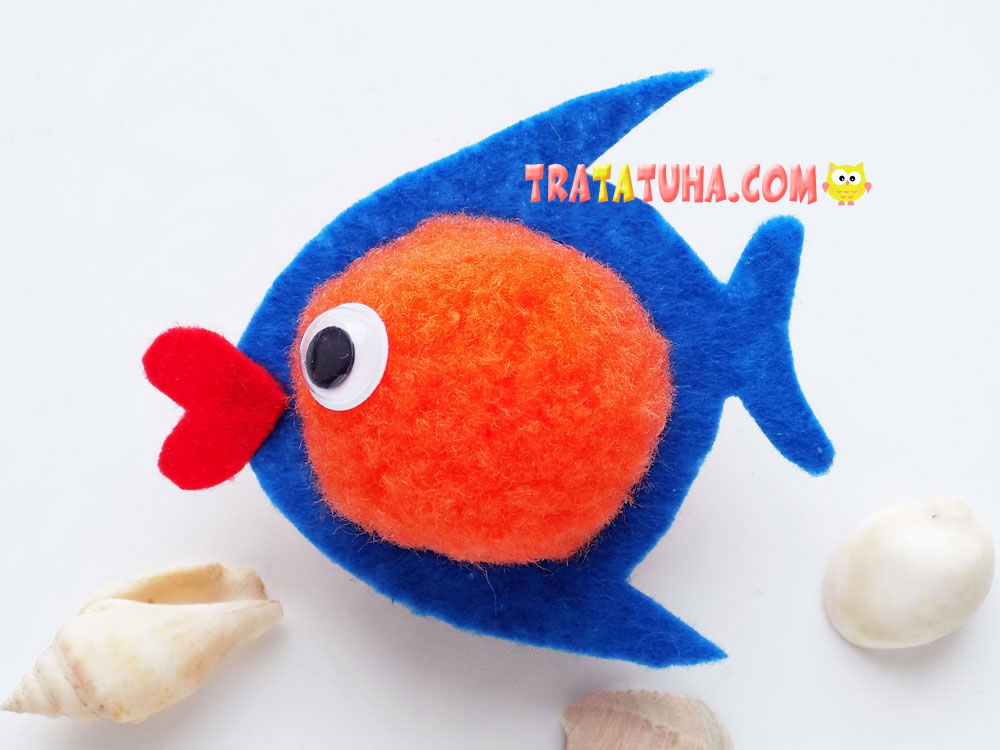
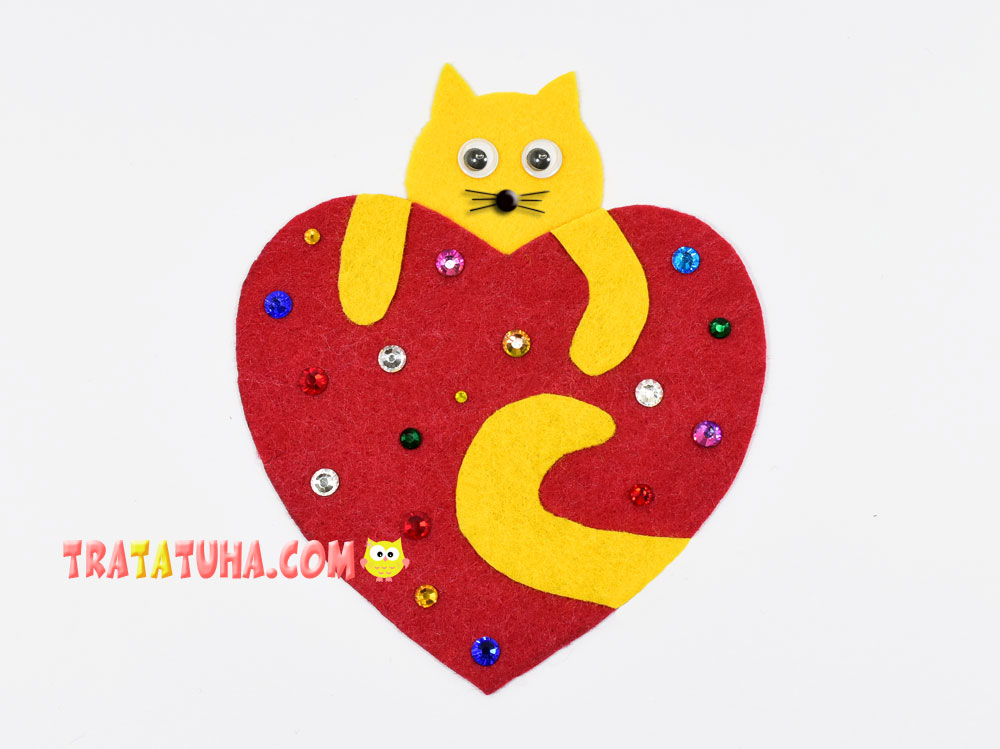
See more ideas about felt crafts.
Crafts for Kids – learn how to make craft at home! Super cute crafts for all age groups!
Related Post: