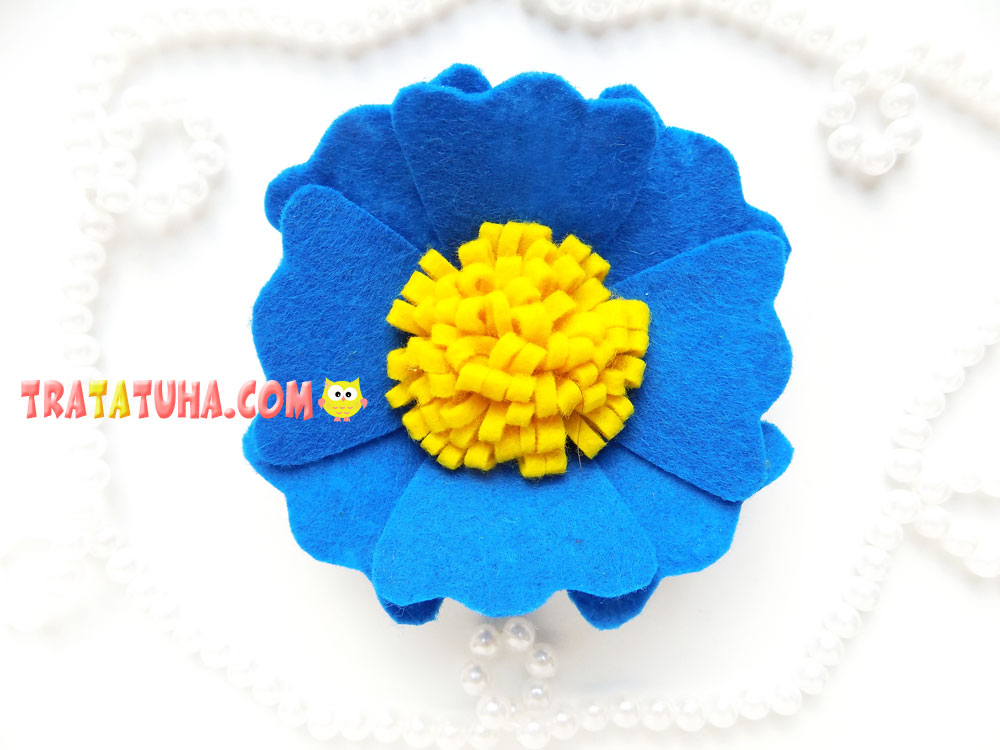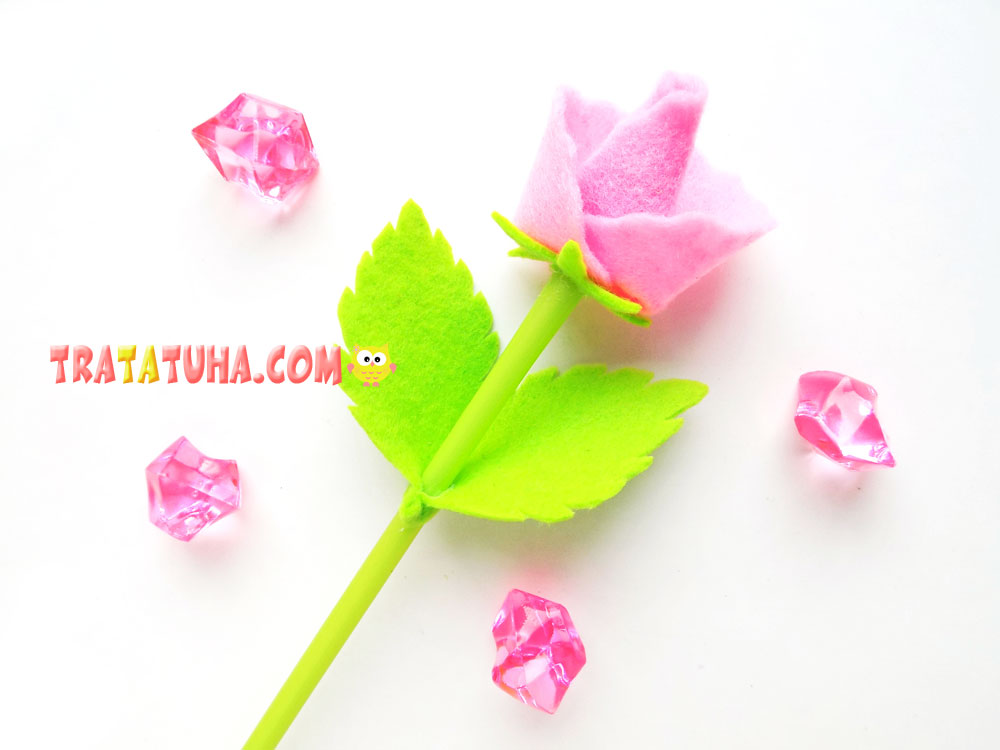
This tutorial presents easy felt rose. Showing all the stages of creating a flower through a photo.
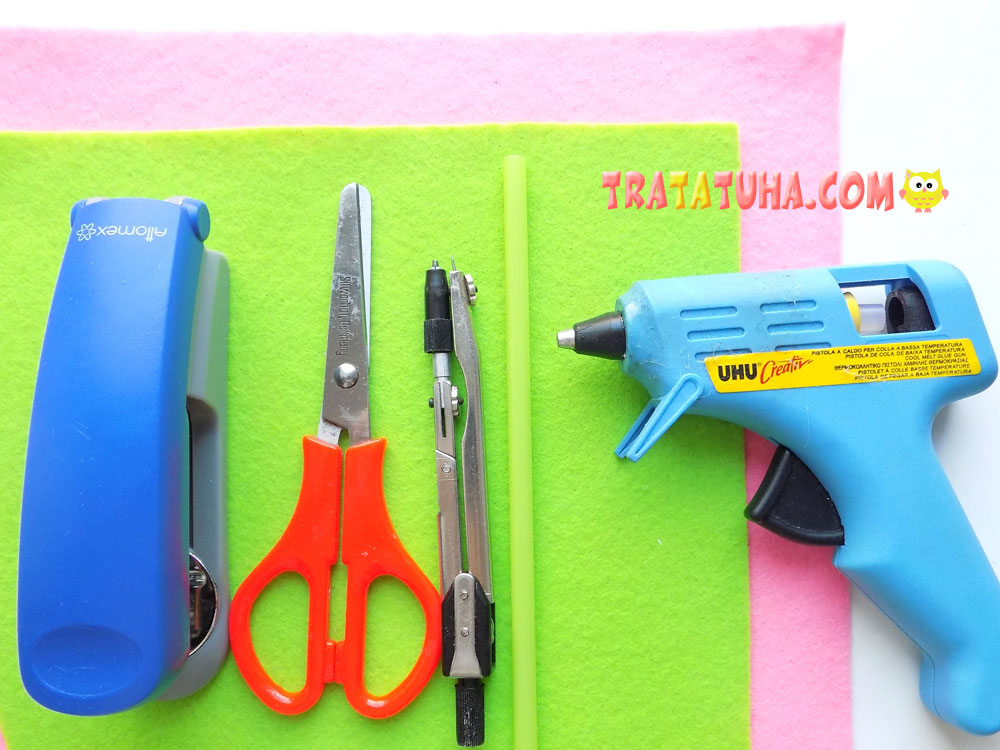
You will need:
- pink and light green felt;
- scissors;
- green drinking straw;
- glue gun;
- stapler;
- compass.
Felt Rose Step by Step
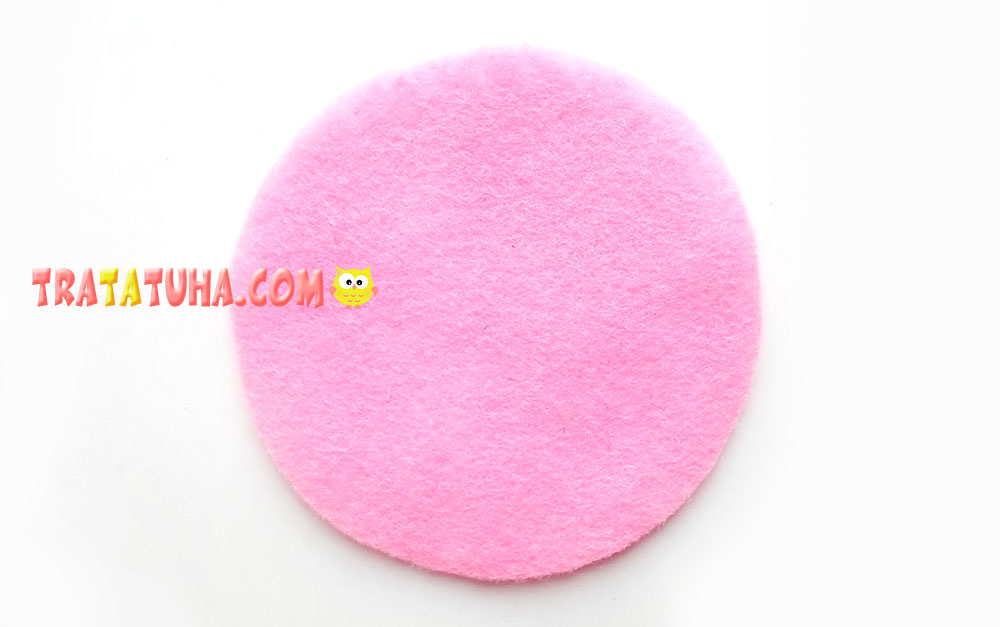
First, let’s make a blank for the future rose. To do this, you need to cut a circle out of pink felt. To make it even, we use a compass.
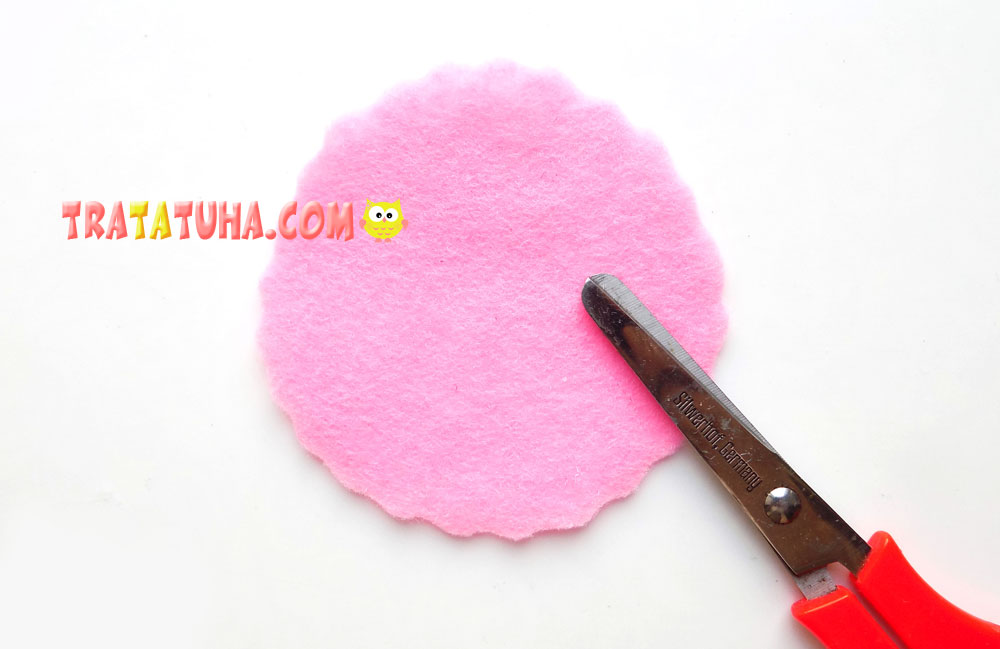
Then, with scissors, we make a wavy edge at this round blank.
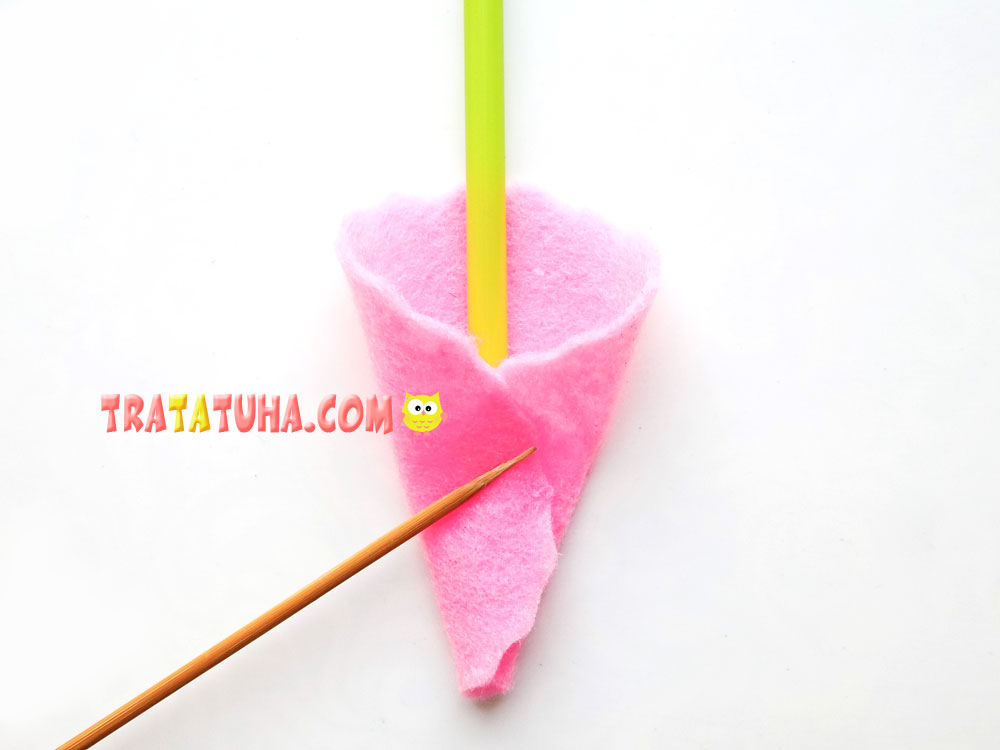
Then we bend the sides of this circle as follows. First, insert a green drinking straw inside.
Now you need to use a stapler to connect all the layers of the future flower blank.
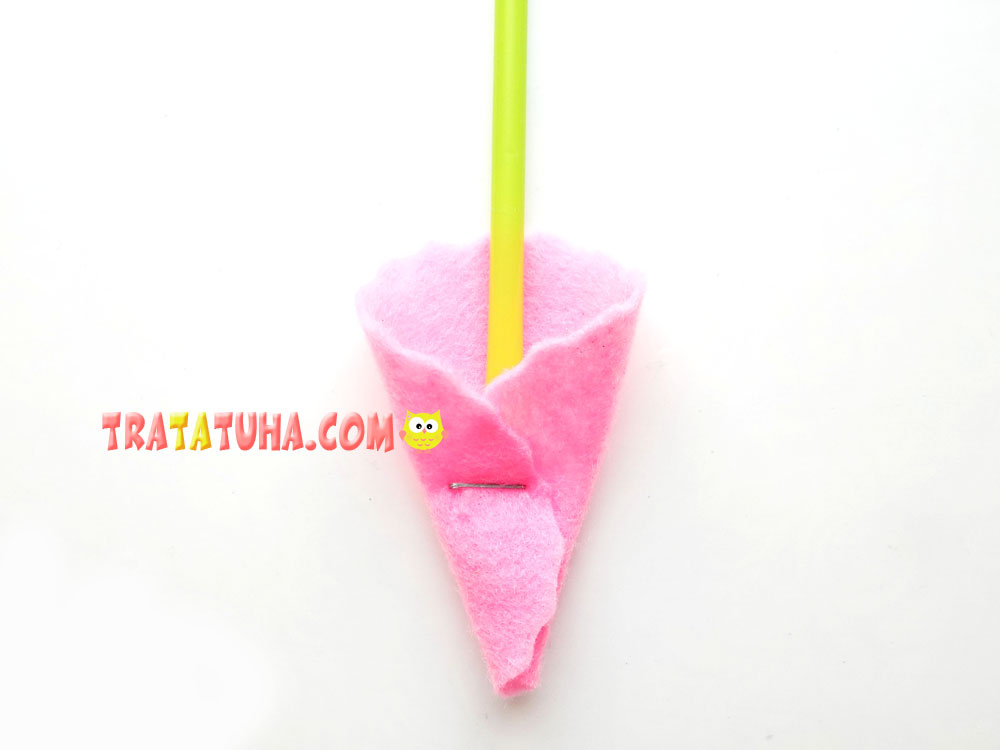
The wide part is then turned down. As a result, we get such a rose made of felt.
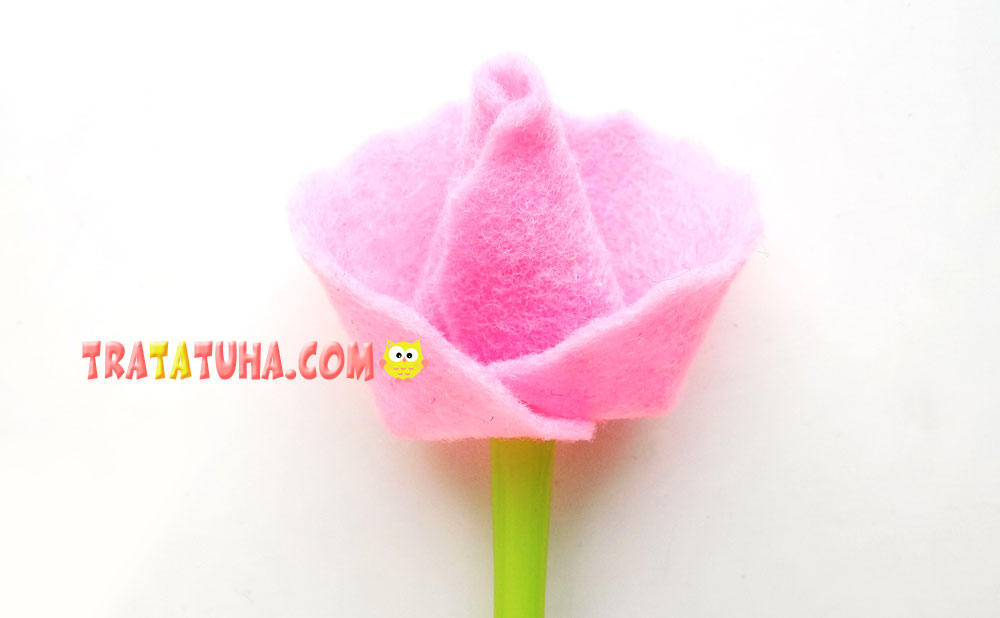
Next, we will work with light green felt. From it we cut out a blank for the sepal. Make a small incision in the center.
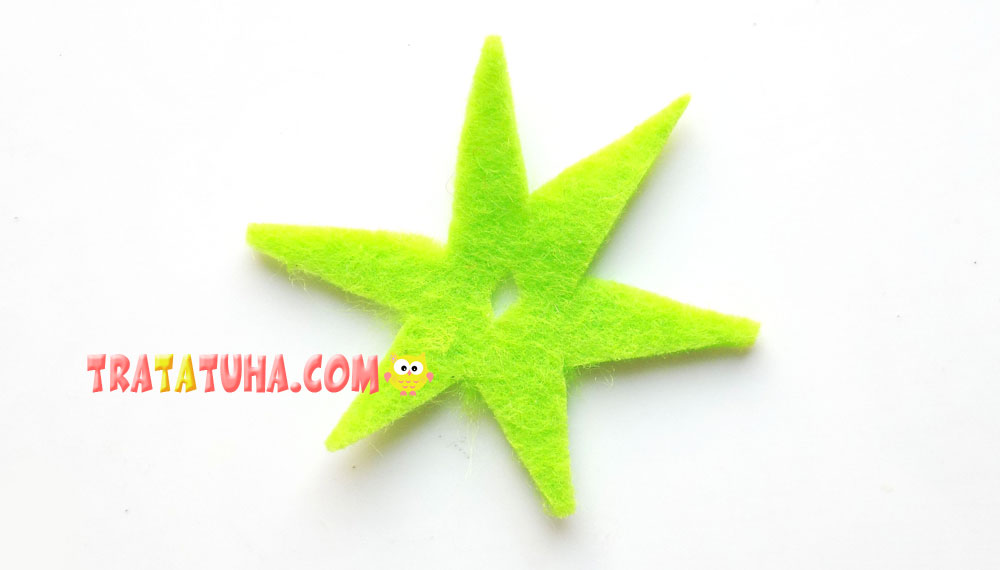
We put this salad blank on the drinking straw, which is the stem in our craft. Connect to the bottom of the pink flower with hot glue.
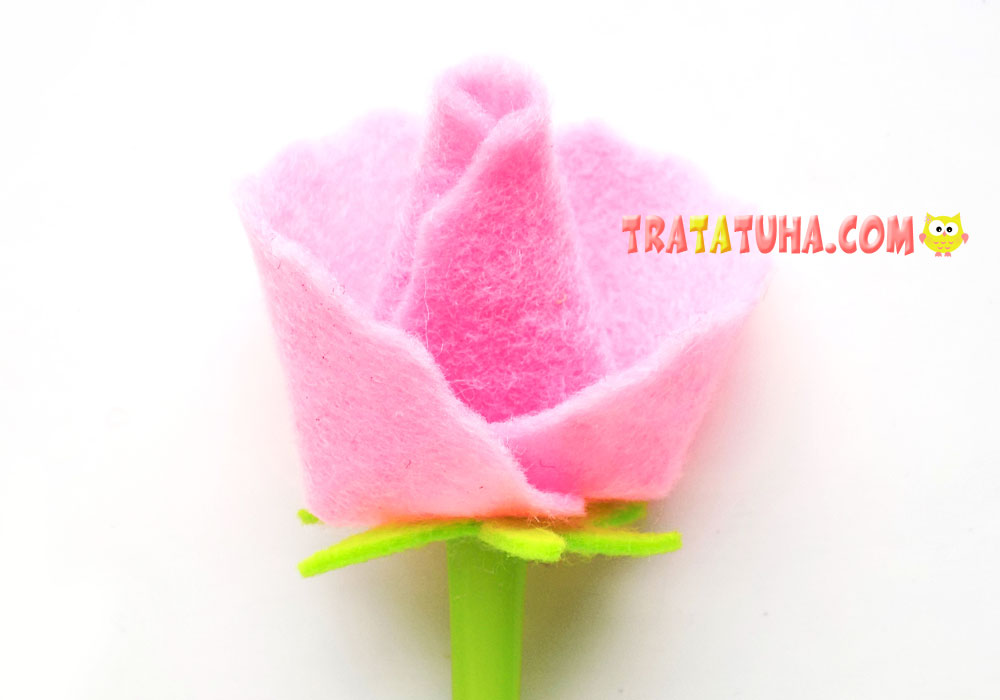
We cut out a couple of leaves from light green felt, they should be interconnected by a small jumper.
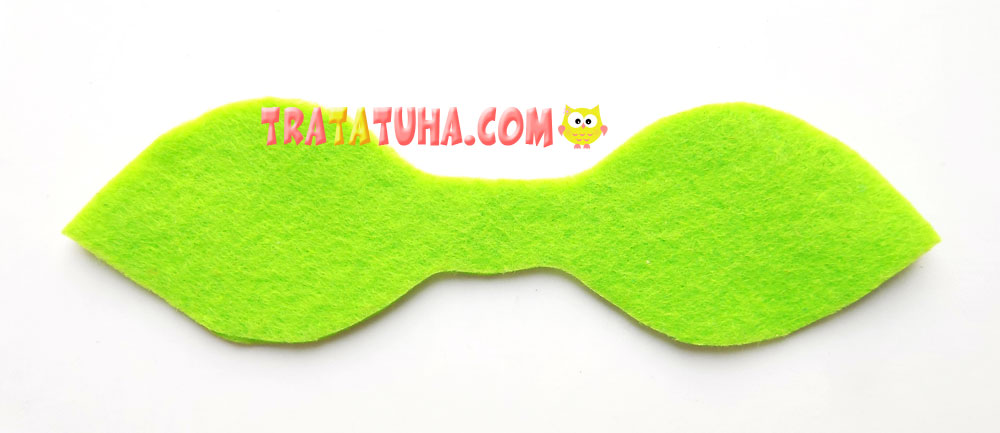
Scissors create a jagged edge of future leaves. We also make a small hole in the center of this blank.
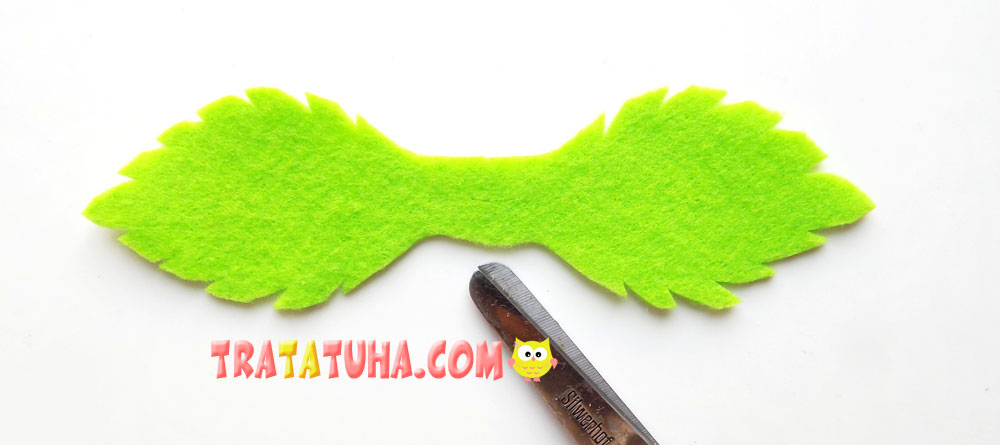
We string the leaves on the stem and fix with a glue gun.
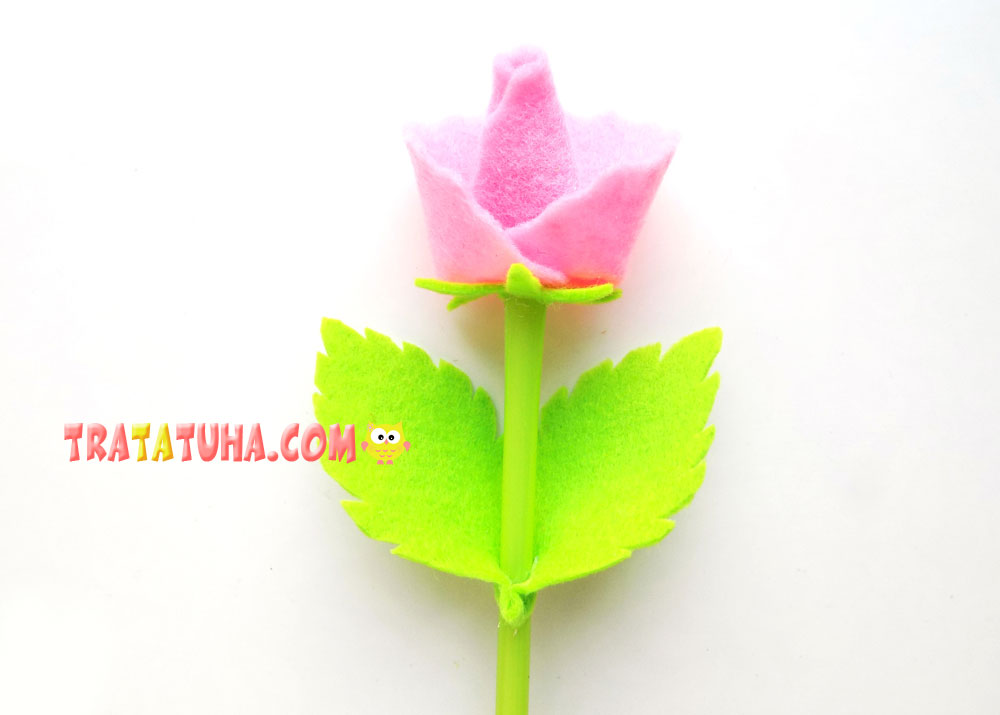
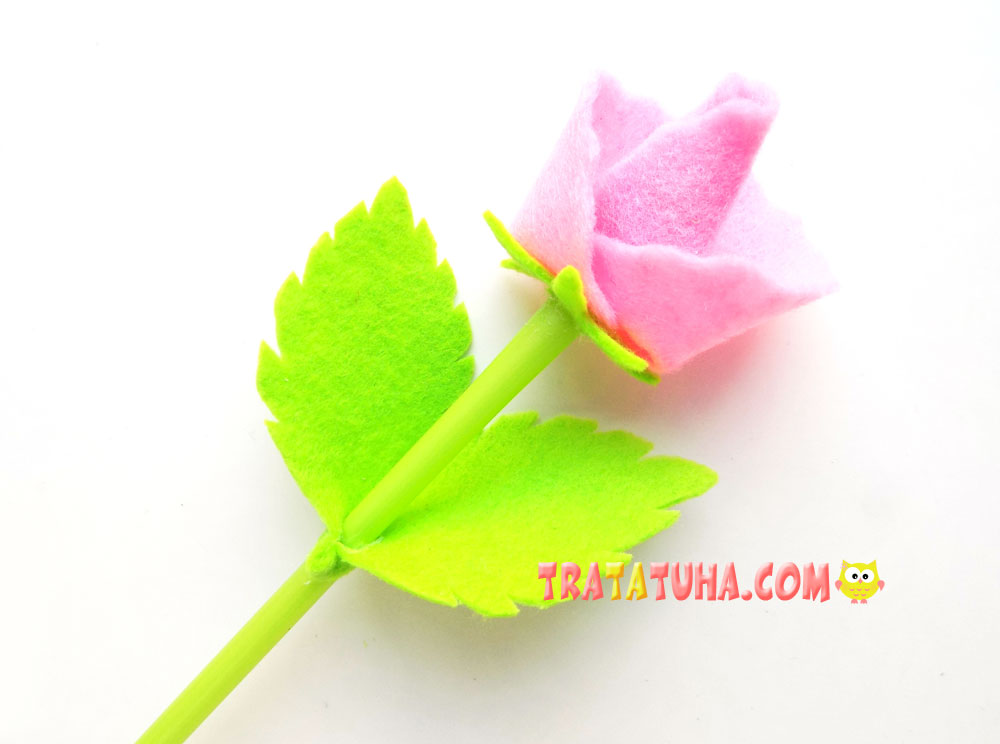
Felt rose is ready.
See more ideas about felt crafts.
Crafts for Kids – learn how to make craft at home! Super cute crafts for all age groups!
