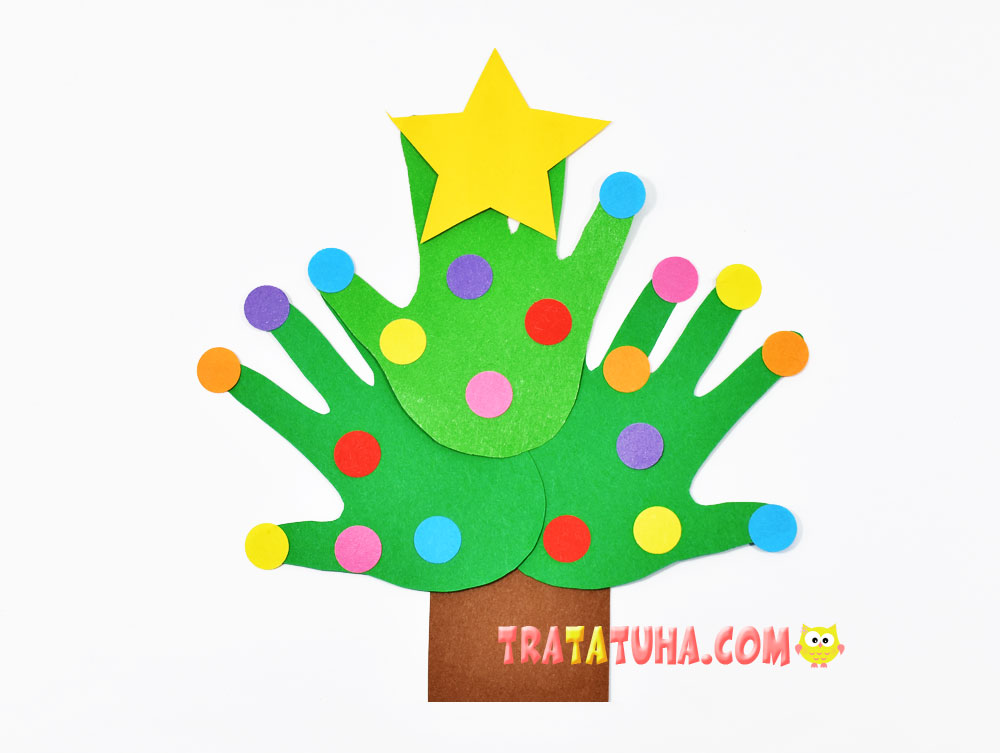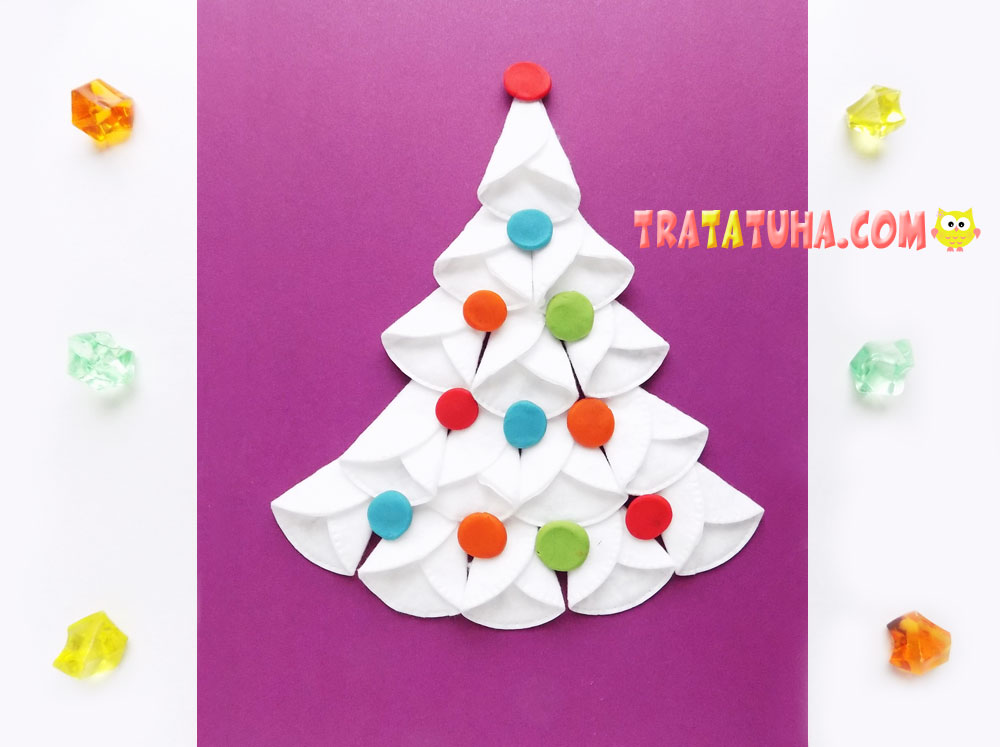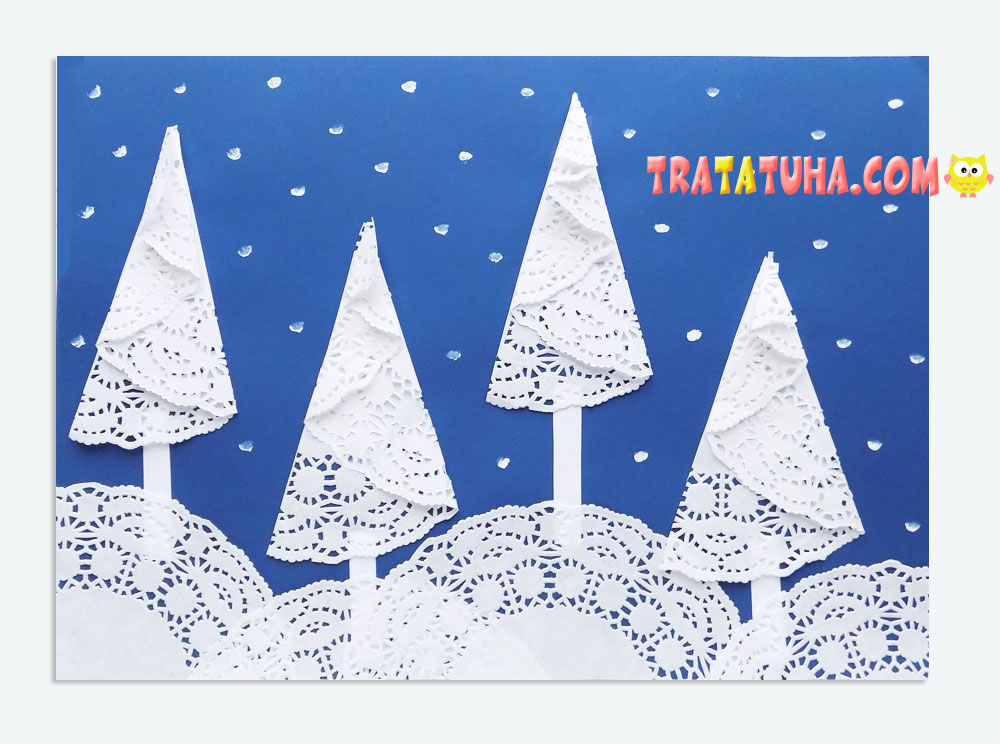
A bright and beautiful handprint Christmas tree can be done even by young children. The craft always succeeds, the Christmas tree looks festive and magnificent.
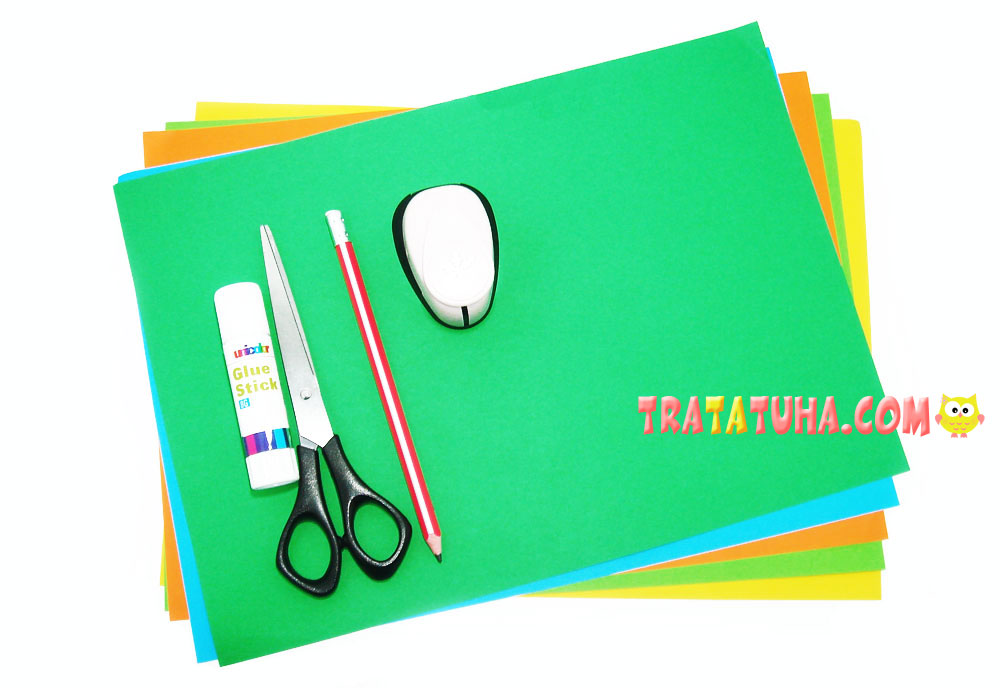
For work you will need the following materials:
- Colored paper in green, closely related shades. For the bulk of the Christmas tree and brightness, you can add yellow and blue;
- Cardboard to which you will need to glue your handprint;
- Scissors, a simple pencil, glue stick;
- Composter with any pattern to decorate the Christmas tree. Or you can cut out simple peas if the children are very small, stars, rhombuses if the children are older. Alternatively, the Christmas tree can be dressed up with ready-made decor: sequins, stickers.
Handprint Christmas Tree Step by Step
Training
Since the basis of the Christmas tree is children’s hands, they need to be circled on colored paper and cut out. But this option is more suitable for a group application, where each child cuts out his palm, and then they are assembled into a Christmas tree. If the child makes the whole Christmas tree himself, then it is better to fold the paper and cut out several hands at once.
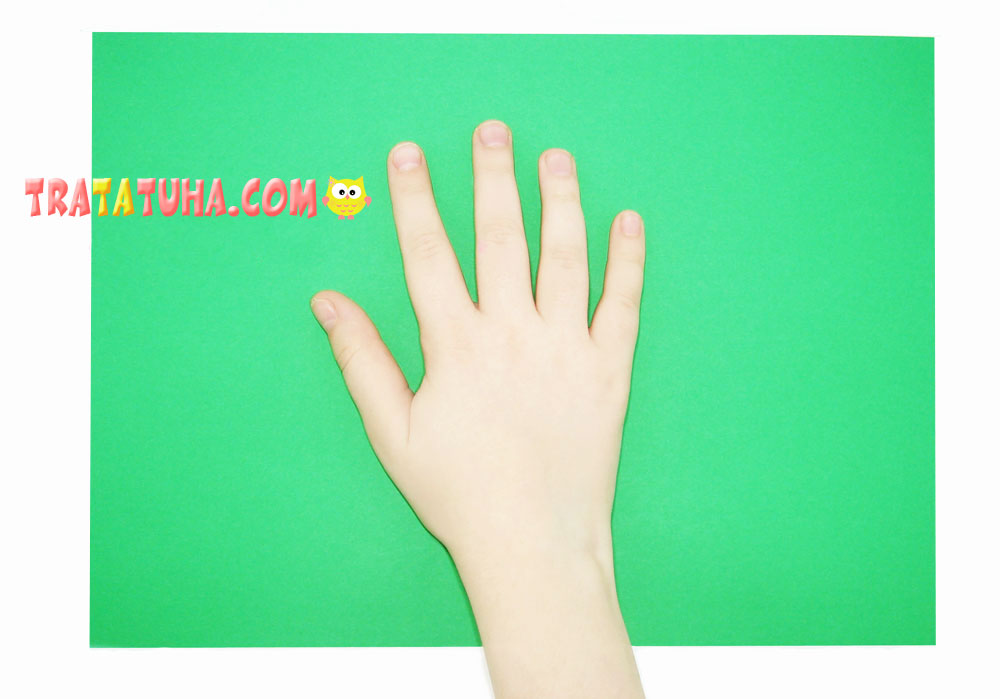
For this work, it took 10 hands.
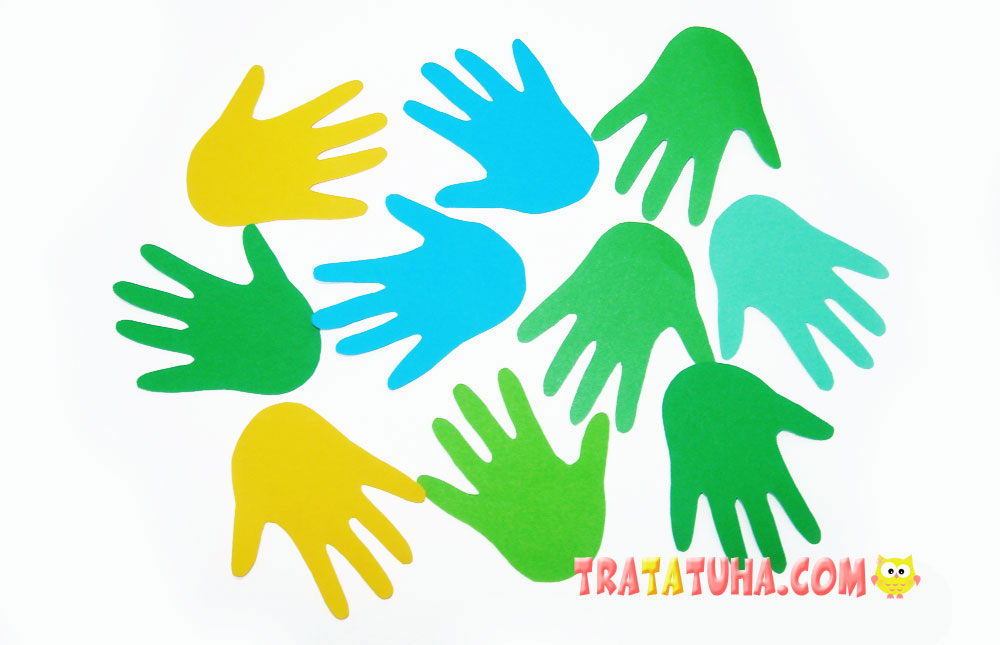
Assembling a Christmas tree
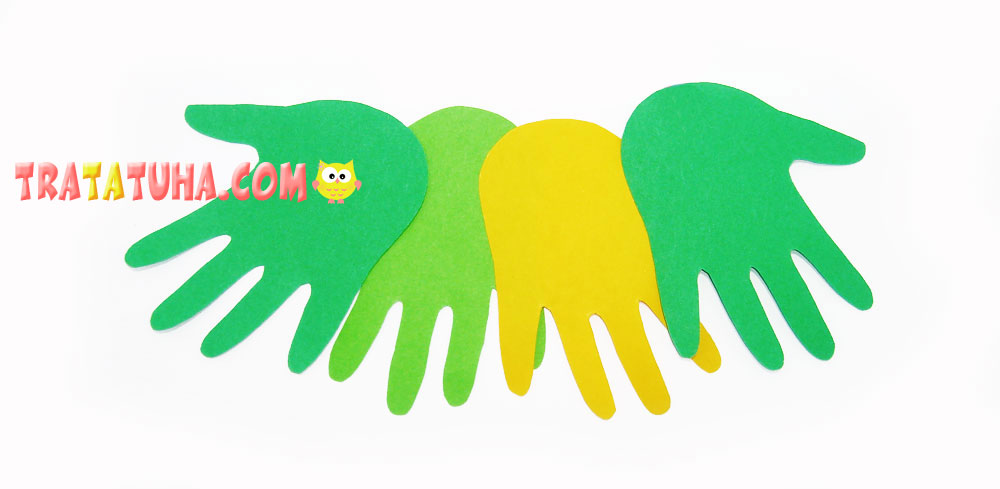
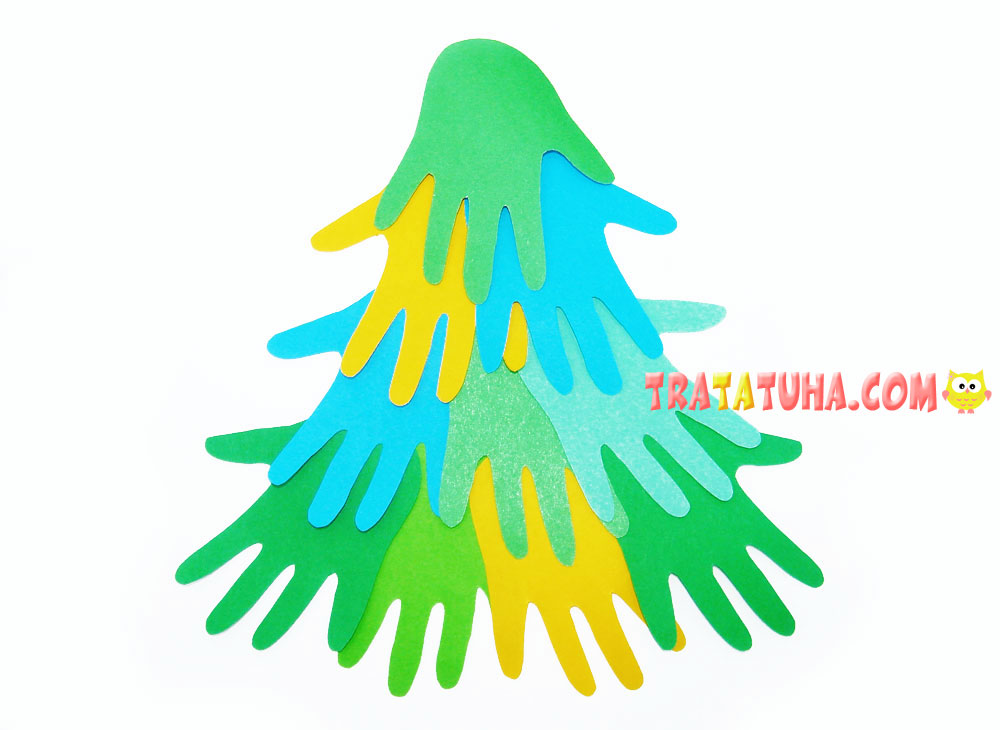
All hands need to be glued in descending order with fingers down: the first row is 4 hands, then 3, 2 and one more, preferably green, to the very top. But even without adhering to this order, you will get an excellent Christmas tree, especially if there are a lot of hands. It is best to glue on cardboard, and its shade is already selected at its own discretion. Different will suit: white, blue, blue, yellow, etc.
The branches are glued, the handprint Christmas tree is ready. Now it’s time to dress her up.
In this case, these are multi-colored snowflakes created using a figure composter. At the top, as is customary, a yellow star flaunts.

