Looking for options on how to draw a ladybug? I offer 4 simple step-by-step drawing schemes, from the simplest for kids to the original and funny.
For work you will need:
- A simple pencil;
- Eraser;
- Compass;
- Colored pencils, felt-tip pens, paints of your choice.
How to Draw a Ladybug — Step 1

A cute ladybug that kids can easily draw. Follow the step-by-step review and everything will definitely work out. You should draw with a pencil, with light movements, without pressure. Subsequently, it will be necessary to erase unnecessary lines, and in order to do this easily, the pencil drawing should be very weak and pale.
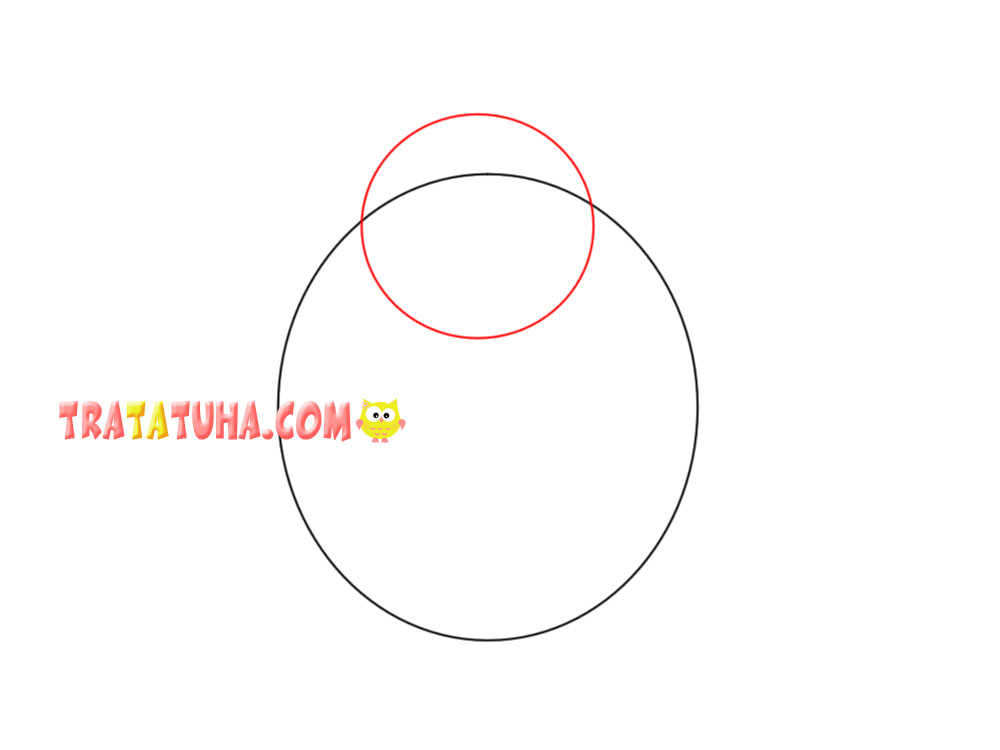
Draw a slightly oval circle. If desired, the oval can be replaced with a circle by drawing it with a compass, as an option, circle a rounded object with a pencil.

Add a smaller circle on top, it’s in red. Note that the new contours added to the previous ones are indicated in red.
Divide the shell into two parts and draw lines – semicircular above, diverging below. Toddlers can draw one line dividing the shell in half.
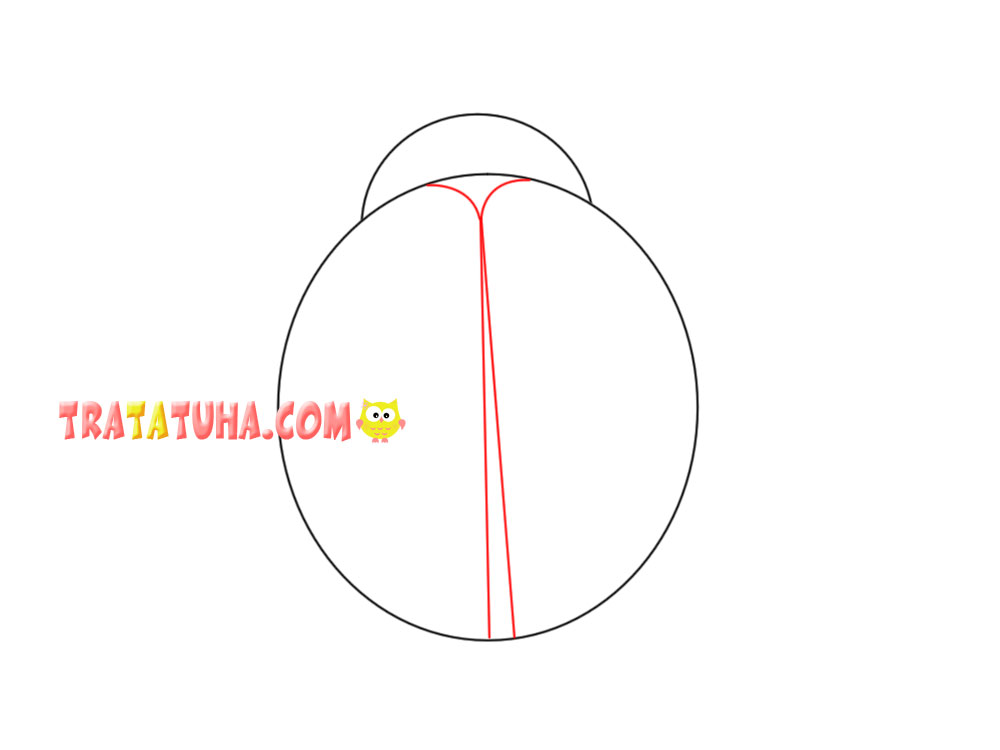
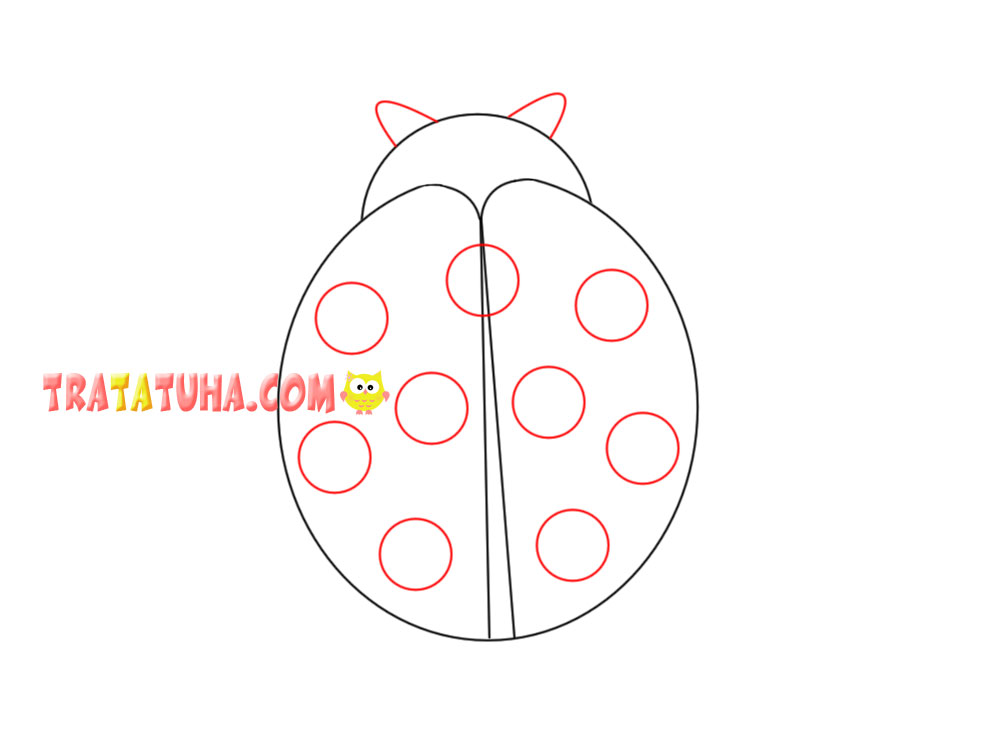
Erase the unnecessary line from above, draw the antennae and circles on the shell of the ladybug.
Add eyes.

Erase the line crossing them with an eraser.
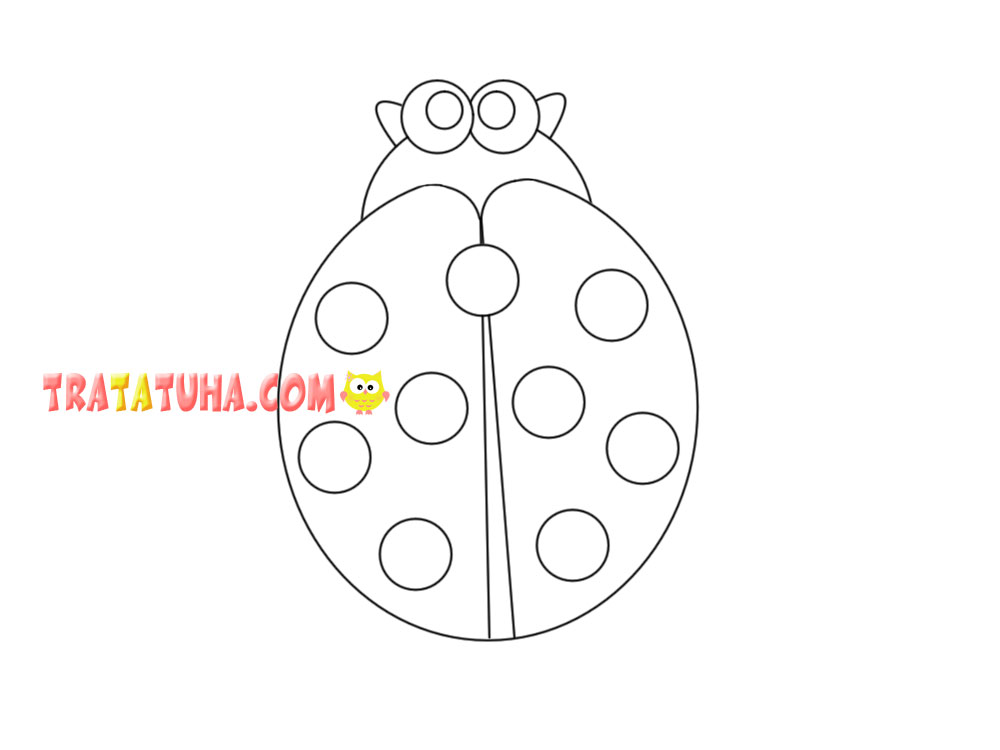
Draw small paws on the sides.
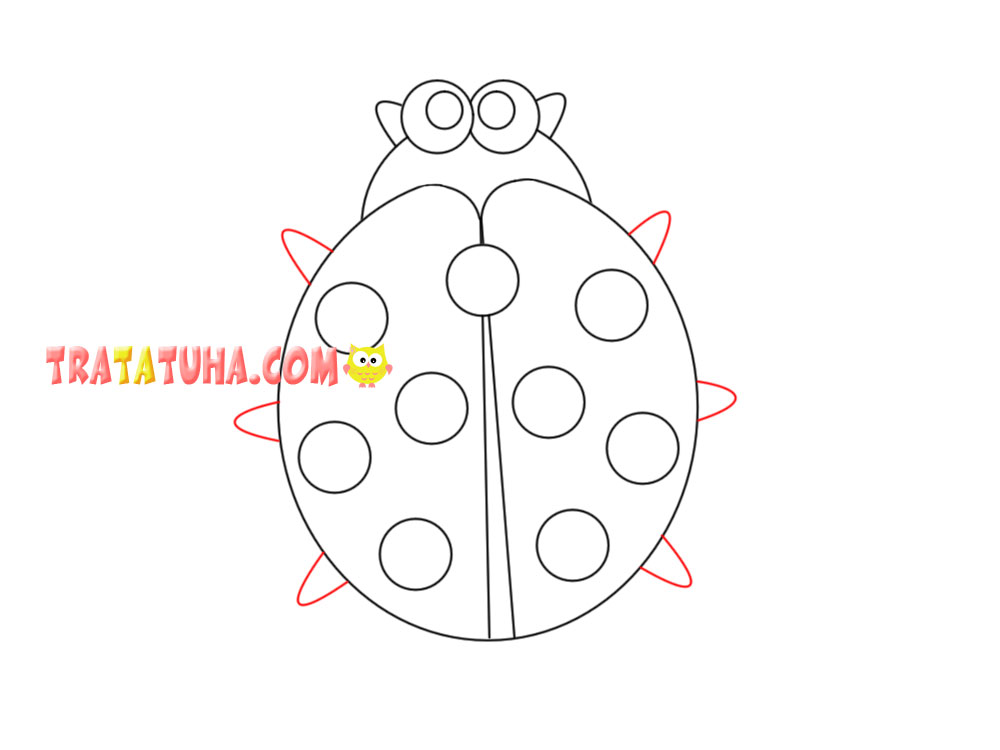
The contour of the ladybug is ready.
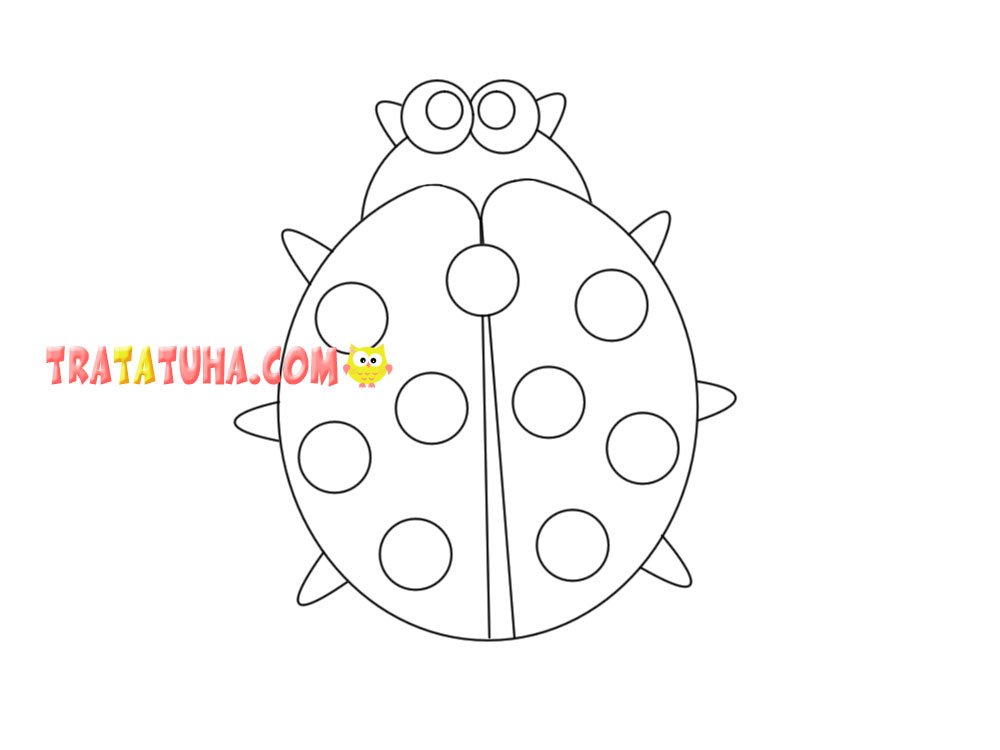
Color the insect in red and black colors.
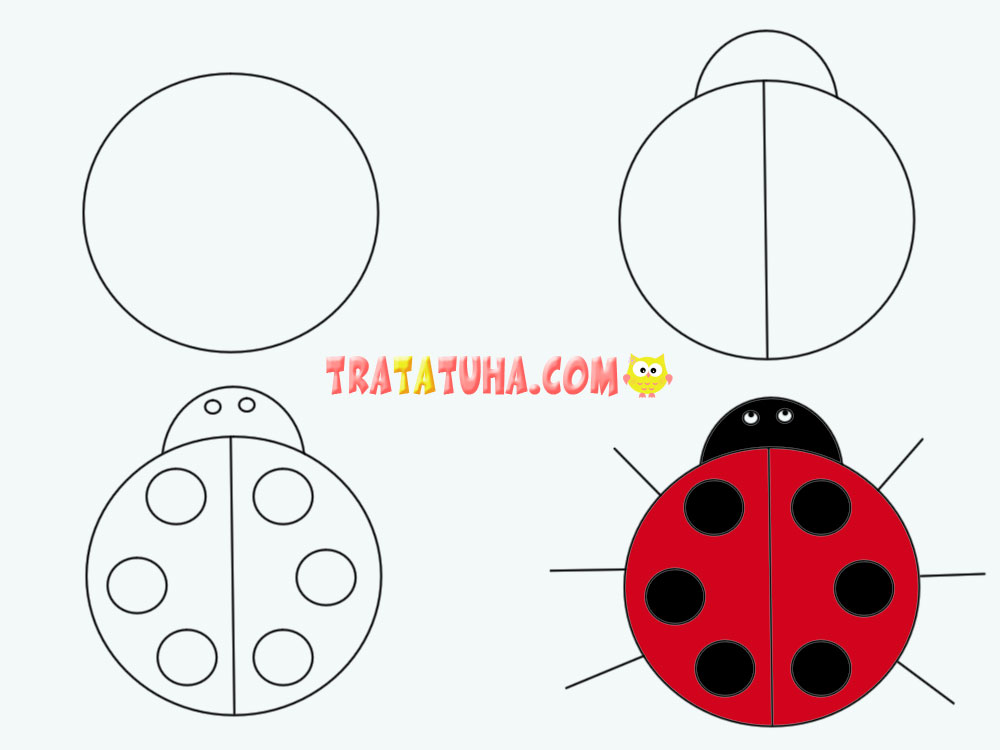
Draw a Ladybug — Option 2

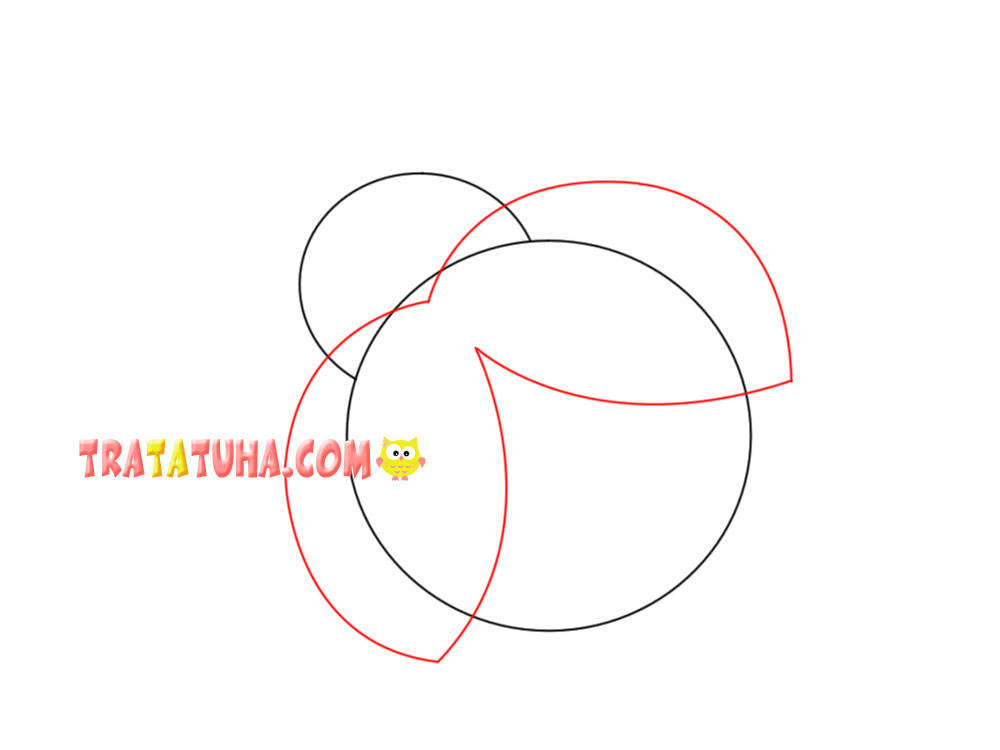
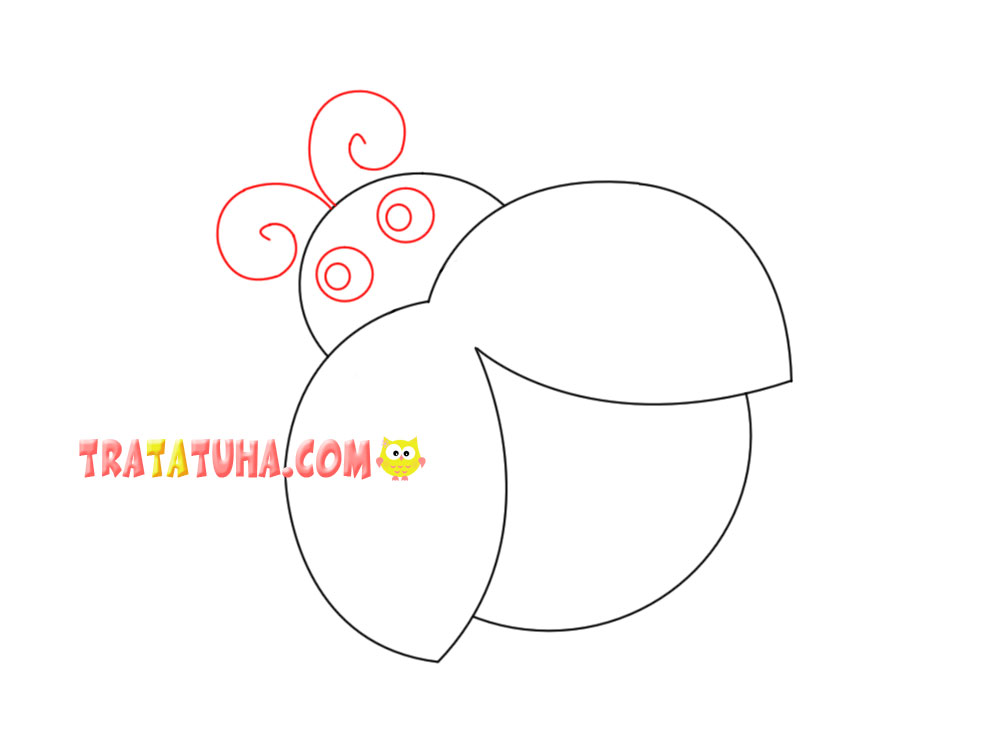
The drawing is similar to the previous one, only with open wings. Using a compass, draw a circle.

From the top or side, add another smaller circle, which will be the head of the insect.

Draw open wings in the area of the large circle.
Erase all unnecessary lines crossing the wings, and a small area in the head area. Do not forget that you need to draw without pressure, then the lines will be erased without problems.
In the head area draw eyes and antennae.
Add small circles to the wings.
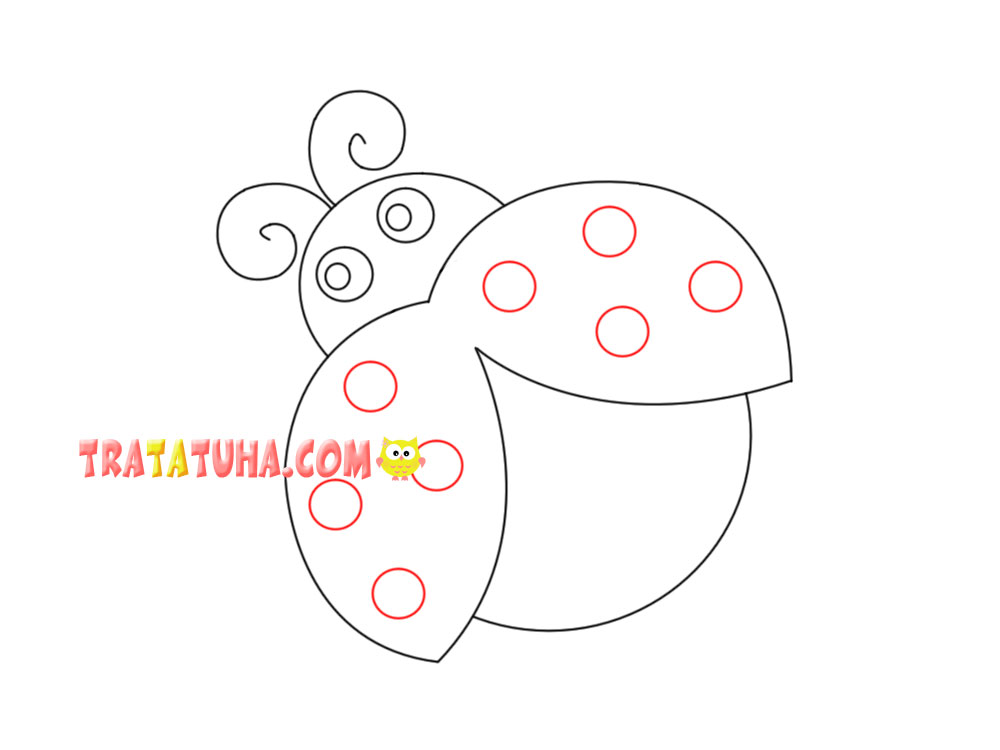
The contour of the ladybug is ready.
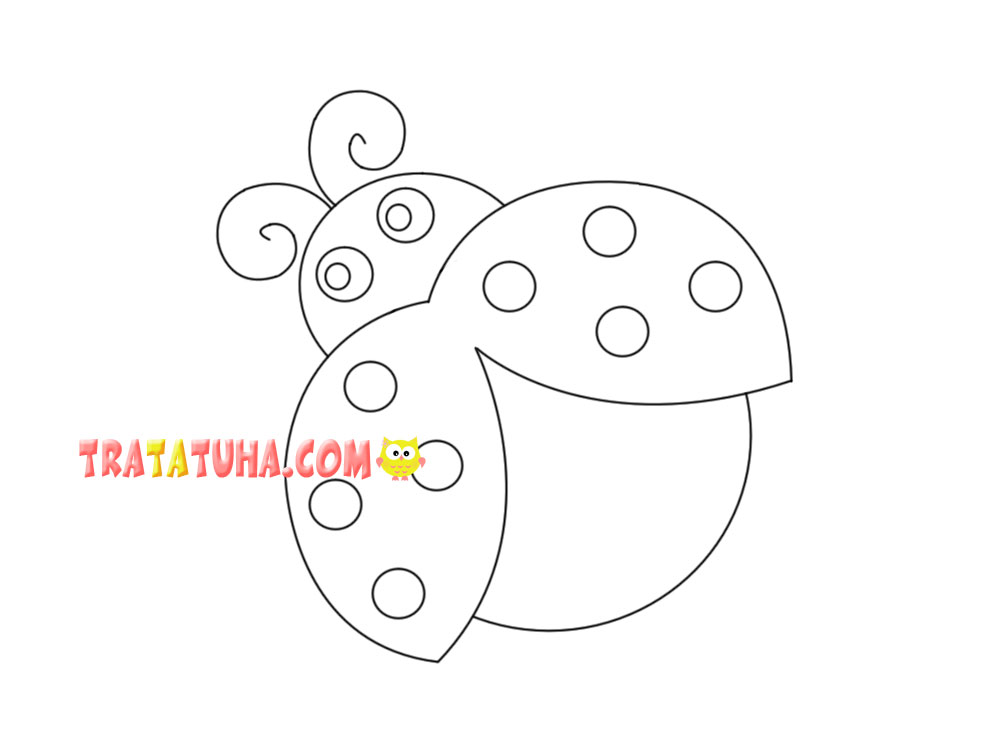
Color the insect in colors that are suitable for it, as a rule, these are black spots, body and limbs, and a red shell. The drawing is complete.
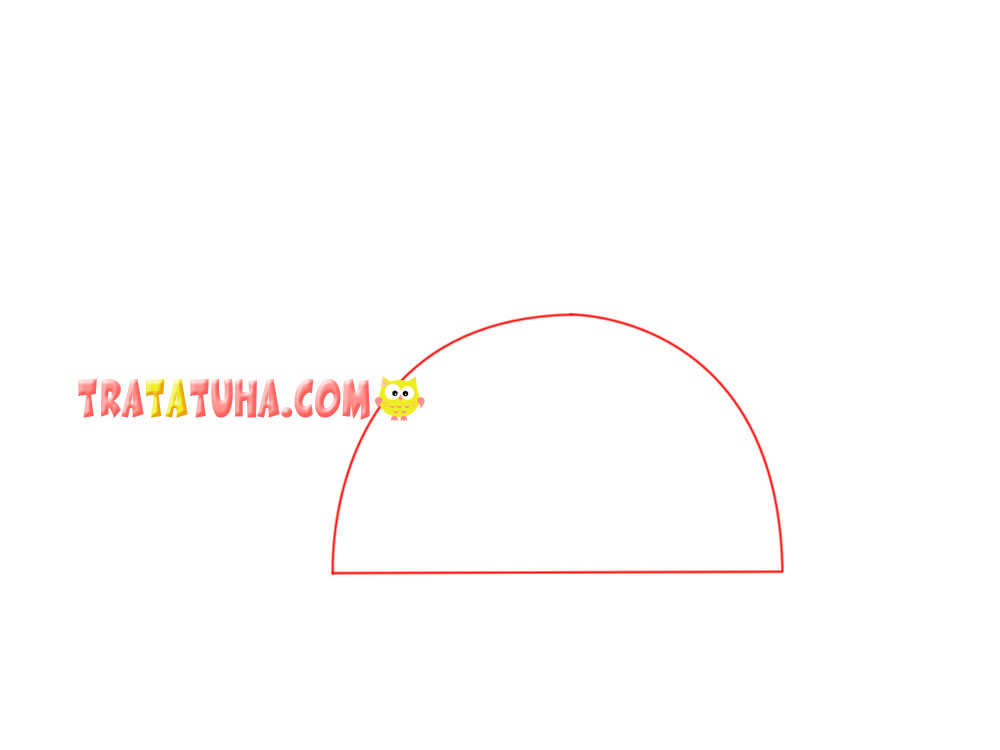
How to Draw a Ladybug Step by Step – Option 3
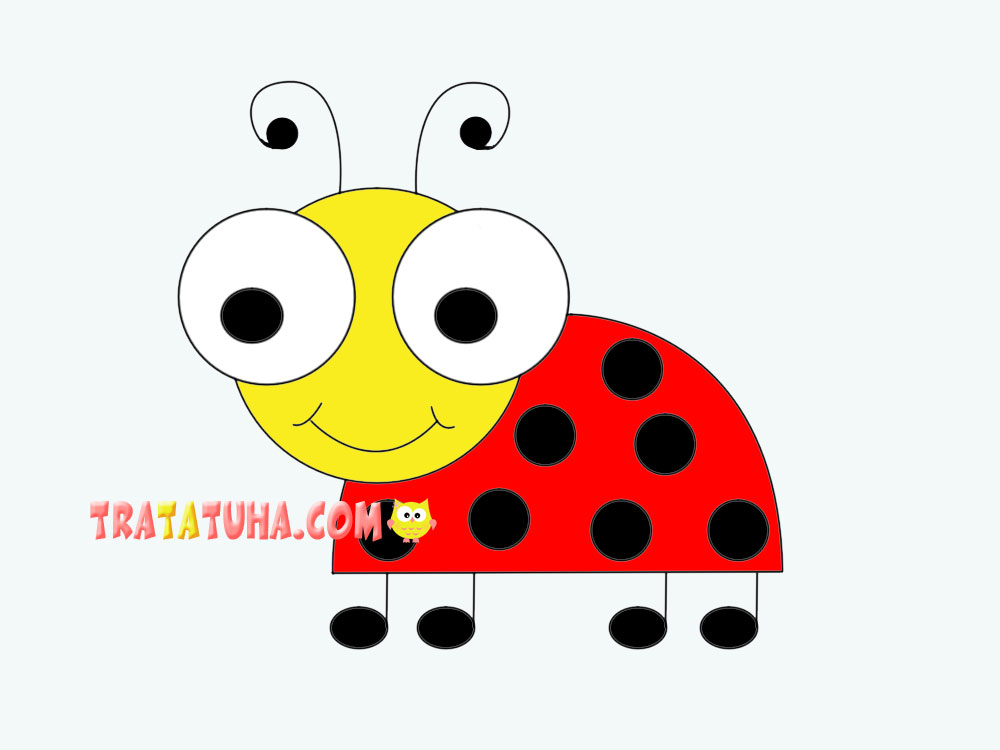
Here is a drawing in a funny cartoon version. But drawing it is very easy and interesting. Draw a semicircle. Or first a circle, which then divide in half and erase one part.
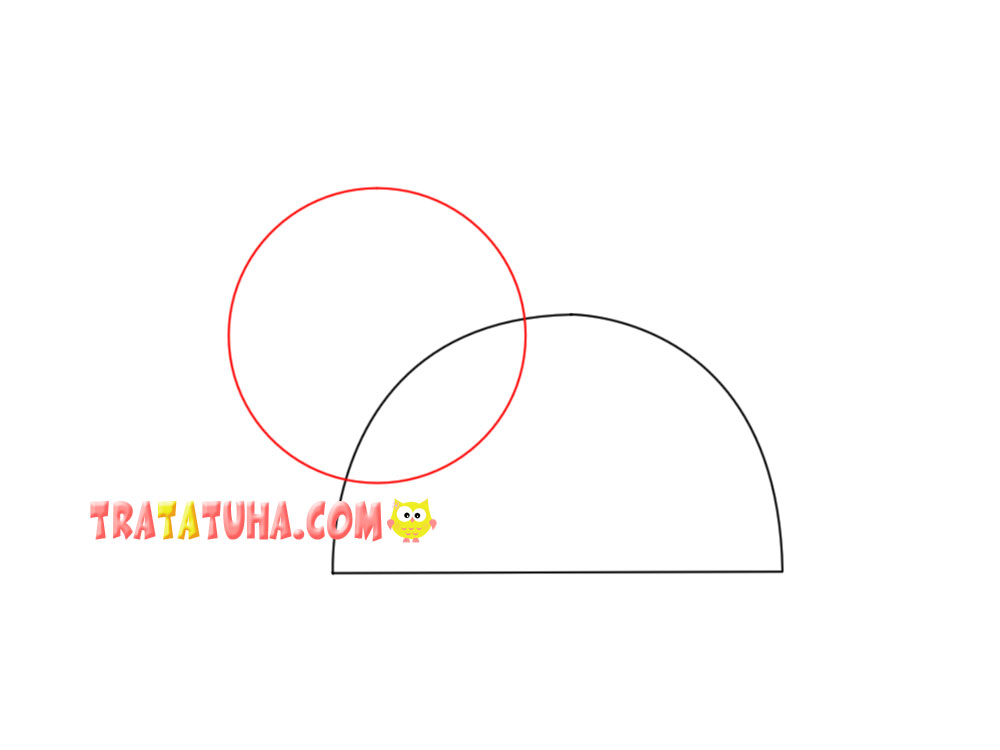
In the second step, draw a circle on one side of the semicircle. This will be the head of the insect.
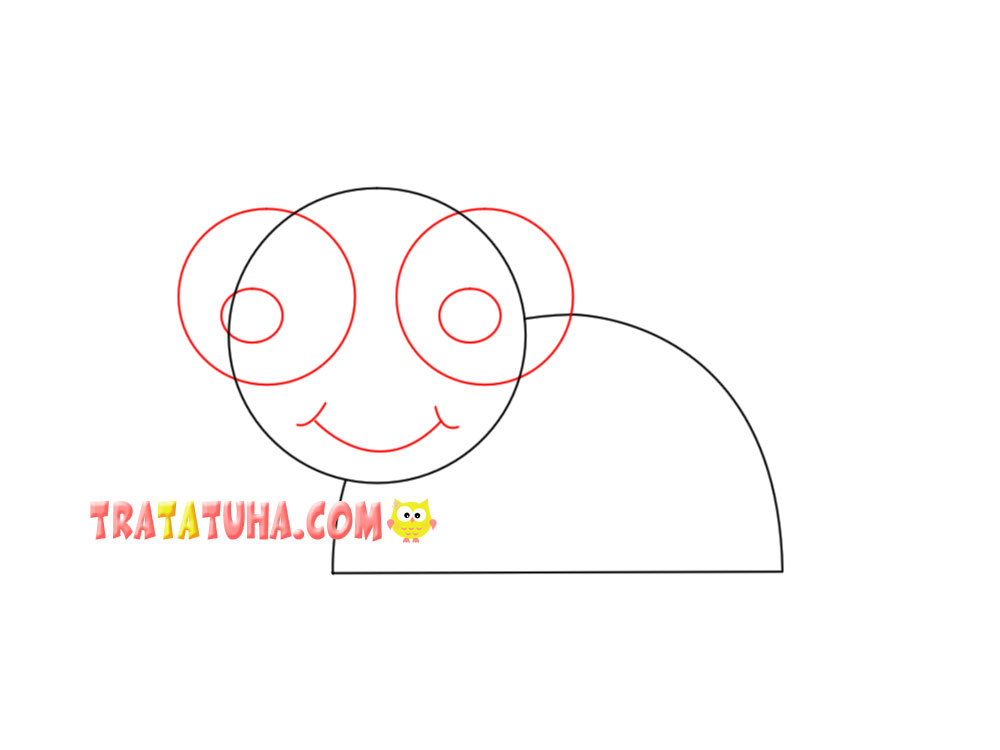
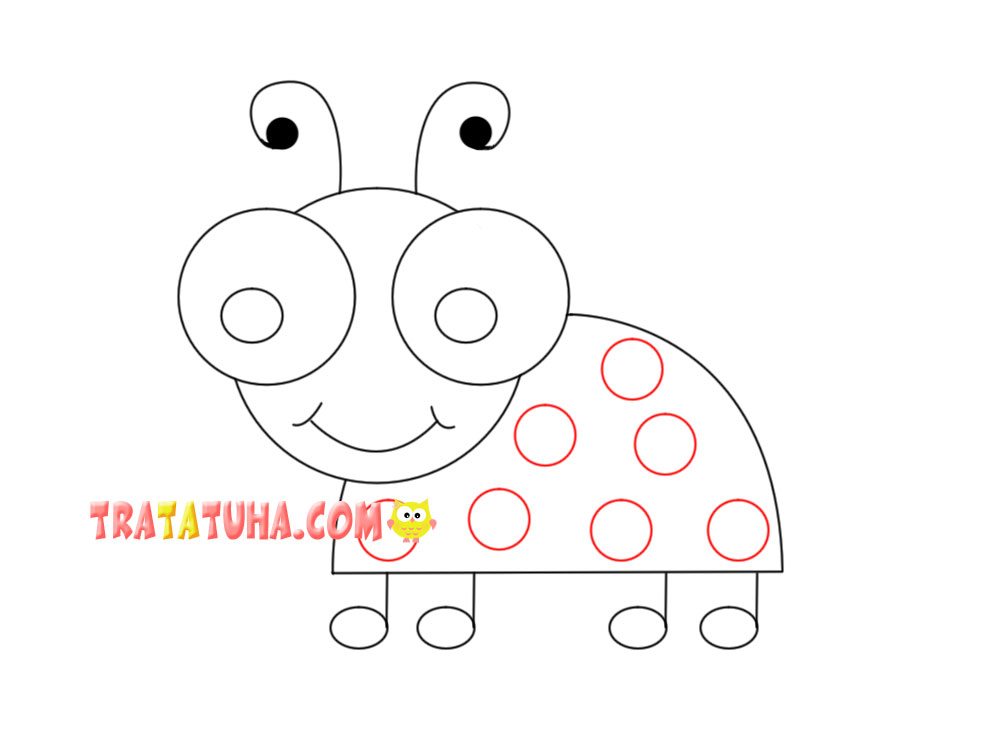
Since this ladybug is more of a funny direction, draw huge eyes, a wide smile.
Draw antennae on the head, and 4 paws on the bottom of the body.
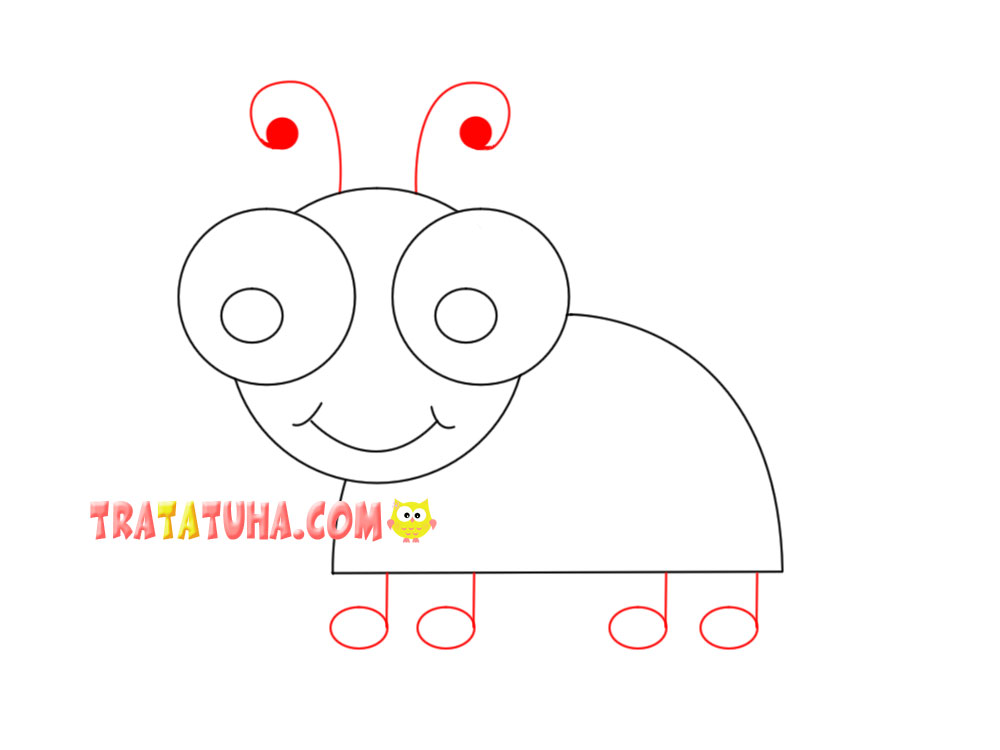
Round spots on the shell will complete the work.
The drawing of the ladybug is ready.
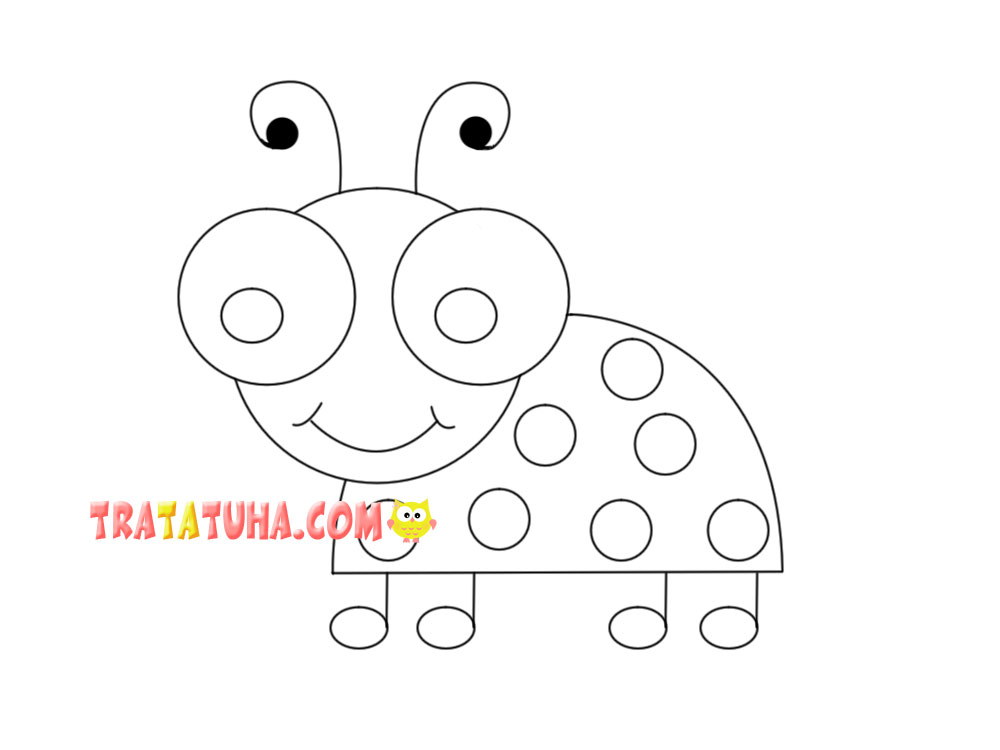
Color it as you wish.
Ladybug Step by Step – Option 4
This is the easiest way, suitable for young kids.
- Draw a circle;
- Add a semicircle on top and divide the circle in half with a straight line;
- Add eyes and circles to the shell;
- Color it.
Now you know how to draw a ladybug in 4 different ways, but each child can come up with their own way of drawing this popular insect, depending on their own imagination and skills. Also, kids can make a ladybug craft. Or fold origami ladybug.
More ideas in the section — how to draw.
Related Post: