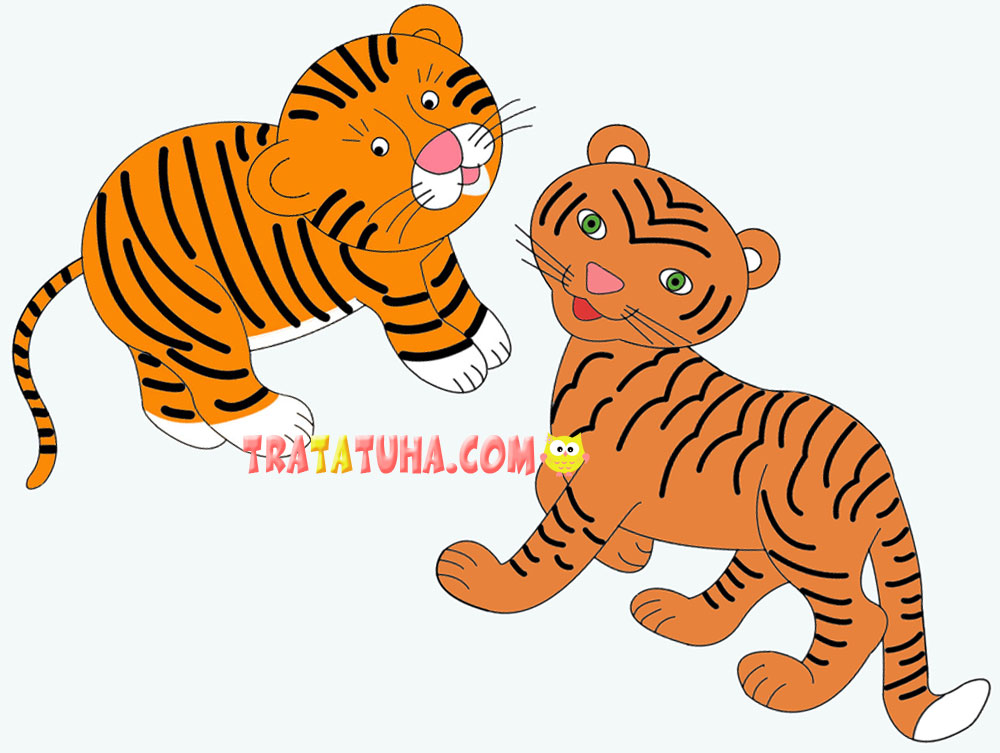
Learn How to draw a tiger step by step easy. Tiger drawing easy tutorial for kids and beginners. Look at these great step by step pictures!
Materials:
- White sheet of paper;
- Simple pencil, eraser;
- Colored pencils, black marker.
How to Draw a Tiger Step by Step – Two Easy Ways
1 way
Here it is rather not an adult predator, but its cub – a tiger cub.
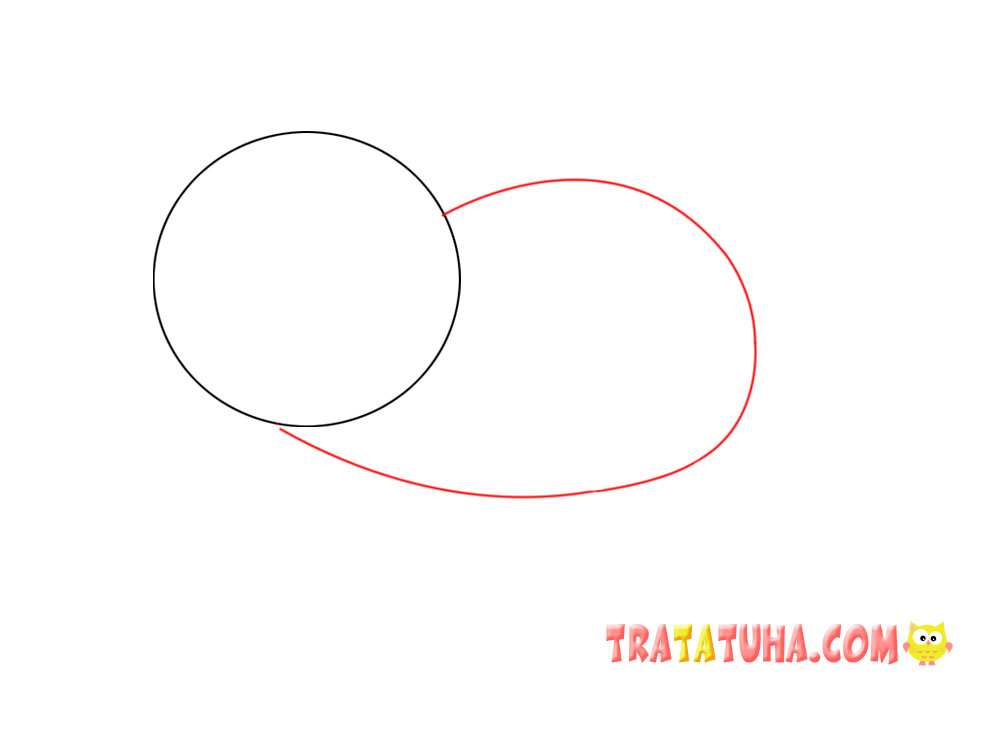
Draw a circle.

Add an oval body.
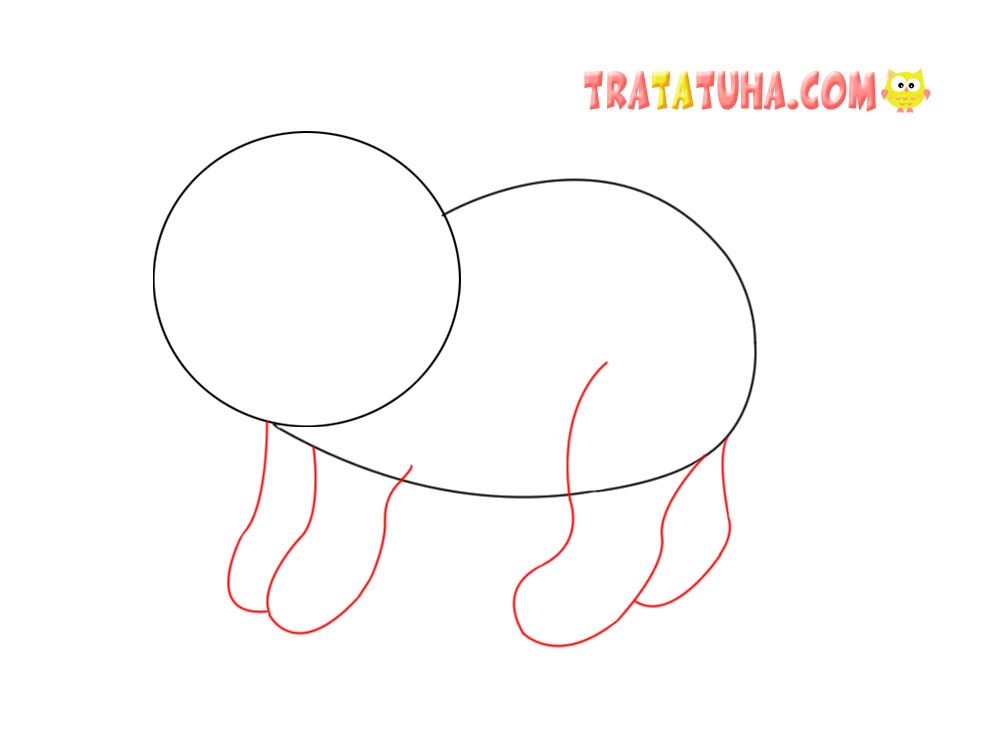
Show the animal’s paws.
Draw the ears.
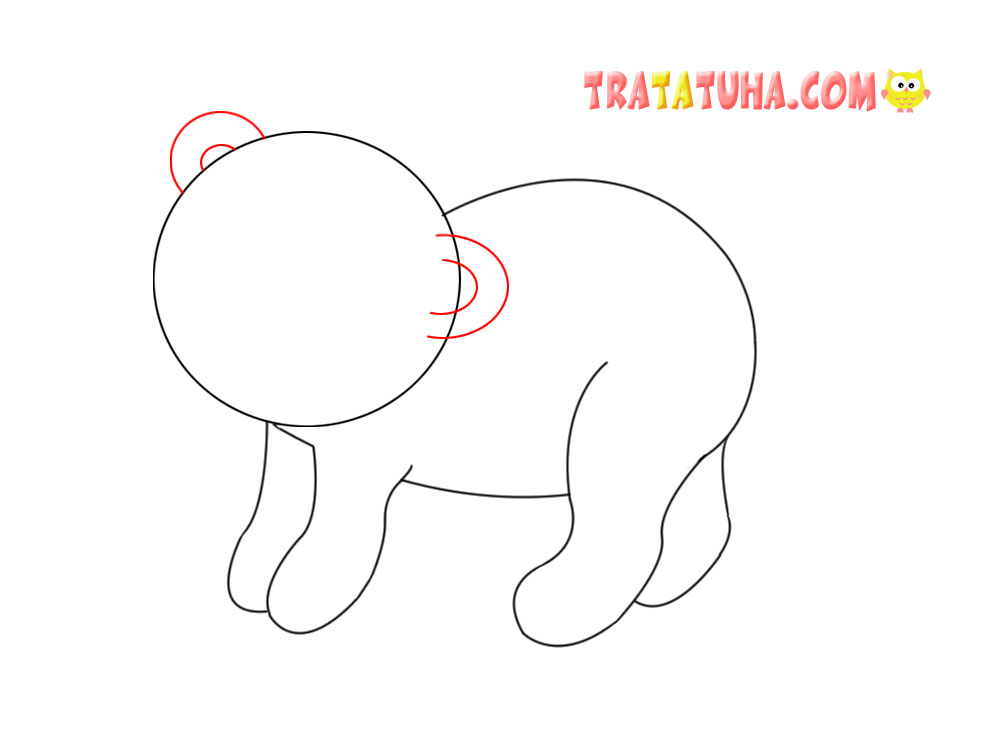
Complete the muzzle by drawing its outline, eyes, mustache.
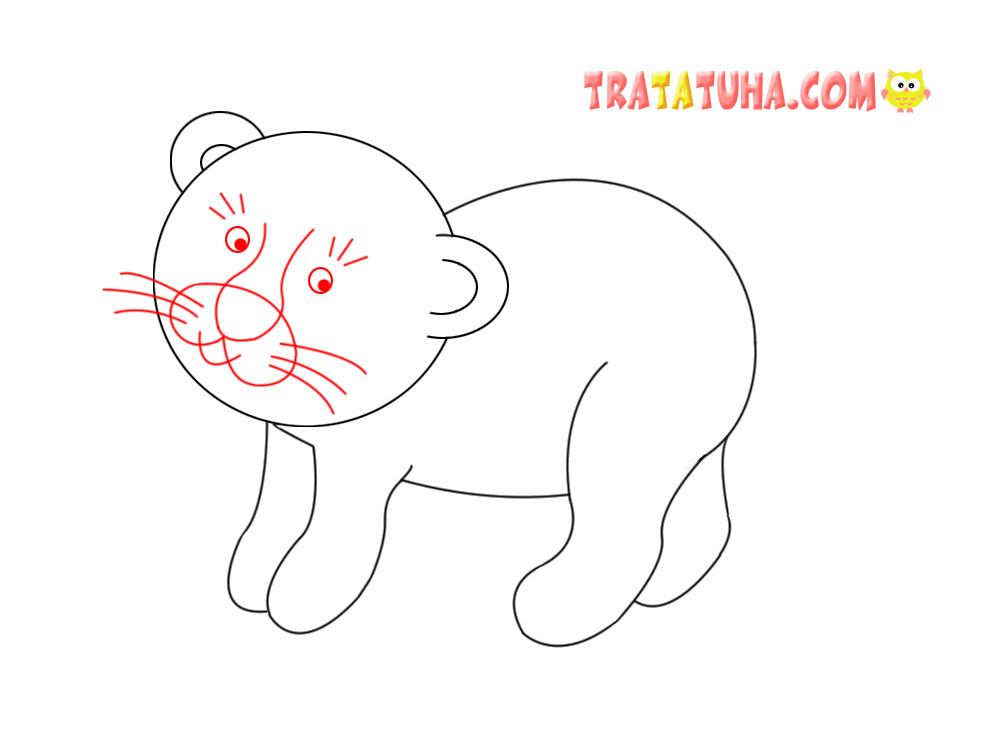
Draw the tail and claws.
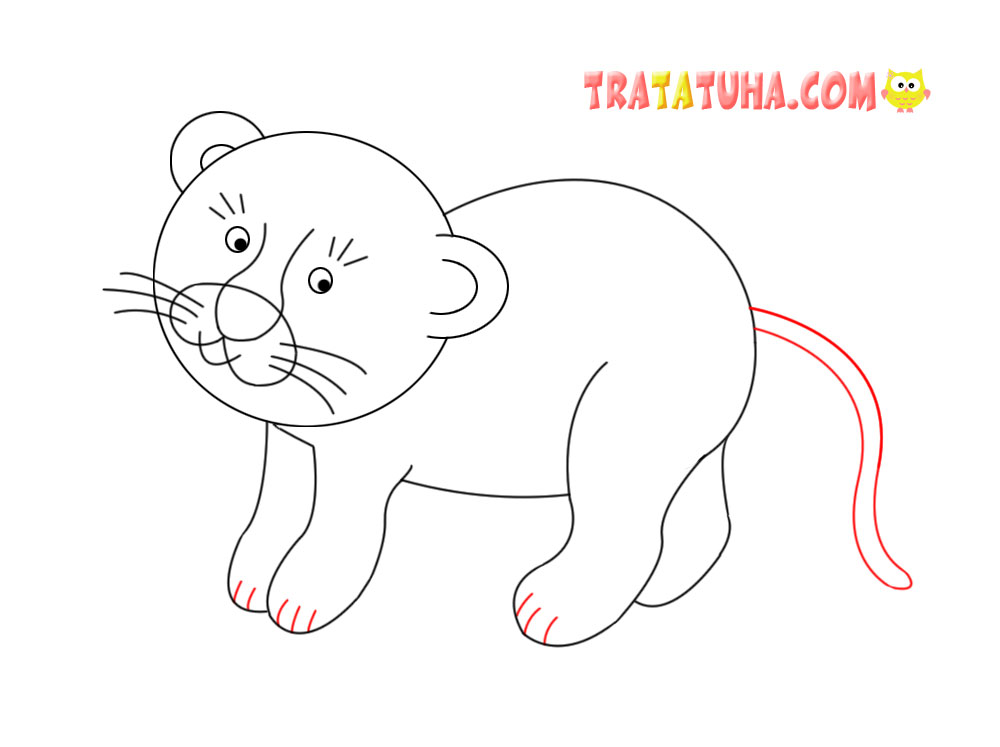
Draw stripes on the head, torso and tail. Of course they are black. Red shows the addition of a new part of the picture.
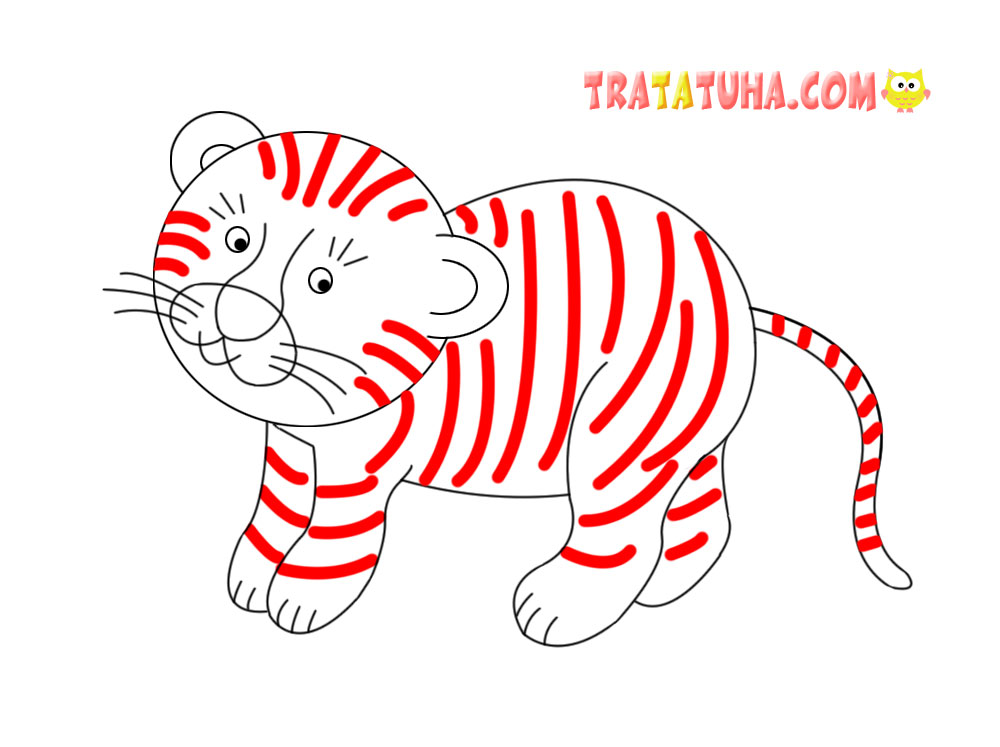
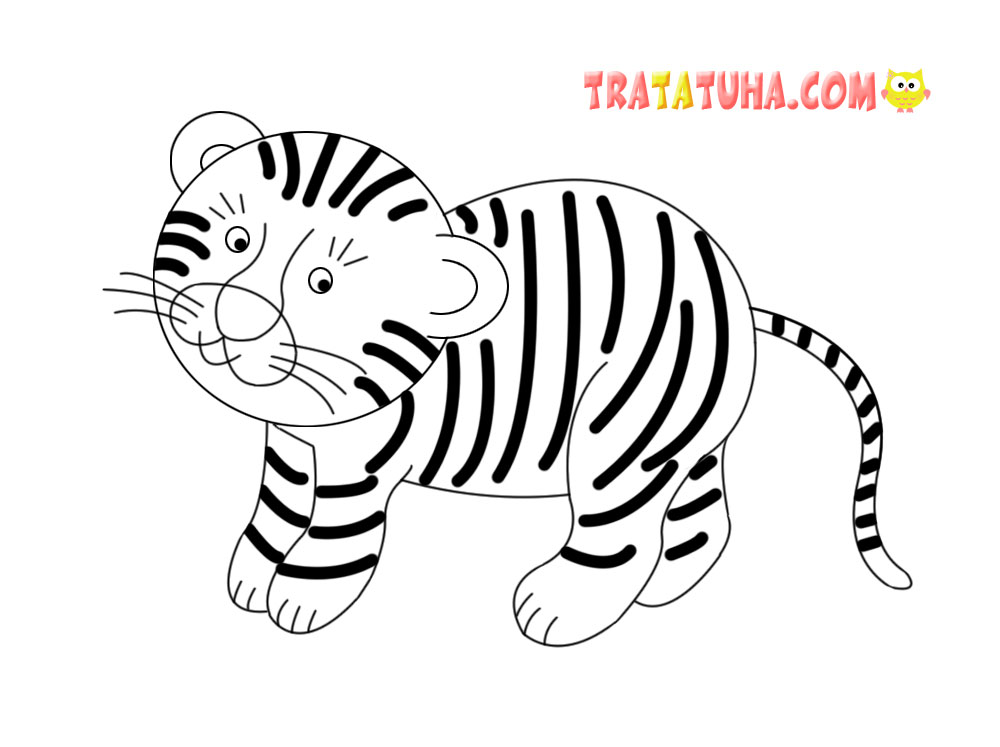
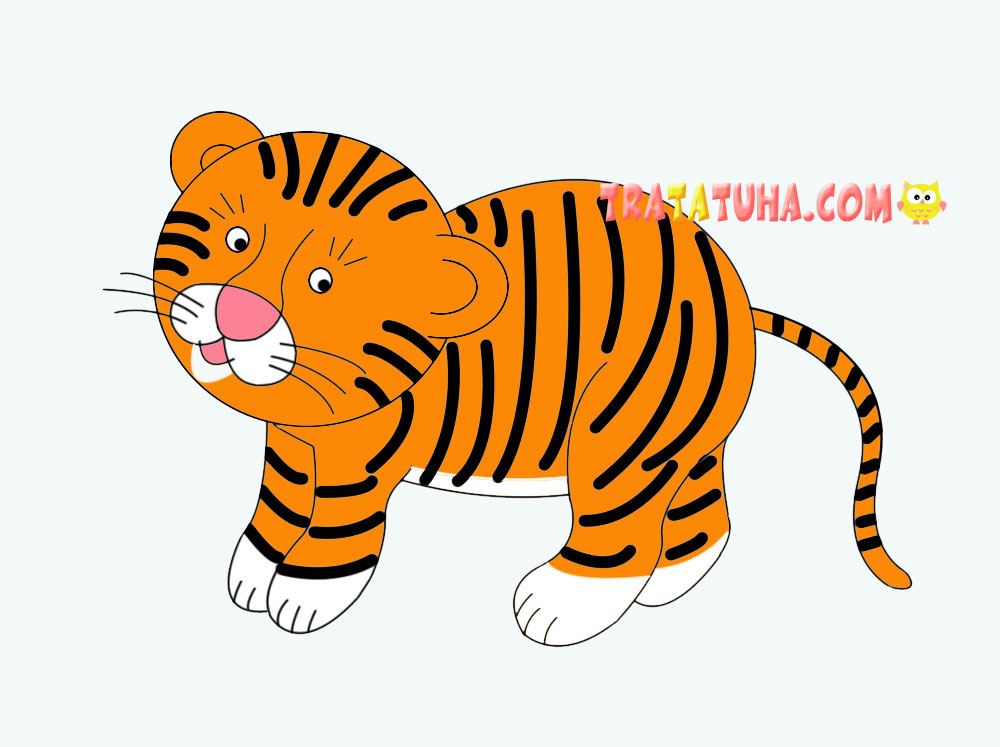
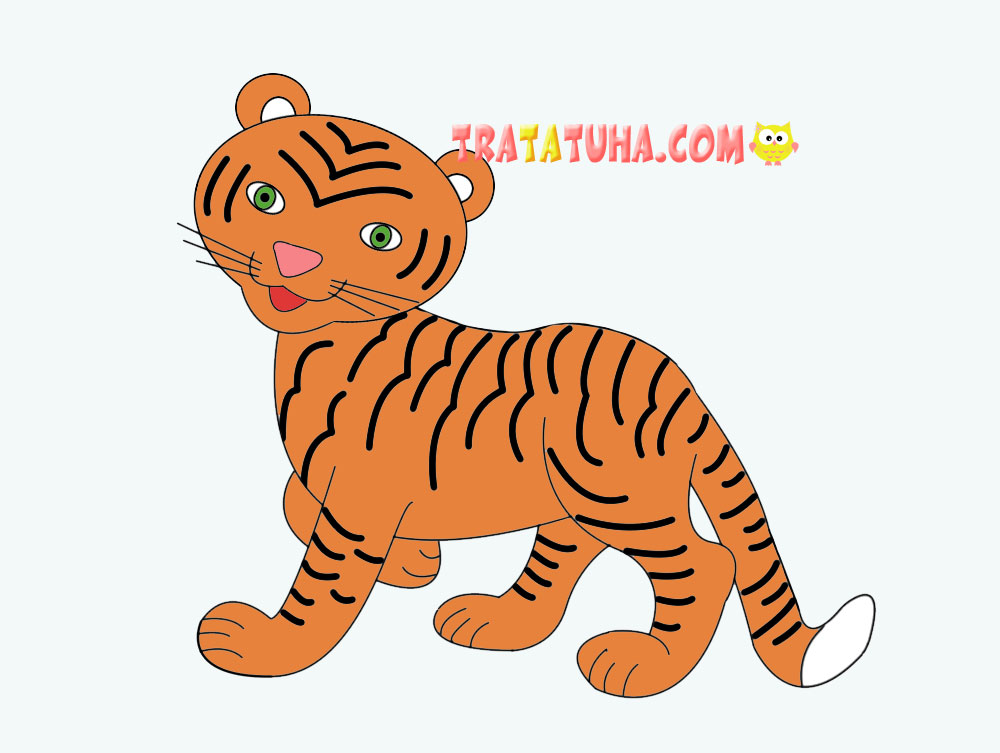
The tiger is ready, it remains only to paint it orange. White can be distinguished paws, muzzle, belly.
How to Draw a Tiger: 2 way
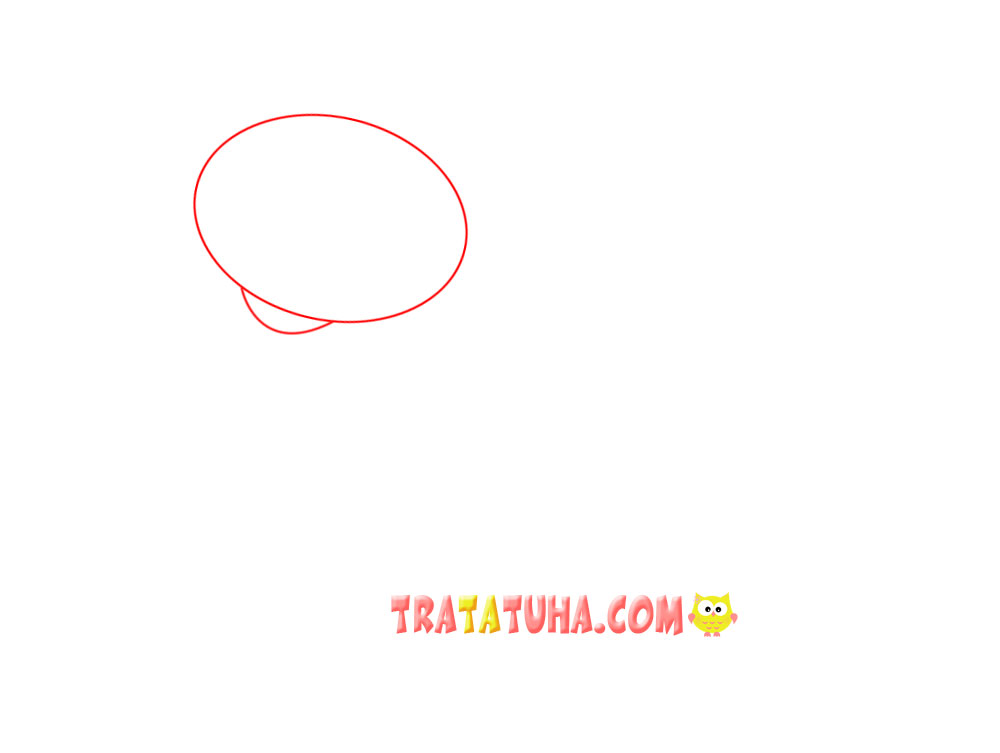
Draw an oval. Add a small semicircle at the bottom.
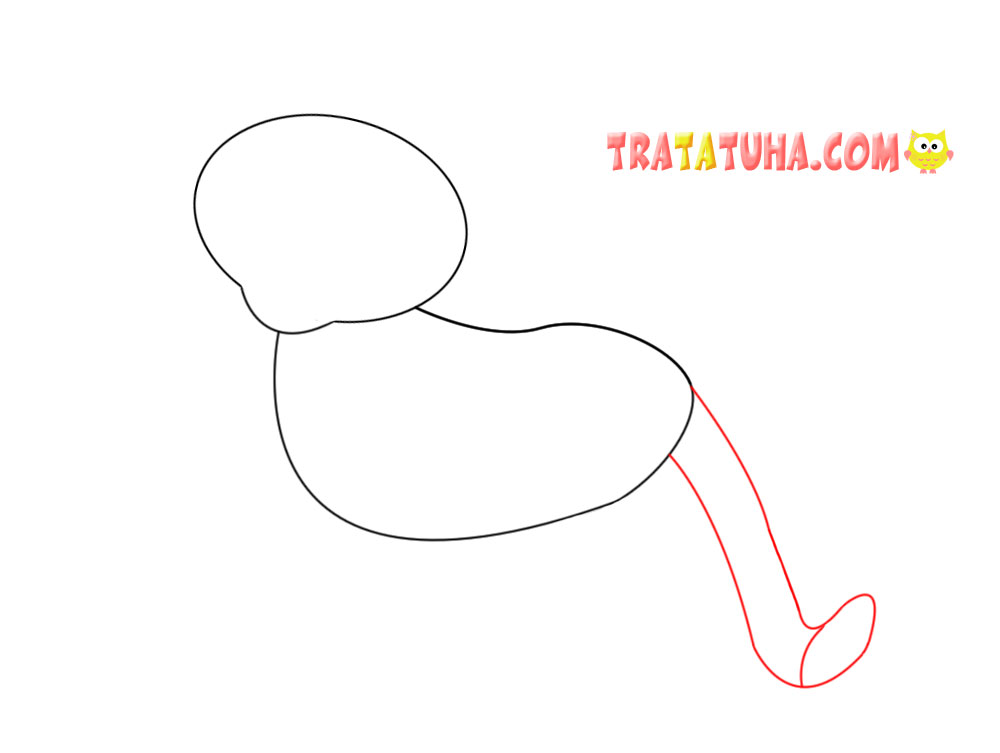
Add the body to the head. You can first draw a long oval, and then draw the desired shape.

Draw a long, curved tail.
Add four paws. Here you can immediately draw the paws, as shown in the photo. Or first draw straight lines with an oval at the end. And then add the necessary convolutions, erase the extra lines.
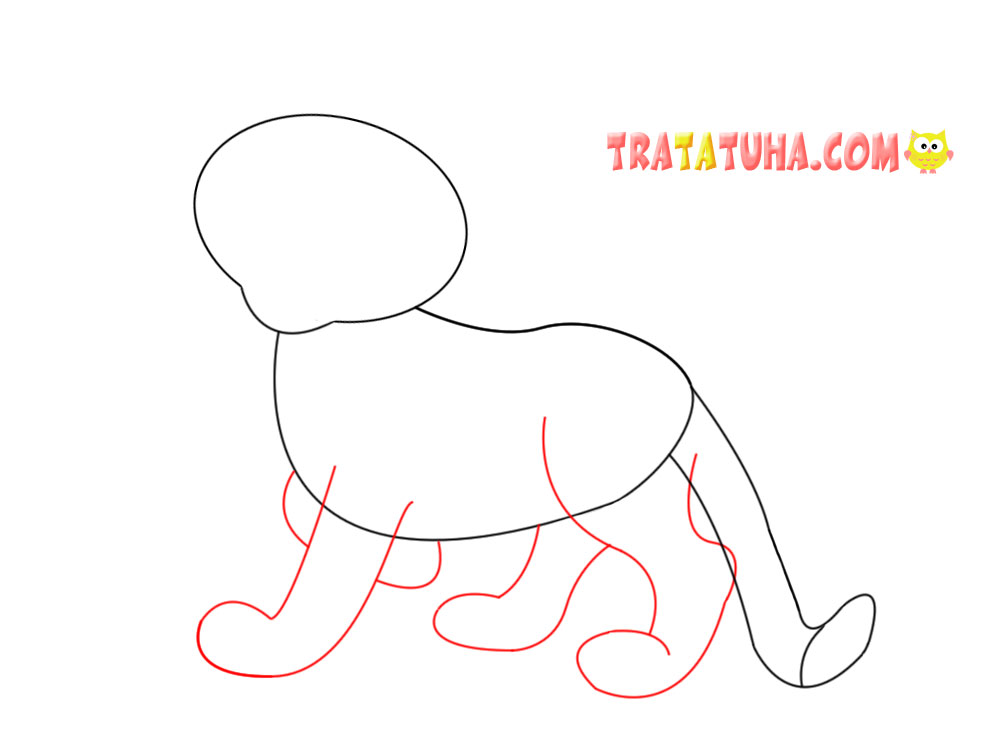
With an eraser, you need to erase the extra lines of the torso. After draw the ears, claws.

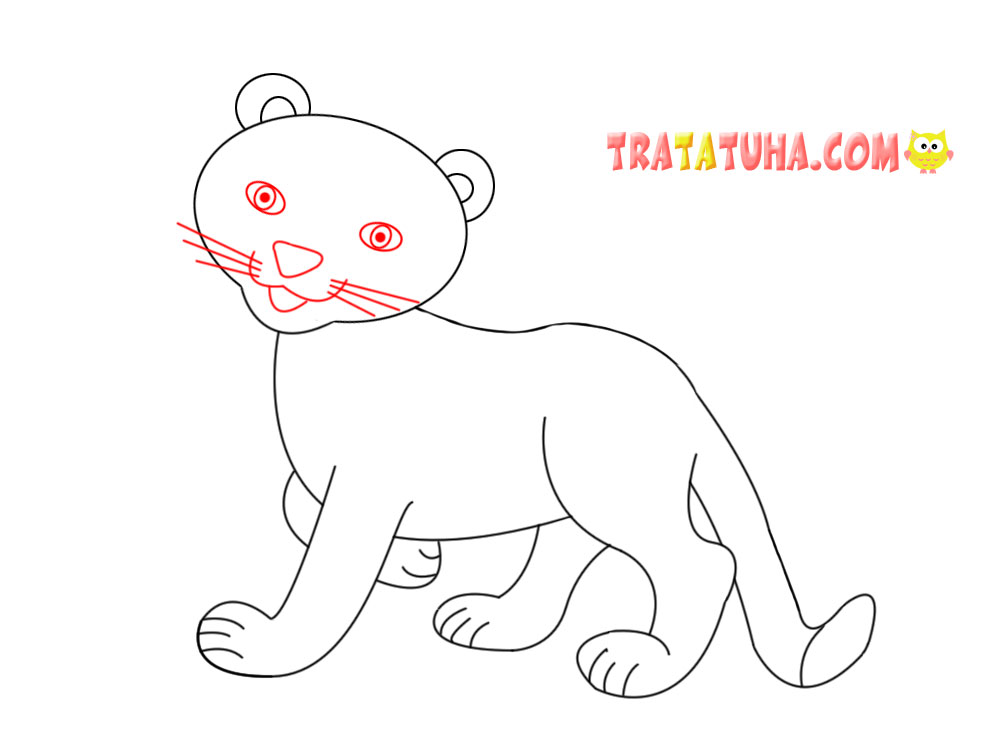
Complete the muzzle of the animal, draw the eyes, nose, mustache.
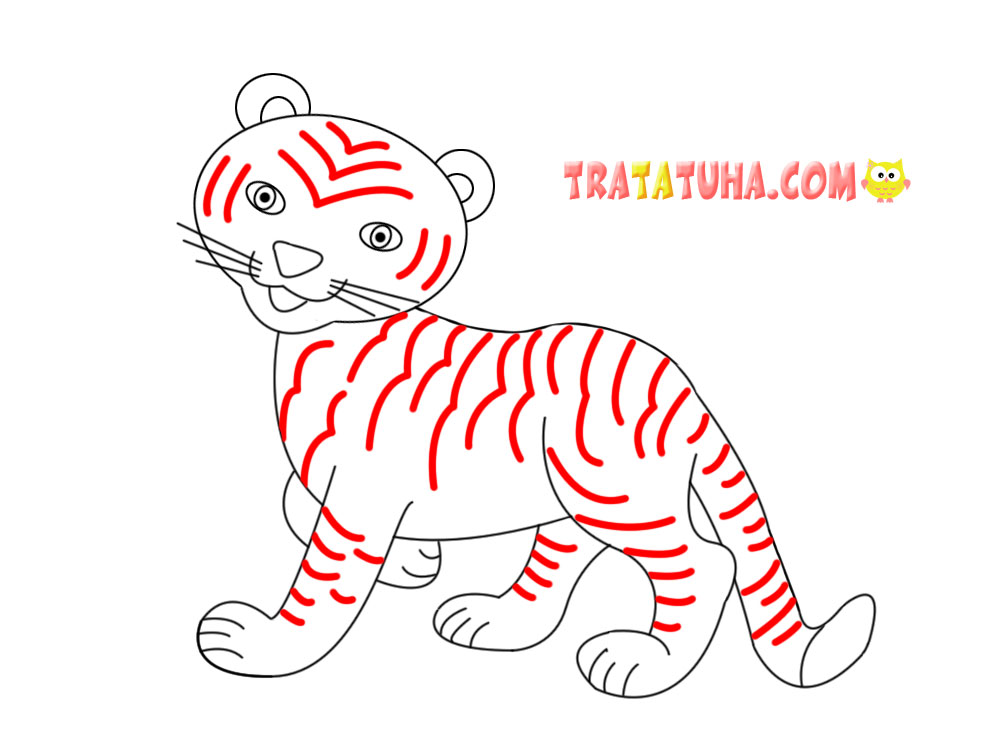
Draw black stripes on the head and torso.
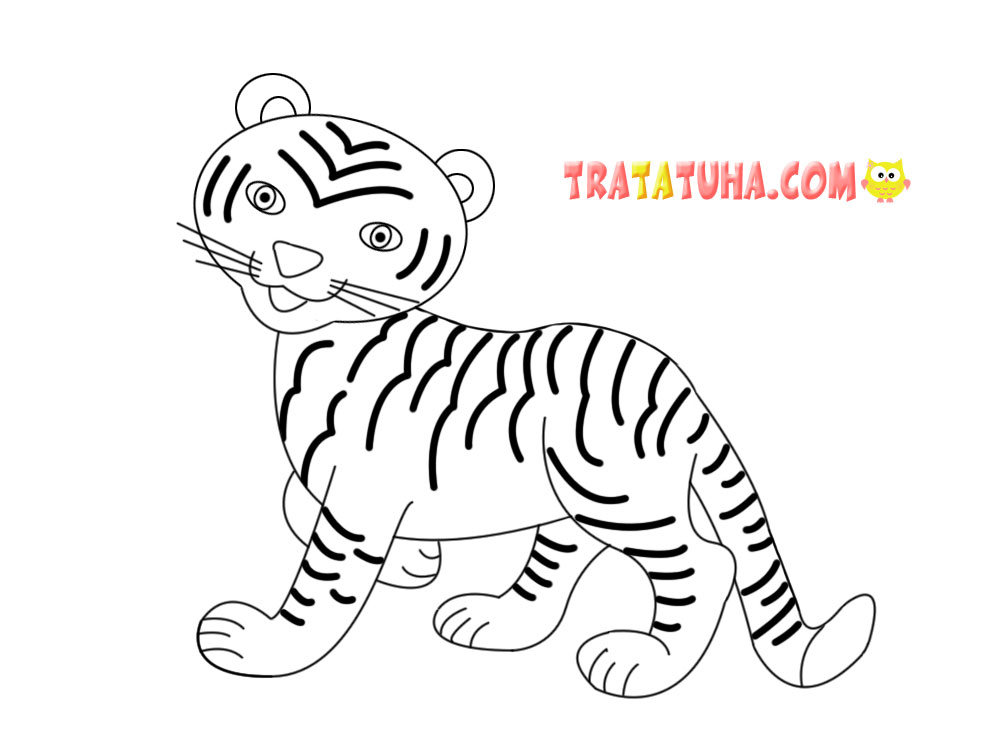
The drawing is ready, color it in orange.
There are many options for how to draw a tiger, these are some of the easy ones that kids can handle.
More ideas in the section — how to draw.
Related Post:

Wow! Cool
noice