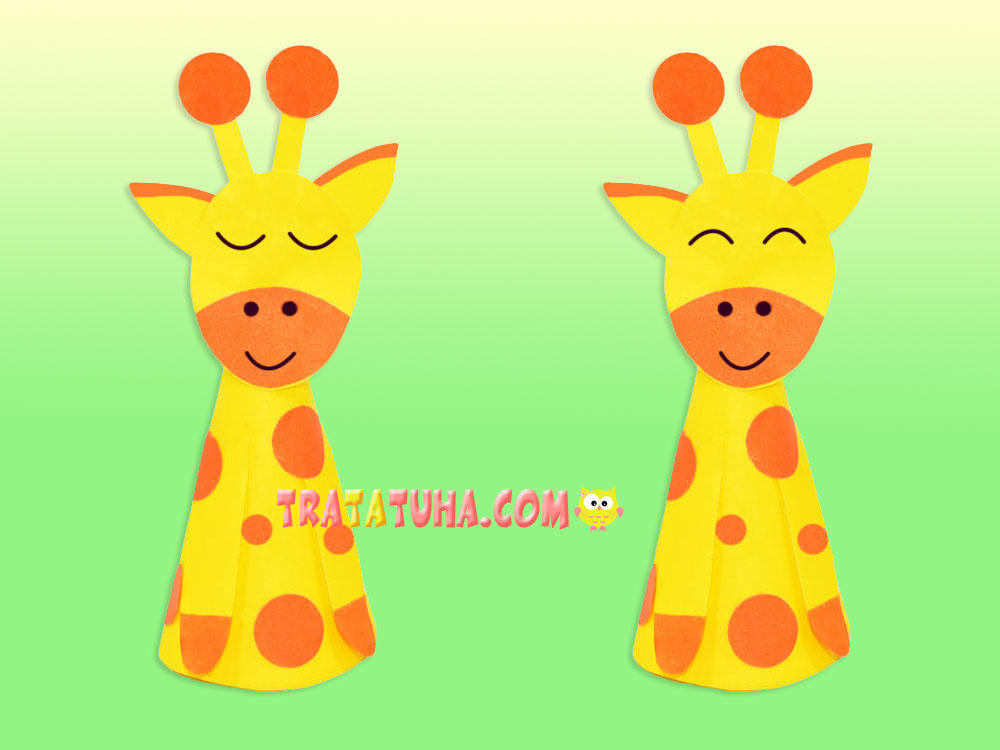
Step by step tutorial – how to make a giraffe. An easy craft for children, where the body of the animal is a cone. Step by step instructions with photos.
What will be needed for work?
- Yellow cardboard or paper;
- Orange paper;
- Orange marker and black;
- Scissors, glue.
How to Make a Giraffe: Basic Steps
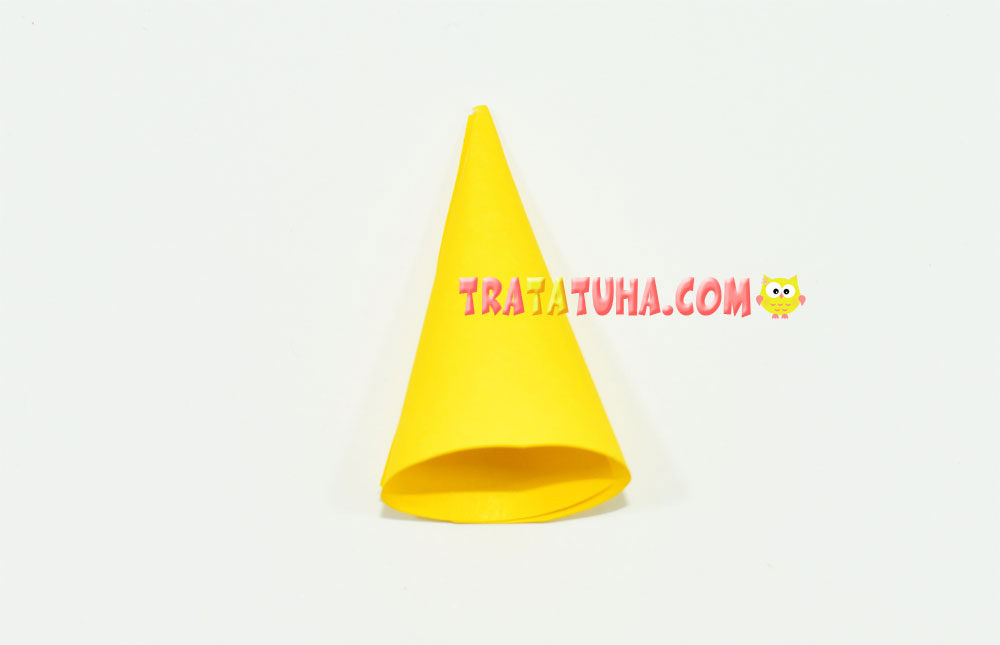
Prepare the paper from which you will need to make a cone. As you know, a cone is easy to make from a circle, part of which needs to be cut off. The smaller the segment, the wider the cone. A giraffe needs a narrow cone, so only a quarter of the circle can be left. Or a little more for the area to be glued.

Fold the segment into a cone, glue the edges.
Now prepare the small details that will help turn the cone into the character we need:
- Cut out an oval head;
- Two legs;
- Two ears;
- A semicircular figure for the muzzle (but you can paint over this area with a felt-tip pen);
- Two thin stripes for horns;
- Orange circles for stains. They are easy to make with a hole punch.
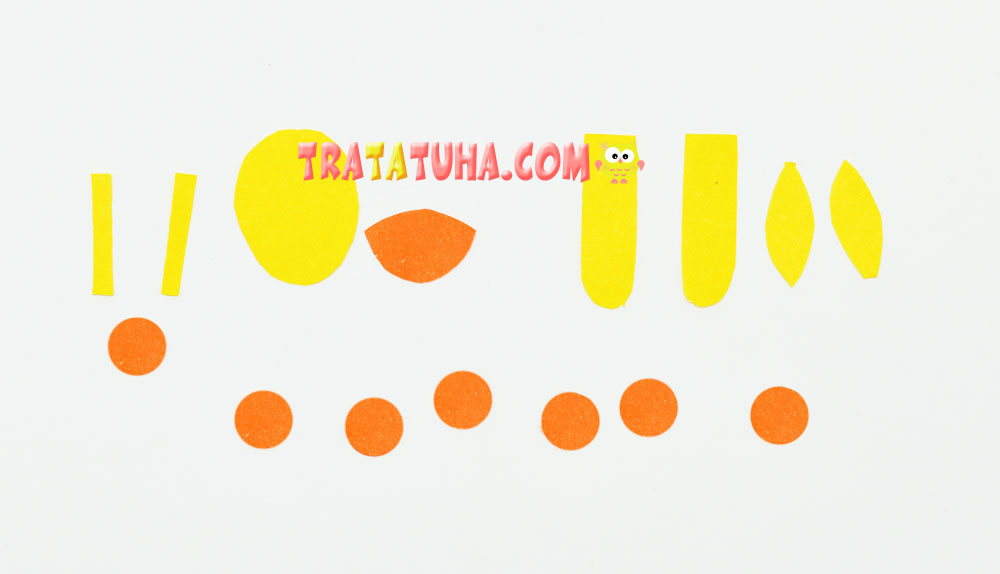
By the way, all the orange parts can be drawn with a felt-tip pen.
Glue horns with round balls at the ends, ears, some of which sketch with a felt-tip pen, muzzle. Draw eyes, nostrils. Glue the head to the top of the cone.
Add legs and spots. Everything, a bright craft is ready.
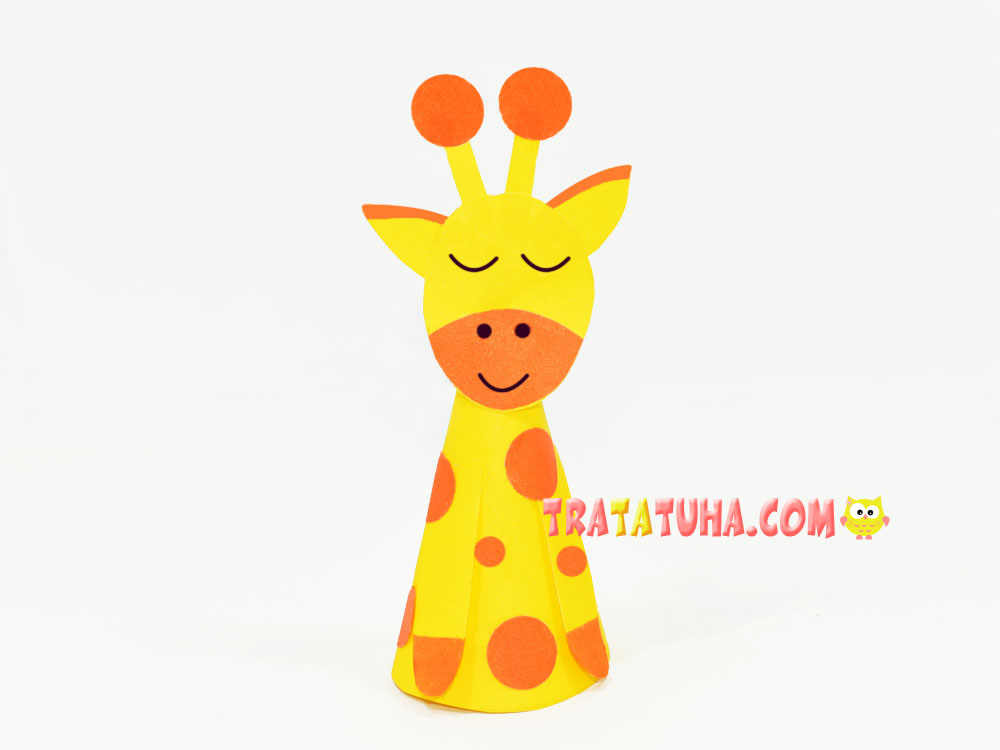
Now you know how to make a giraffe in the fastest and easiest way.
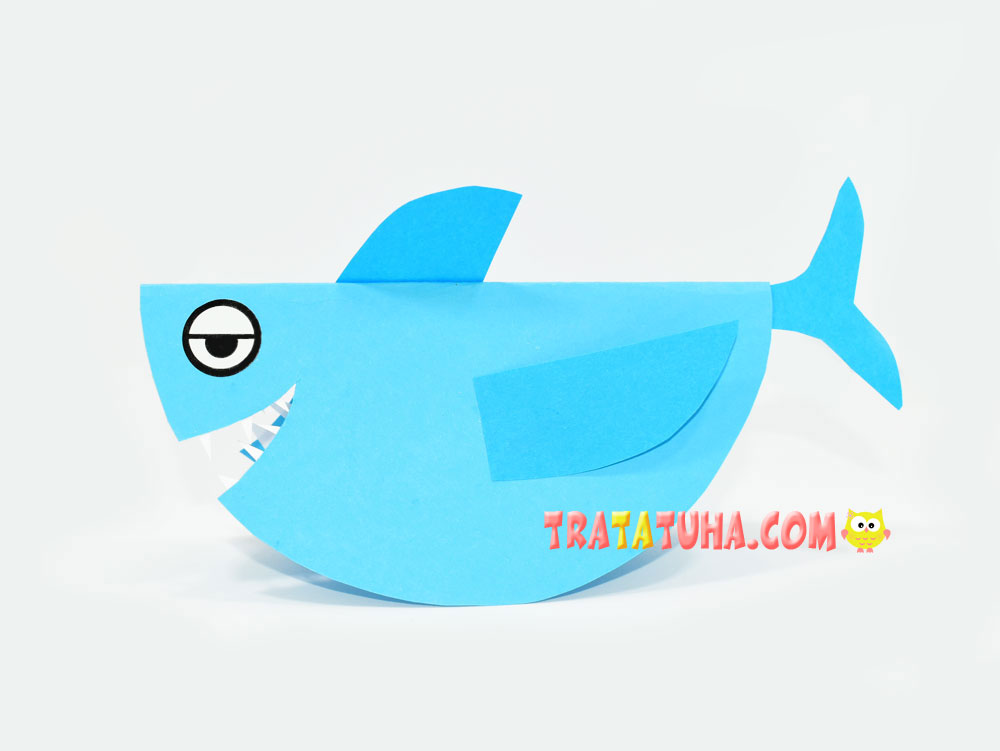
Even more ideas in the selection are paper animals.
Crafts for Kids – learn how to make craft at home! Super cute crafts for all age groups!
Related Post: