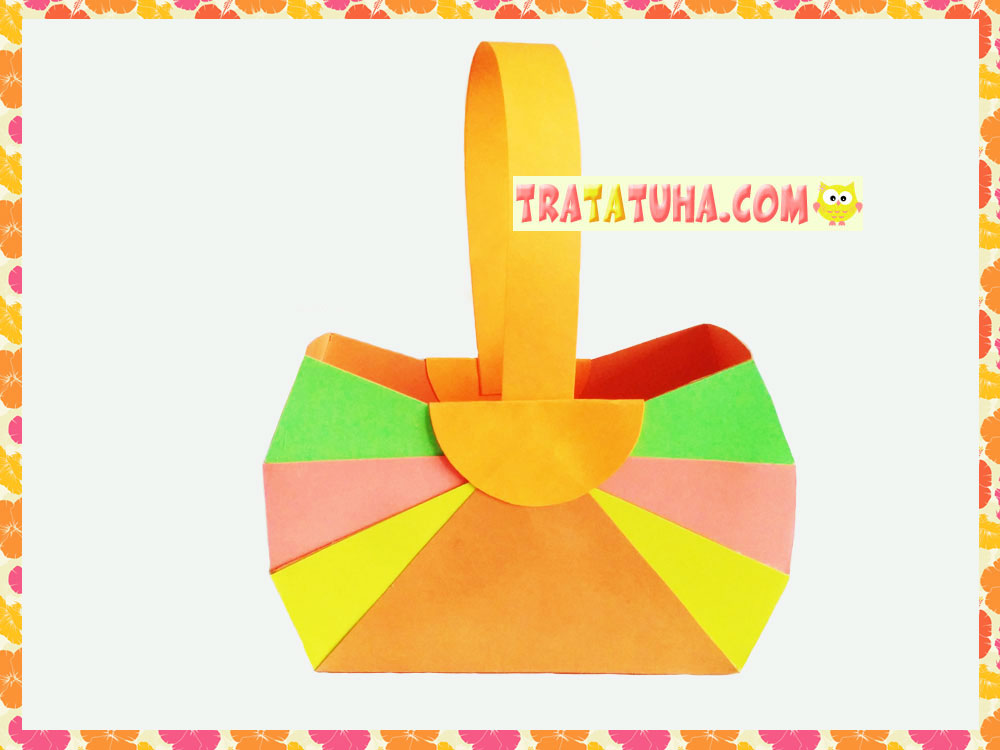
There are many techniques on how to make a paper basket, one of which I want to present in this step-by-step instruction.
The basket turns out nice, bright, complete and quite strong. It can be timed to coincide with Easter.
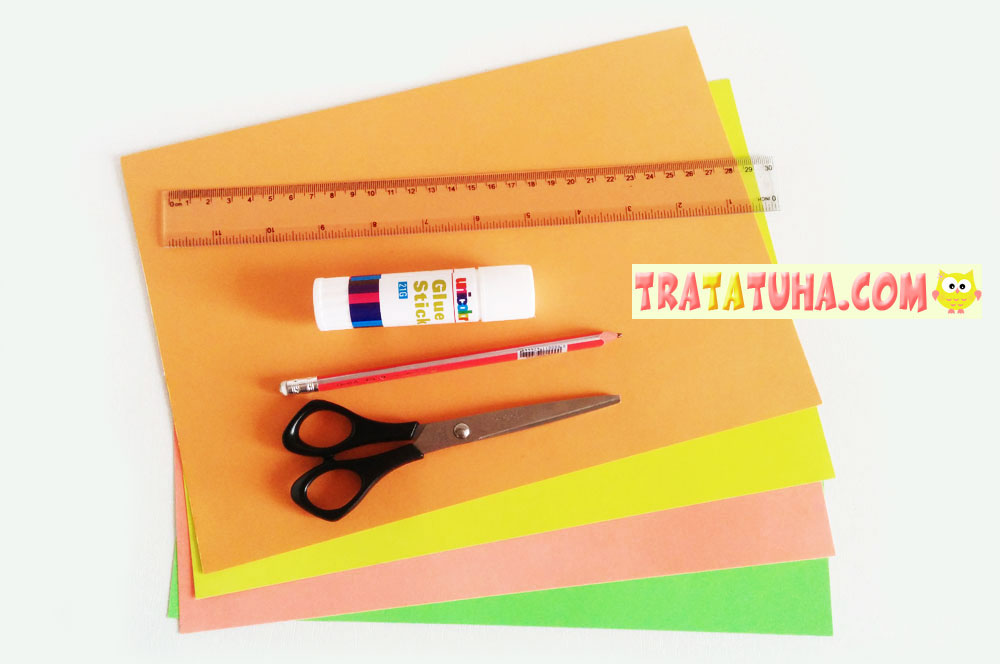
What will you need for work?
- Colored cardboard. I have an orange base, and the inserts are light green, peach and yellow;
- Glue, pencil, ruler, scissors.
I used a glue stick, but white glue also works well to hold cardstock together.
How to Make a Paper Basket ?
Basket Drawing
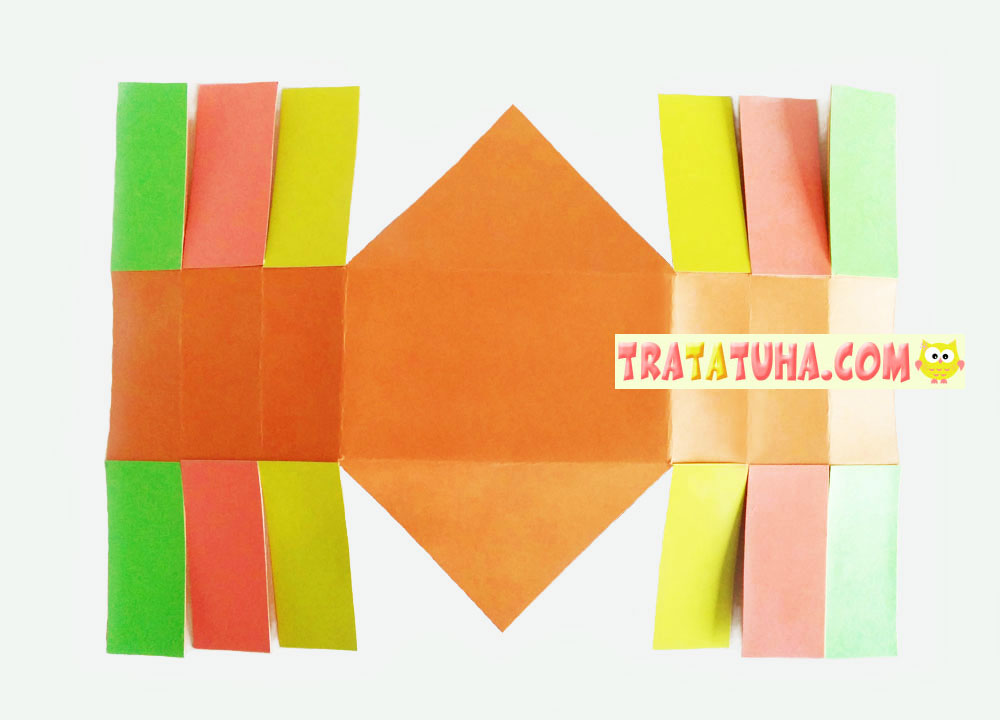
First you need to correctly draw the necessary lines of folds and cuts on a sheet of cardboard. I used the standard cardboard size – A4, based on this I indicate the data. You can also use a template.

Look at the photo, on it a sheet of orange cardboard is lined up like this:
- Horizontally, you need to divide the sheet into 3 parts, the side areas are 7 cm each.
- These side sections need to be drawn into small sectors, each of which is 3 cm.
- Divide the remaining middle in half and draw diagonal lines to form a triangle.
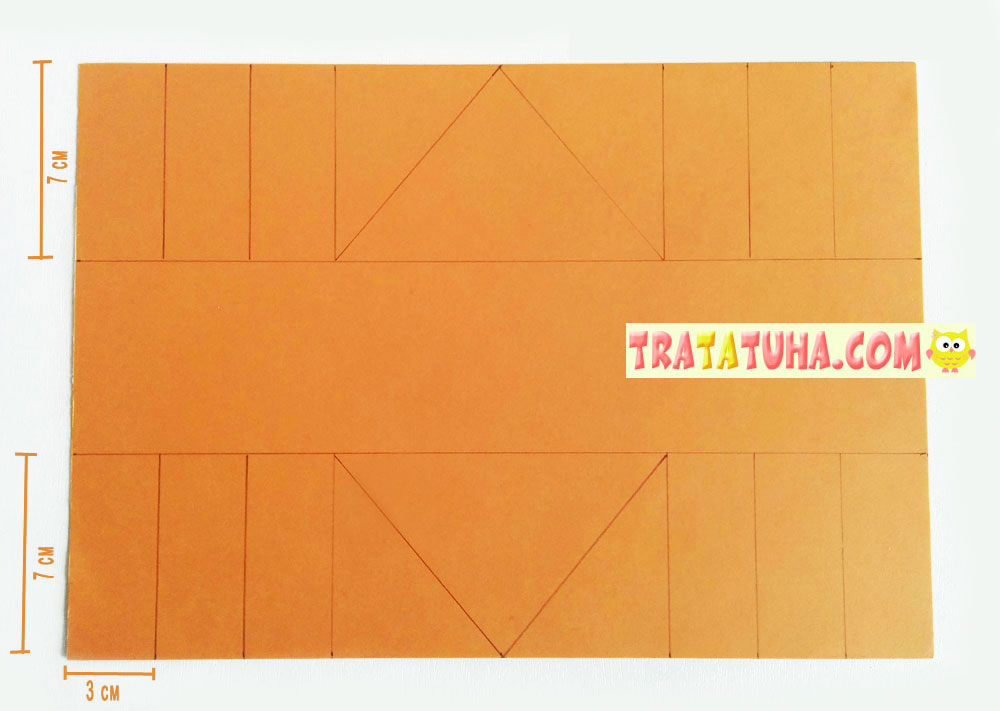
Incision
Cut as shown in the photo, that is, the lines between the small sectors, cut out the triangles. Make folds along all lines. The result is this basket frame.

Colored Inserts
To make the basket bright and colorful, 12 small sectors can be covered with colored cardboard. If you are more interested in a single-color basket option, you can skip this step.
For a multi-colored basket, cut 12 rectangular strips of colored cardboard, exactly matching the size of each sector. My stripe is 7 cm long and 3 cm wide.
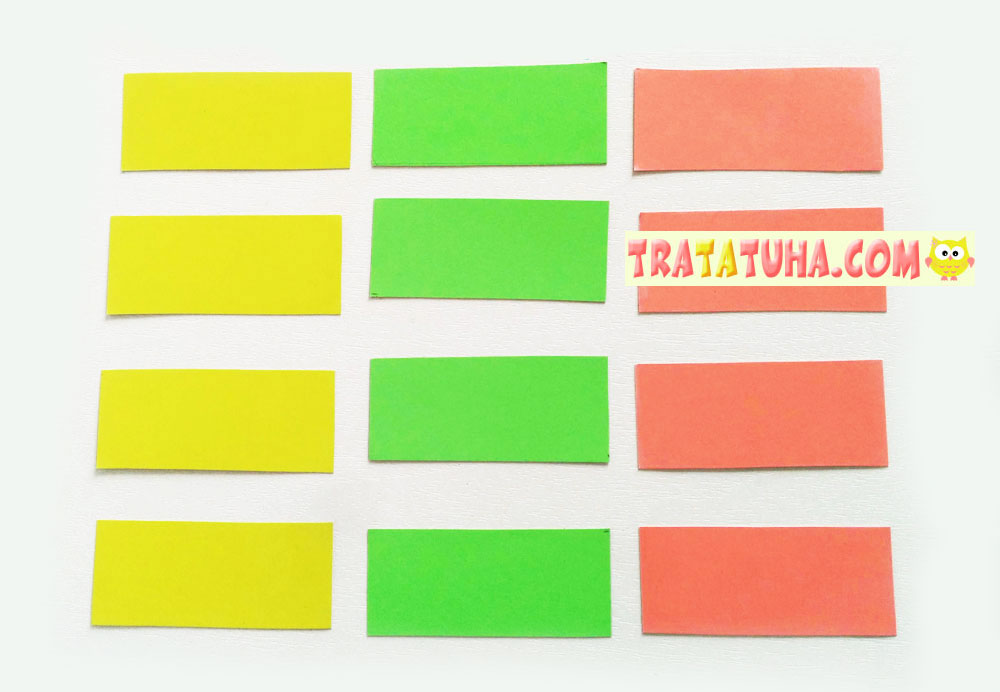
Glue the cardboard strips onto the sectors of the orange frame of the basket on the outside of the folds.
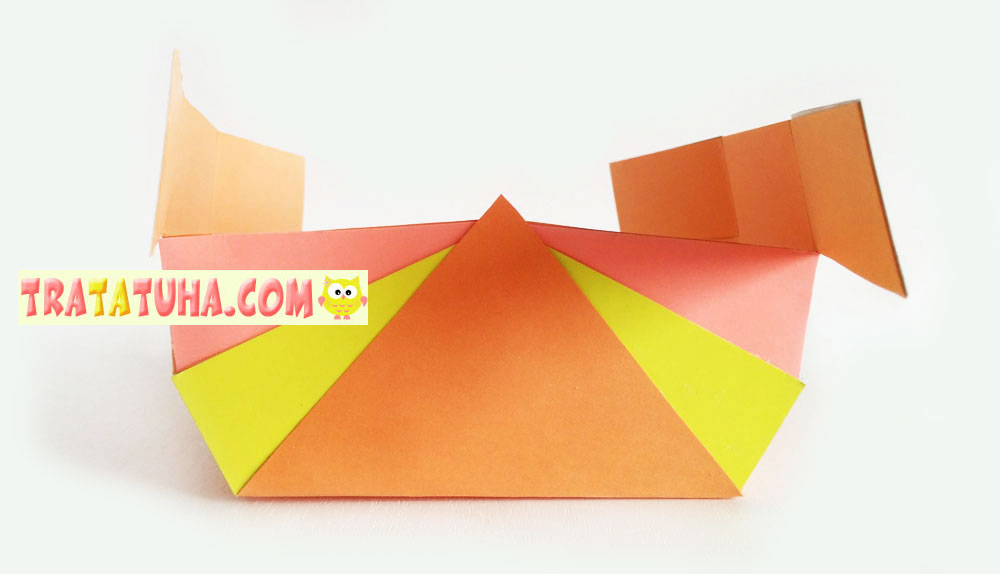
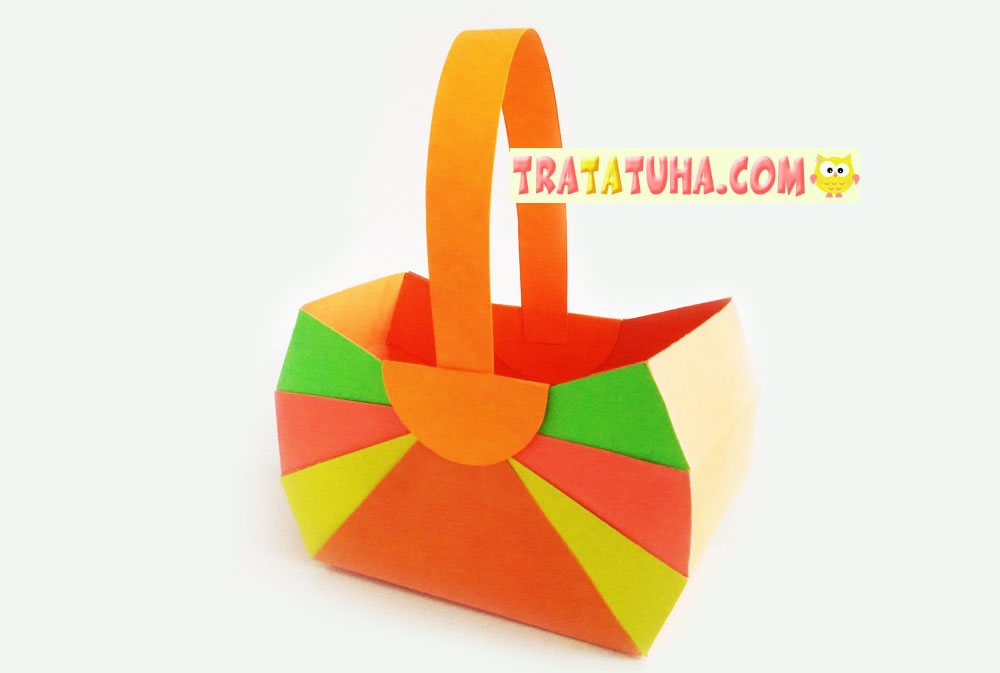
Forming a Paper Basket
Now start forming the paper basket into a single whole. To do this, turn the basket with a triangle towards you, glue the bottom strip to it, first on one side and then on the other. As you can see in the photo, the orange triangular part overlaps the yellow stripes.

In the same way, glue two stripes on the second row, mine are pink.
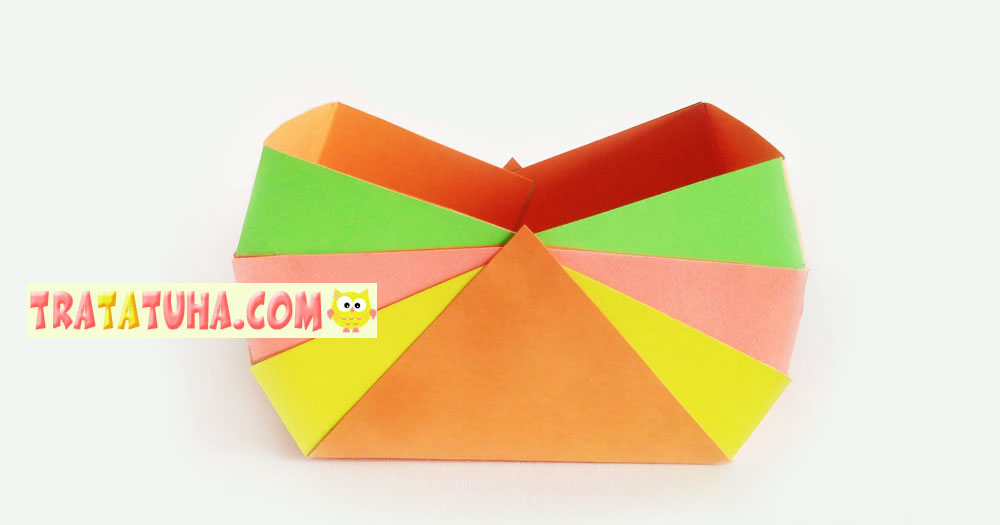
And then the last green third row. All parts must overlap each other so that there are no voids. You also need to adjust the symmetry of the sides in the process. One side of the basket is ready.
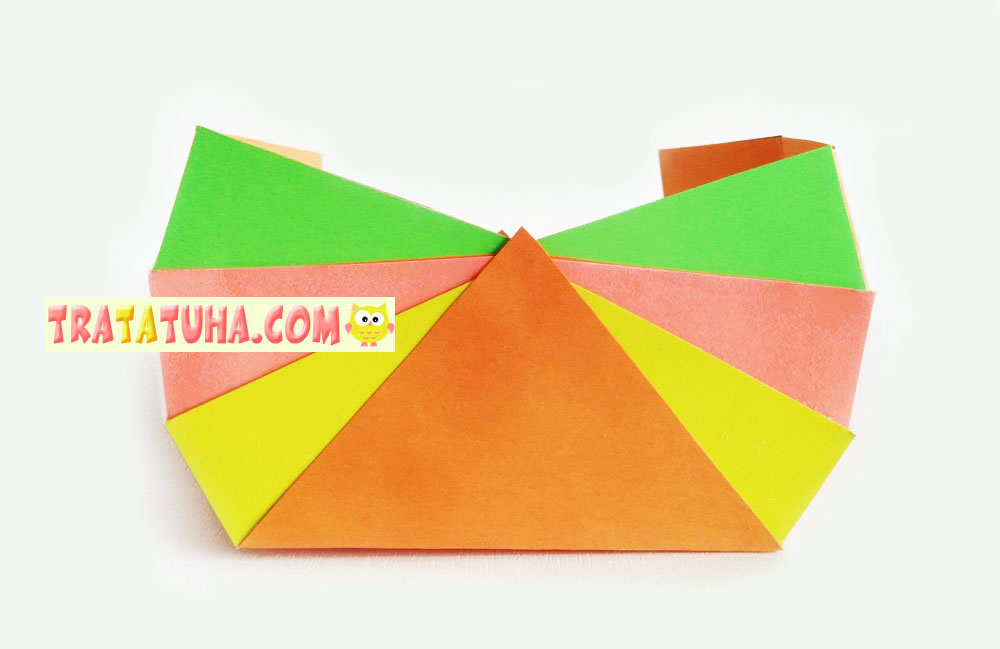
Glue the sectors on the second side in the same way.
Handle for Basket
A basket cannot be without a handle. Cut it out of cardboard. The length of my strip is 28 cm, and the width is about 2 cm. Also cut out two circles, the diameter of each can be 5 cm.
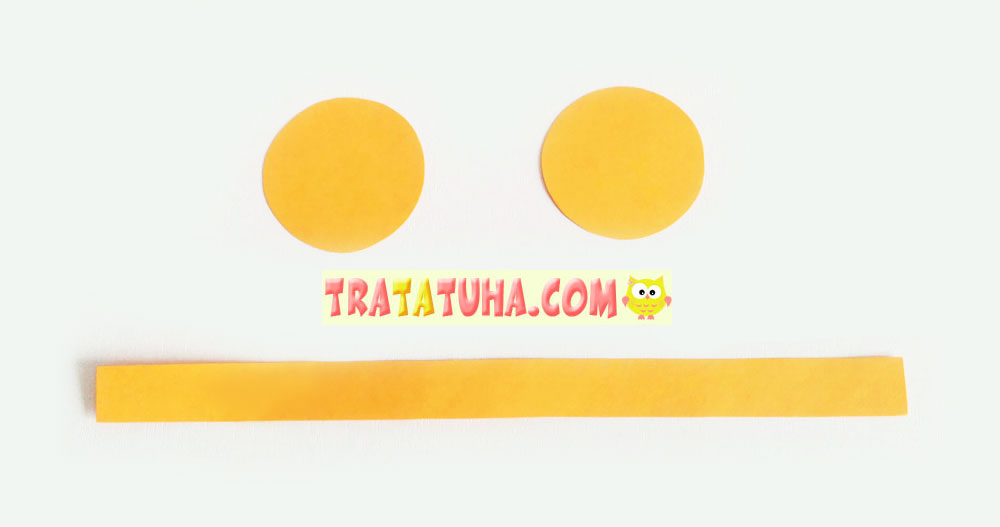
Fold the circles in half and glue them to the basket so that part of the circle is on the outside and the other half is on the inside. Glue the tips of the pen inside the halves of the circles. The basket is ready.
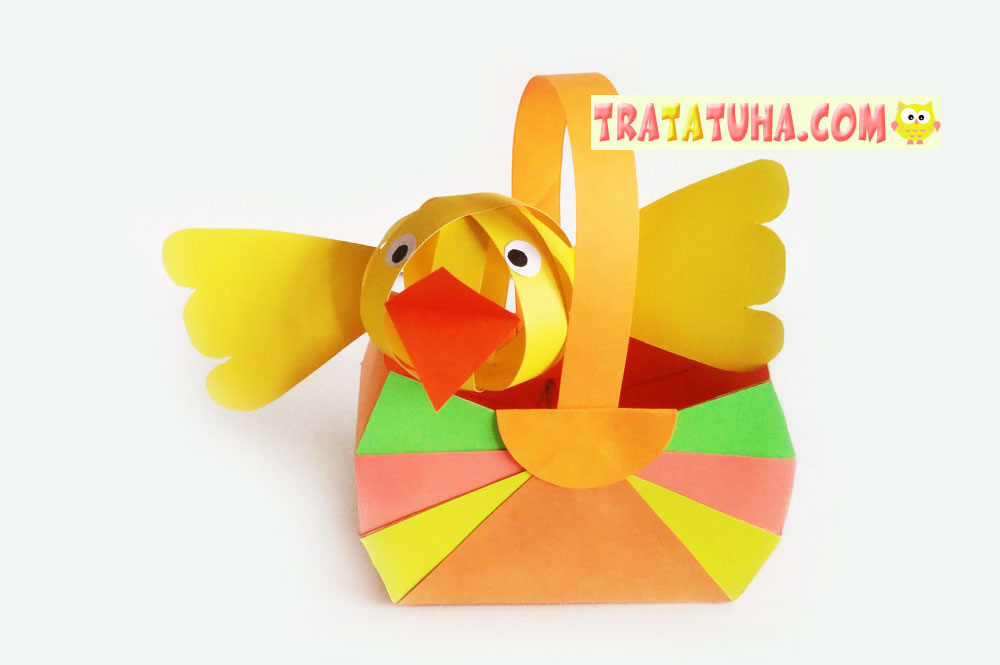
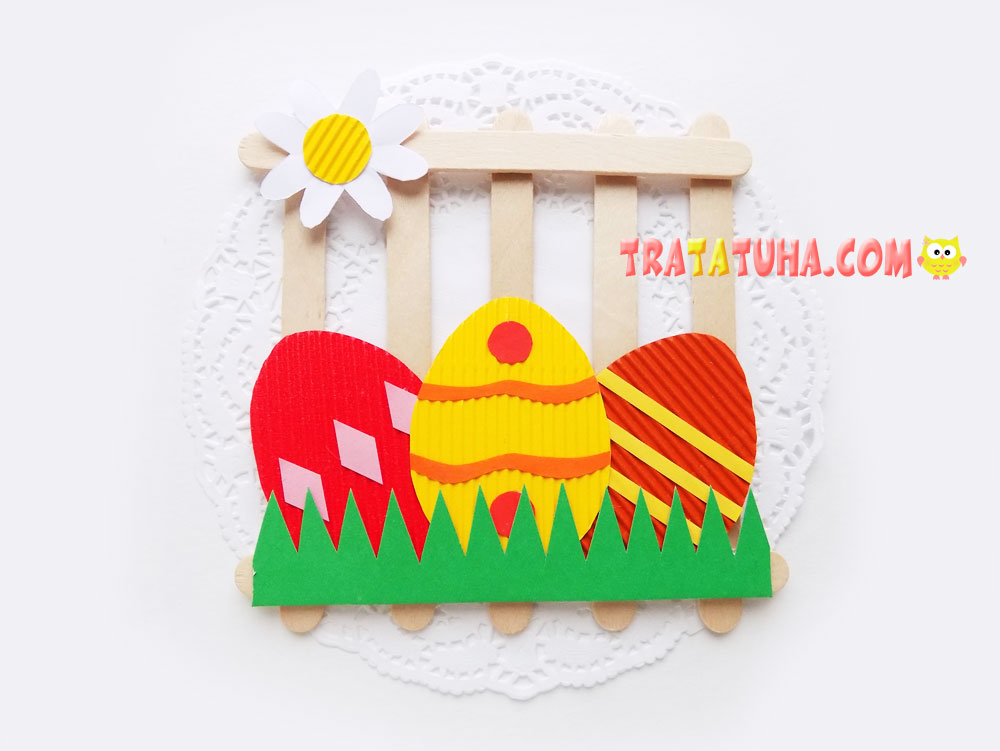
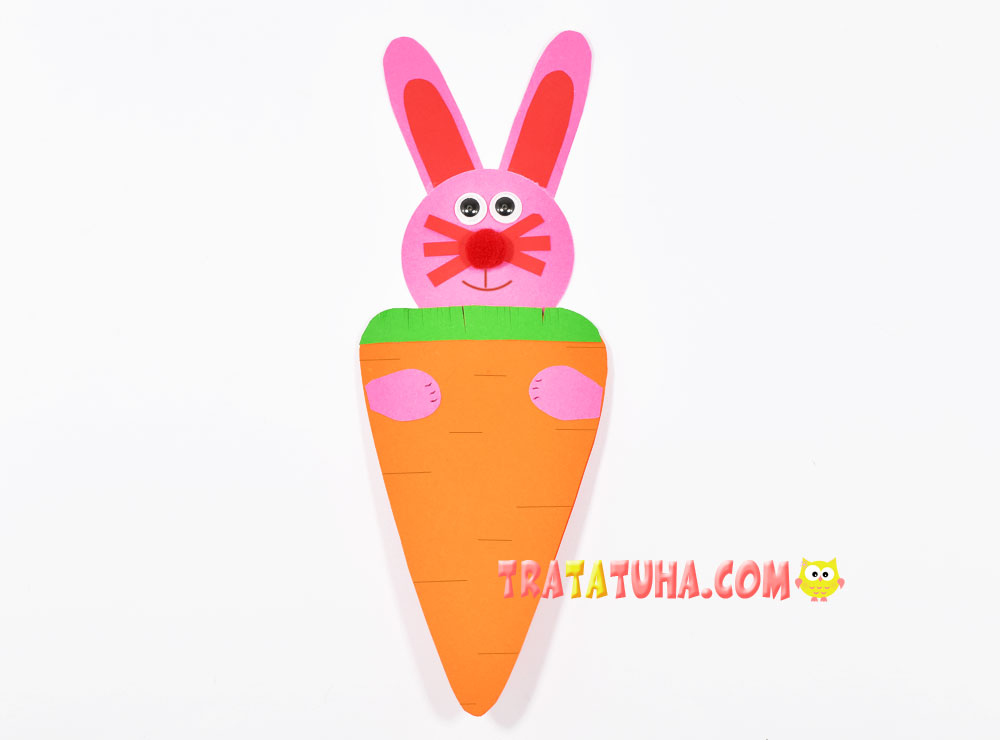
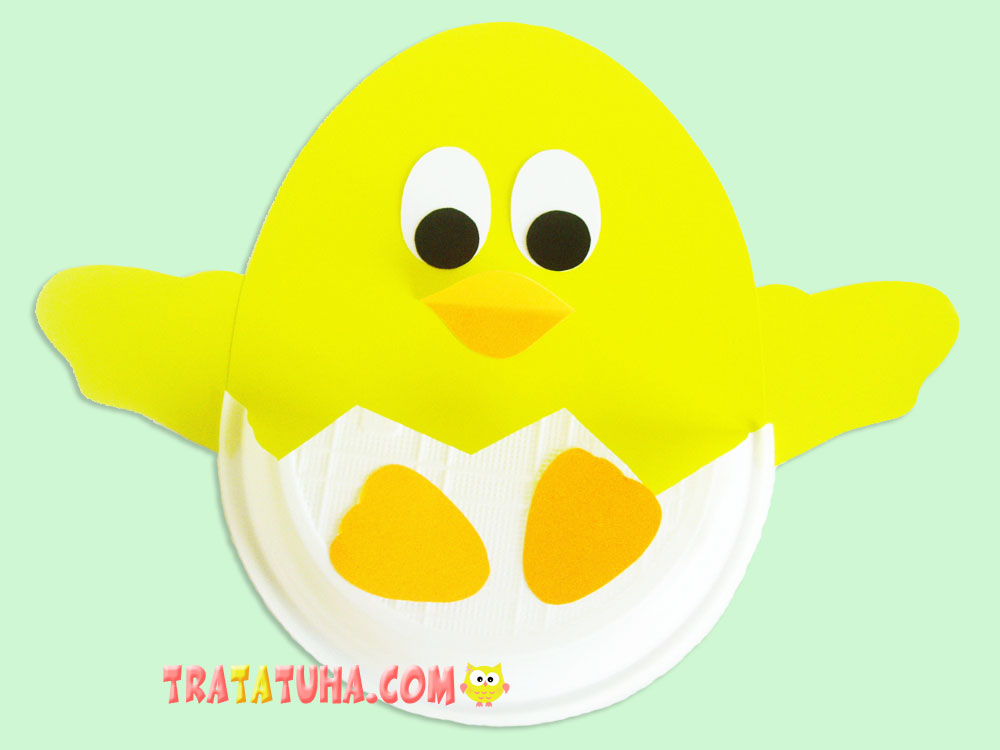
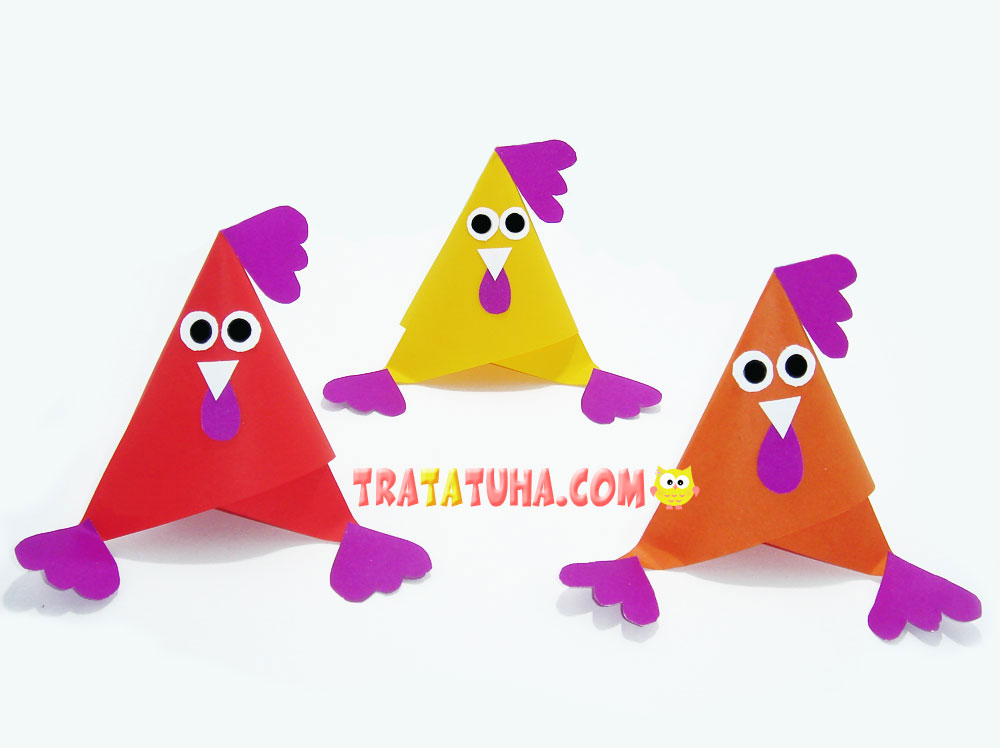
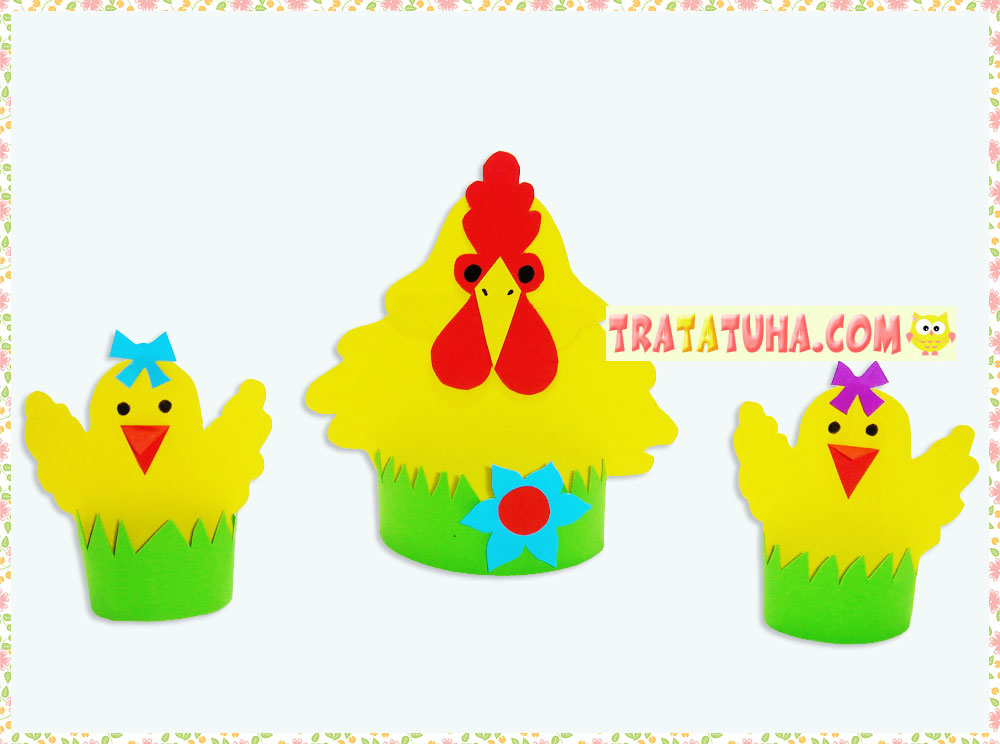
Now you know how to make a paper basket. Various toys, flowers, as well as Easter eggs, bunnies or, for example, a chicken made from strips of paper will look impressive in it.
Origami paper baskets also turn out great.
Here’s to more easy Easter Crafts for Kids.
Related Post:
what a nice work