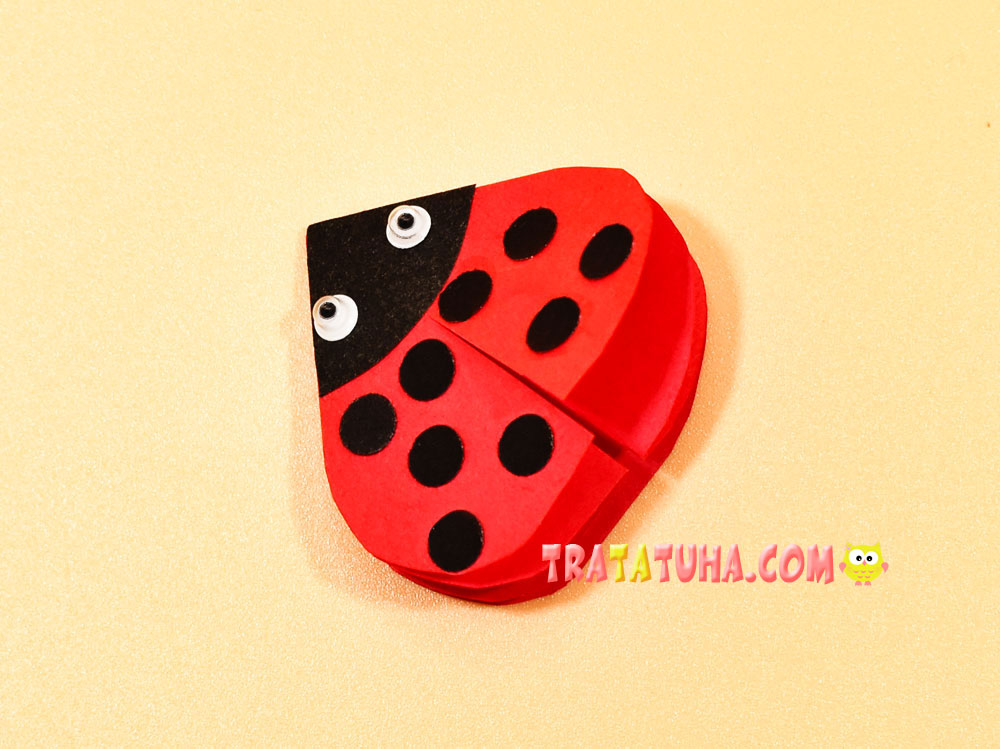
How to make origami ladybug? All it takes is a few easy steps. Instructions with detailed photos are attached.
You will need:
- Colored paper in red;
- Black paper;
- Plastic eyes;
- Glue, scissors.
How to Make Origami Ladybug Step by Step
As with most origami, you will need square-shaped paper. Of course, in red, in order to display as closely as possible the well-known insect – the ladybug.

Next, fold the paper several times to make the folds we need. First, fold the square into a triangle by connecting the opposite corners. Press the fold, and then open the triangle and fold it again, only this time join the other two corners.

Two folds are ready, you still need two side ones. To make them, flatten the paper again to a square and fold it in half to make a rectangle.

This is how the folds should look like.

Now with their help you should make one of the basic origami shapes — a double triangle. With proper skill, it is very easy to do. You just need to lift the intersecting folds, and at the same time point the sides inward.

Press the resulting double triangle so that the folds in the middle fit into place.

Use scissors to round off the corners, giving the paper a teardrop shape.
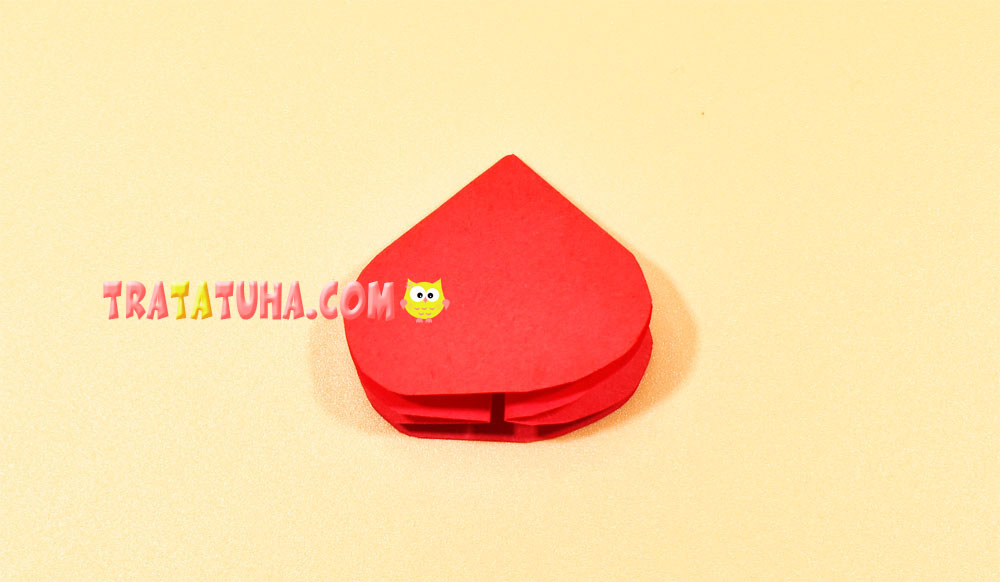
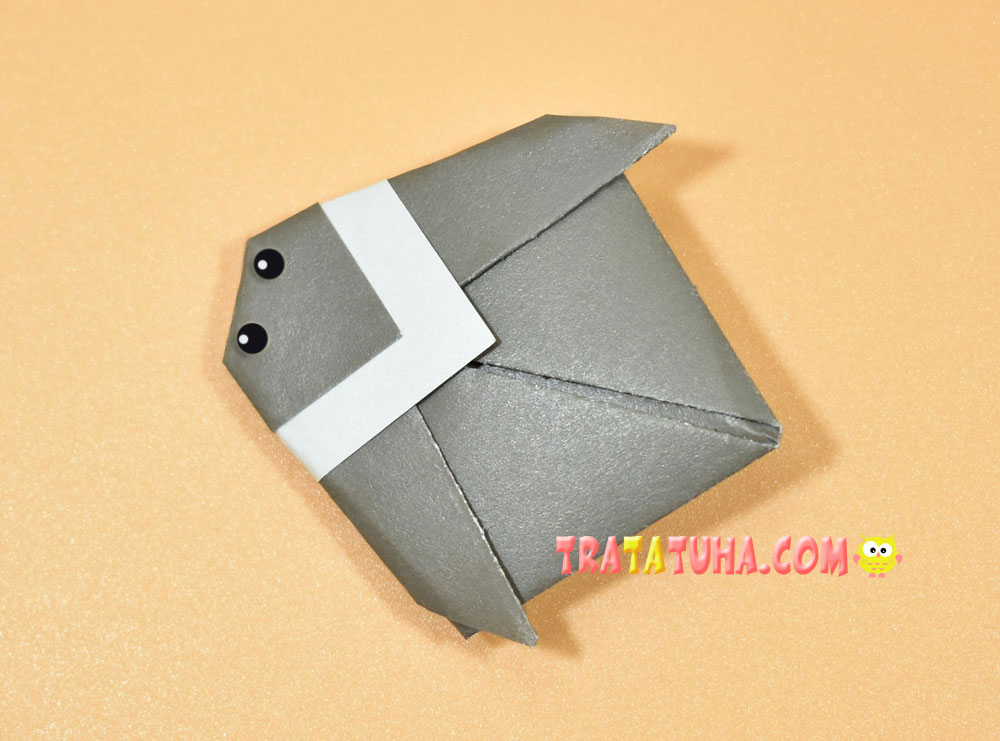
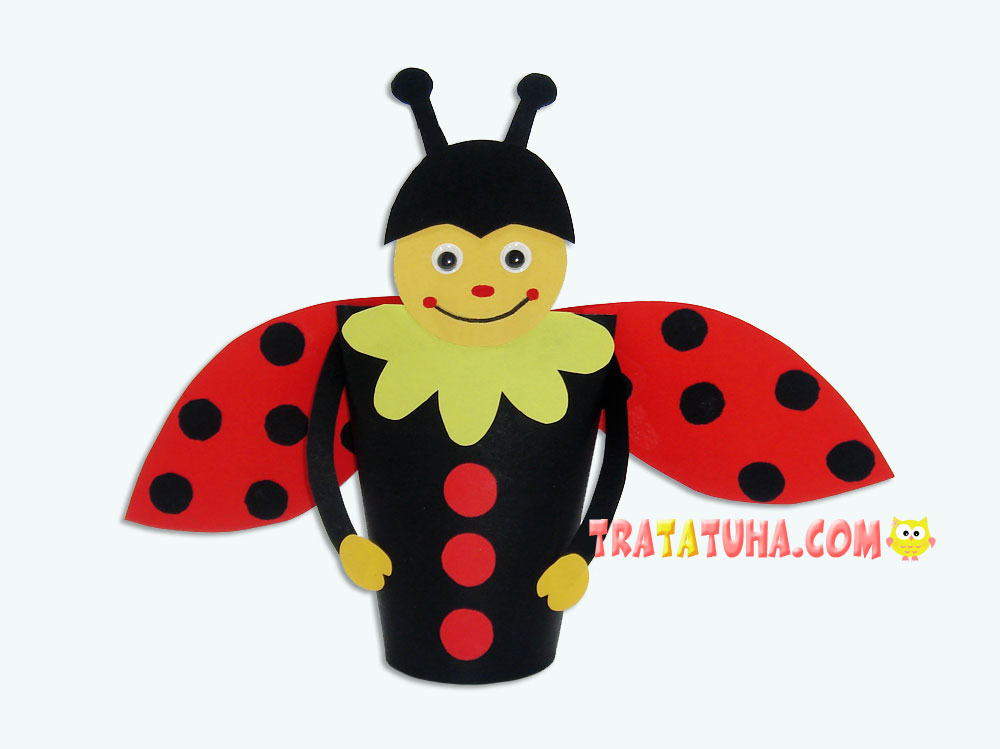
The origami ladybug is almost ready. It remains for her to glue black circles, on an acute angle – a quarter of a circle. And already on him – eyes. Optionally, the top of the paper can be cut with scissors to display the wings.

Despite the lengthy description, the work itself can be done very quickly, and there are several insects themselves. And in the future they can be used for summer collages, bright compositions of nature, meadows.
Many other Insects Crafts for kids.
Crafts for Kids – learn how to make craft at home! Super cute crafts for all age groups!
