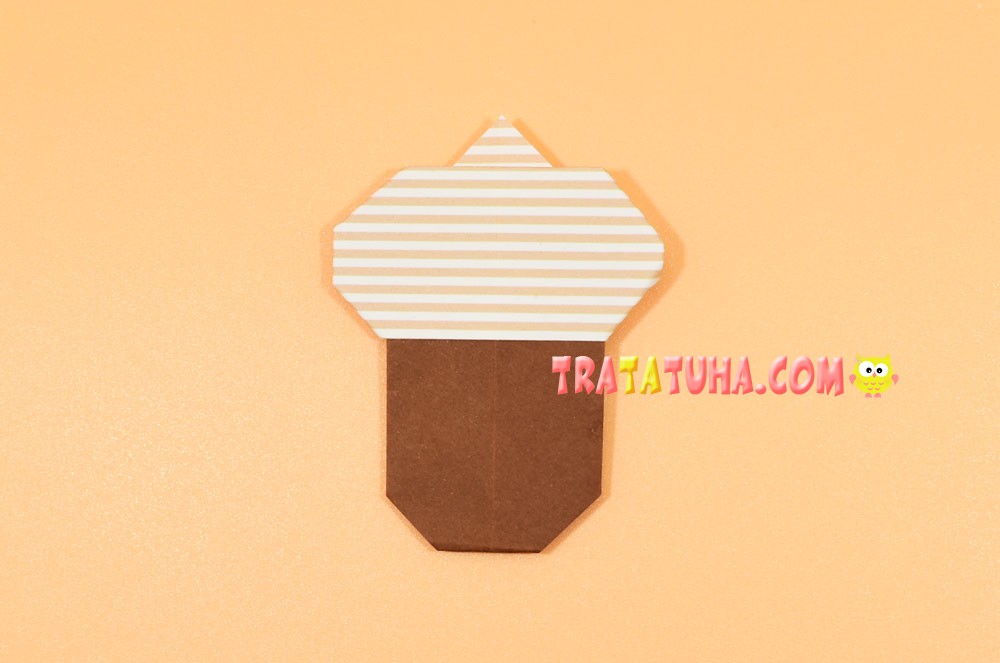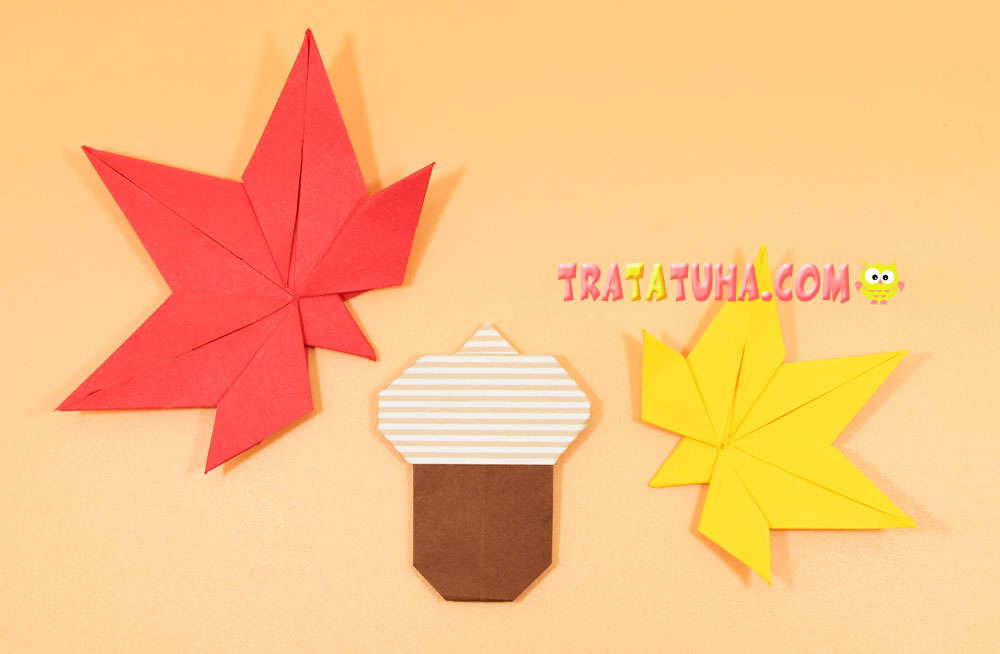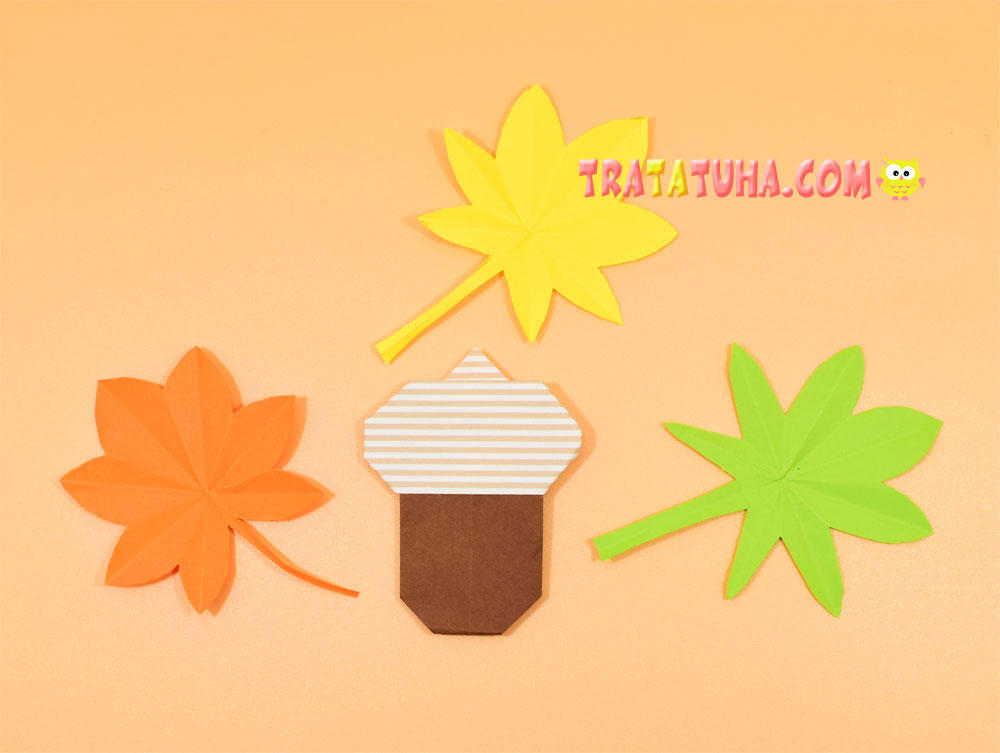
This origami acorn consists of two parts — a cap and a base. Both parts are not difficult, presented step by step with detailed photos.
Materials for creativity:
- Two pieces of square-shaped paper differing in shade;
- Glue optional.
Origami Acorn Step by Step
Prepare equal pieces of paper. The main part of the acorn in this work is brown. White paper hat with stripes.

We fold the base of the acorn
Fold the square piece of brown paper into a triangle.

Open and fold the triangle again to make cross folds.

Return the triangle shape and fold up the bottom side. The width of the fold and corner at the top should, if possible, be the same.

Open the paper.
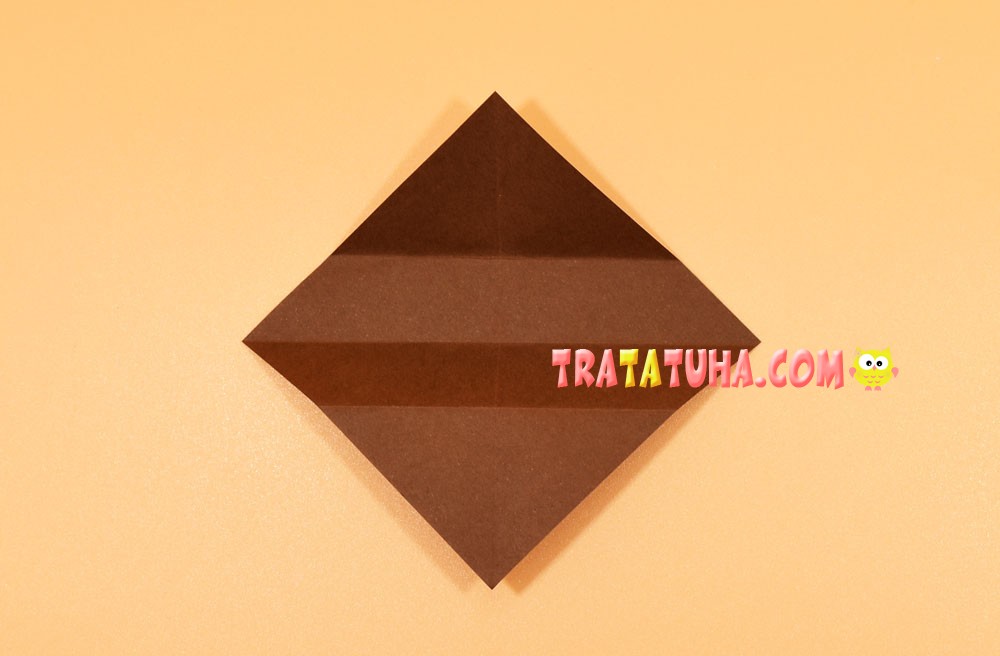
Fold the bottom corner over to the first top fold.
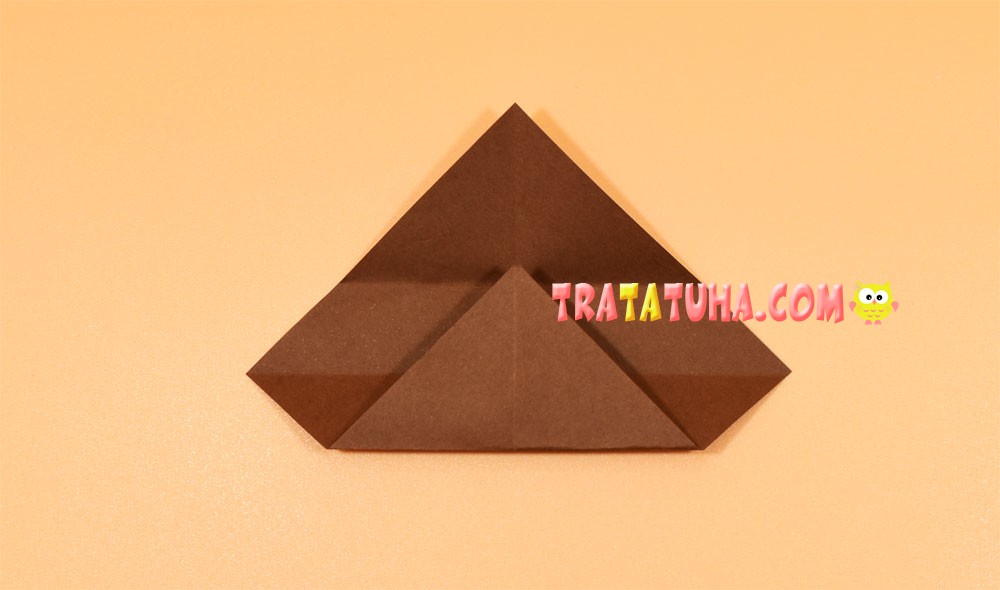
Pull the top corner down.

Fold the left corner to the right.
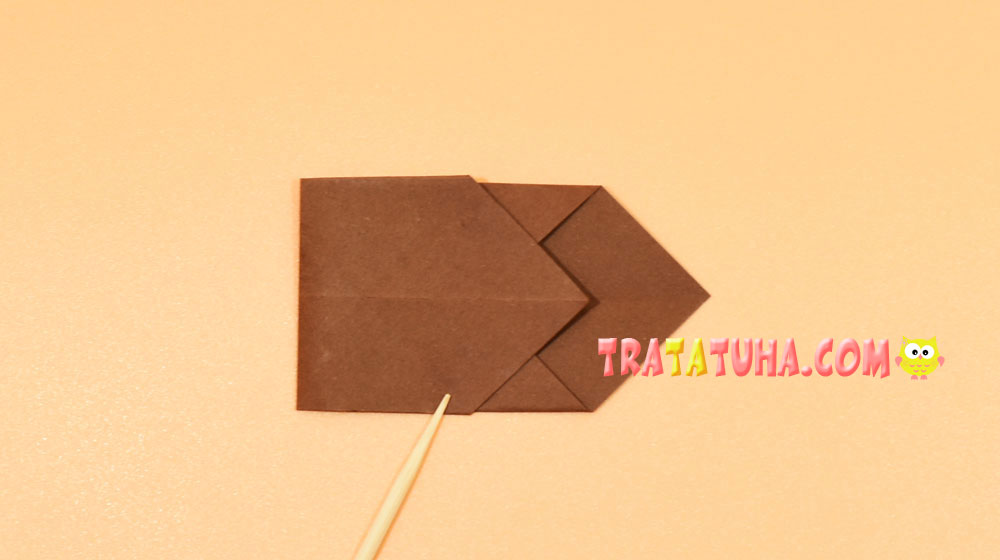
Bend the small right corner.
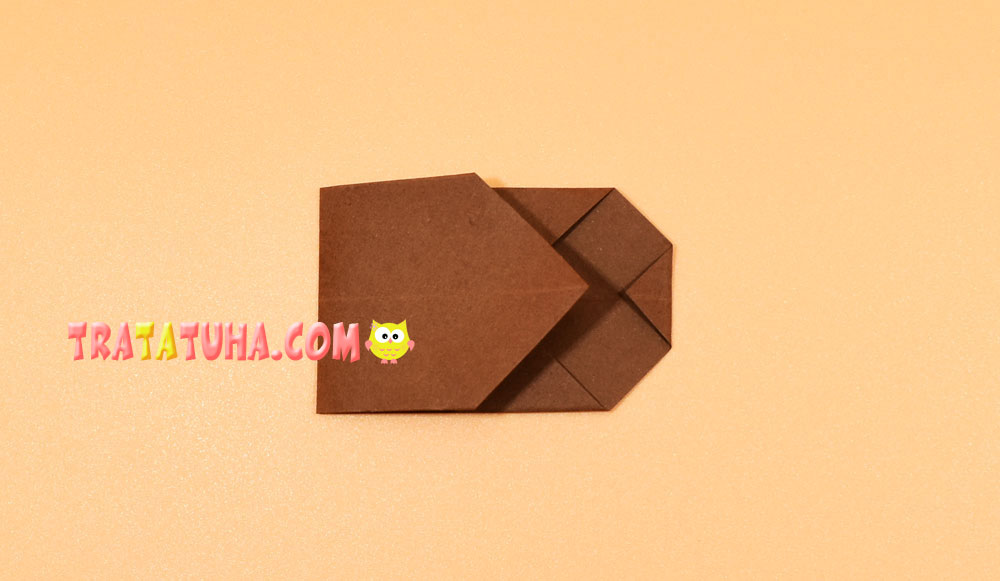
Flip to the other side and round down. The base of the origami acorn is ready.
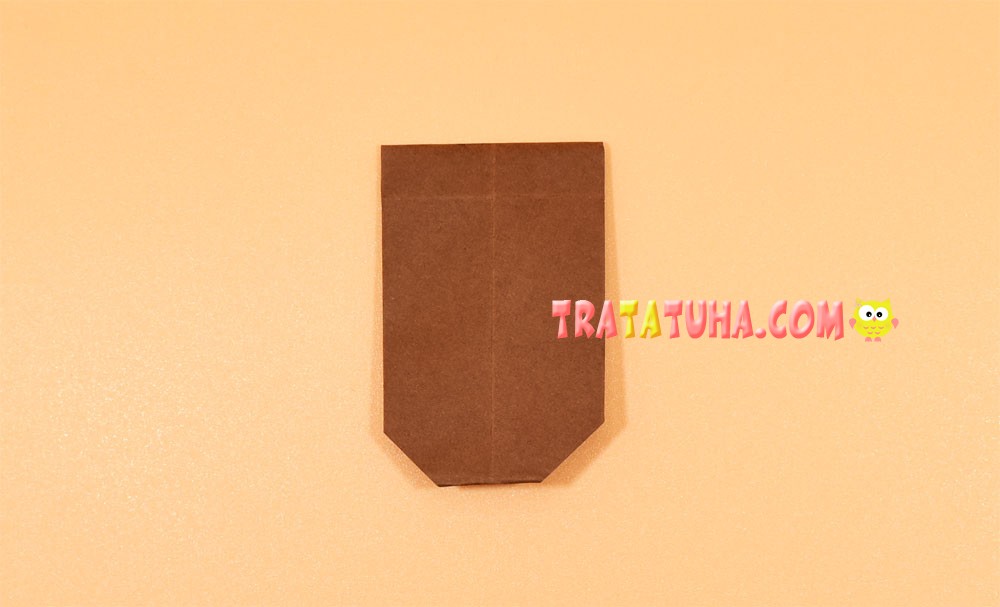
Folding the acorn cap
For her, we have prepared paper in the form of a white striped square.

Fold into a triangle.

Then fold again from right to left into an even smaller triangle to determine the middle.

Open and point the top corner down, placing it along the fold in the center.

Fold one corner up.

Bend the side corners, aligning them with a triangle in the middle.

Lower the small corners from the top down.

Flip over to the other side.

Place the base in the middle of the hat.

Bend the side corners on both sides of the bottom of the hat. If desired, secure both components with glue. Everything, the origami acorn is ready.
