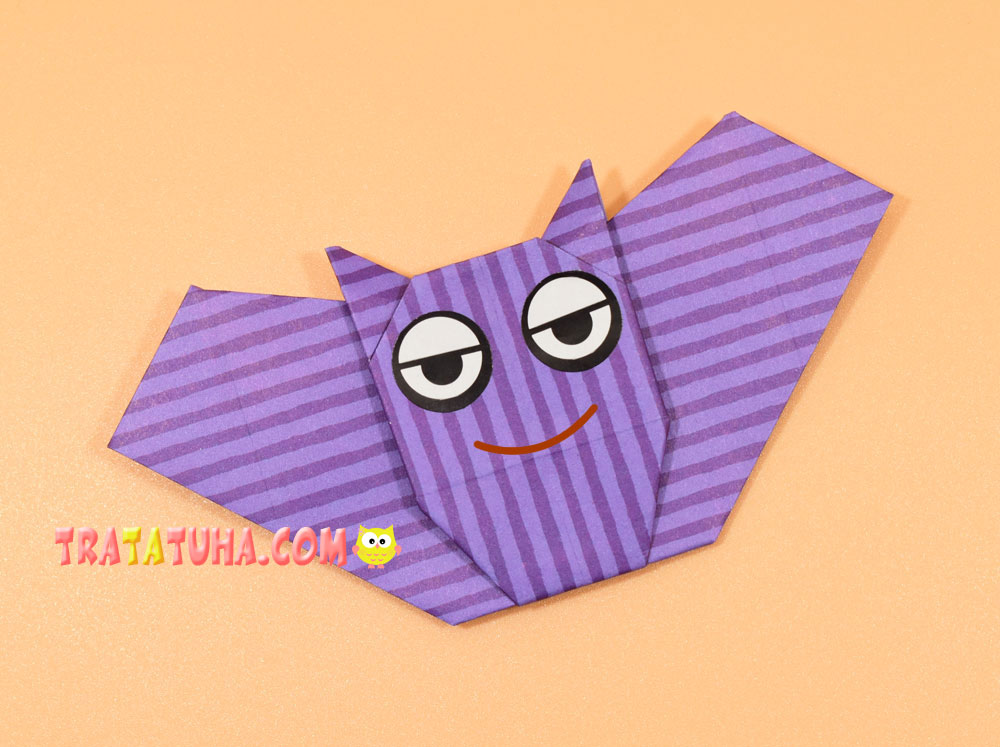
Origami bat of medium difficulty. Follow the step-by-step actions presented in the form of a photo.
For beginners and children, a simpler option is suitable, the review of which is at the address — an easy origami bat.
Materials for this work:
- Colored origami paper or black;
- Any eyes;
- Marker.
Origami Bat Step by Step
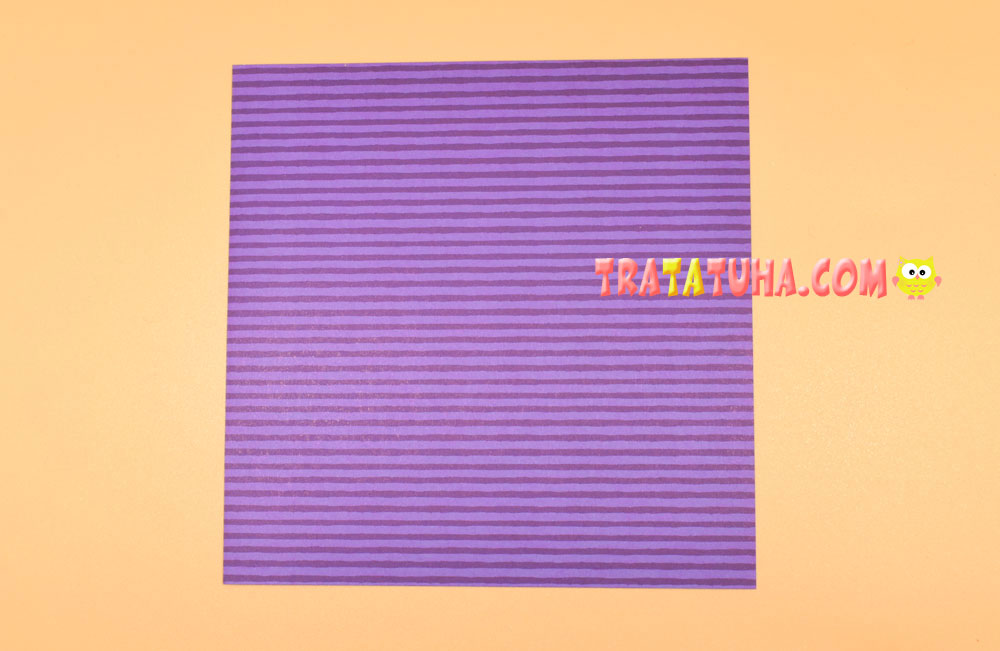
Prepare square paper. In this case, the size of the segment is 15:15 cm. From this value, a model is obtained with a height of 5 cm and a width of 11 cm.
At the first stage, we will outline 4 horizontal folds. Fold the paper in half.

Open and fold the bottom of the paper up to the center fold.
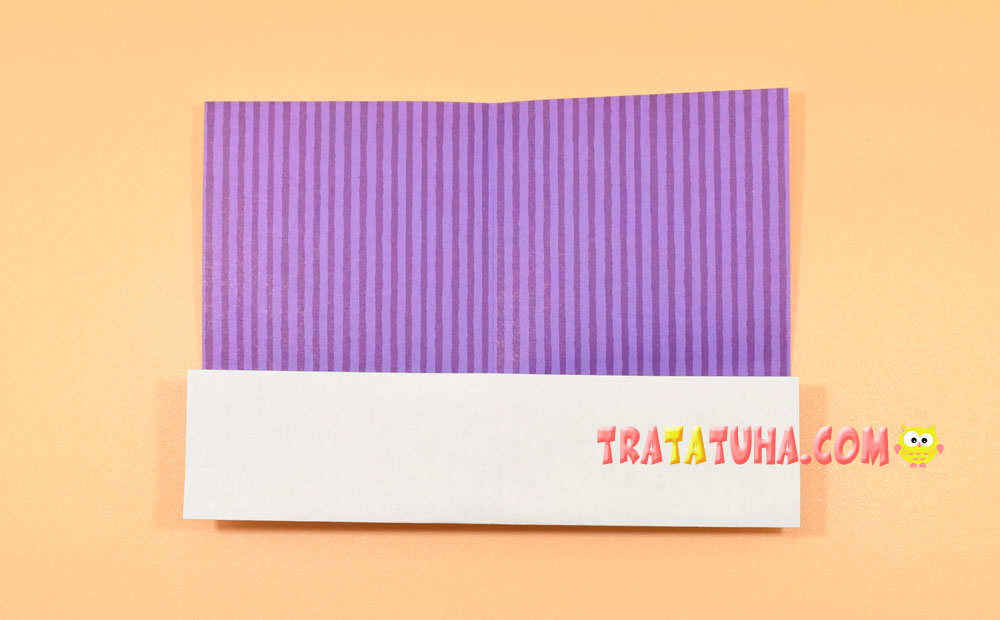
Open and lower the top of the paper down, also to the middle.

There are already 3 folds, now let’s make the fourth one.
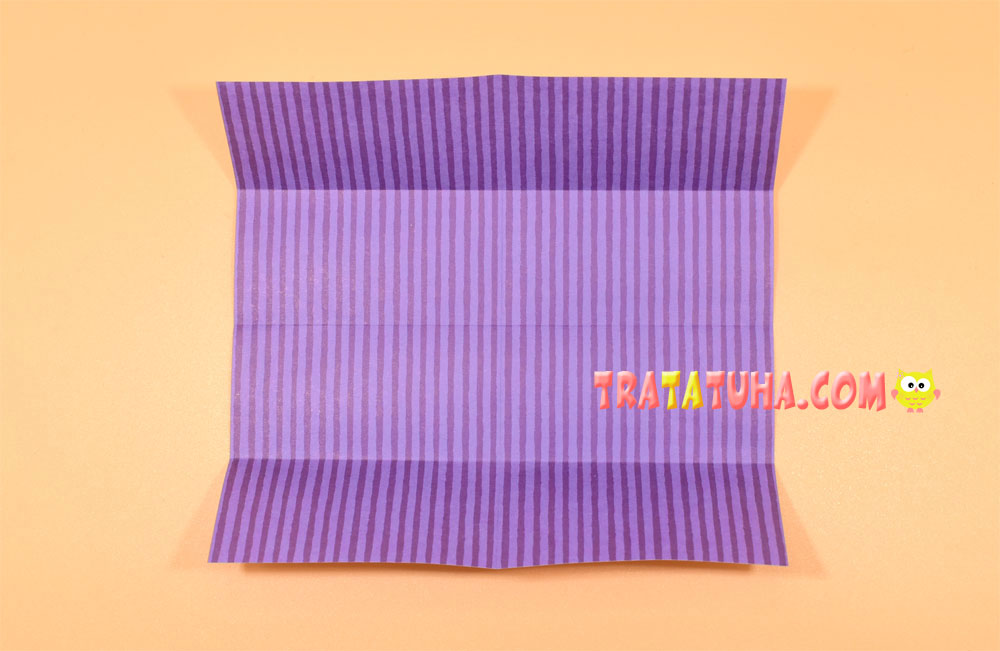
To do this, straighten the paper completely, and bend it from above to the first fold.
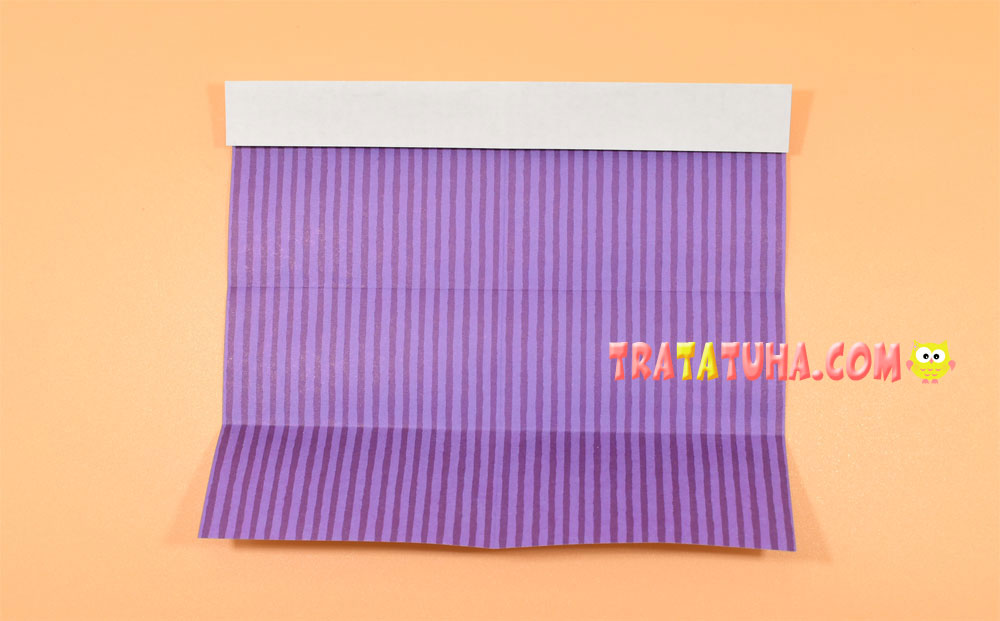
Straighten again and flip over to the other side.
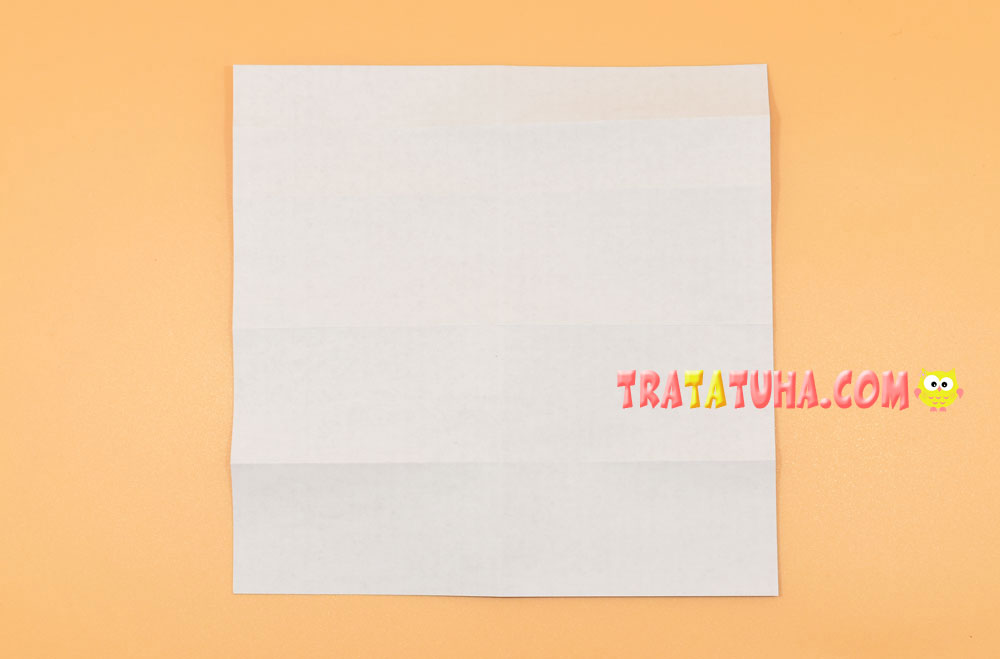
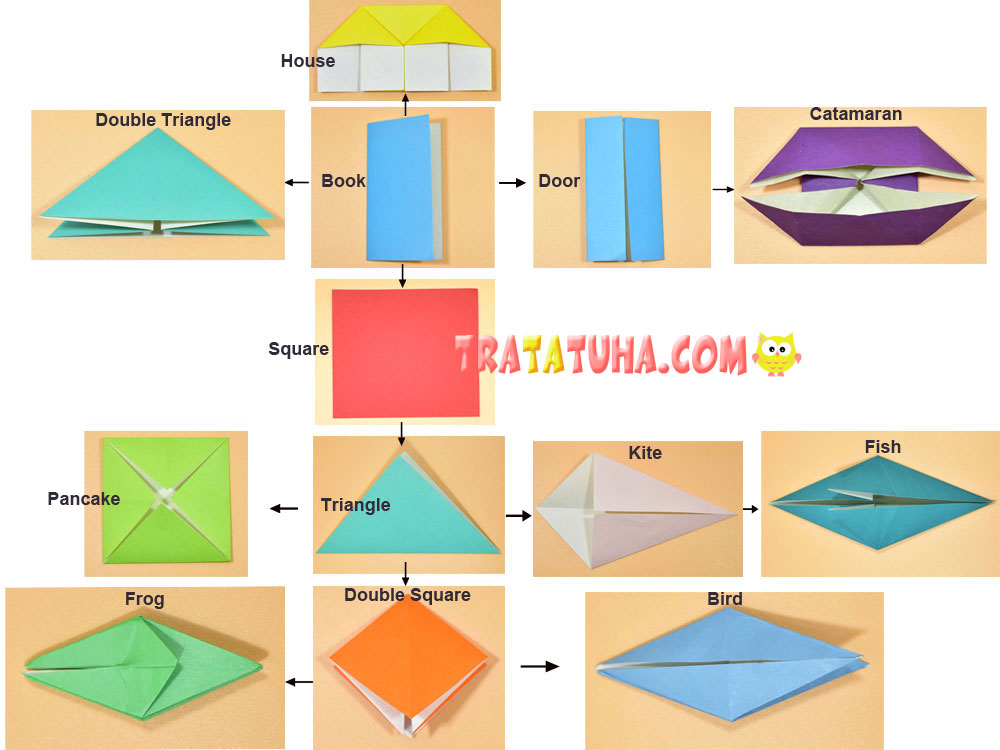
Next, we need to make a basic origami shape – a double triangle. It will require two more folds, from corner to corner.
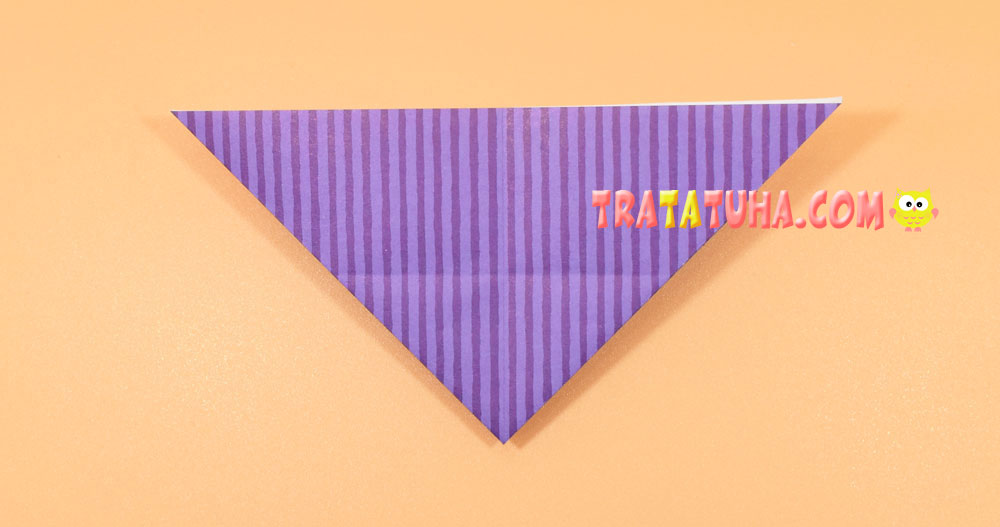
Fold the paper into a triangle.

Straighten and fold again, connecting the other two corners.

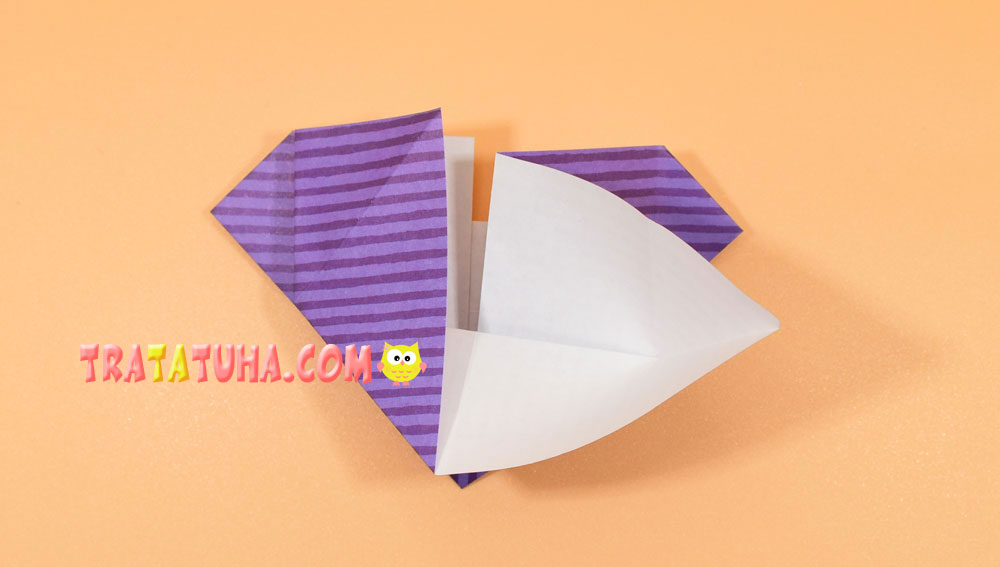
Open and point the horizontal fold inward.

Press down while guiding the top side towards the bottom. The double triangle is ready.

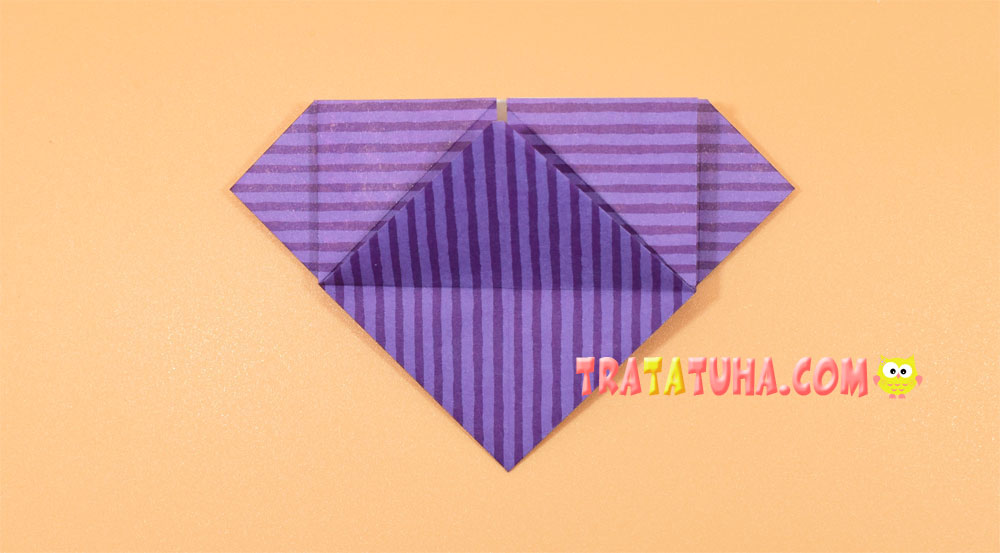
Slightly open from the bottom, bending only the top layer of the double triangle.

Bend the left corner to the right and lower it down.

Do the same with the right.

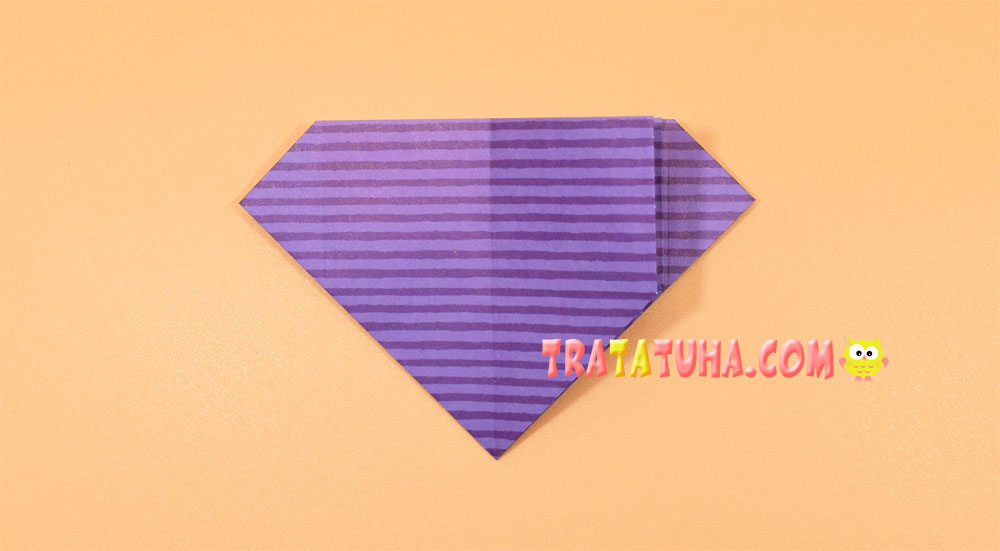
Bend the right and left corners from the bottom as well.

Flip over to the other side.
Open the paper at the top.

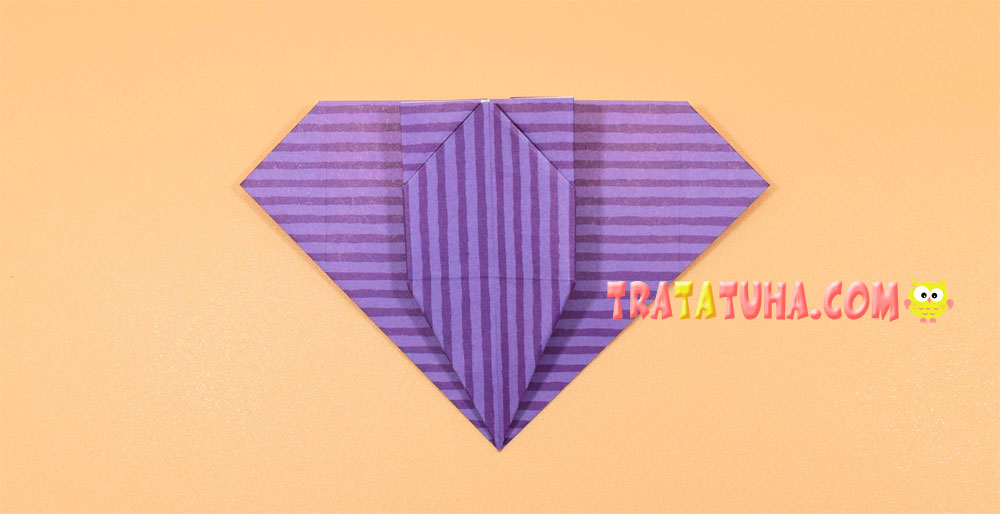
Point the left corner to the left, and lower it down, all the way to the bottom corner.
On the right side, do exactly the same manipulations.

Lift the bottom corner of the top layer up.
On the left we have double paper, move the upper area to the right, like a book page.

Bend part of this page back, that is, to the left.
Bend a small corner at the bottom.
Move this piece of paper to the left, bringing it back.
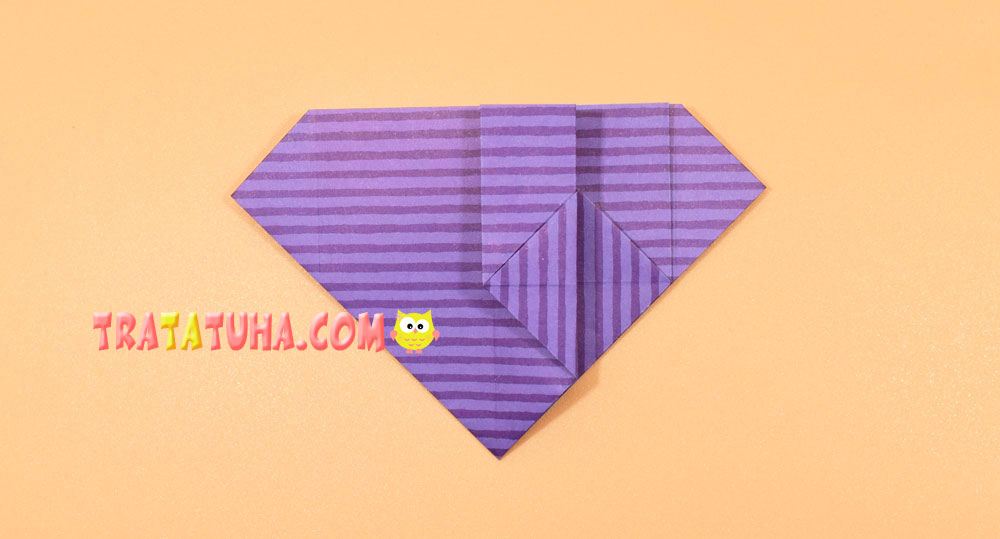
Now we need to do similar actions with the right area of the top layer.
To do this, move the right side to the left.

Bend a small area, aligning with the bottom.

And just like the bottom, bend the bottom corner.
Bring this area back, that is, to the right.
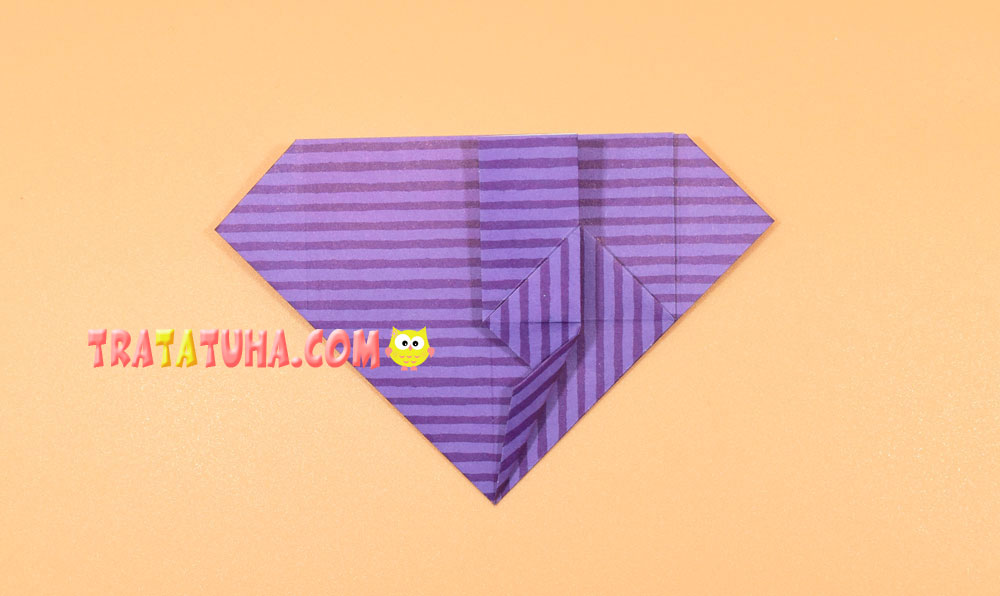
Flip over to the other side. We will form the ears of an origami bat.

Bend down the corner, as shown by the oblique line in the photo.
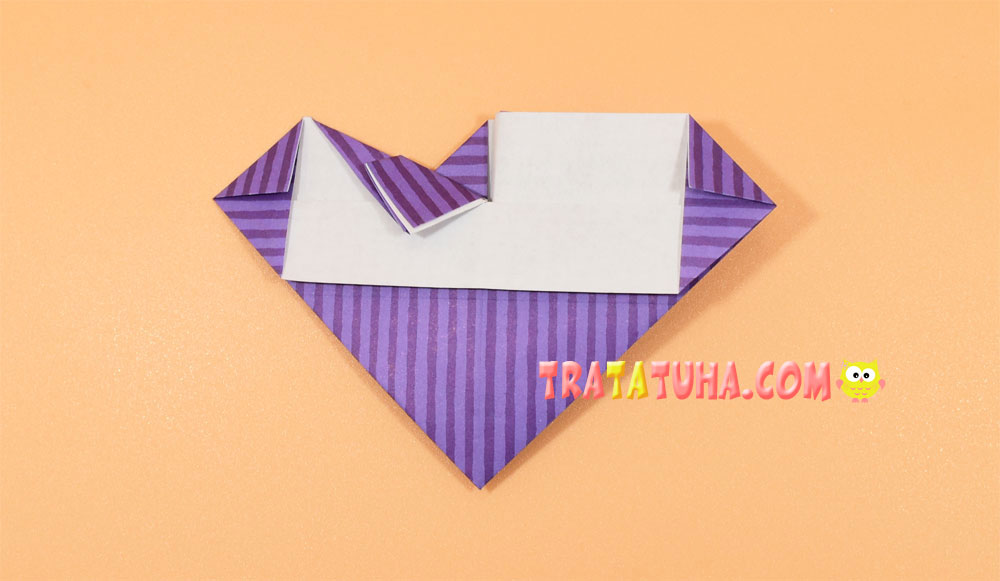
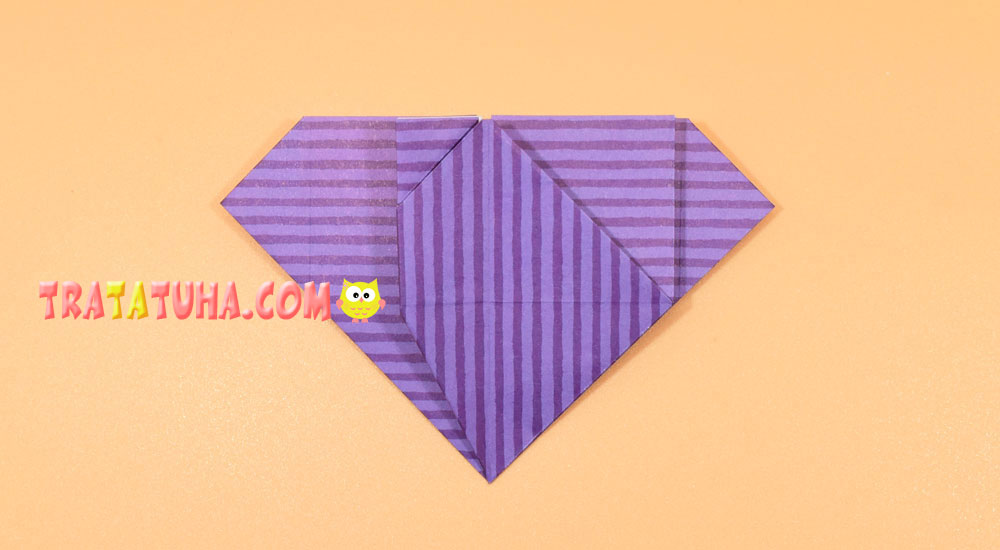
On the left, a kind of pocket is formed, you need to pry it with your finger and straighten the white area of the paper, returning the corner up.


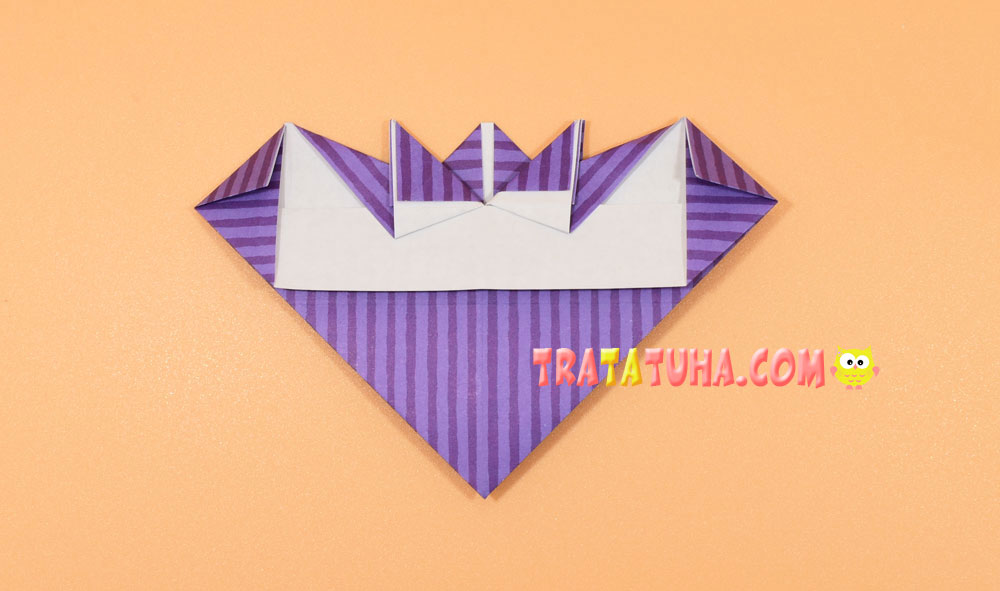
Repeat on the right. Bend over.

Press and straighten the white part of the paper.

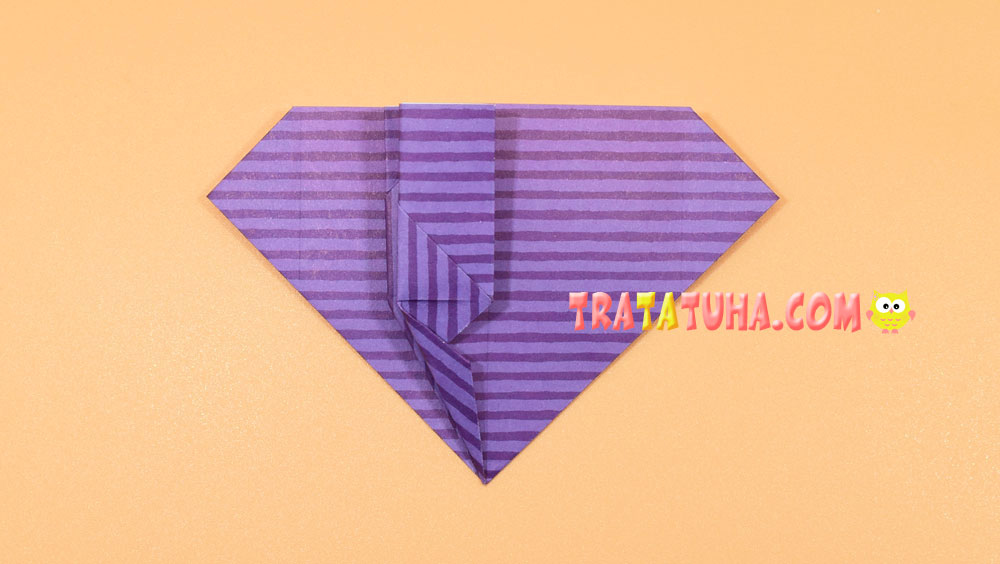
Bend the corners down to make protruding ears.
Lower the corner in the middle down.
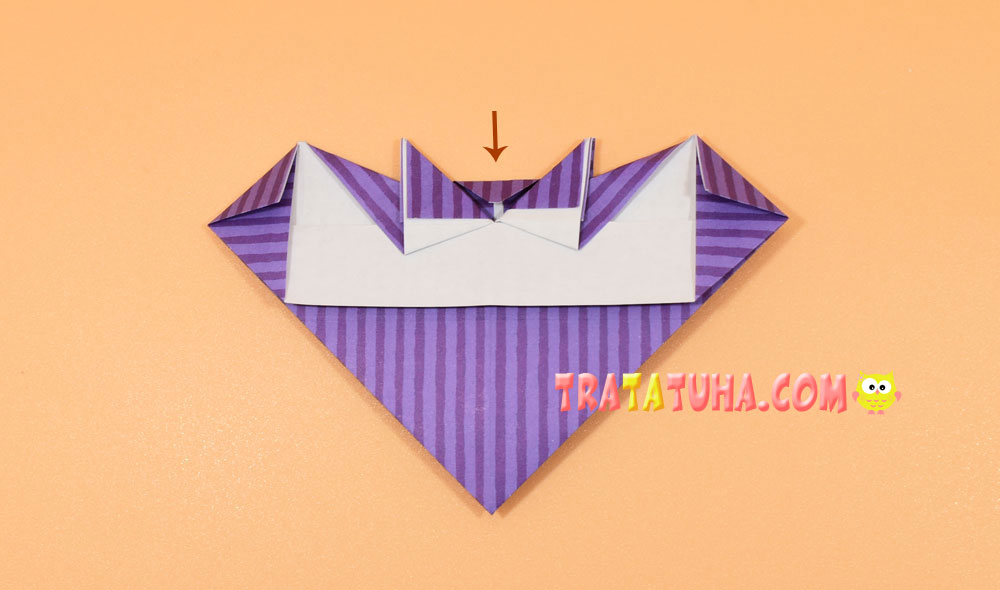
And fold the bottom corner up. This action may not be performed, the final version will still turn out, but in a slightly different form.
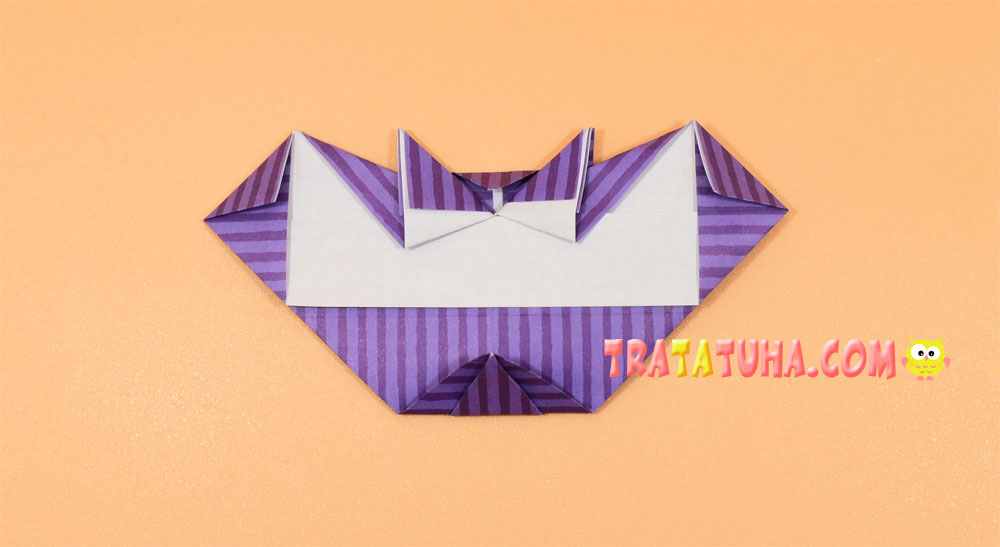
Flip over to the other side.
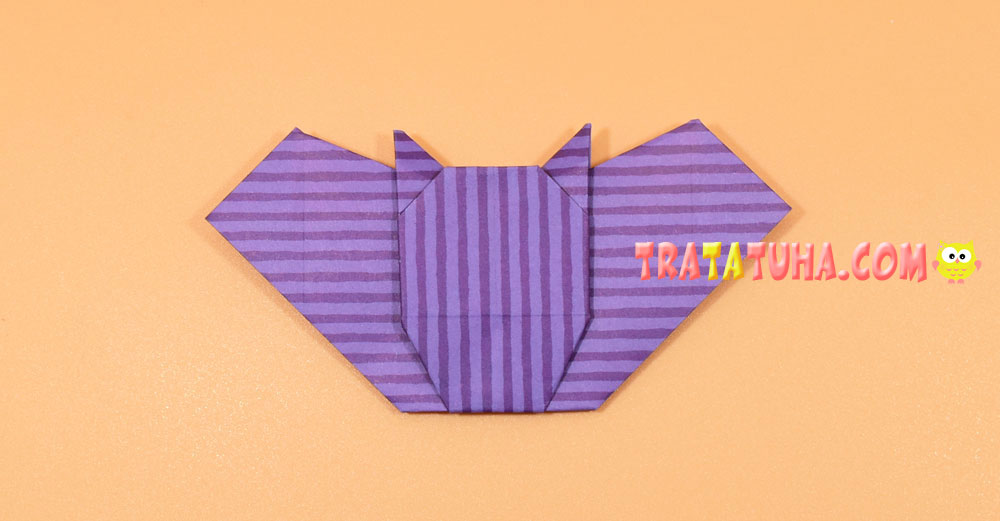
The origami bat is almost ready. It remains only to supplement it with external data. Glue or draw eyes, a smile.
It is possible to show a creative streak by adding white teeth and a red tongue to the mouse. Make this character evil and ominously bloody if you need a Halloween craft option.
Related Post: