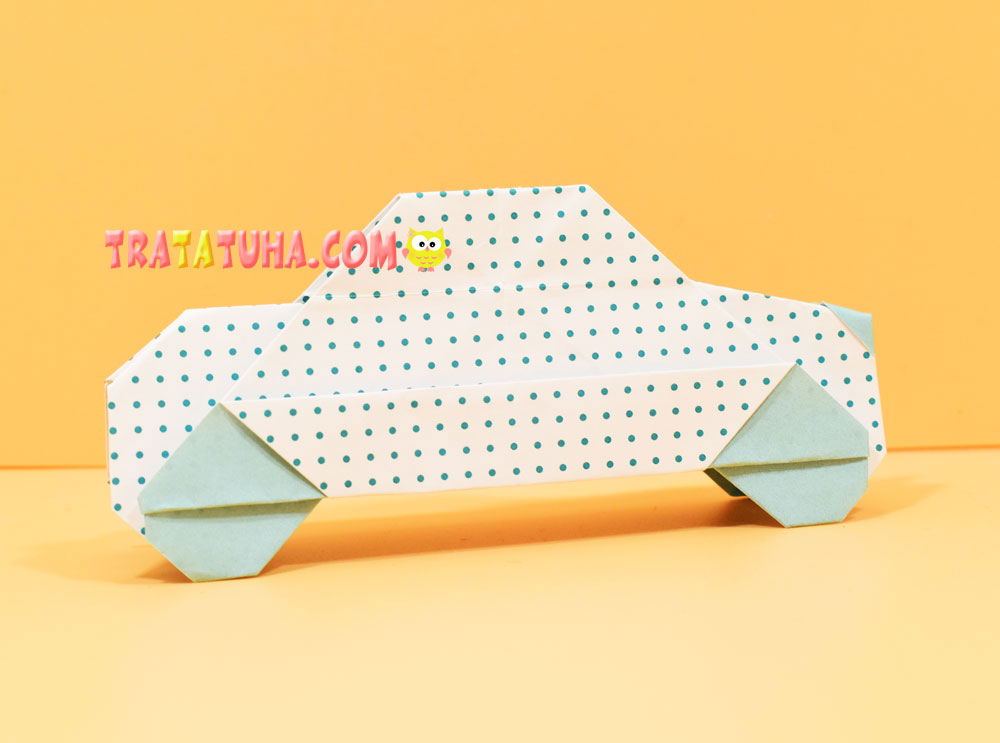
Origami car step by step with photo. A detailed tutorial for creating a three-dimensional car from a single sheet of paper.
Materials:
- Origami paper. In this case, double-sided paper is used on one side of the blue color, and on the other — in small polka dots. Double-sided paper makes it possible to highlight the wheels and bumper.
Origami Car Step by Step
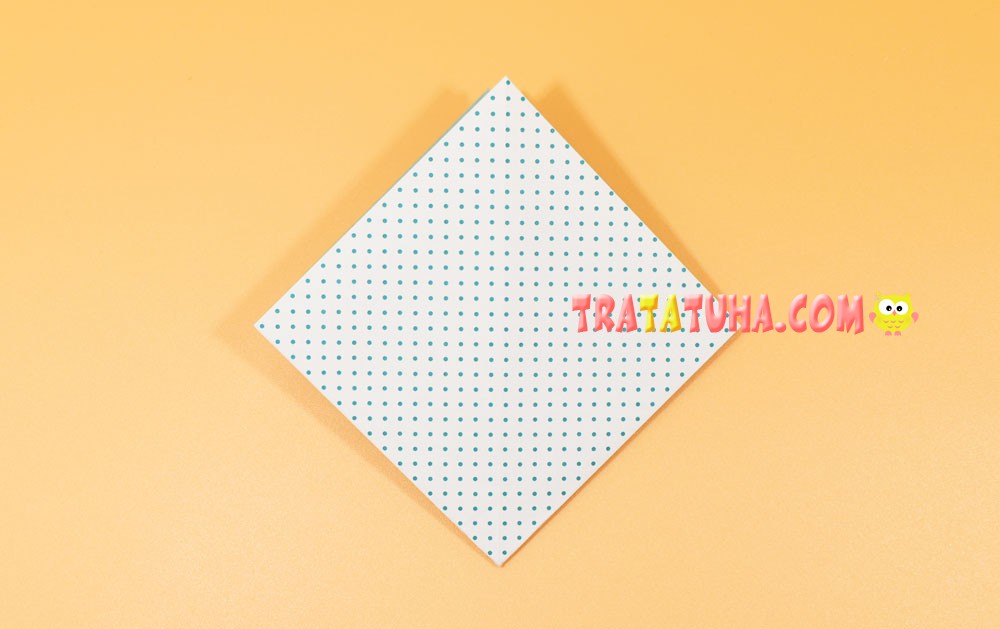
Prepare a square piece of paper. In this paper, the sides of the square are 15 cm.

Fold the square into a triangle.

Then fold the paper again into an even smaller triangle.

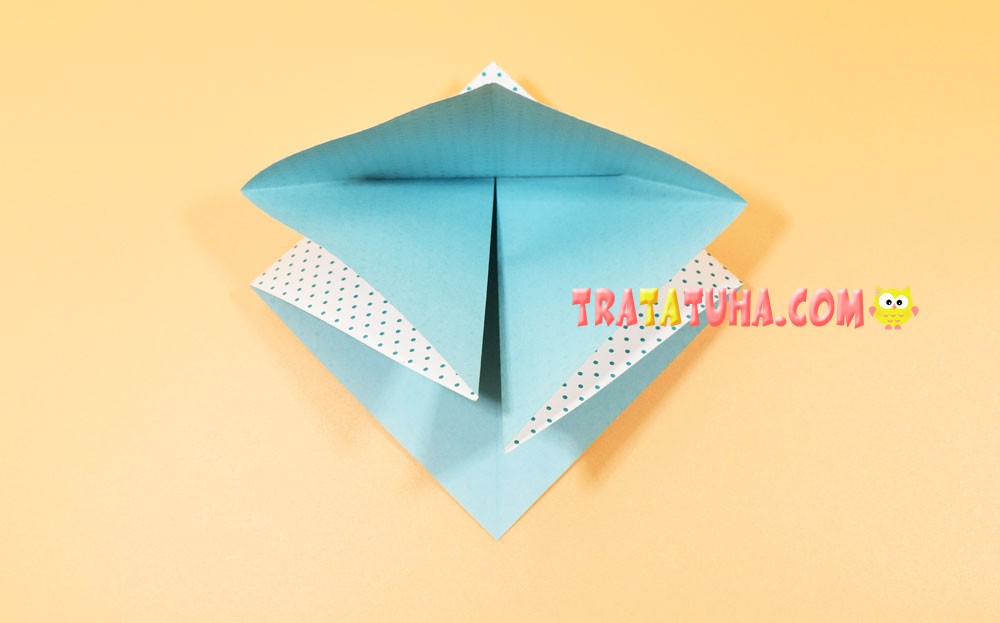
Open the right side of the triangle, and point the bottom corner of the pocket to the top corner.

Press flat to form a square.

Flip over to the other side.

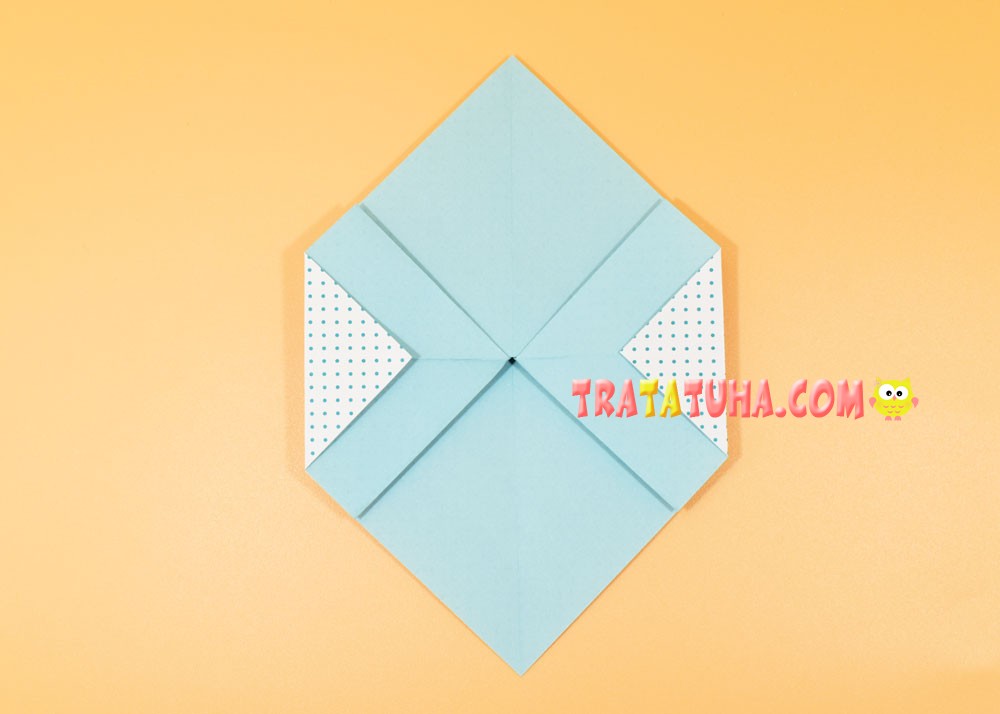
And in the same way, slightly open the corner on the right and connect the lower part with the upper corner.

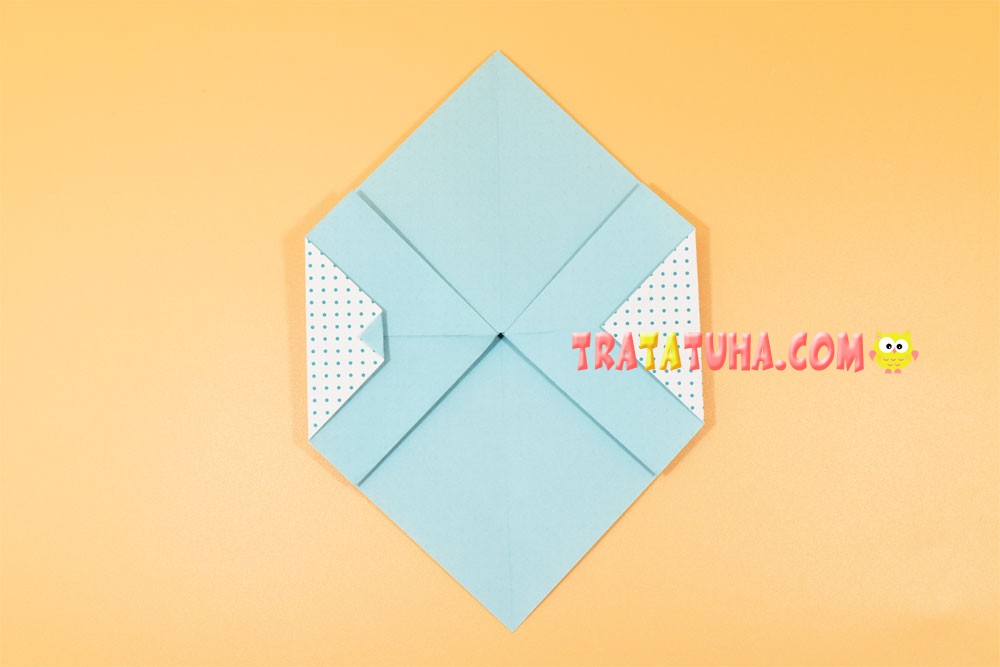
Press down to form a square. In general, it was we who folded the basic form of origami — a double square. It can still be done in another way, shown at the provided link to the basic forms.
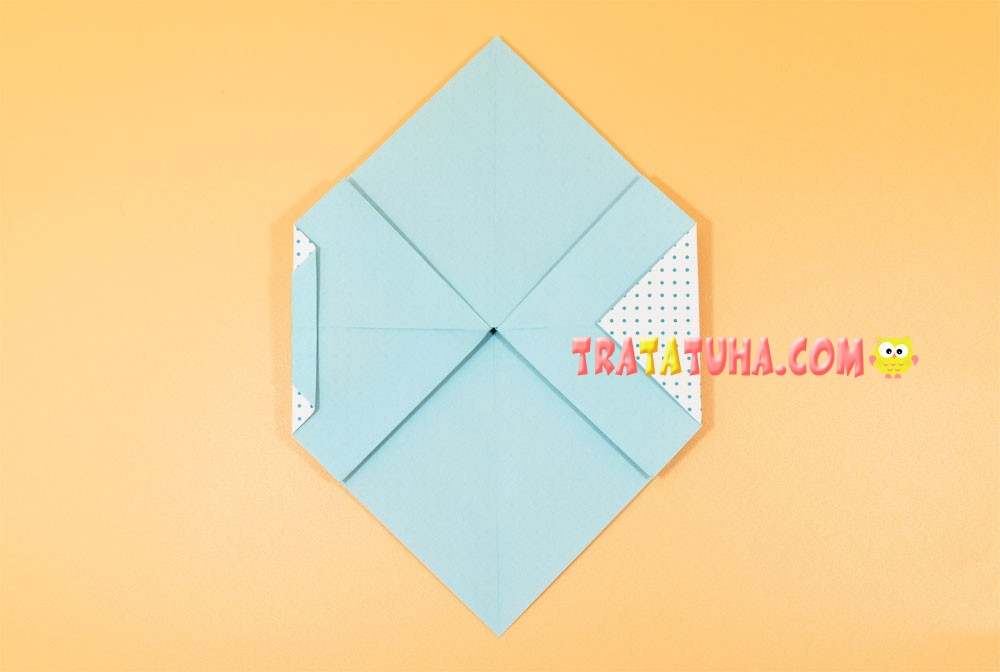
For convenience, flip the square so that the layers are on the bottom.

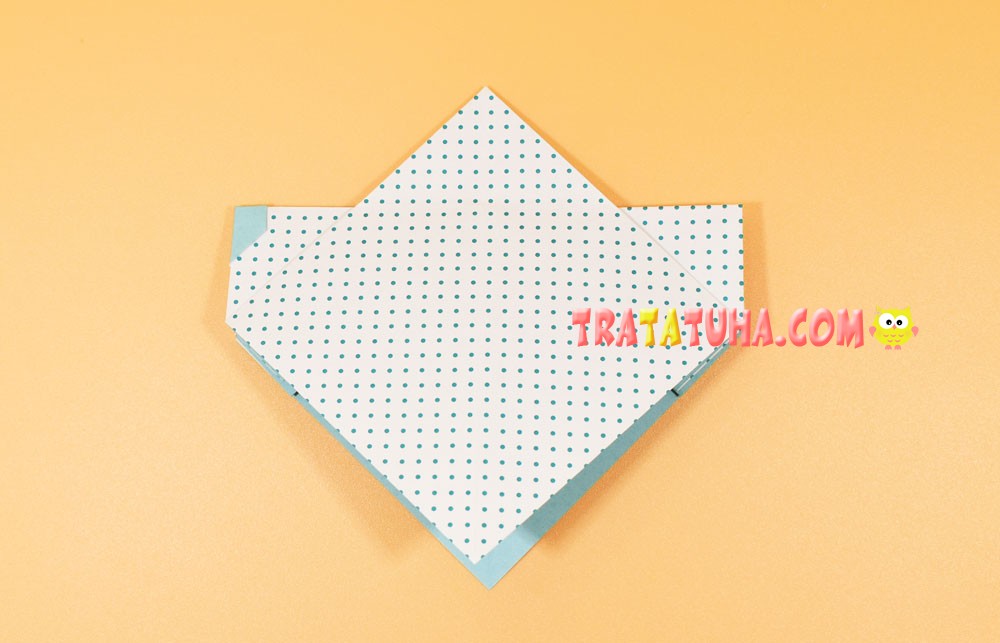
Fold down the top corner.

Take the bottom corner and point it up, revealing the inside.
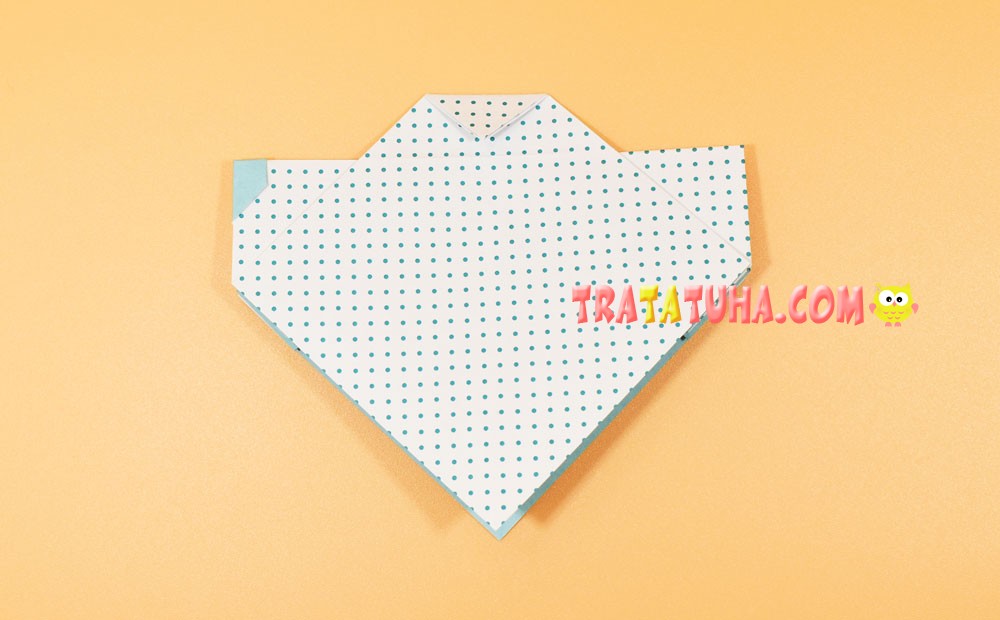
Two folded sides are visible inside. Direct the left, in fact, also to the left, pressing and, as it were, flattening it to a flat state.

Now repeat the same steps on the right side.

Bend a small corner to the right.

Then to the left.
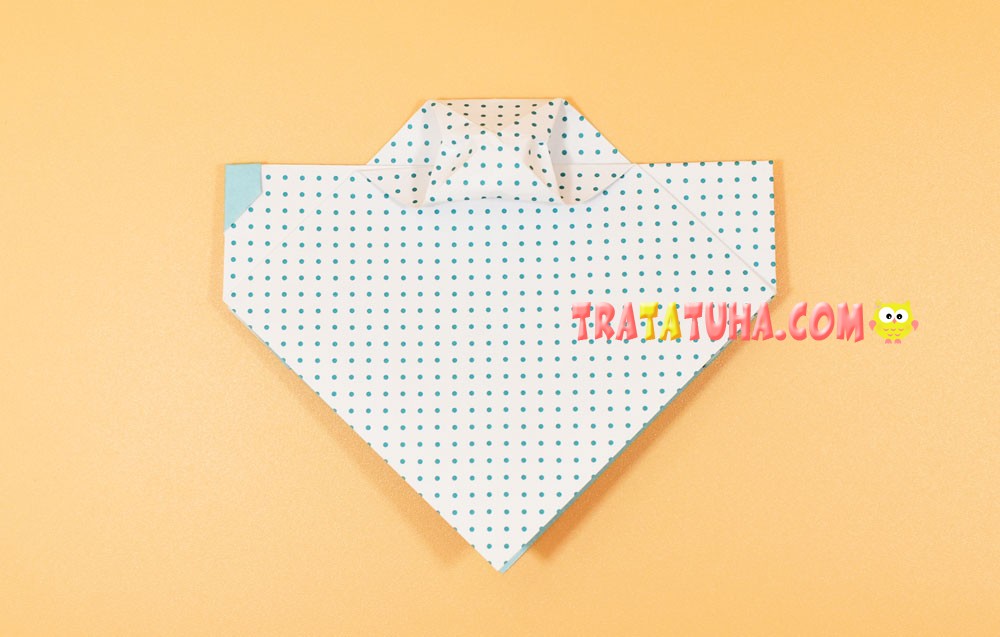
On the left side, bend a very small part of the corner.
And then in the same place make a fold to the left, guided by the example in the photo.

And again, in the same place, point part of the paper back, folding a narrow fold, which will be the bumper of the car.
Lower the top corner to the bottom corner, folding the paper in half.
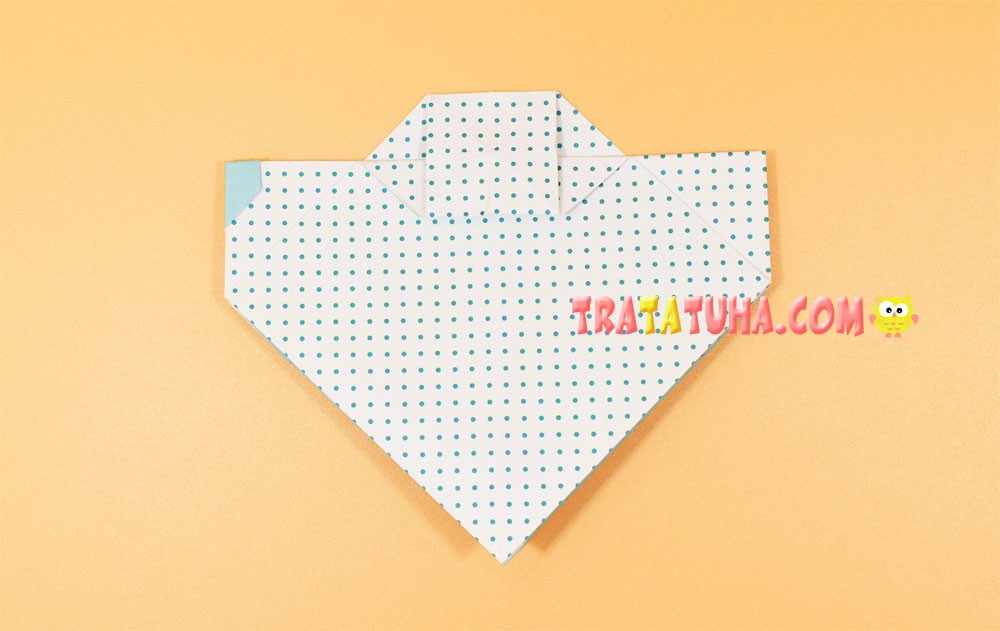
Fold down the top corner.
There are cavities on the sides, place your fingers there, as if expanding the pockets.

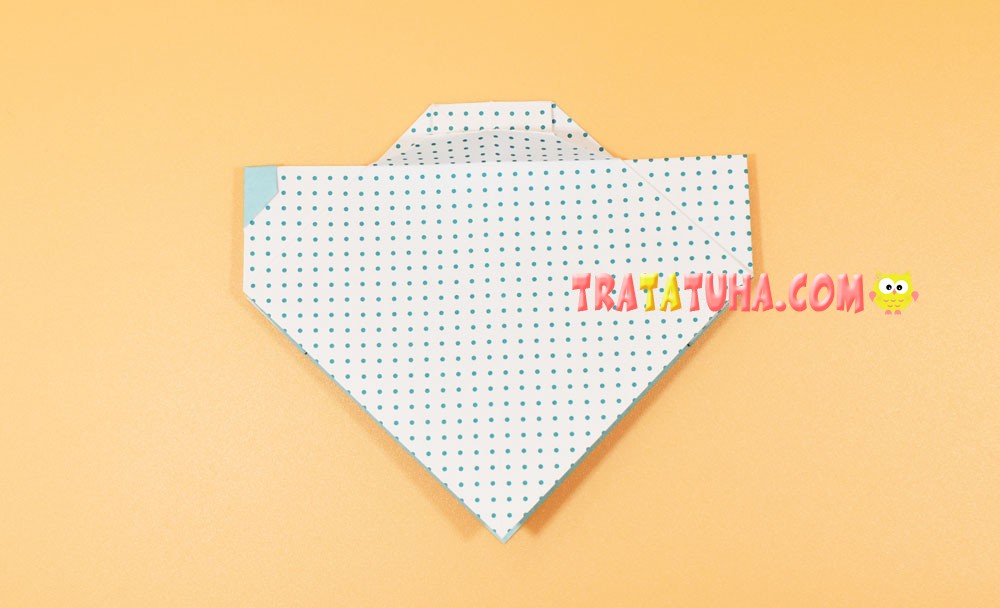
Continue to expand even more, resulting in a semblance of a pillow.
Spread it well and press a small square.
Fold the square in half with the bottom facing up.
Pull the bottom corner and point it up, making a fold, focusing on the side corners.

Then fold the top corner down, making a crease. At the same time, try to bend so that small squares form on the sides, which will be the wheels of the origami car.

Flip over to the other side.

And do the same wheels. Point the bottom corner up.

And then down, connecting with the corner of the bottom layer.

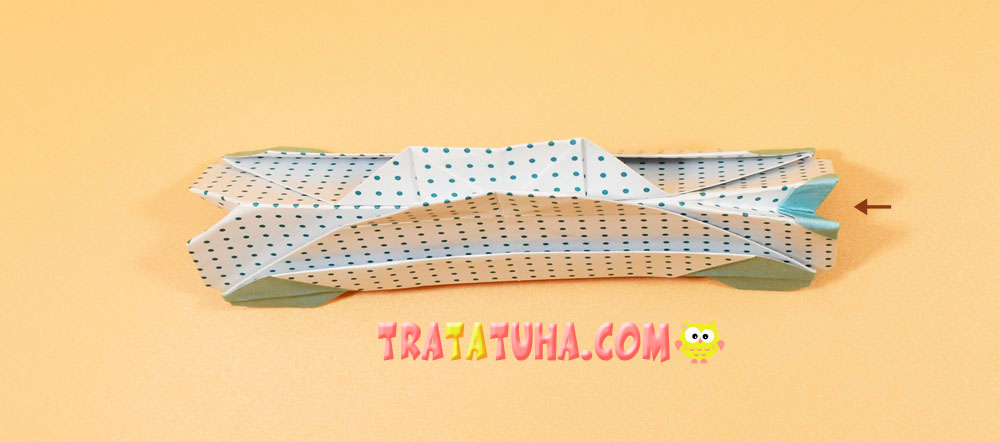
We absolutely do not need the lower two corners in the middle, we will hide them inside. To do this, open the sides.

Fold the top and bottom corners inward.

Close the sides.

Now you need to round the wheels a little. To do this, bend the small corners on the sides and bottom.

Bend the corners on the wheels on the other side in the same way. And also bend a small corner on the left.

Then hide this corner inside, simply crossing its fold.

Now fold over a small area on the left.

And then bring it inside.
The origami car is ready.
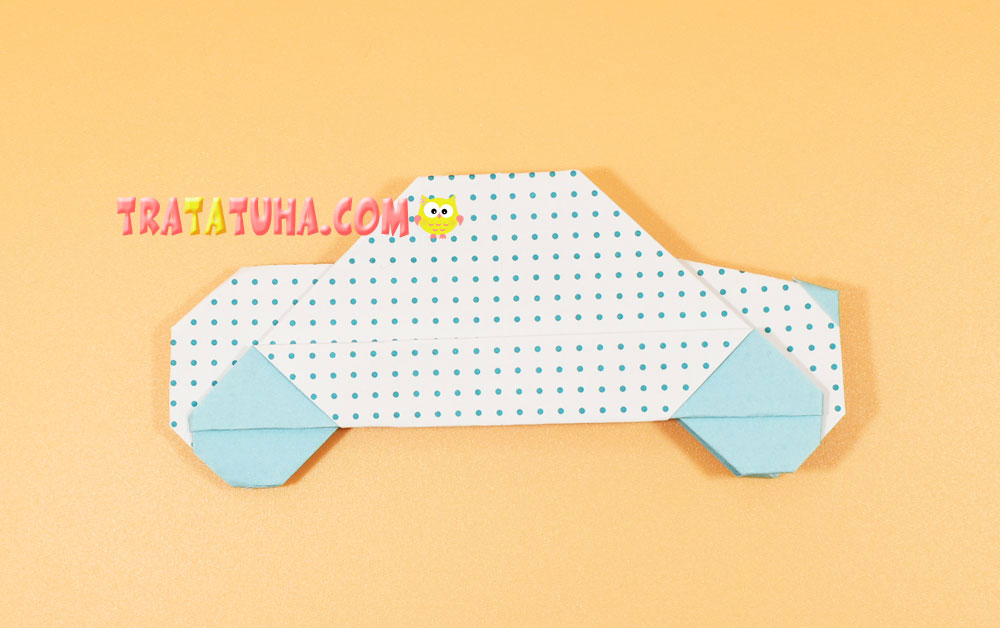
It keeps perfectly on its wheels, if you slightly open the sides.
If desired, the car can be painted or glued windows and other small details. For example, headlights, additions to the wheels.
Related Post: