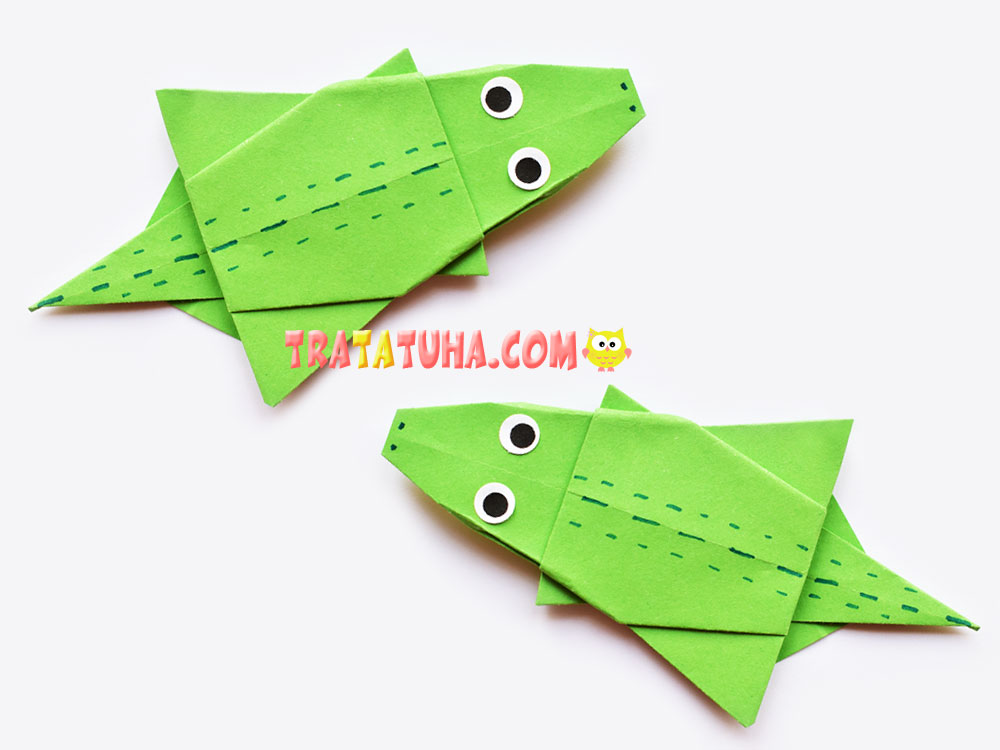
Simple origami crocodile for kids and beginners. Despite the fact that there are a lot of steps, they are all very easy and understandable.
Materials:
- Green square piece of paper;
- Eyes of any kind;
- A marker for displaying dotted lines.
Origami Crocodile Step by Step
Prepare paper. In this work, origami paper is used, the sides of which are 15:15 cm.
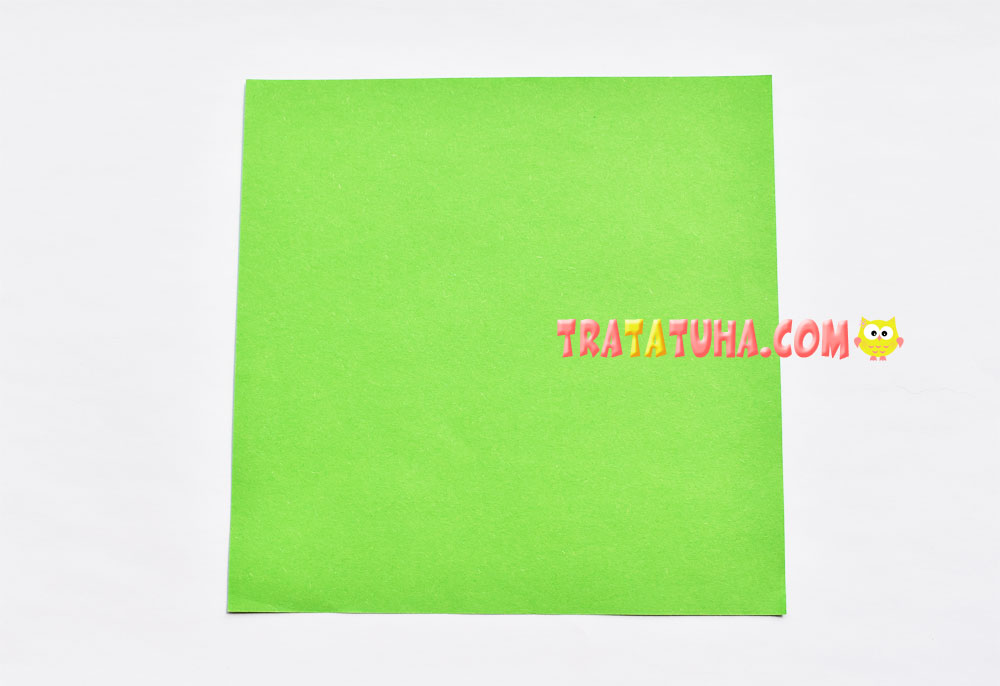
Fold the corners of the square to make a triangle. With this action, we will outline the fold along which we will align the sides.
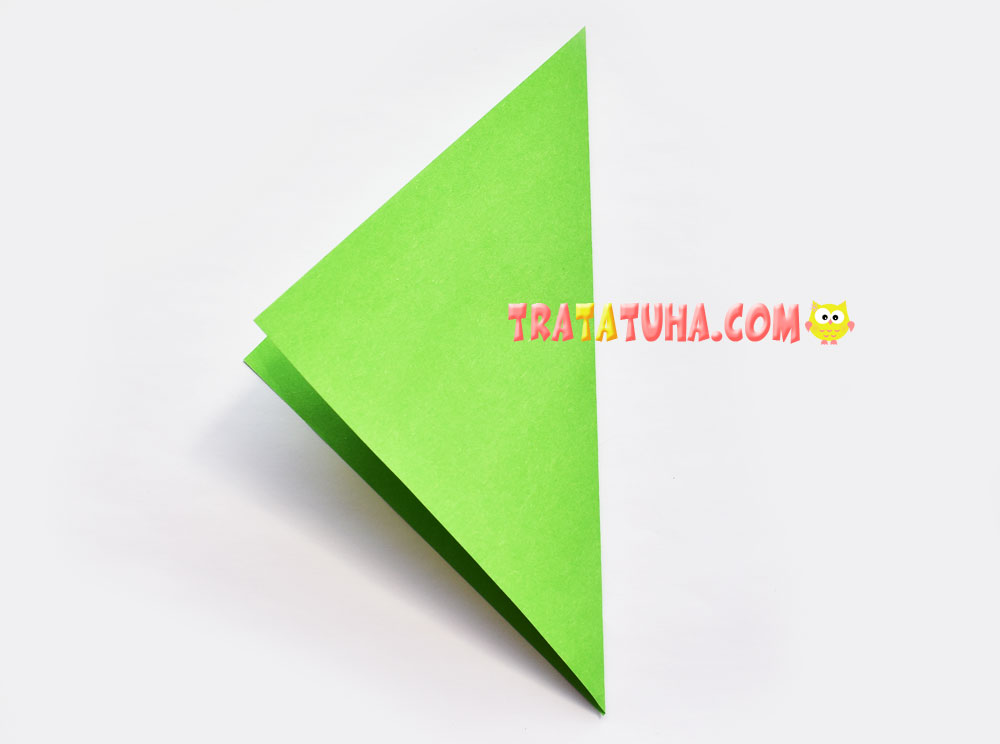
Open the triangle and fold the right side to the center.
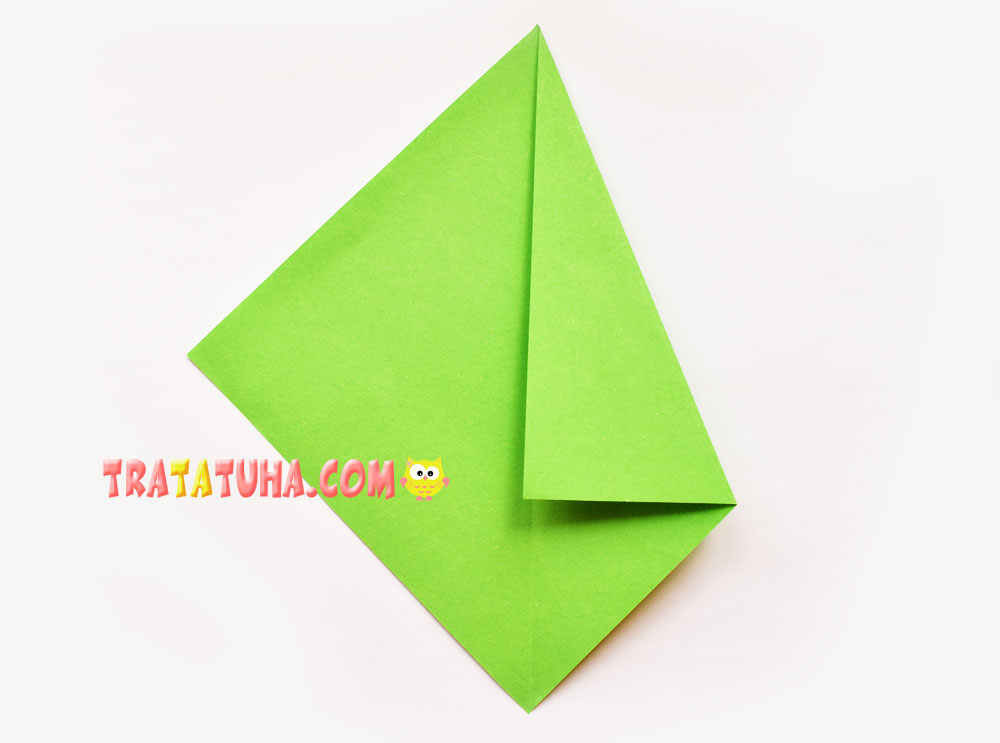
Then left.
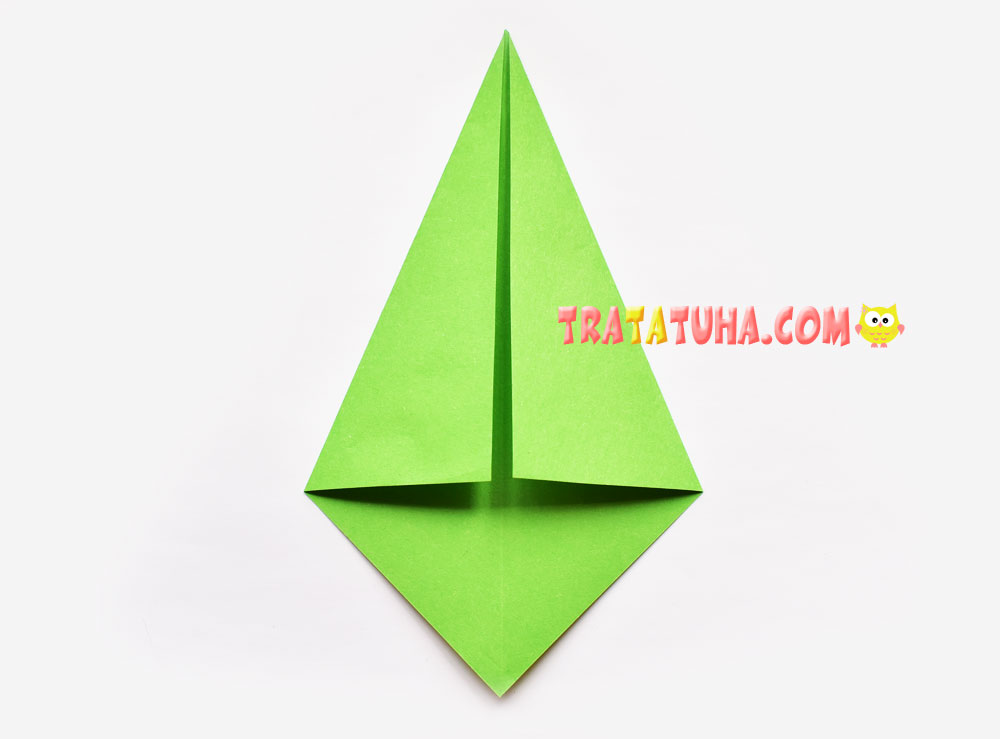
Lower the upper sharp corner down, as shown in the photo.
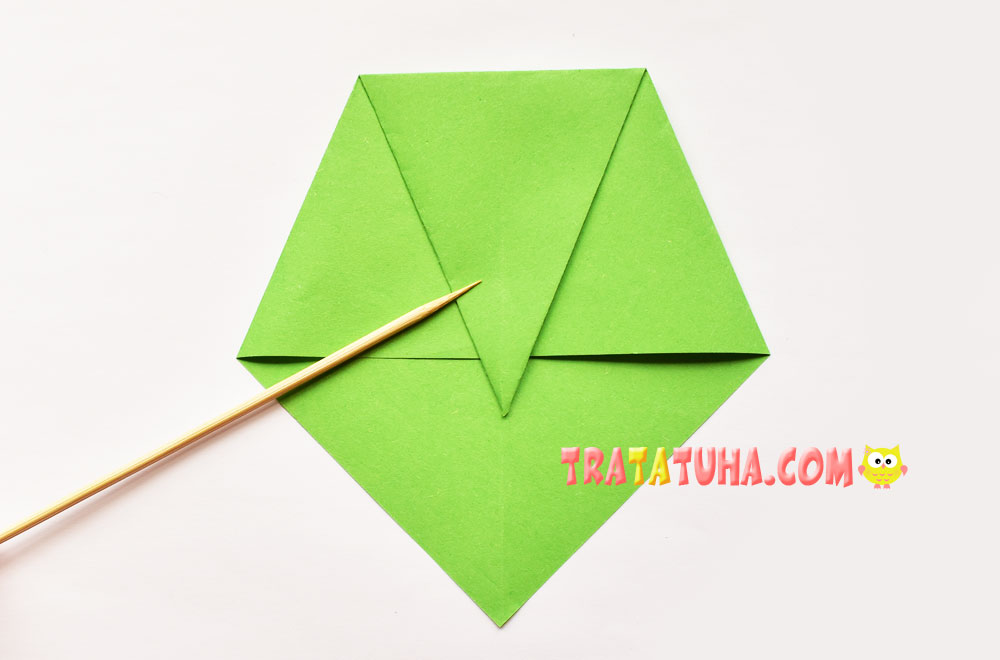
Guided by the marked line, direct the left side to the right.
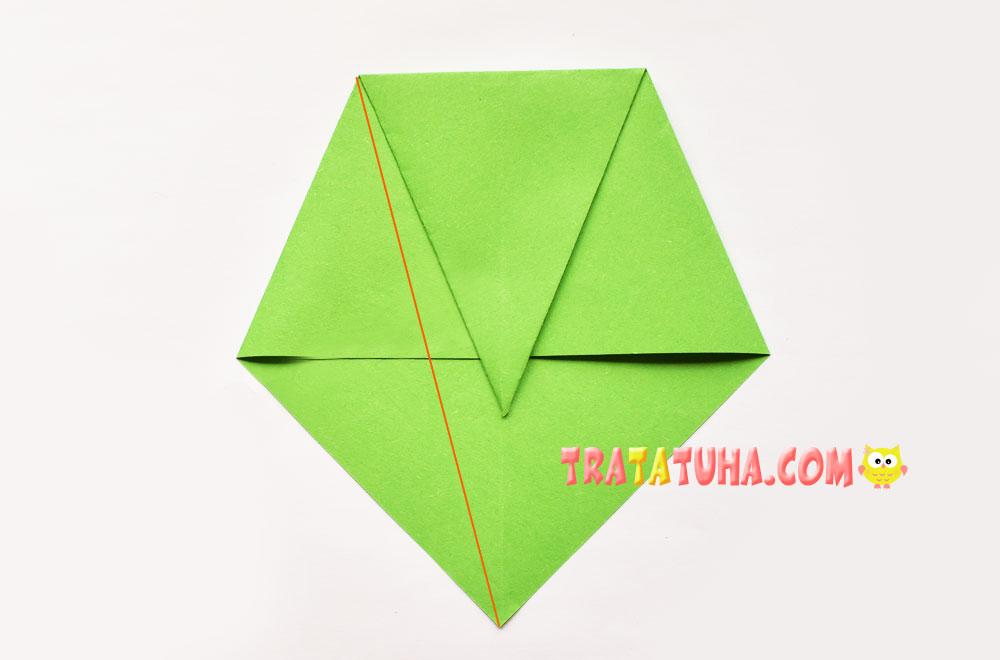
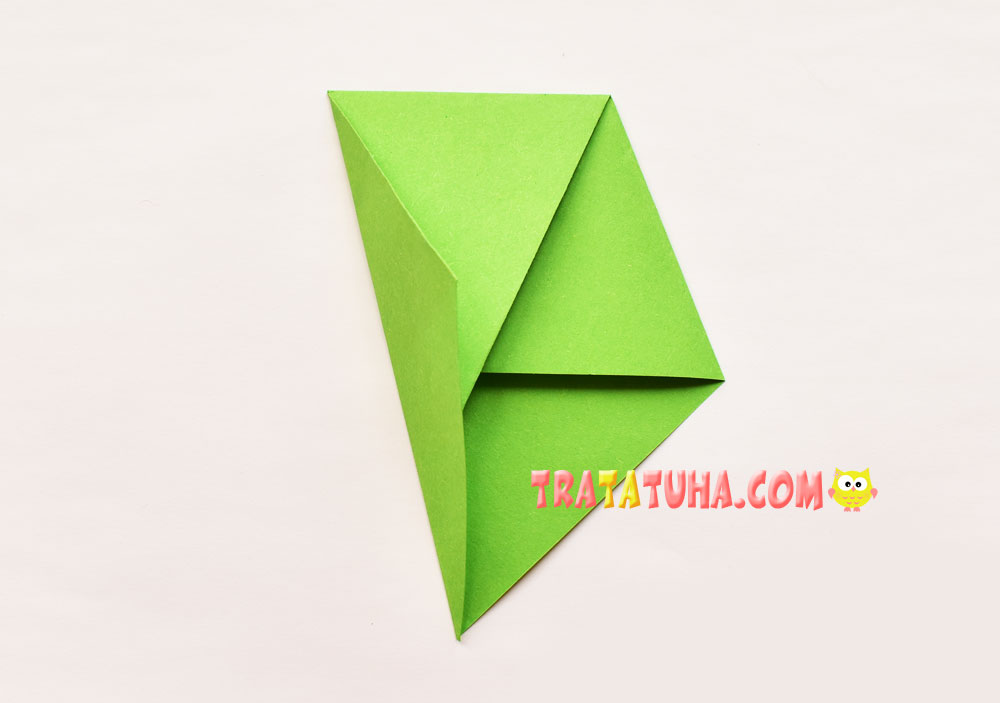
Then immediately fold back, while making a small crease.
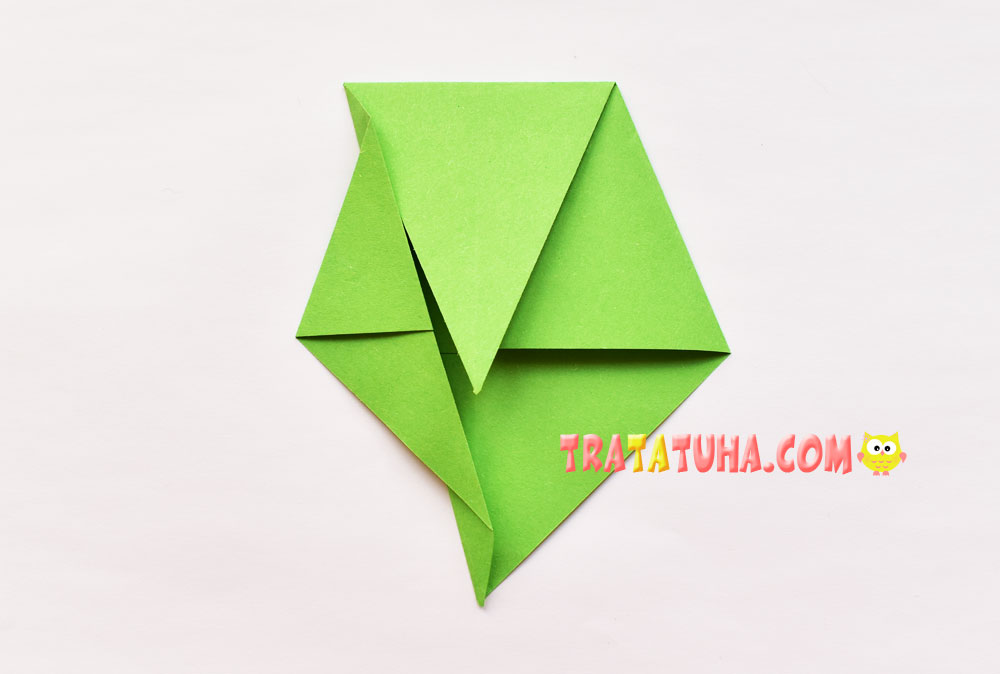
Now you need to repeat all these steps on the right side. Also, along the indicated line, bend the right side to the left.
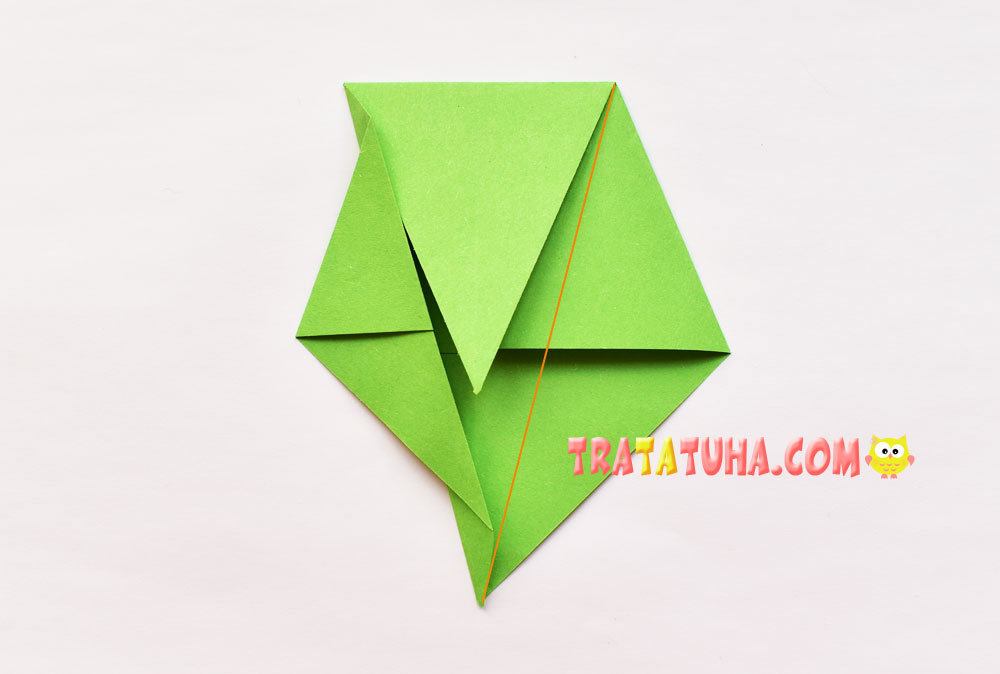
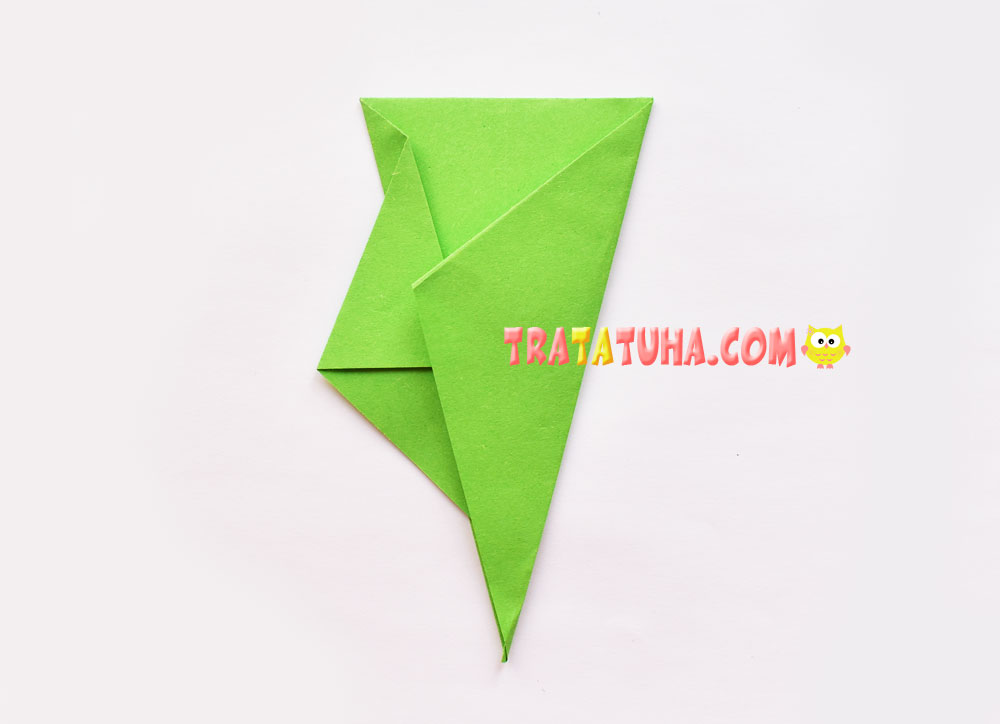
Bend back, making a fold.
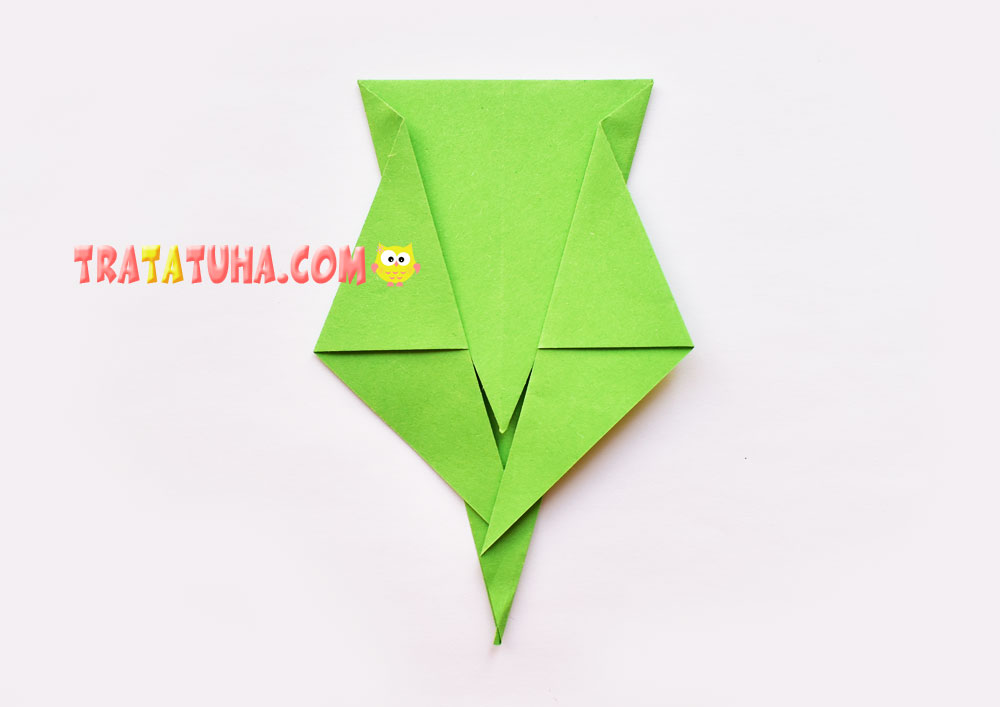
Lift up the sharp corner that is in the center of the part.
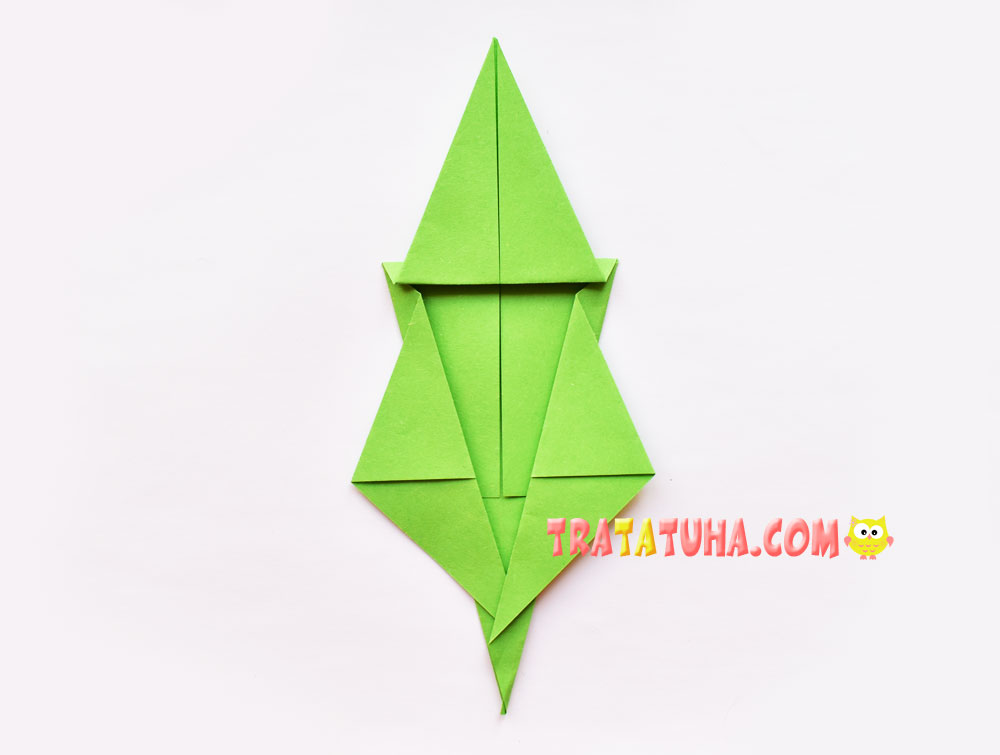
Bend the side small corners quite a bit. On the right side.
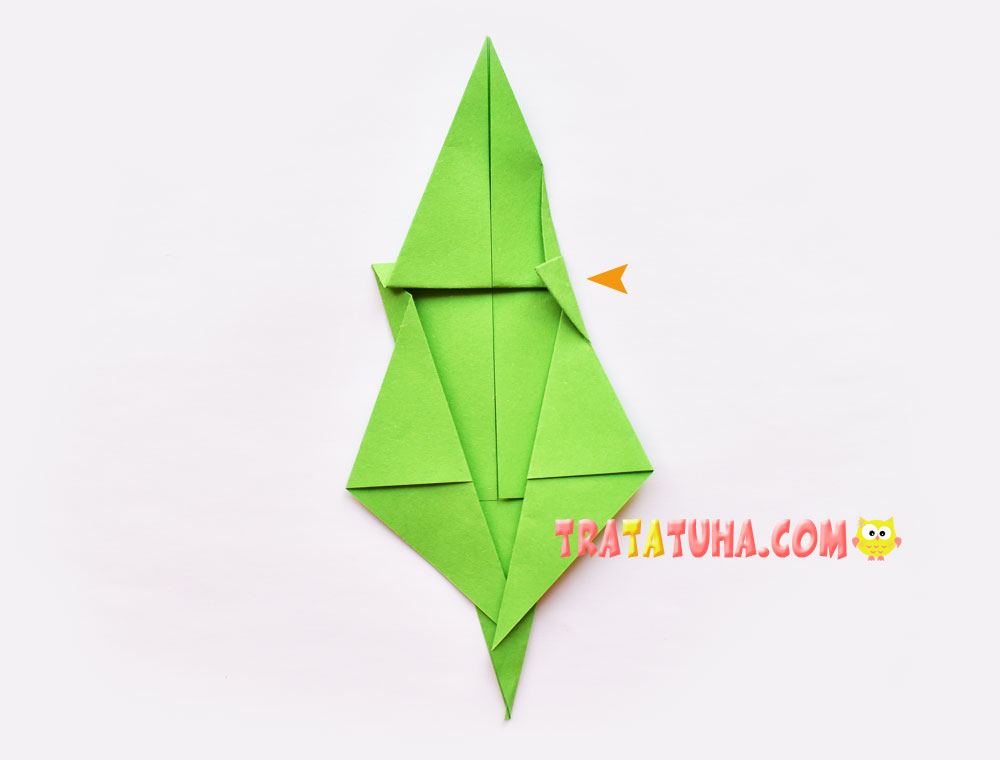
Then left.
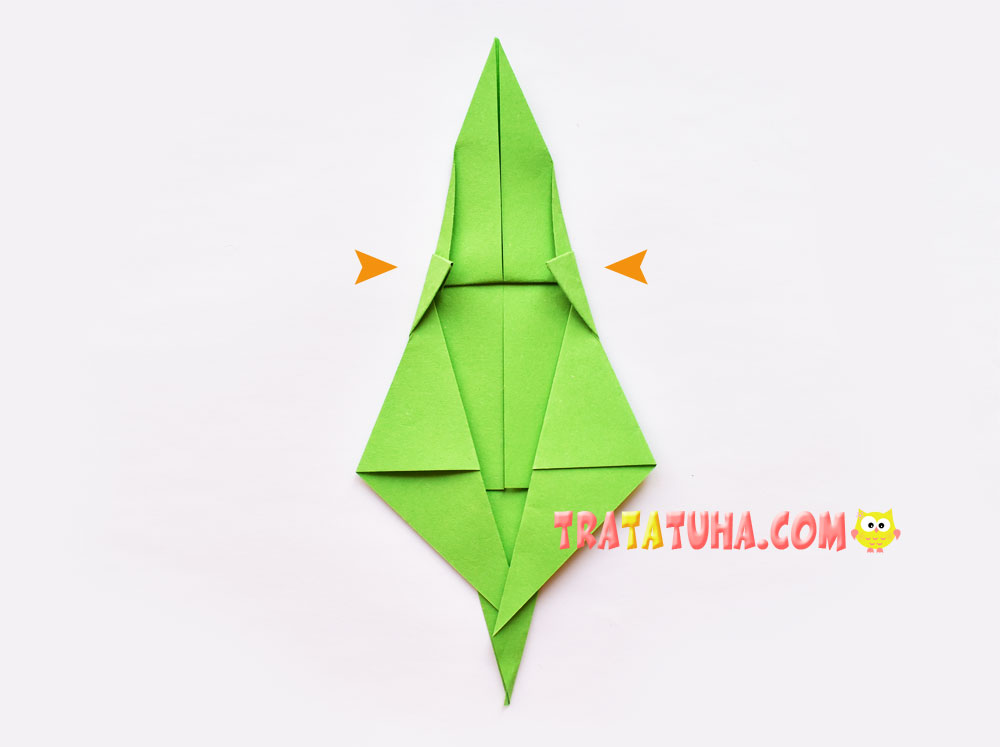
After these same corners, bend back, but again making small folds. Thus, we get the paws of a crocodile.
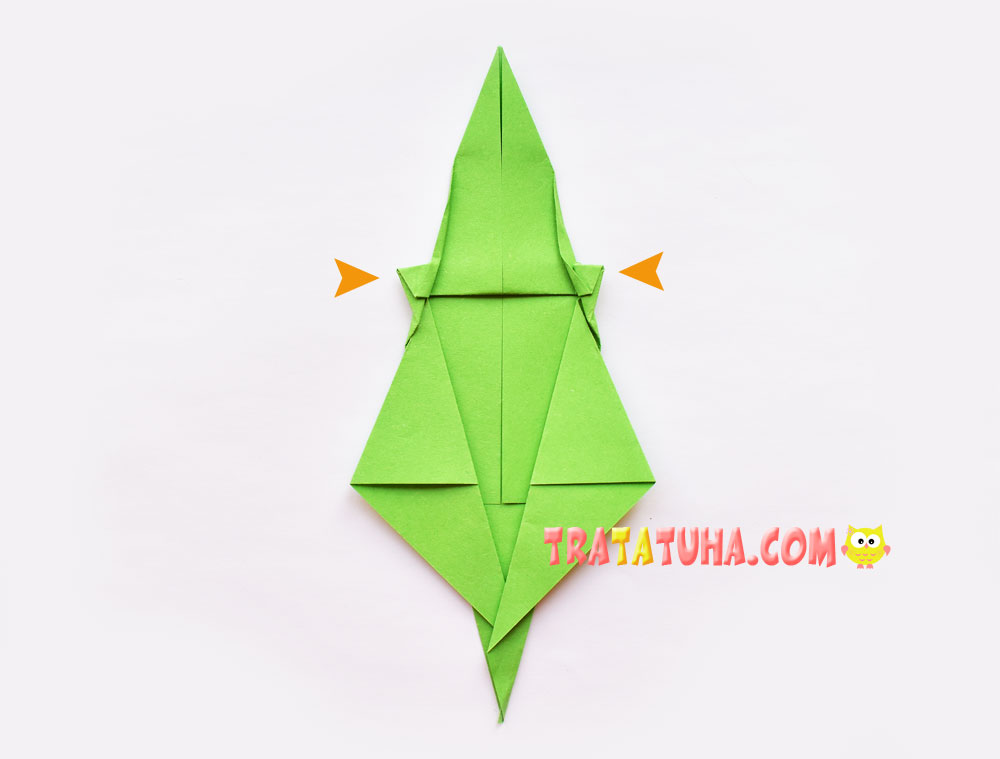
Fold down a small part of the top corner.
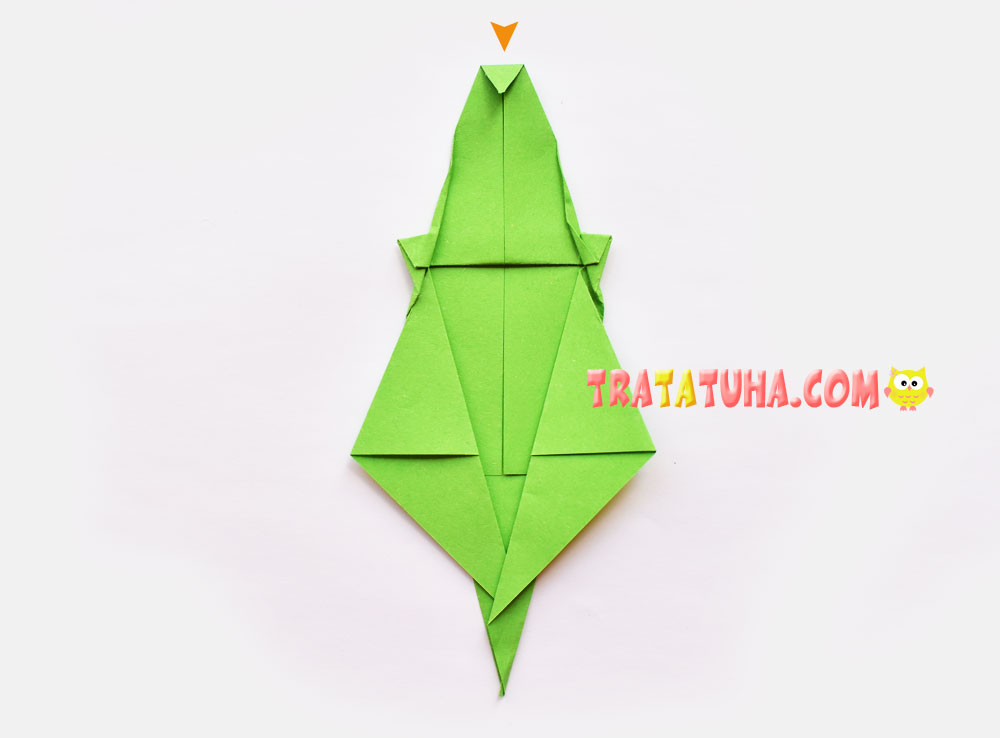
Now we form the tail of the animal. Lift up the bottom corner.
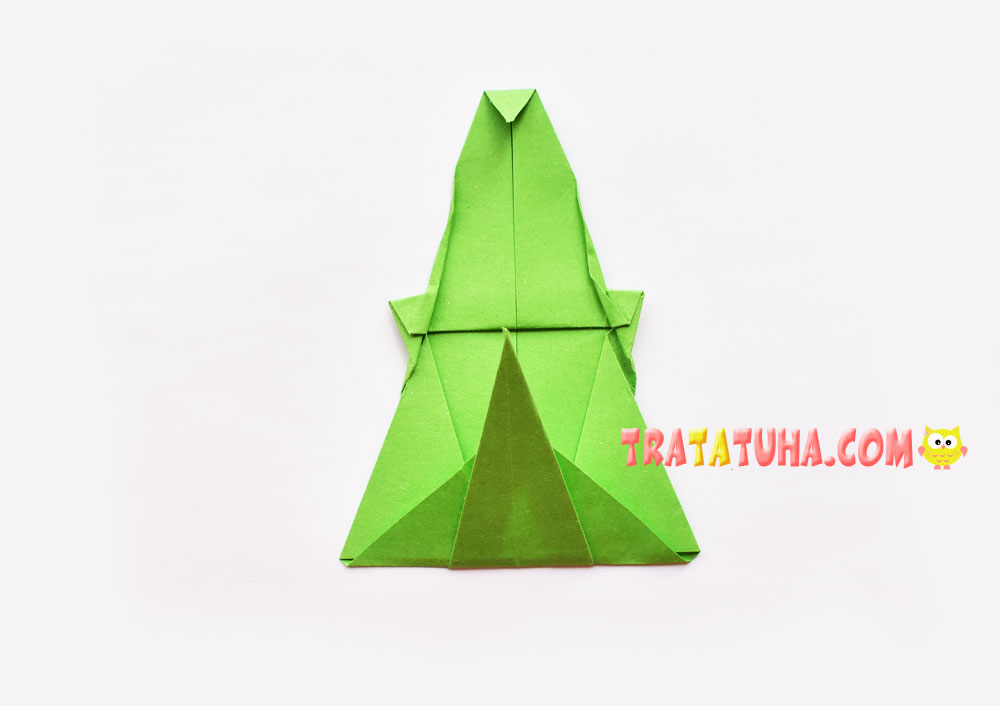
Lower down, making a narrow fold.
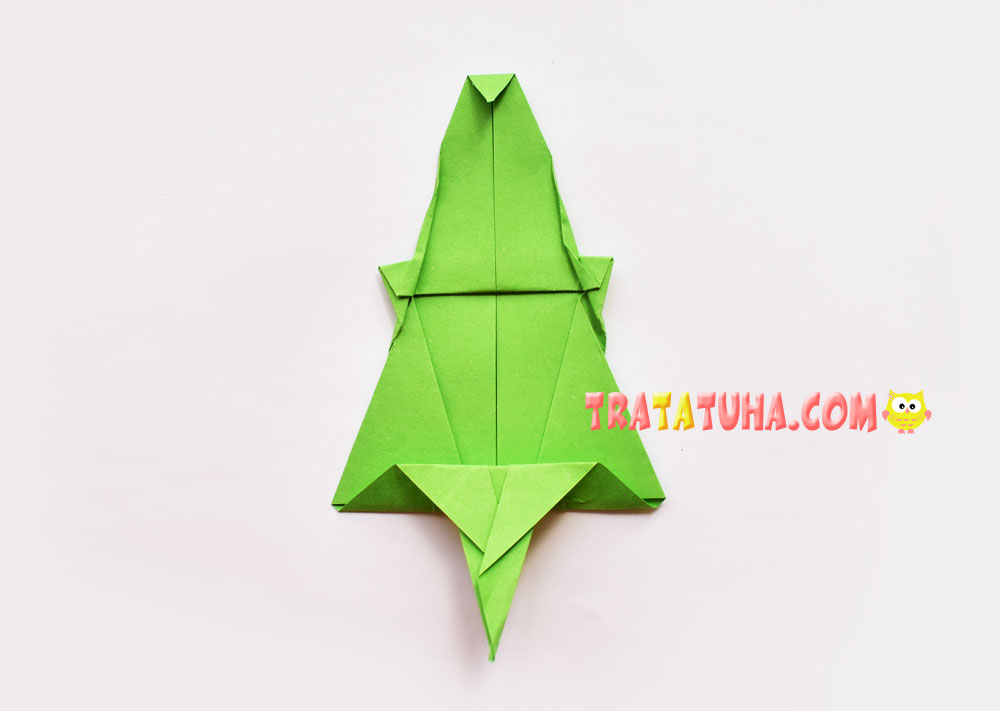
Flip over to the other side, as the main work is done. And press the sides of the crocodile a little, folding it in half.
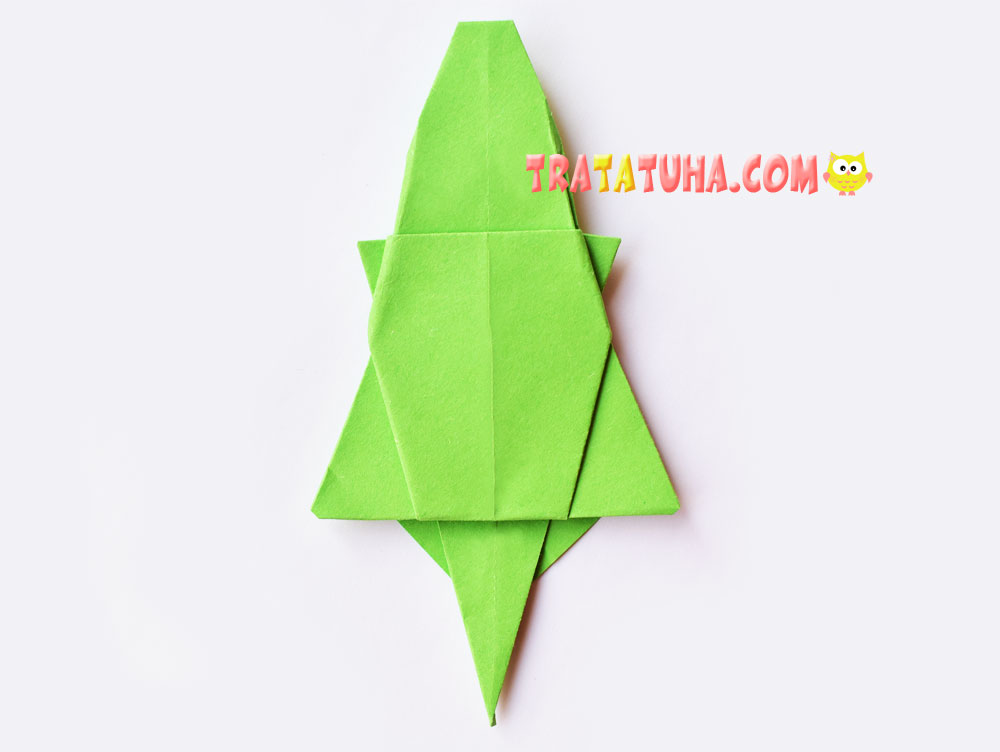
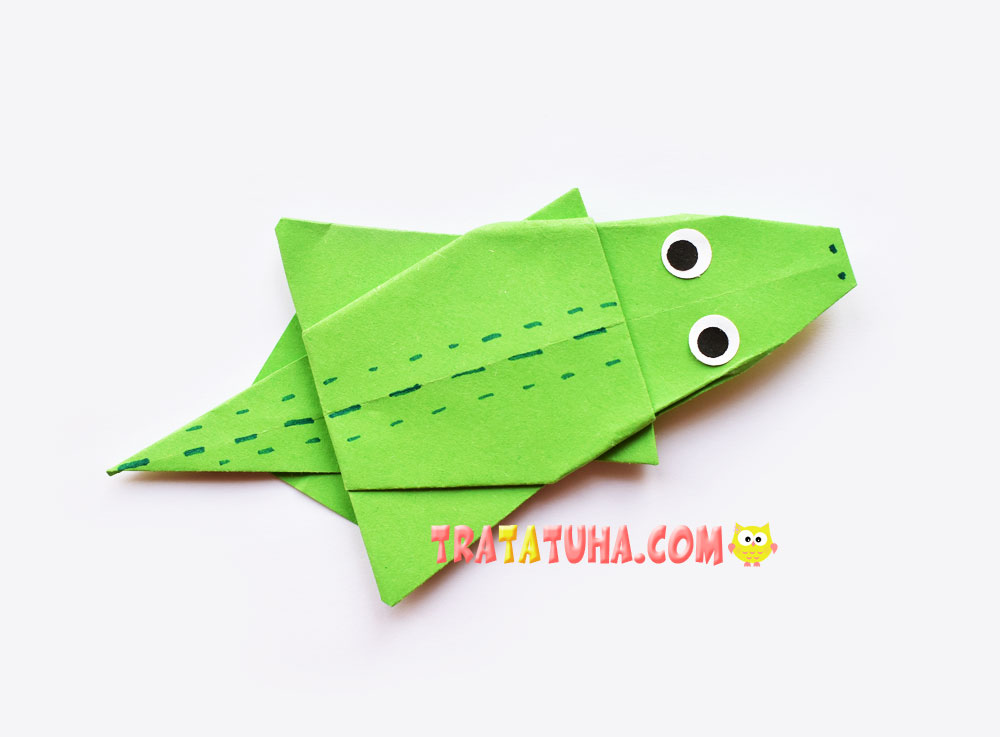
Add any eyes. They can be made from paper or simply drawn.
Draw dotted lines along the tail and back, add nostrils. Everything, the origami crocodile is ready.
Even more ideas in the selection — origami animals.
