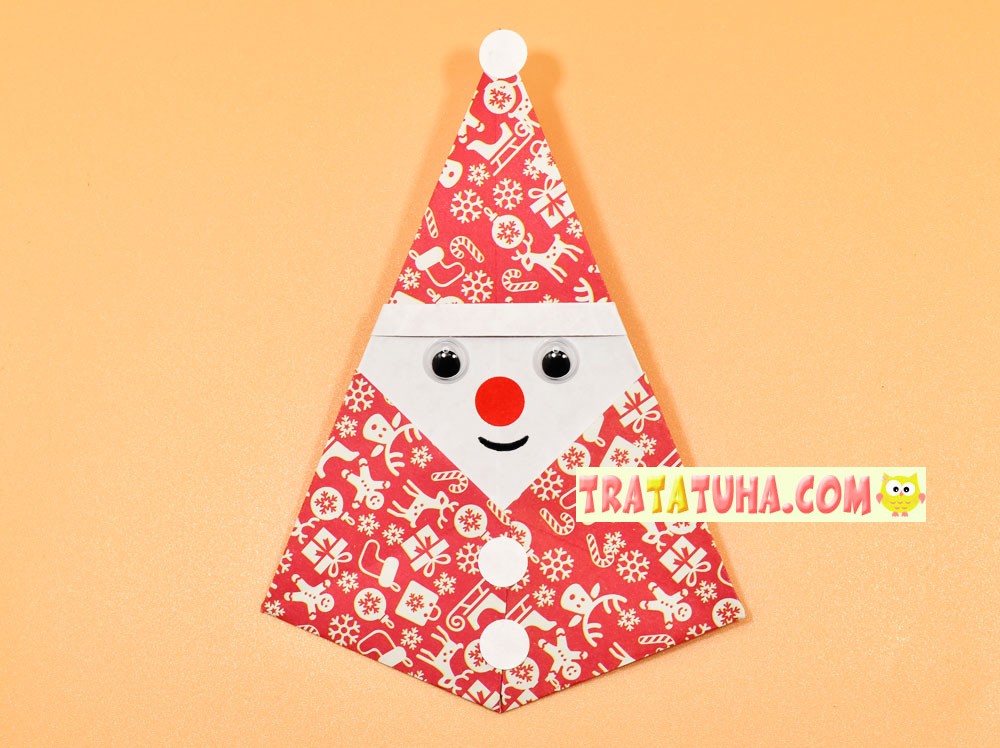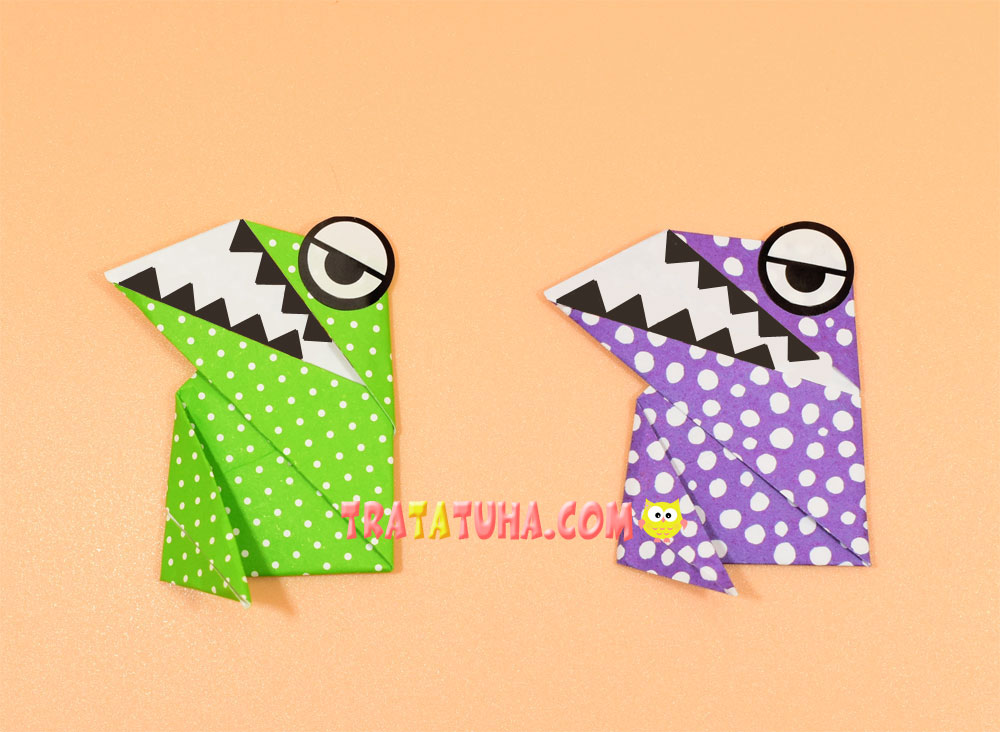
Simple origami dinosaur in 7 easy steps. The method is suitable for beginners and kids.
Materials for creativity:
- Square paper. It is desirable that the sides be of different colors, one of which is white;
- Sticky eyes, or homemade from white and black paper;
- Black felt-tip pen (or stripes cut out of black paper, on the side of which there are teeth).
Origami Dinosaur Step by Step
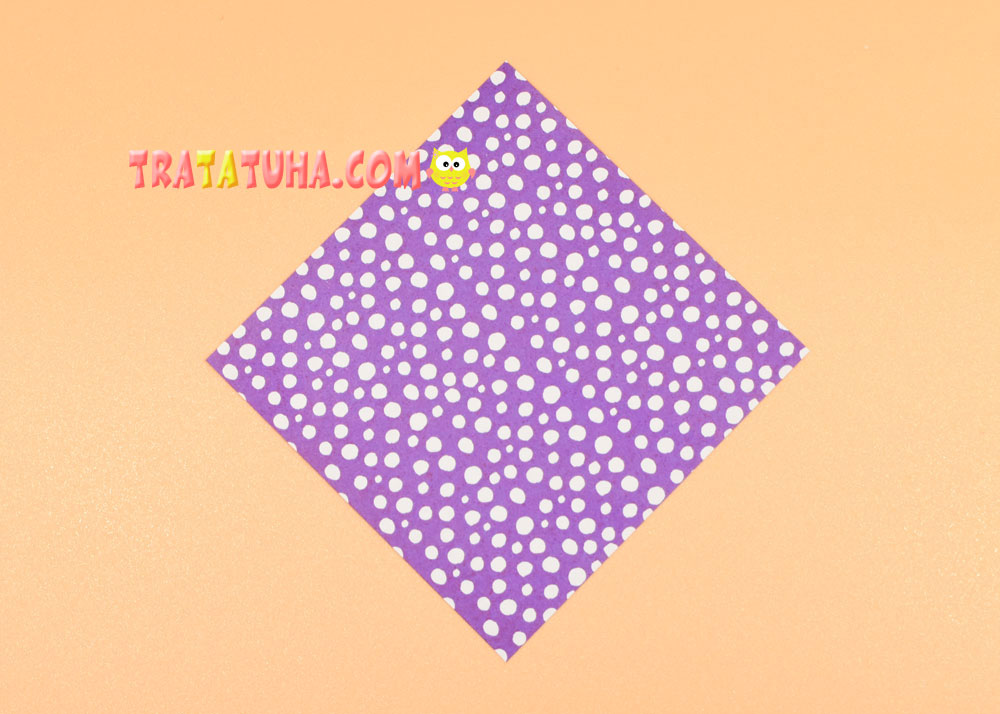
Prepare the paper in the shape of a square.
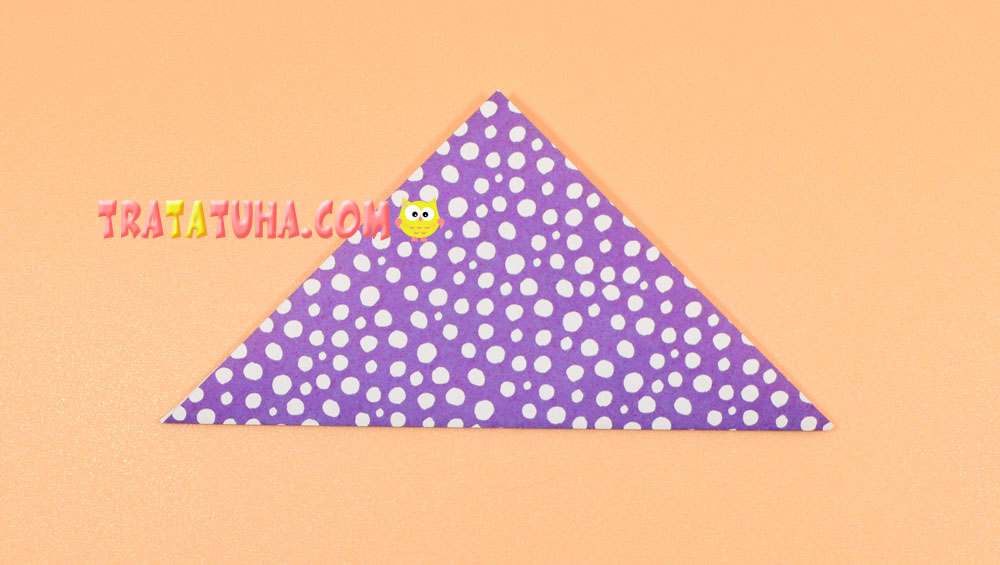
Fold into a triangle, the white side should be inside.
Open the paper, as we folded in order to outline the horizontal fold, which is important for further actions.
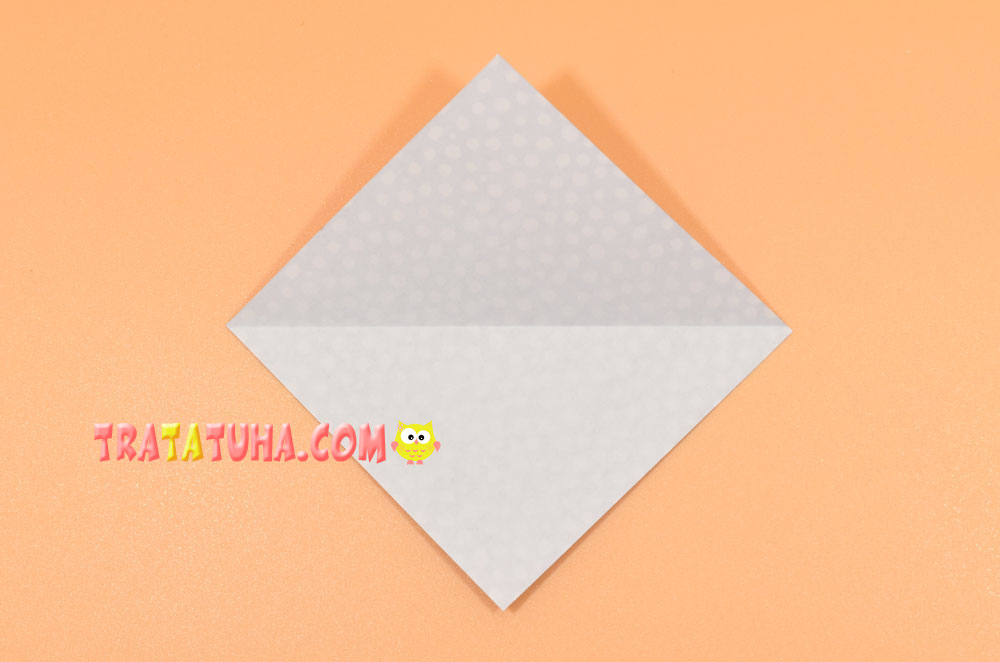
Bend up the bottom corner, aligning it and the adjacent side to the left along the fold.
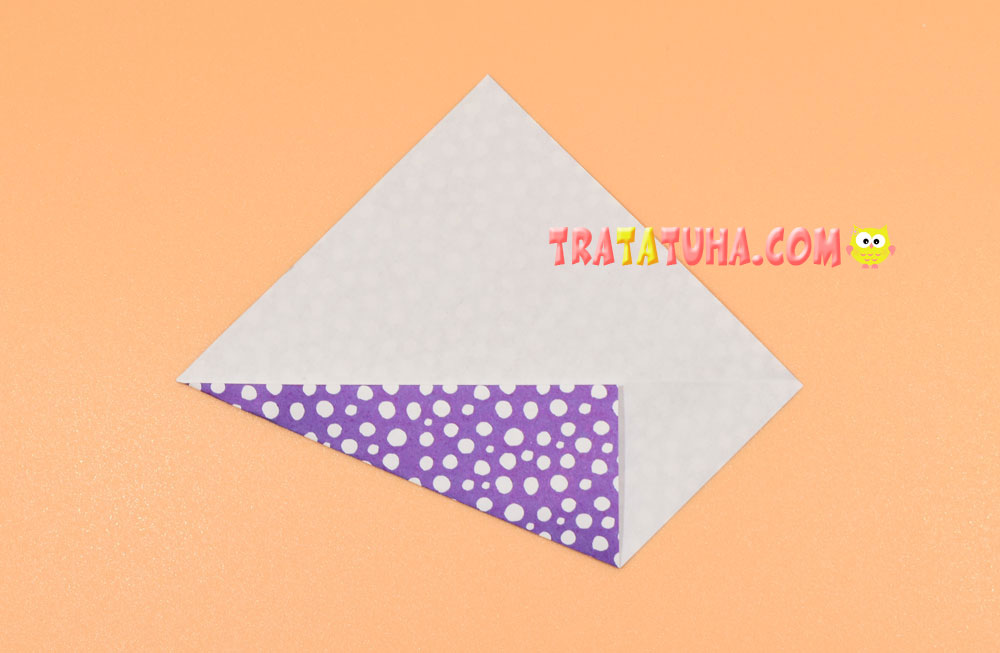
Point the top corner down, but do not align it with the fold. Fold as shown in the photo.
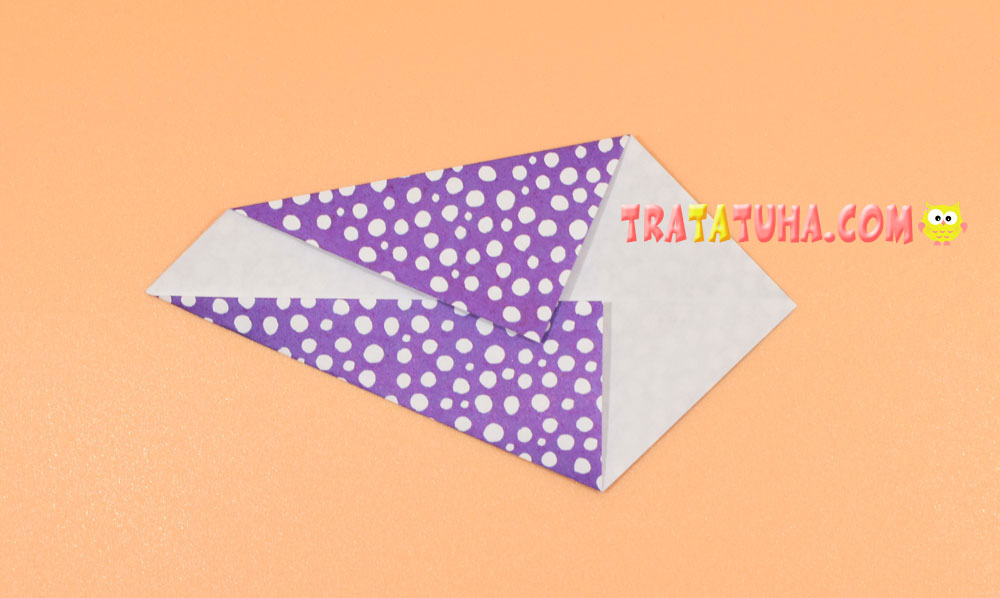
Fold down a small corner at the top.
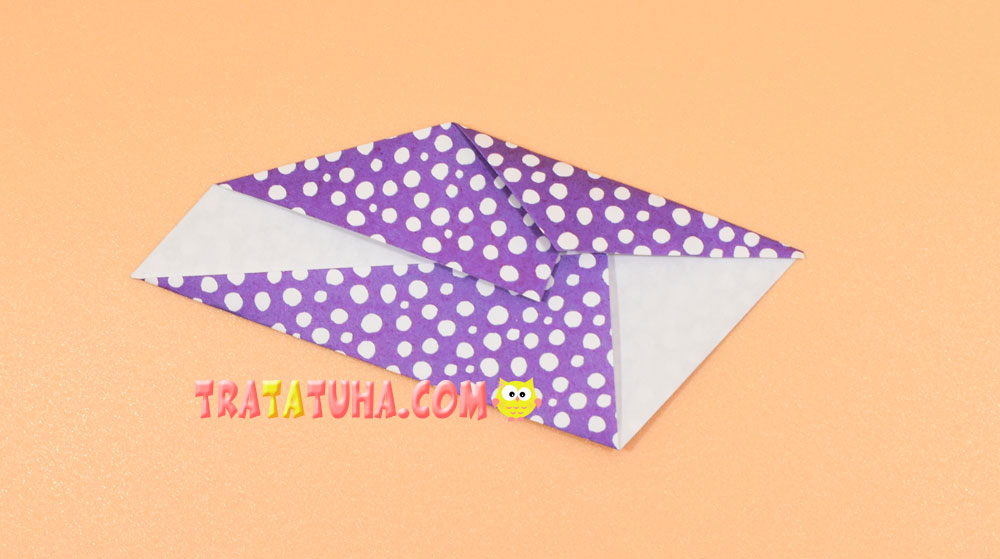
Point the bottom corner up.
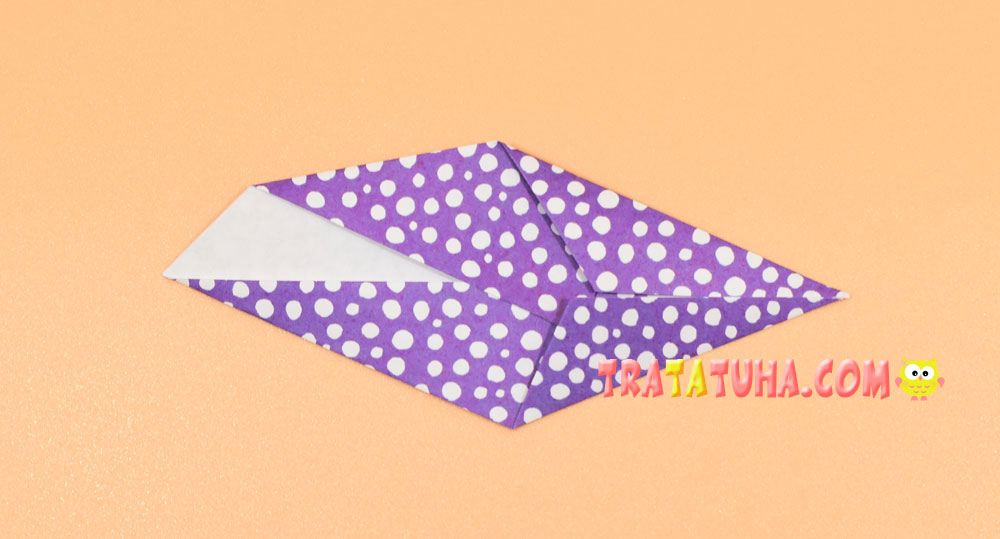
Bend the right side back, bending at the level of the mouth.
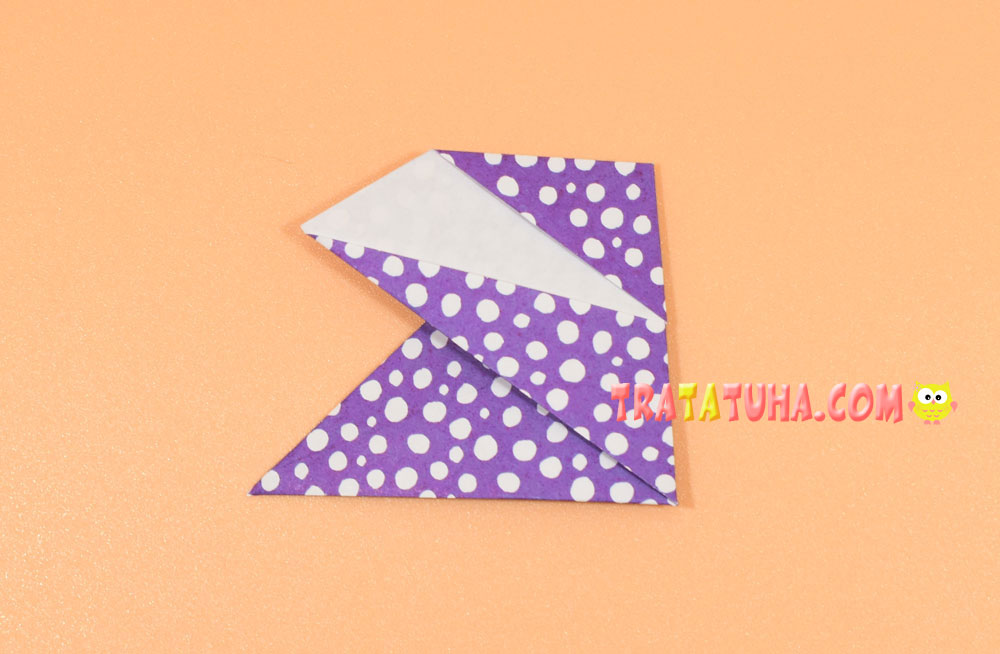
Bend a small area of tail to the right and slightly down.
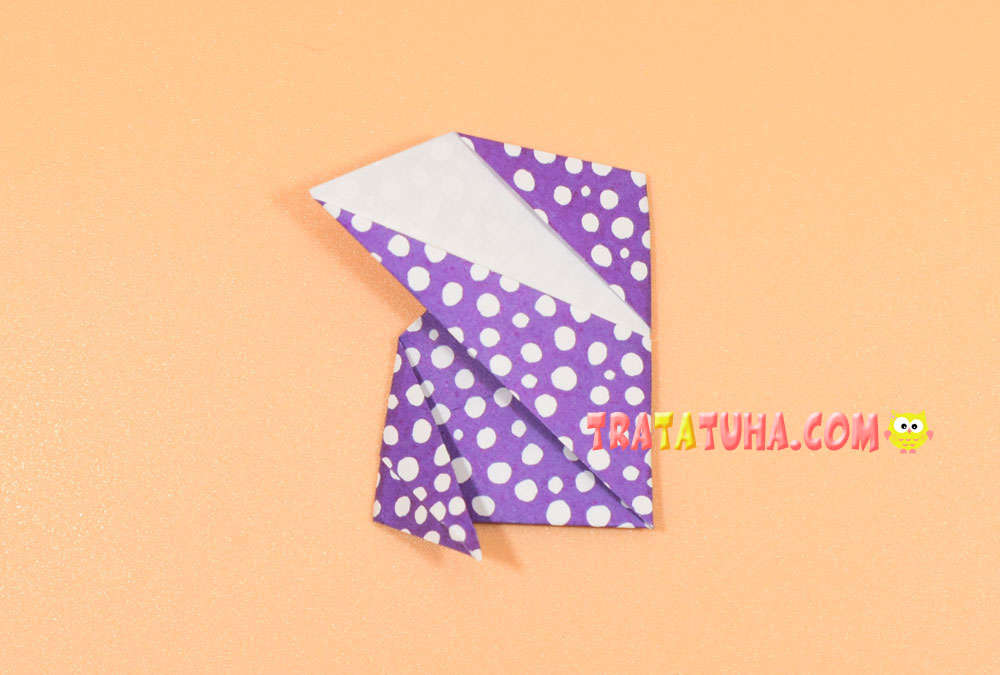
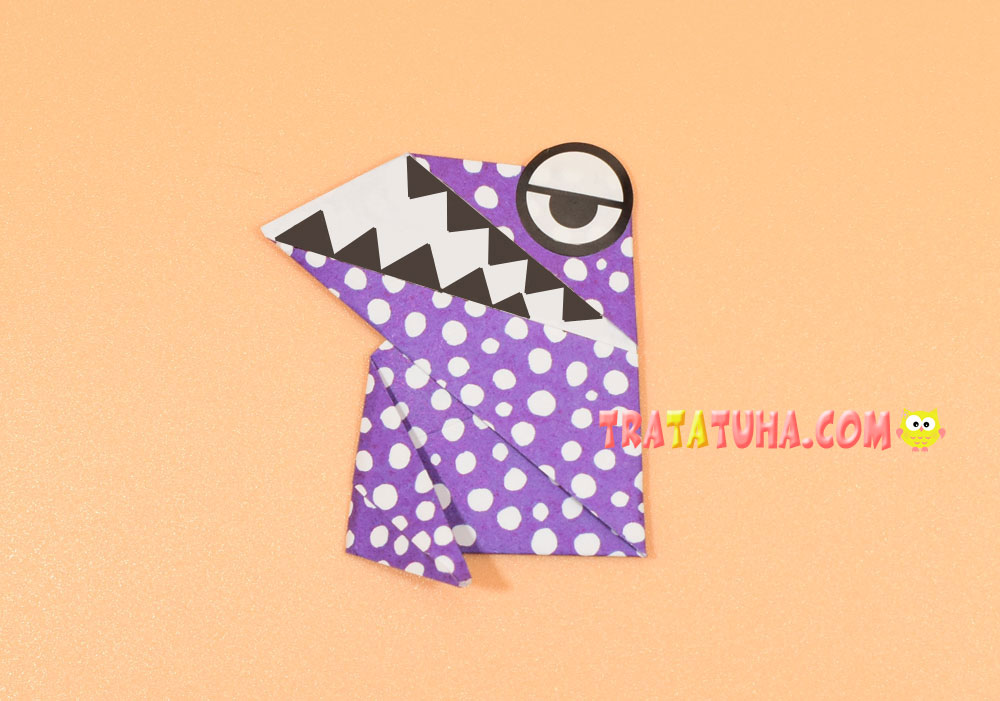
Glue the eye, draw or glue the teeth. Everything, a simple origami dinosaur is ready.
See also other tutorial of Origami Animals.
Many other ideas in the collection of Paper Animals Craft.
Crafts for Kids – learn how to make craft at home! Super cute crafts for all age groups!
