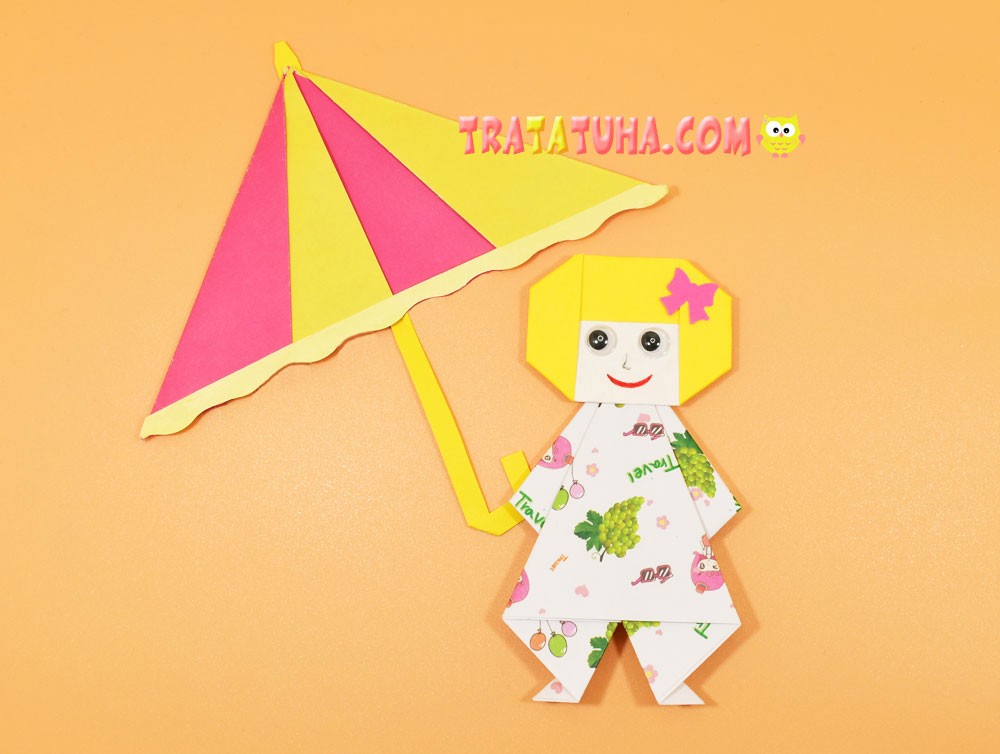
Very easy origami doll for beginners and kids. Consists of two parts — head and body. Detailed instructions with photos.
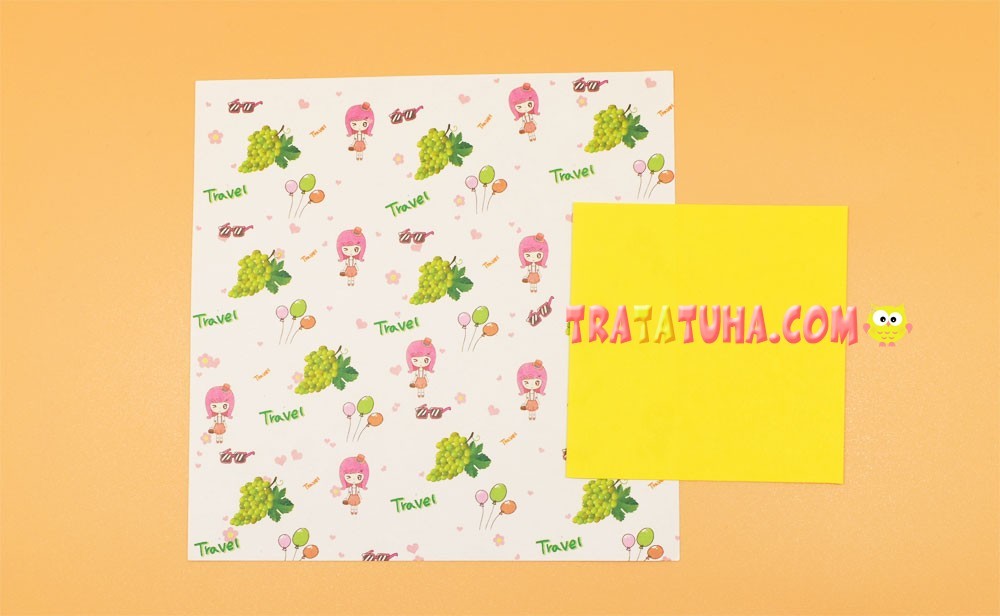
Materials:
- Colored paper for the head, one side of which is colored and the other is white to highlight the face;
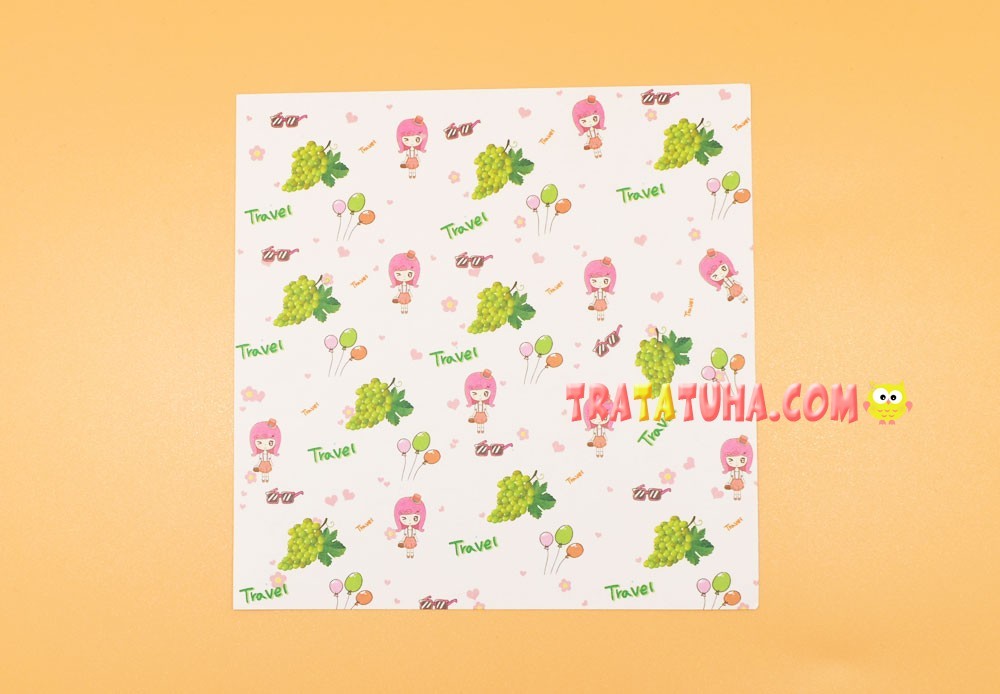
- Colored paper for the body. Decorative origami paper looks beautiful in drawings, patterns, floral motifs;
- Googly eyes;
- Felt-tip pens;
- Glue.
Origami Doll Step by Step
As mentioned above, the doll consists of two parts — the head and the body, which we will fold separately. For work, you will need two pieces of square-shaped paper, one of which is larger for the body, for example, 15:15 cm, and the second is smaller – 7:7 cm, from which we will fold the head.
Origami Doll Head
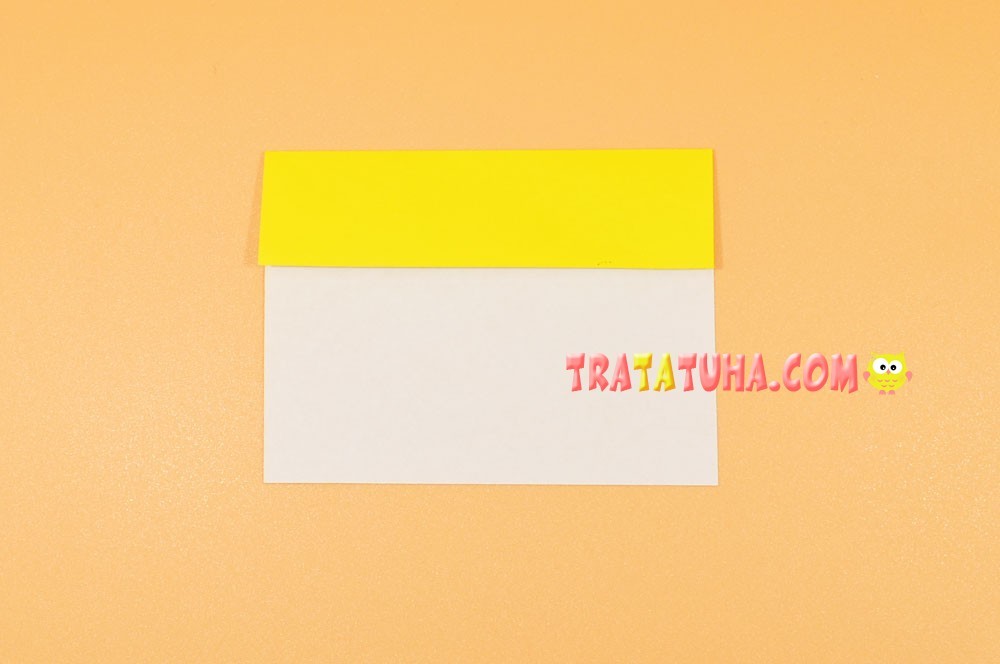
Take paper for the head.

Turn it white outward and fold the crease at the top to make bangs for the doll.
Fold in the folds on the sides, continuing to frame the face with hair.
Now the head should be rounded, for which bend the upper side corners.
Fold back the bottom side of the paper.
And finally, fold the bottom corners back.
The head is ready, at this stage you can completely complete it: glue the eyes, draw a smile, a nose.
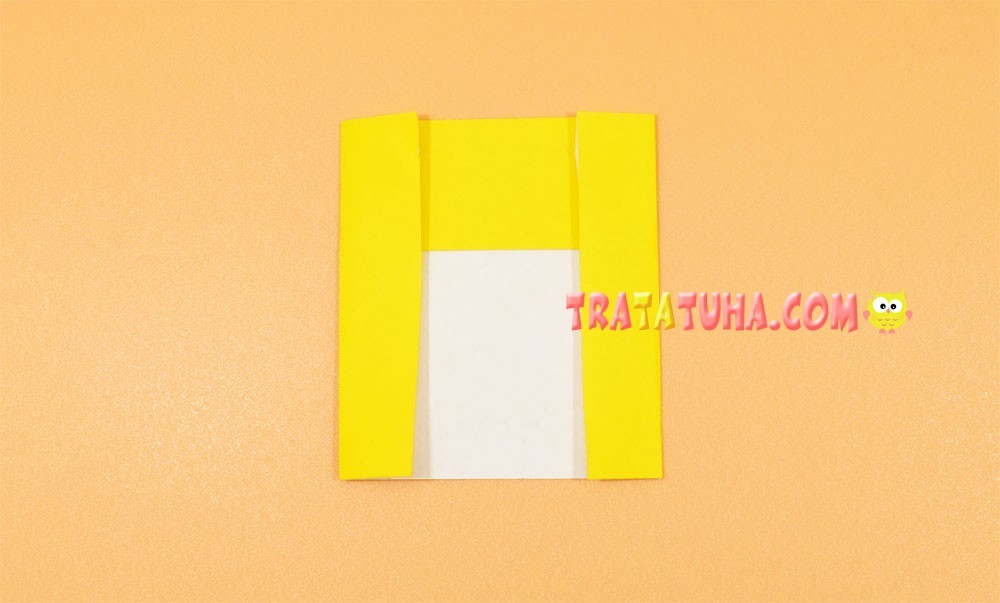
We Fold the Body of the Doll
Take the second piece of paper in the form of a square, which is larger.
At the first stage, you should make the basic origami shape — a double triangle.
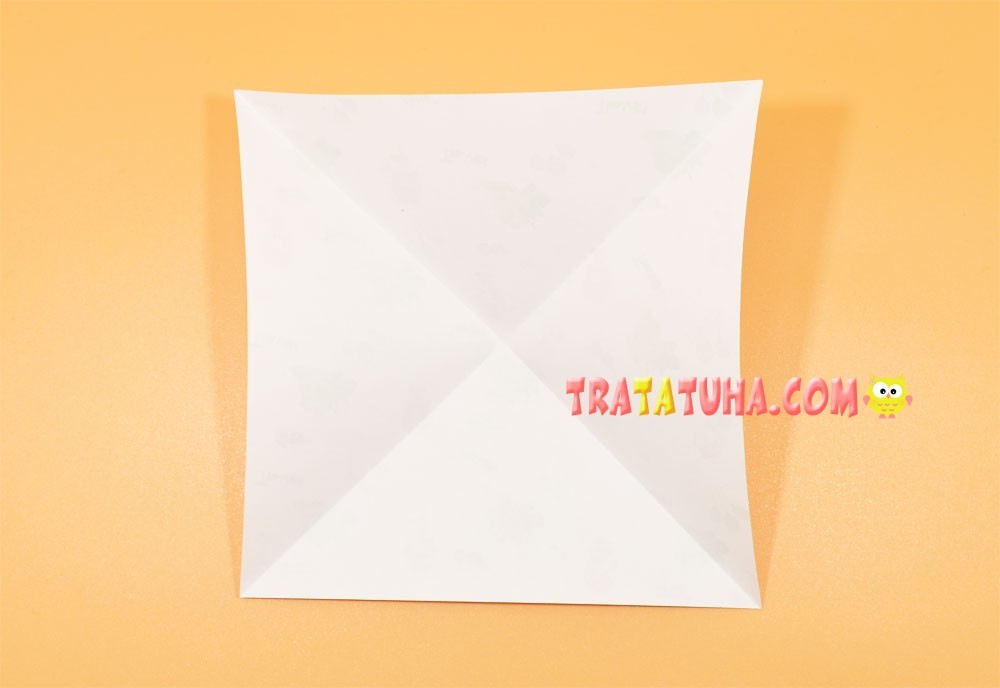
To do this, fold the square into a triangle, marking the first fold.
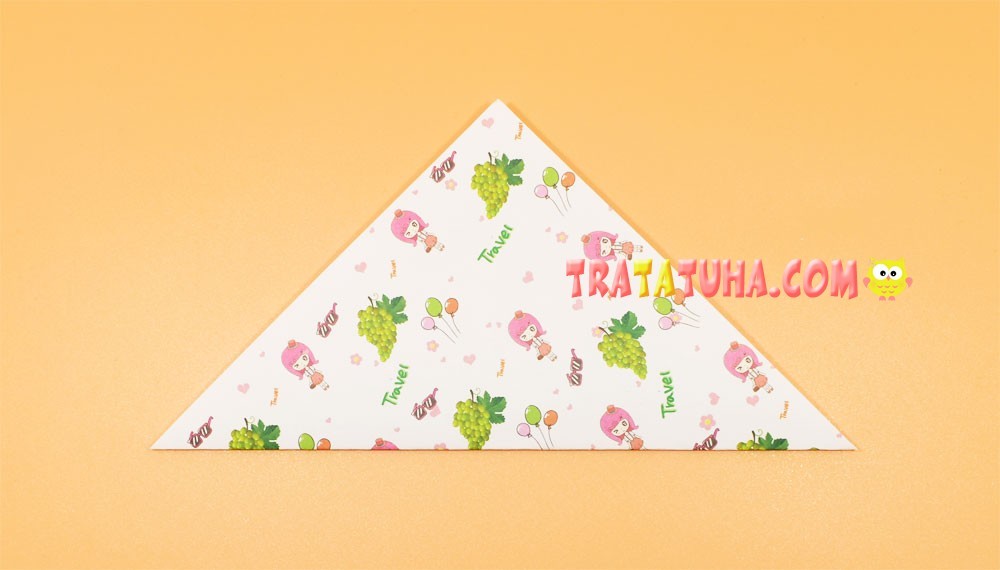
Unfold the paper and fold it into a triangle again, joining the other two corners. The second fold is also ready.
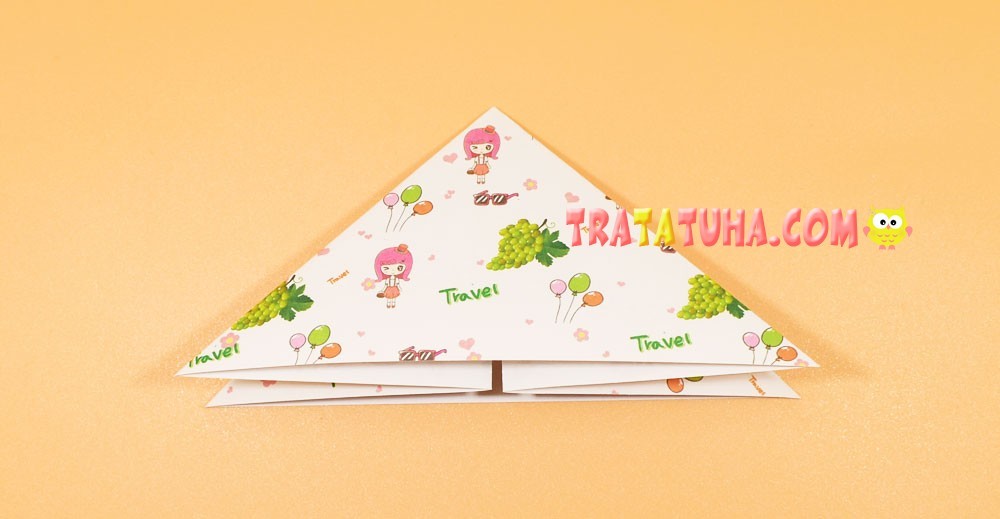
Open the paper and flip to the other side. Fold in half, turning the square into a rectangle.

Straighten the paper and point the horizontal fold inward.
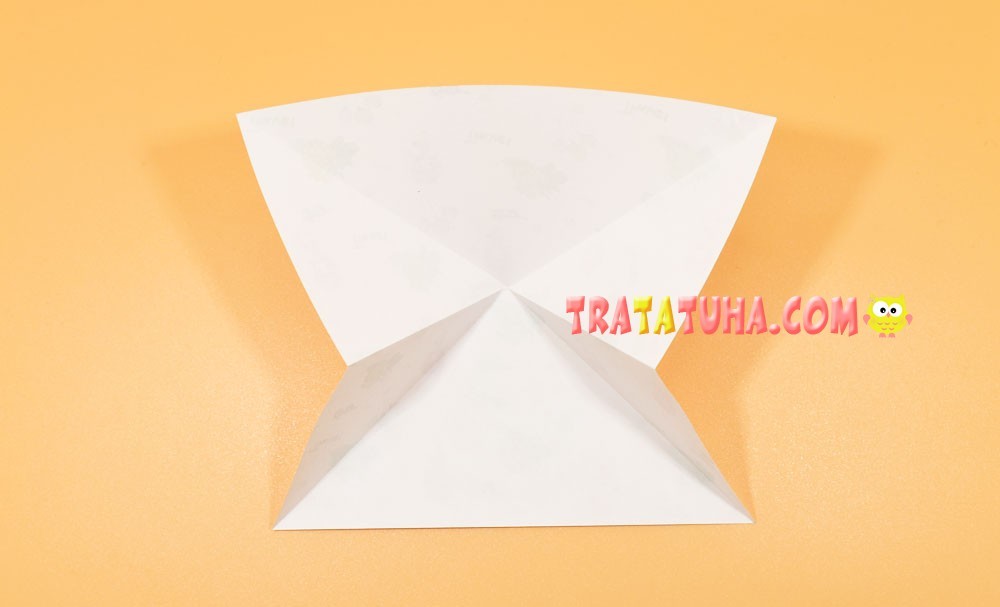
At the same time, lower the top side to the bottom, pressing the paper along the edges. The double triangle is ready.
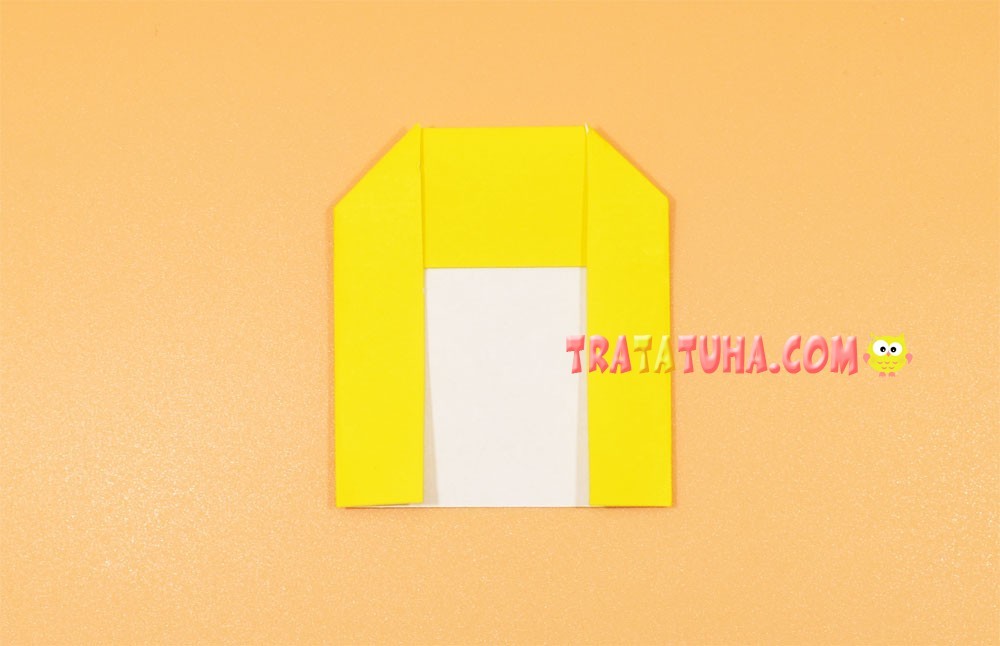
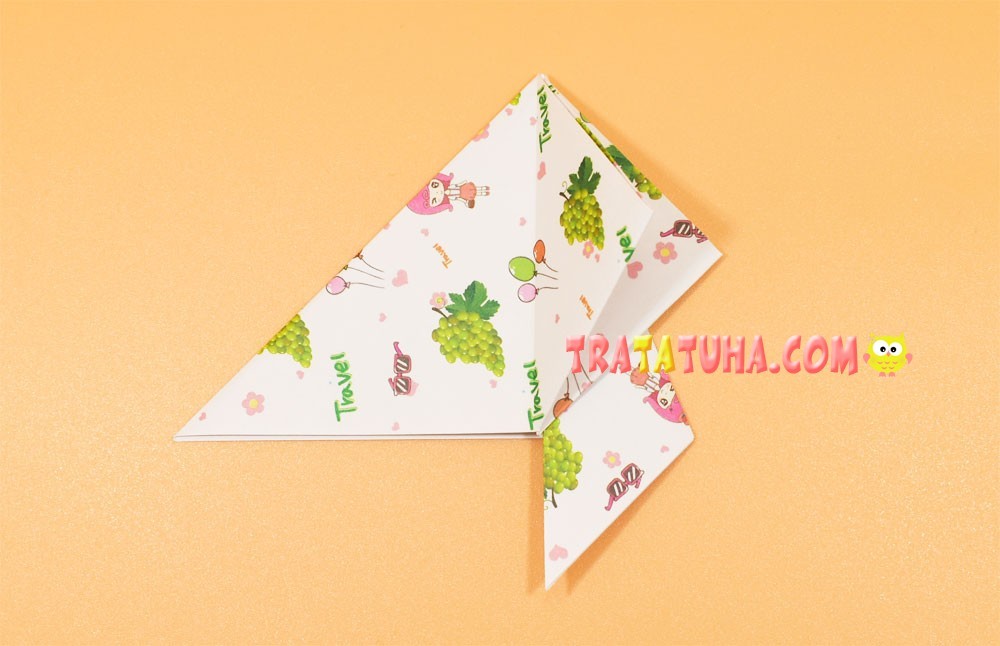
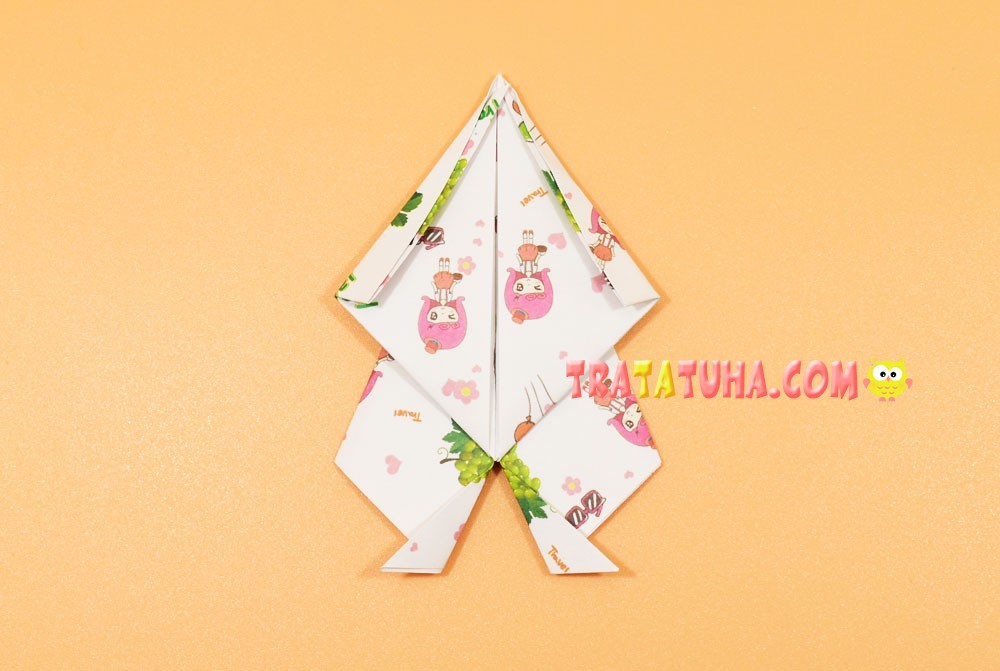
Bend the side corners of the upper layer of the triangle up to the very corner. Get a small square.

Move the right side of this square to the left so that it does not interfere with it yet.
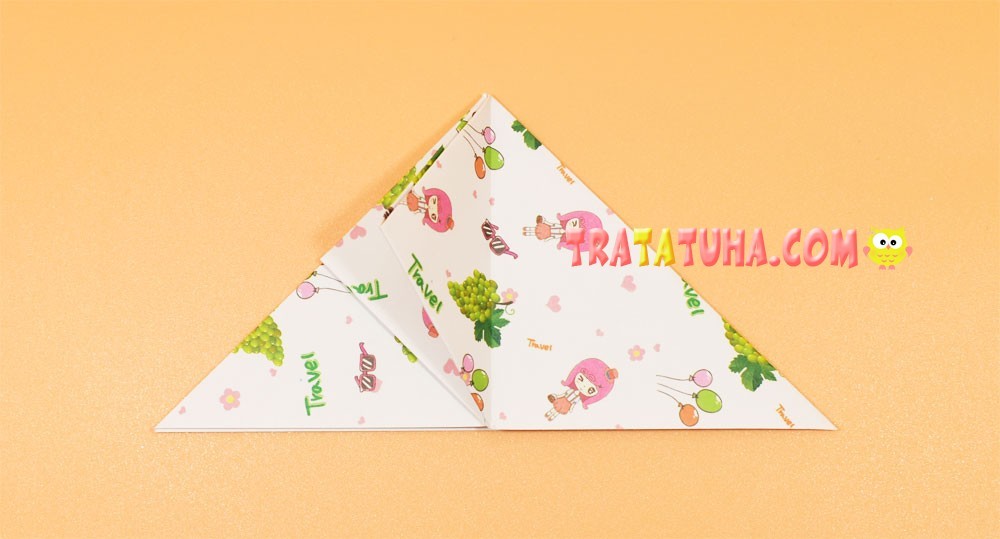
And lower the right corner of the lower layer of the triangle down, aligning the side in the middle.
Bring back the side of the square.
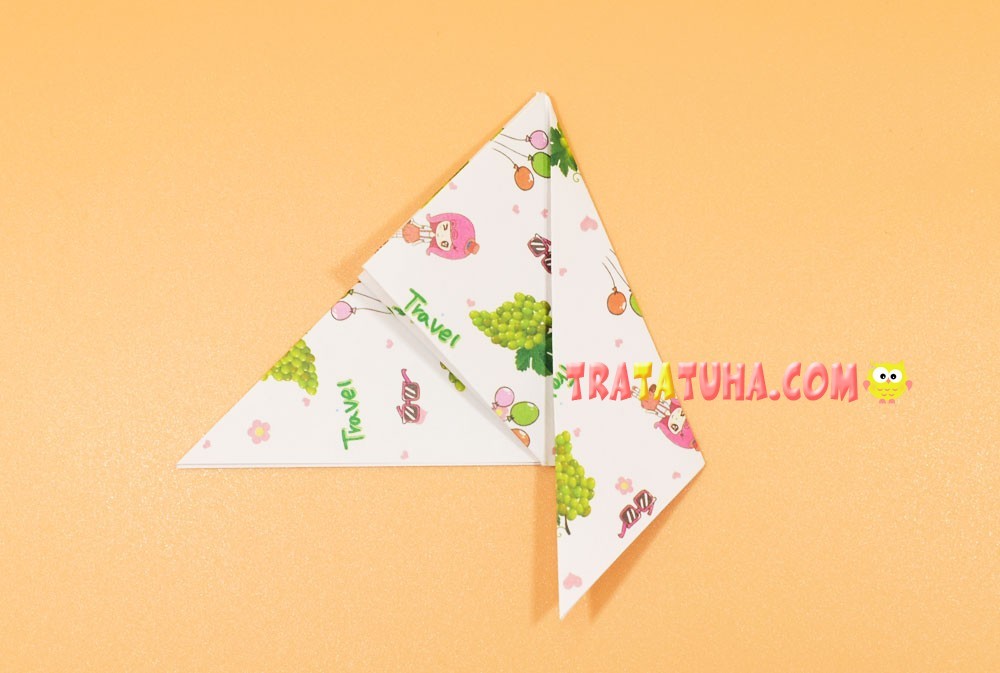
On the left, we need to repeat the steps. In the same way, move, now the left side of the square, to the right, so as not to interfere.
And lower the left corner of the triangle down, completely bending the side to the middle.
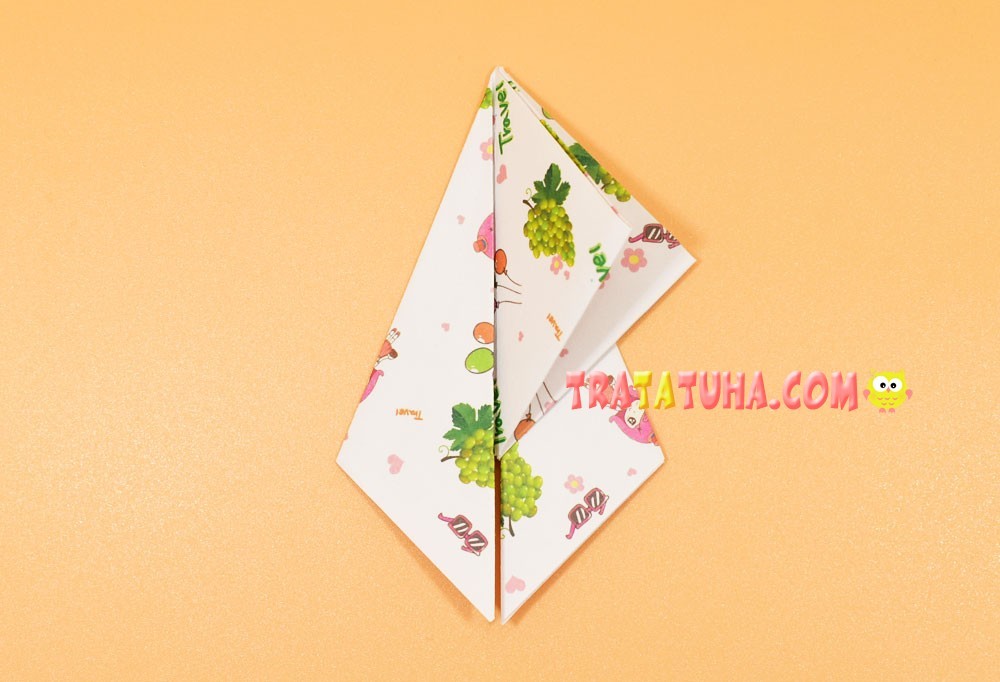
Return the side of the square.
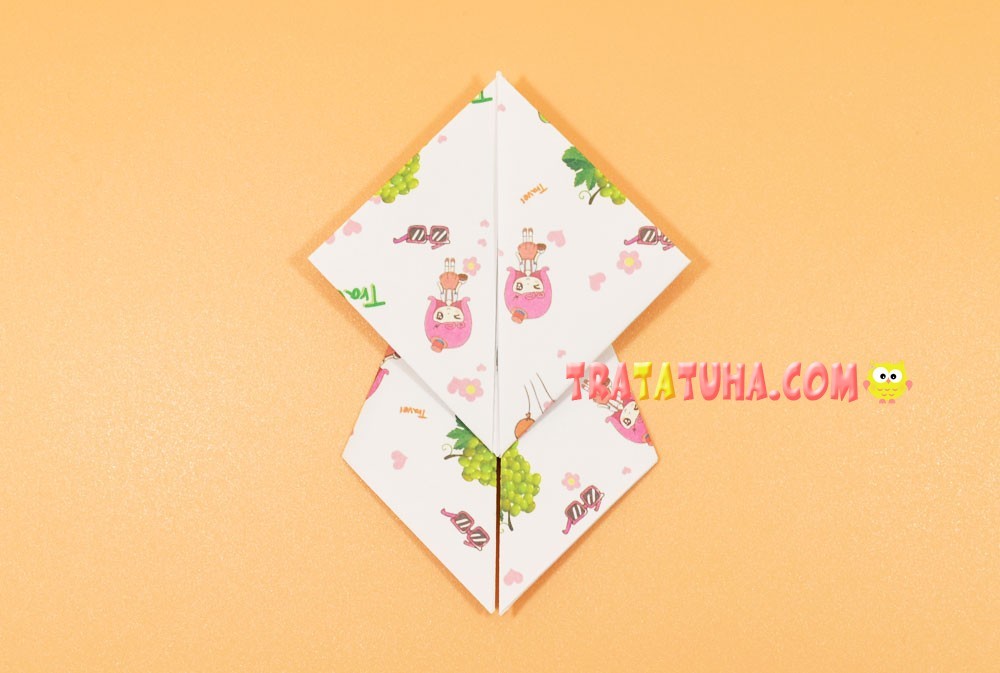
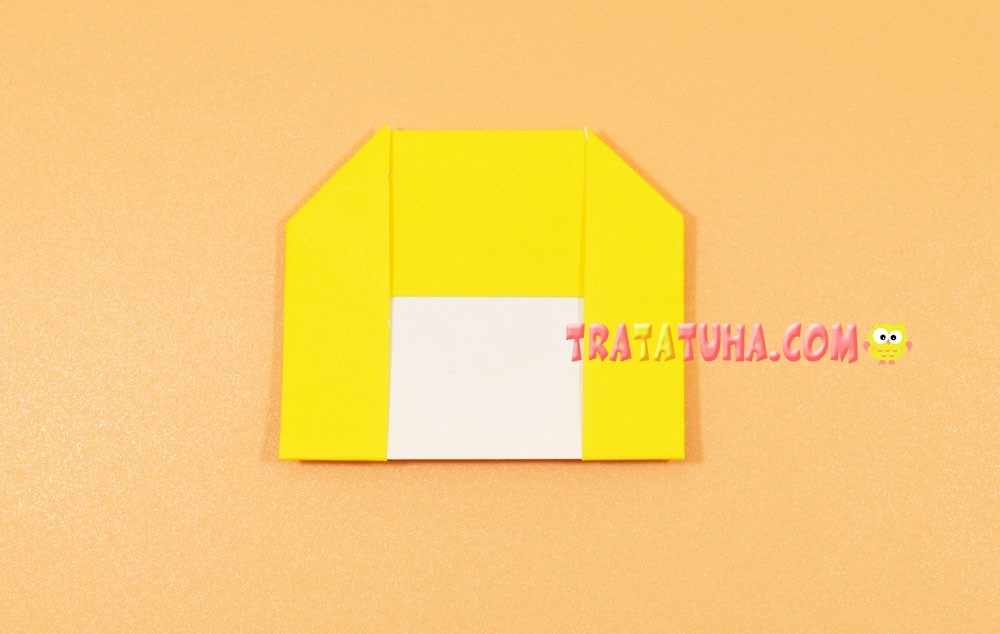
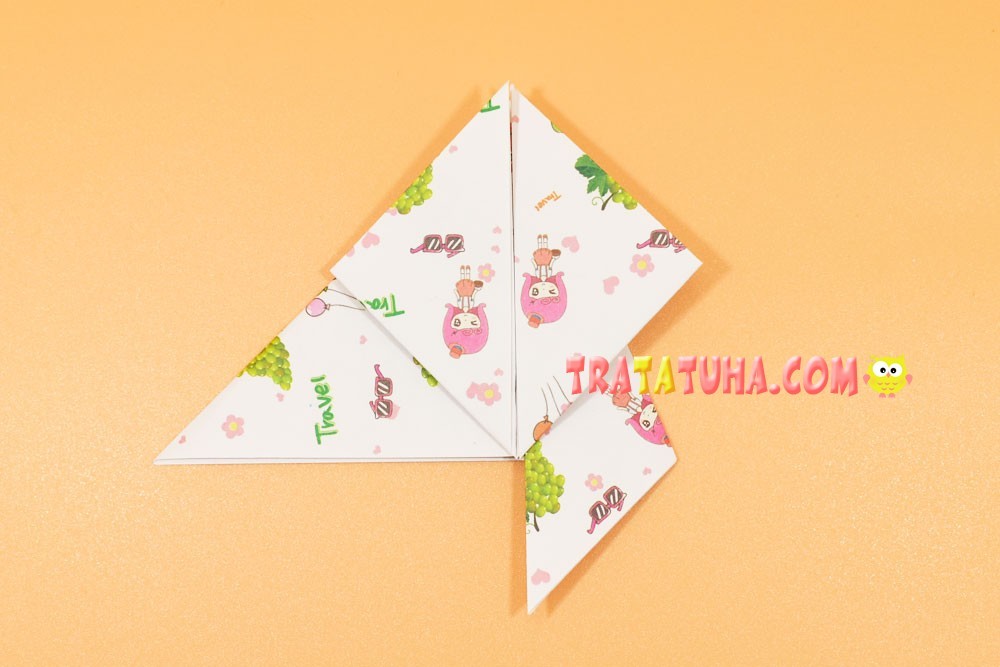
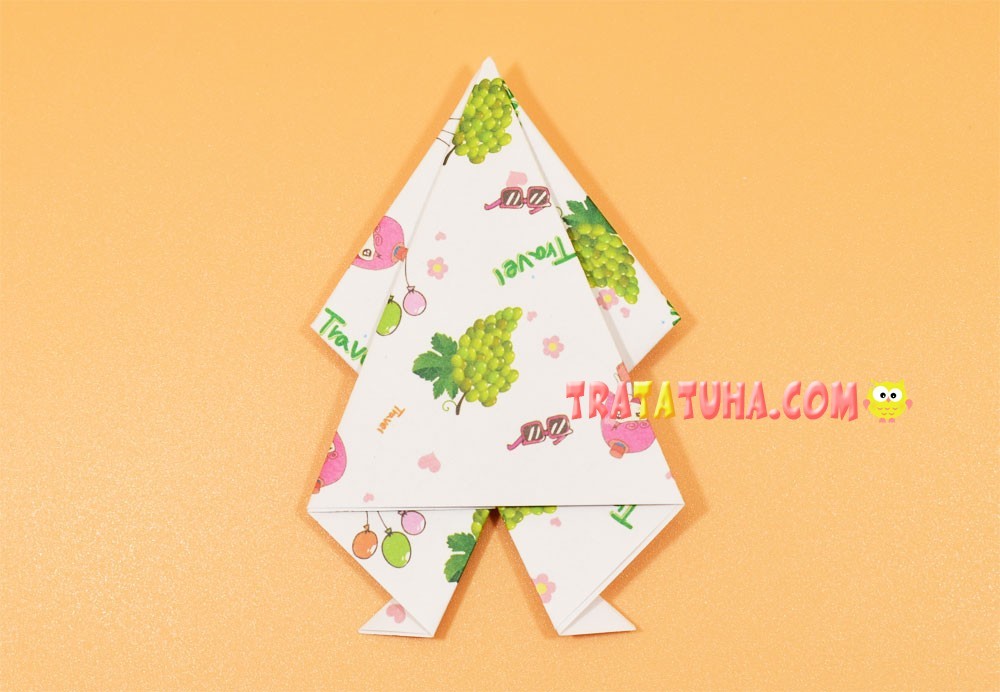
Bend small folds at the top to make the doll’s arms a little thinner.
Bend the lower corners to the sides, you will get legs out of them.
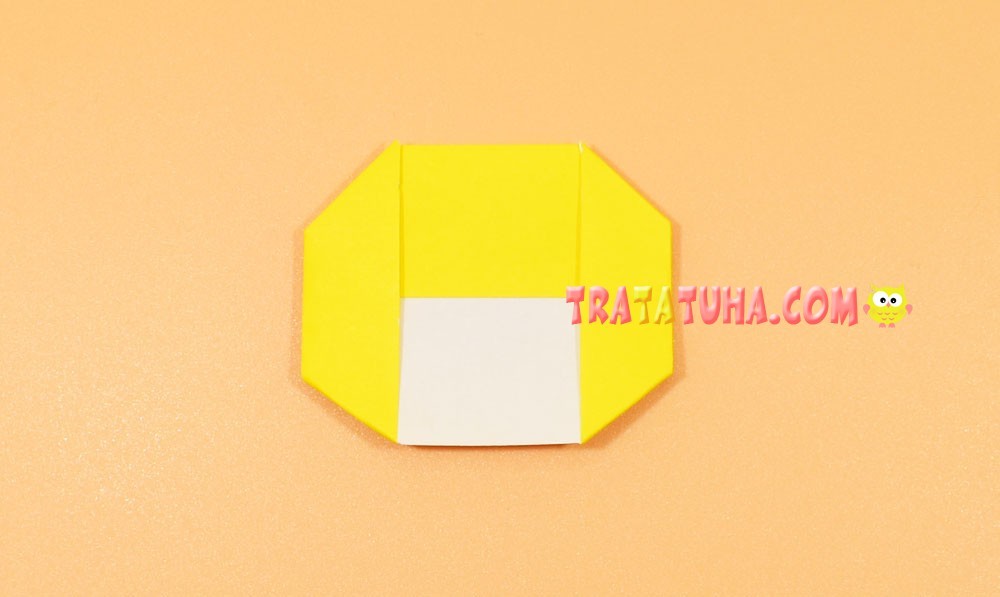
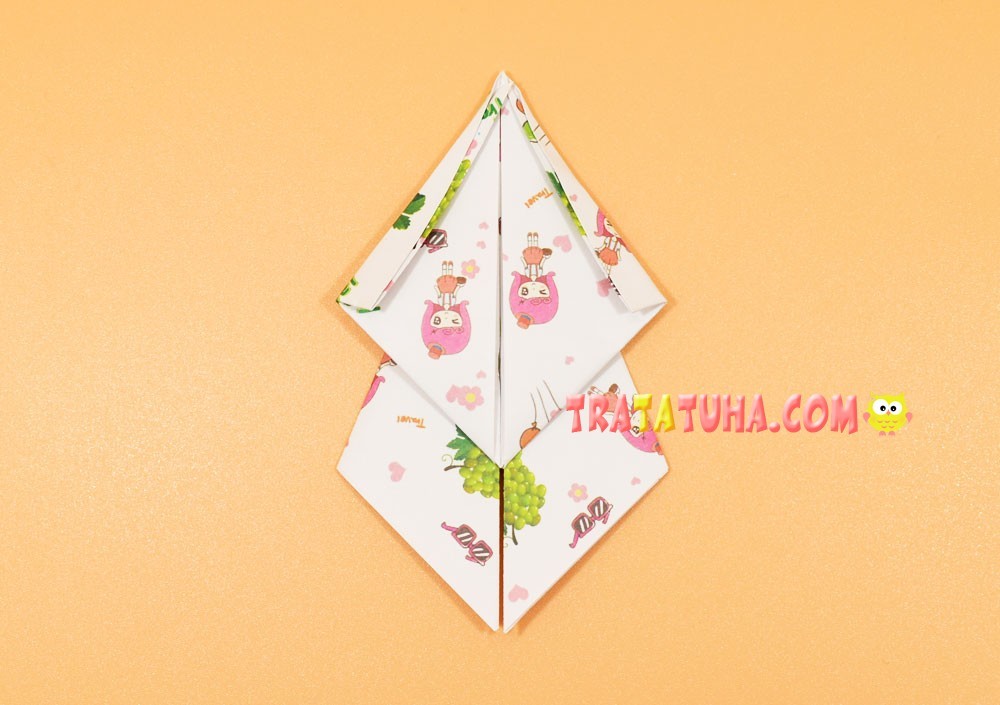
Turn over to the other side, the body, and at the same time the dress, you’re done.
Glue the head to it to complete the job. This is how the origami doll turned out. If desired, she can decorate her hair, if there are no patterns on the dress, draw them or make an collage.
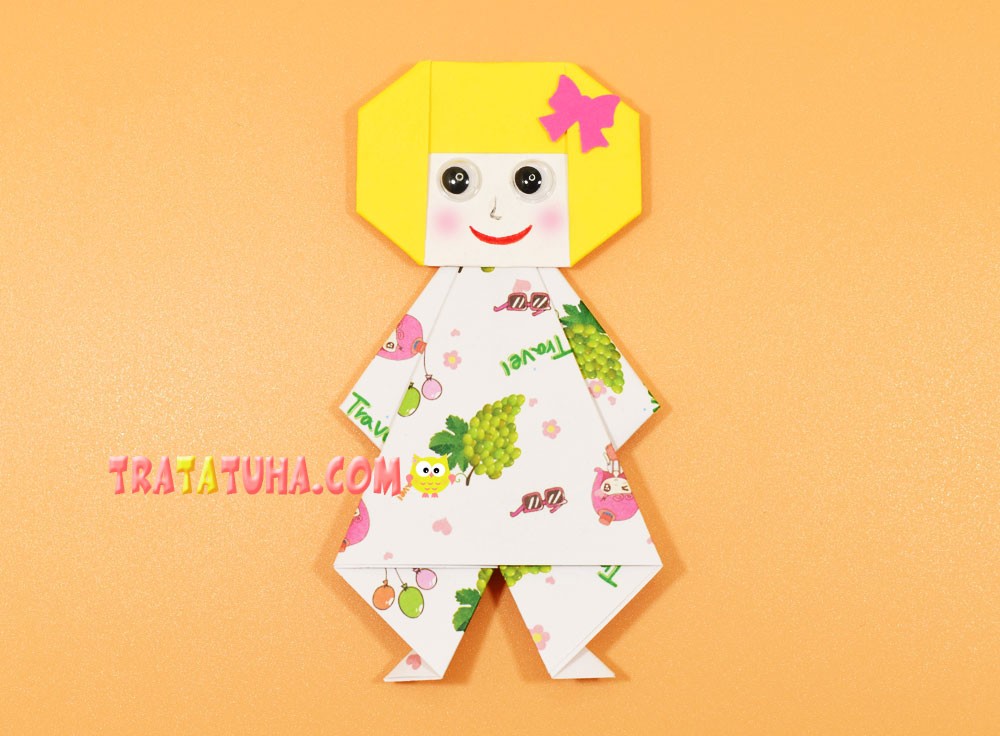
The doll can be a finger toy, there is a cavity at the bottom of the skirt that you can put your finger in.
For your information, the lesson of the umbrella shown in the photo along with the doll can be found at the address — origami umbrella.
Related Post: