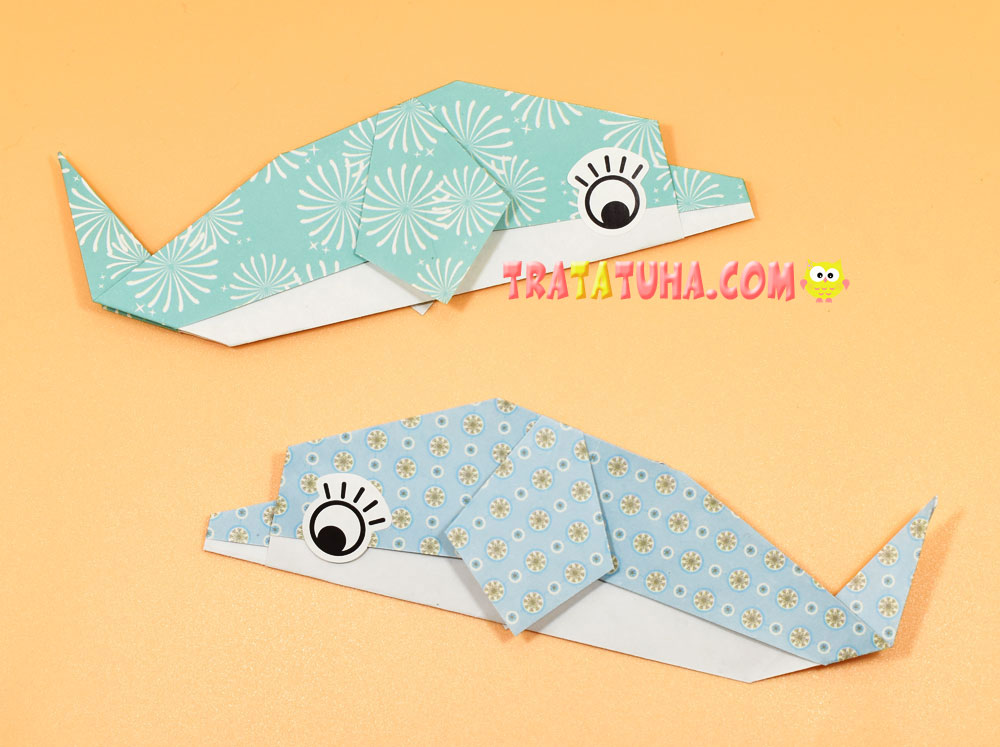
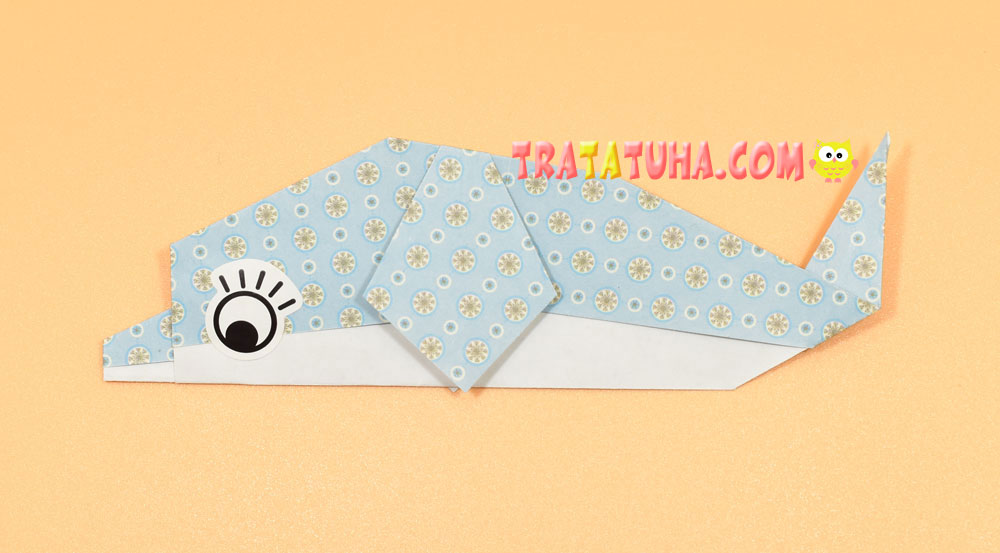
Simple origami dolphin step by step. We make together a beautiful aquatic animal from colored paper. The method is suitable for kids.
Materials:
- Colored paper. The best option is two-tone to highlight the tummy;
- Eyes from any material.
Origami Dolphin Step by Step
Sea inhabitants can be depicted in origami. Previously, we already made an origami shark, this time, a more friendly creature — a dolphin.
As for the most part, we will work with square-shaped paper. Prepare paper of the desired color and size.
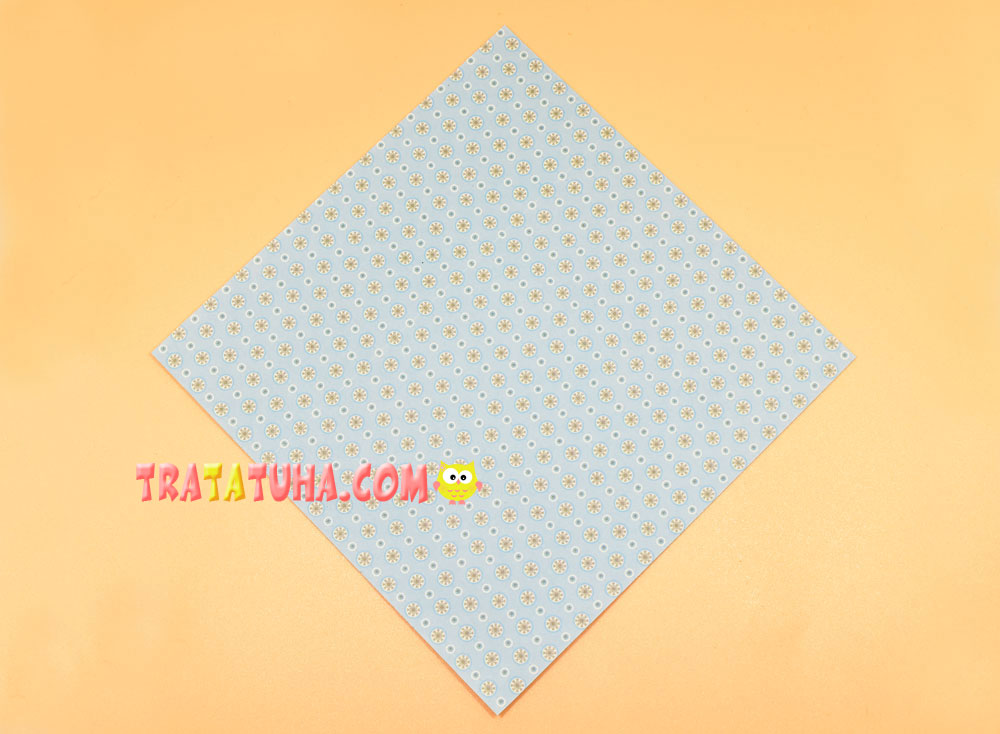
Fold in half, joining the corners to form a triangle.
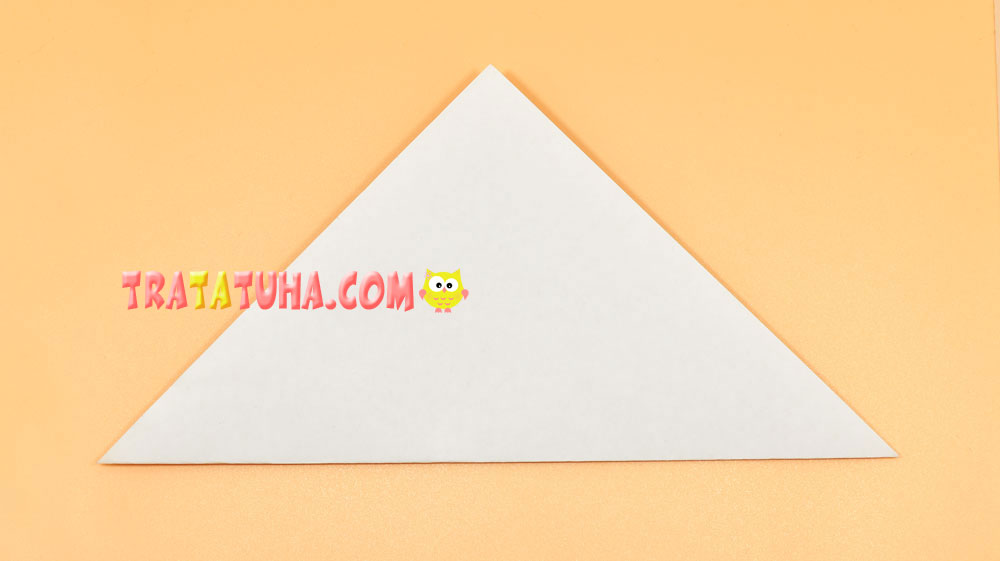
Open and then connect the other two corners. With these actions, we outlined the cross folds.
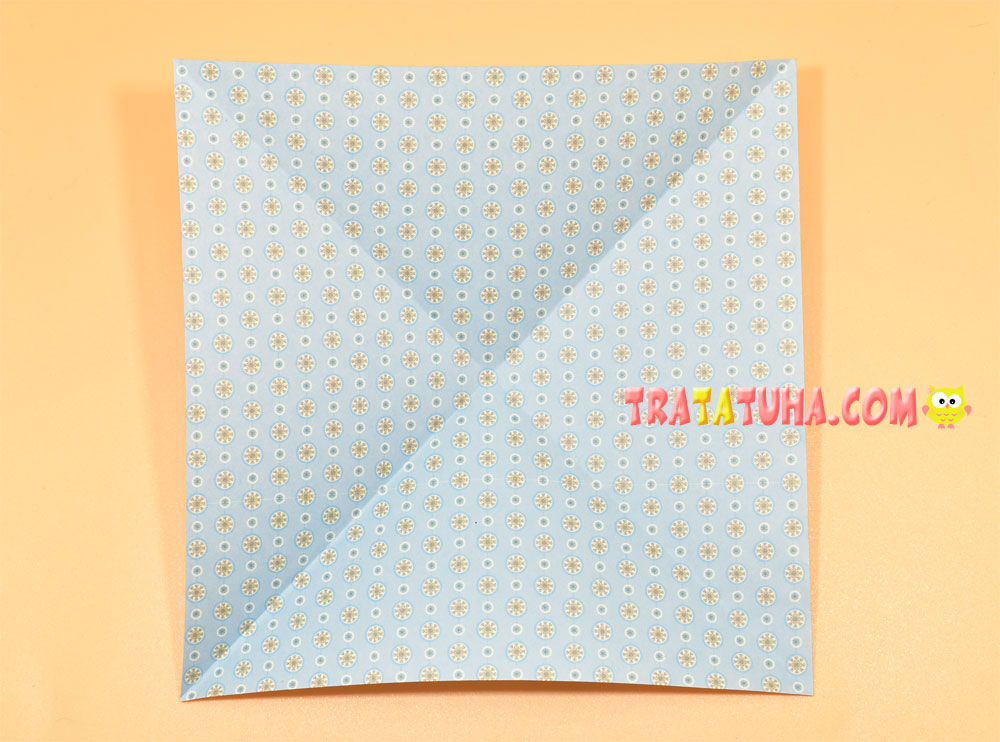
Next, we work with the created triangle.
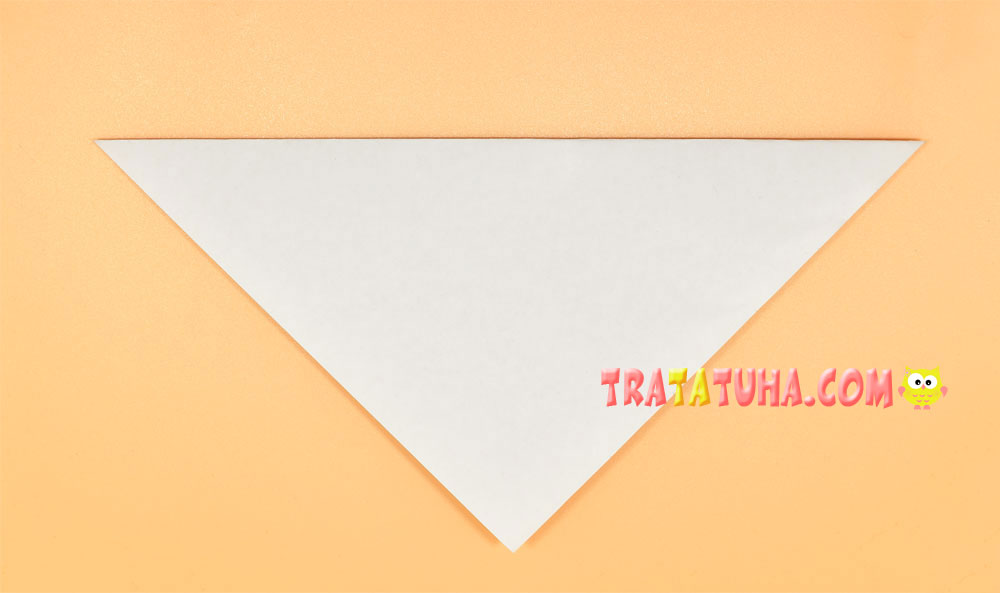
Starting at the left corner, fold the side up, marking the fold.
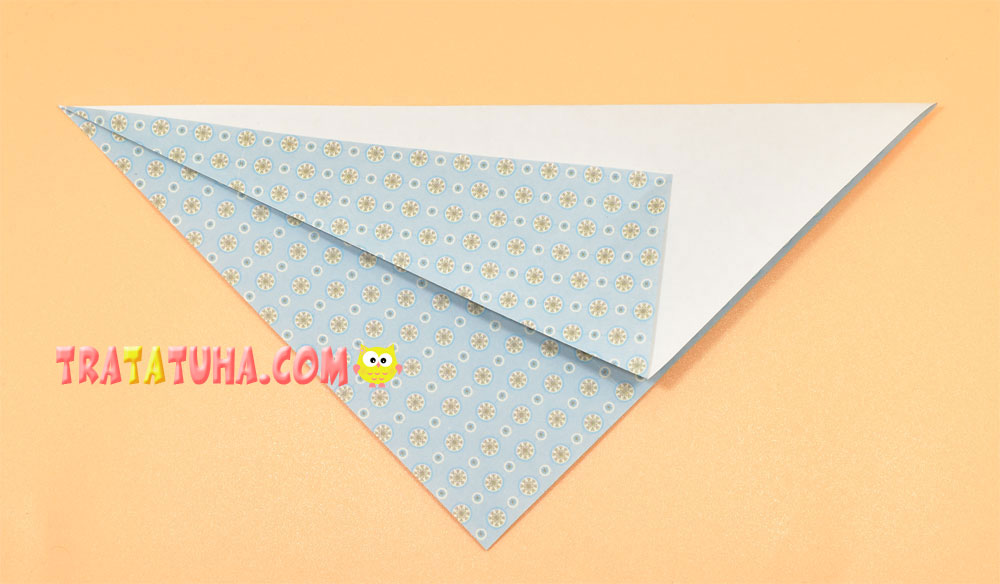
Straighten back and fold the right side in the same way.
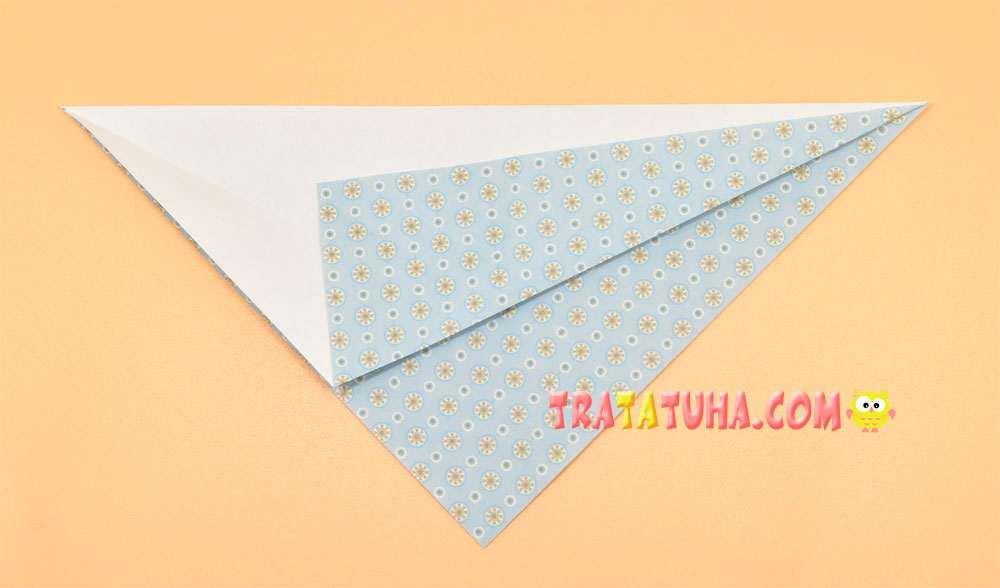
Straighten the paper. In the lower corner area, we see intersecting folds.
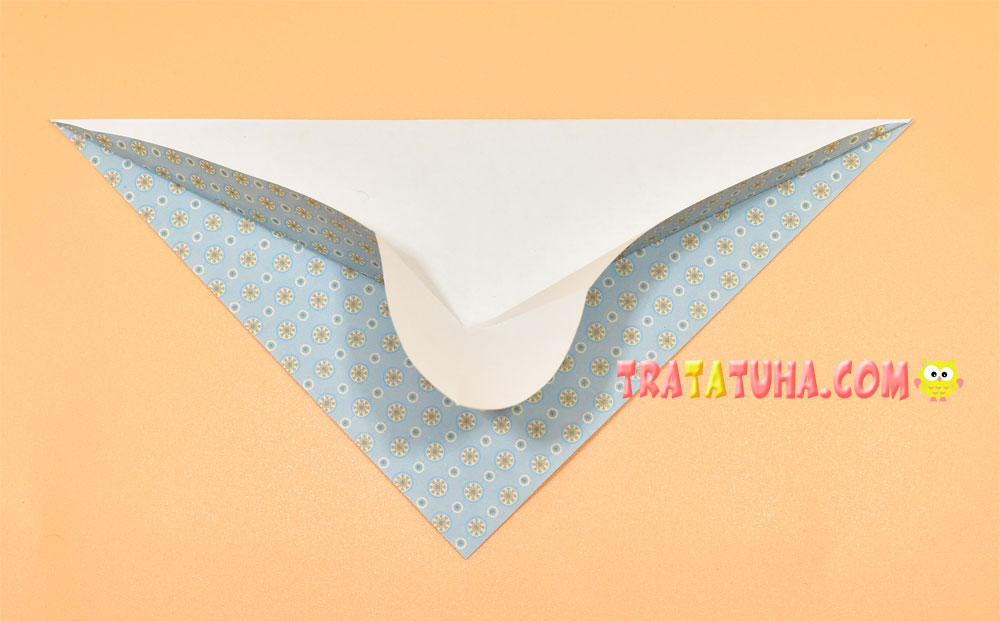
Press the intersection area and make the corner outward.
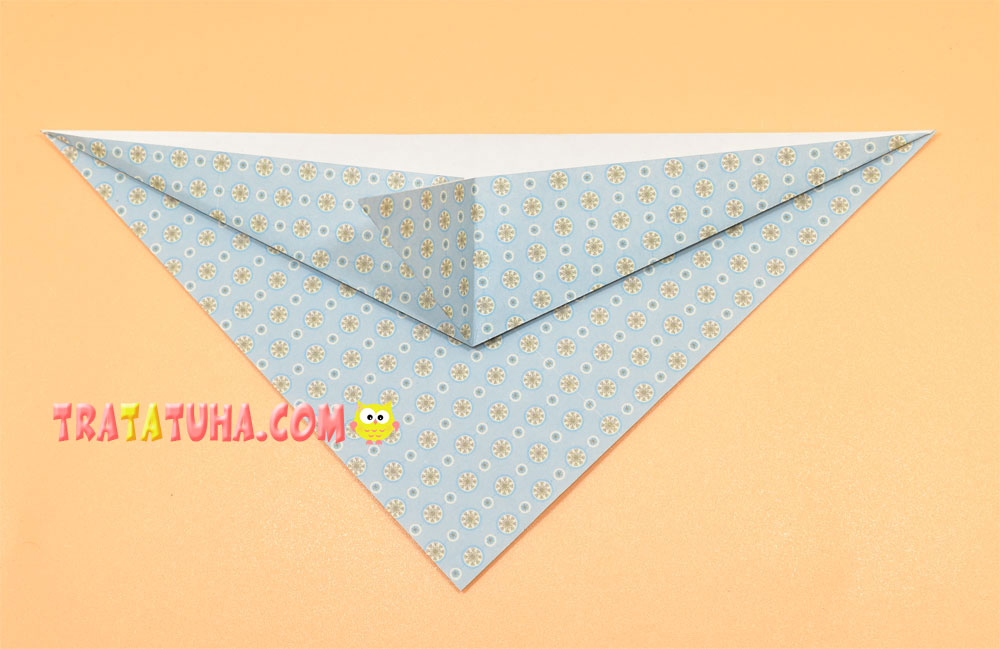
Flatten this corner, creating a dolphin’s fin.
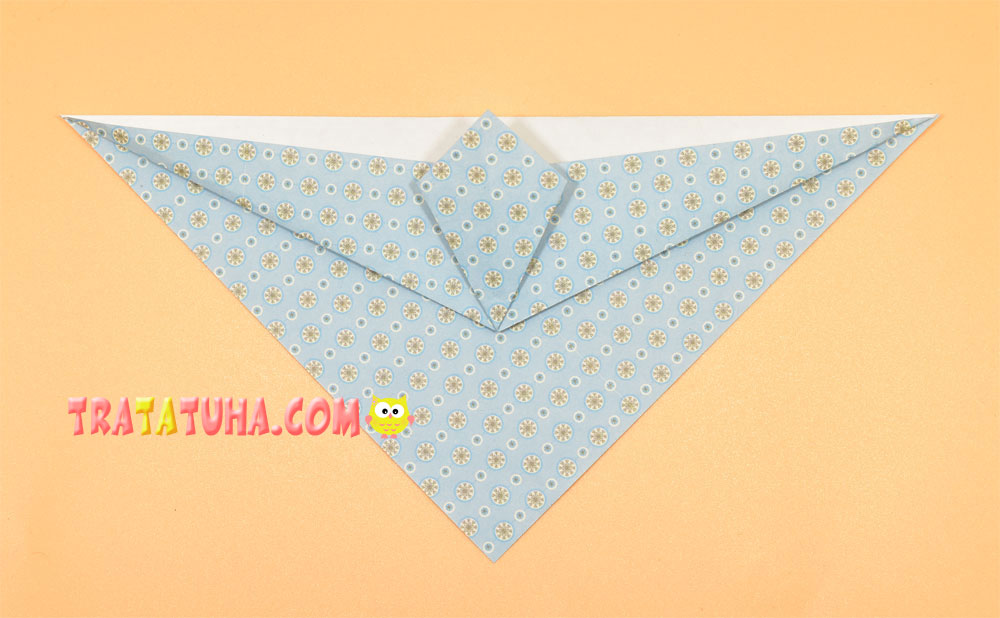
Flip over to the other side and repeat all the previous steps, since we need to make exactly the same fin on this side.
Starting at the corner, fold the side up.
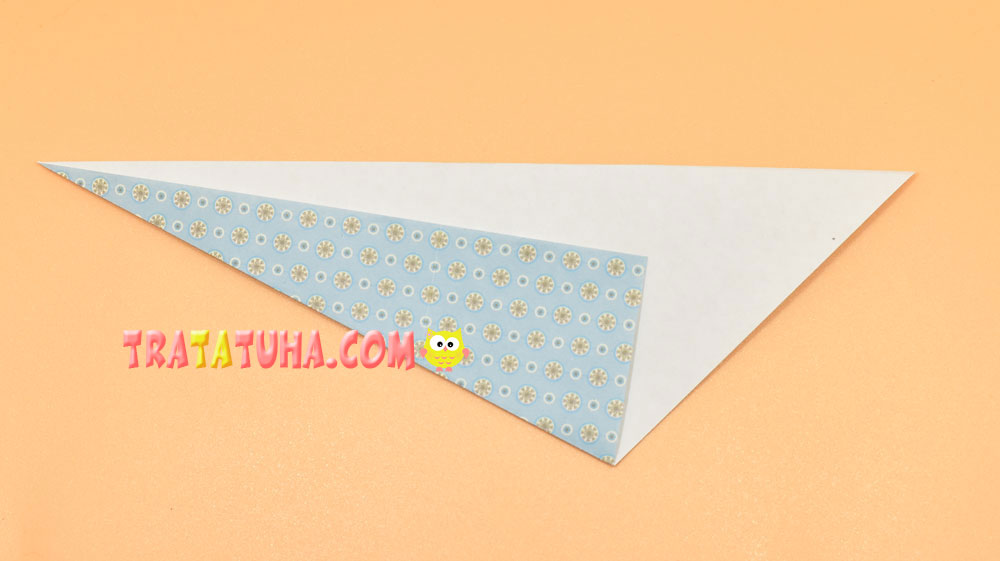
Straighten and bend the opposite side.
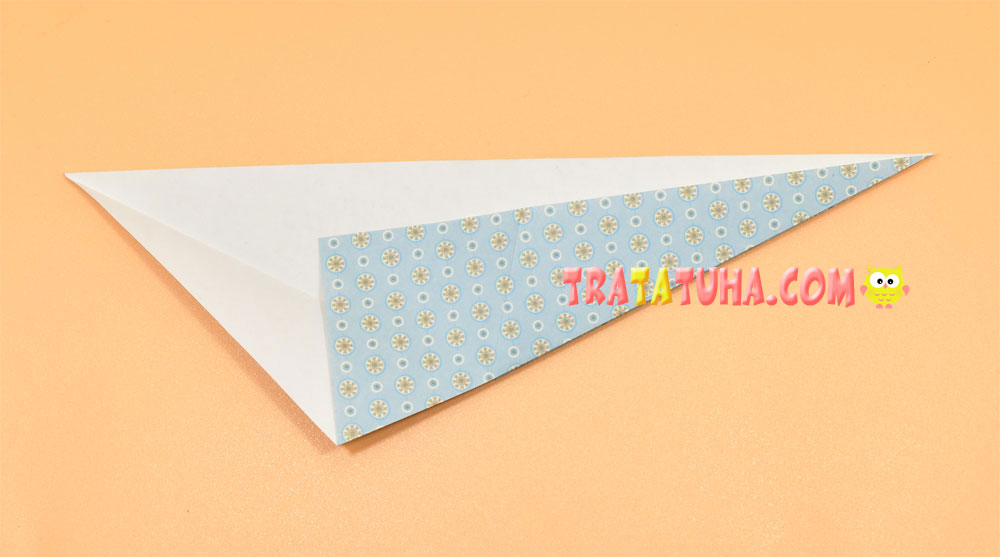
Make a corner outward and press the fold in its middle.
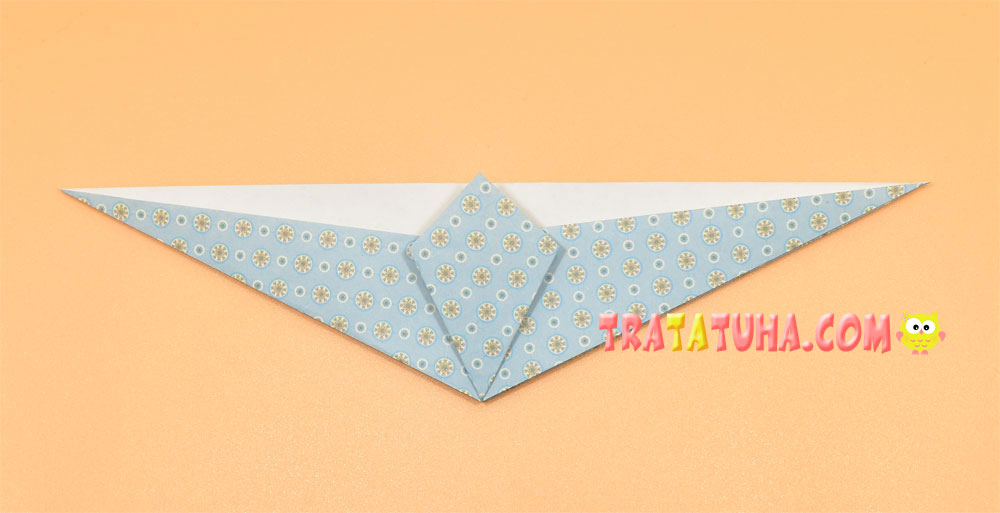
The paper is doubled at the bottom, open it in that area.
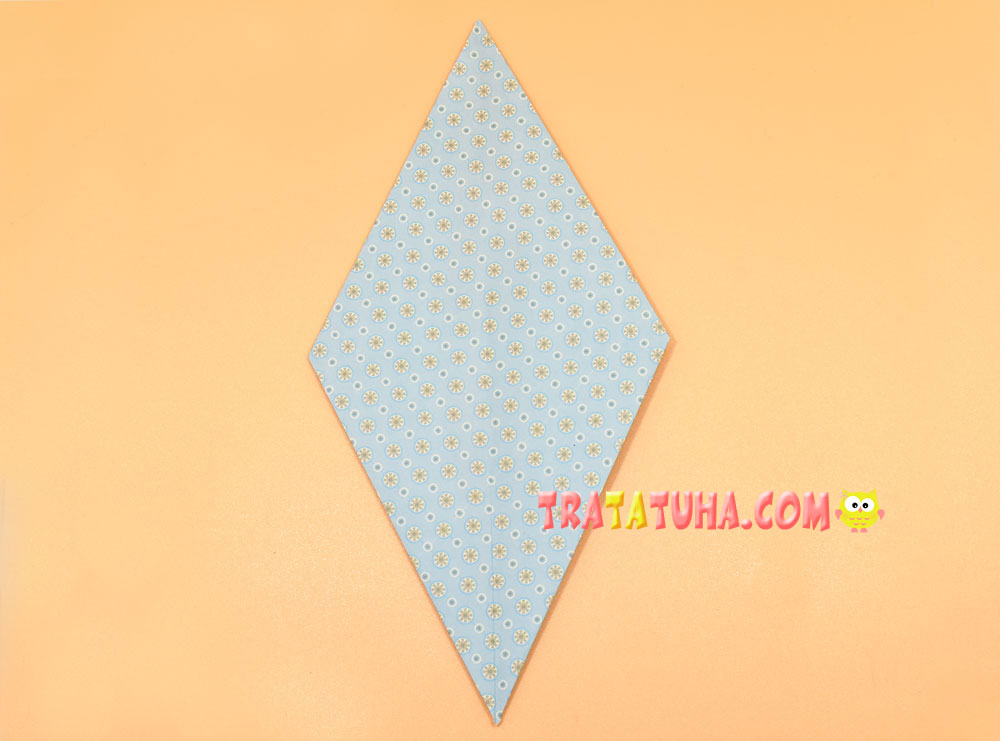
Bend up the bottom corner to the very middle of the rhombus.
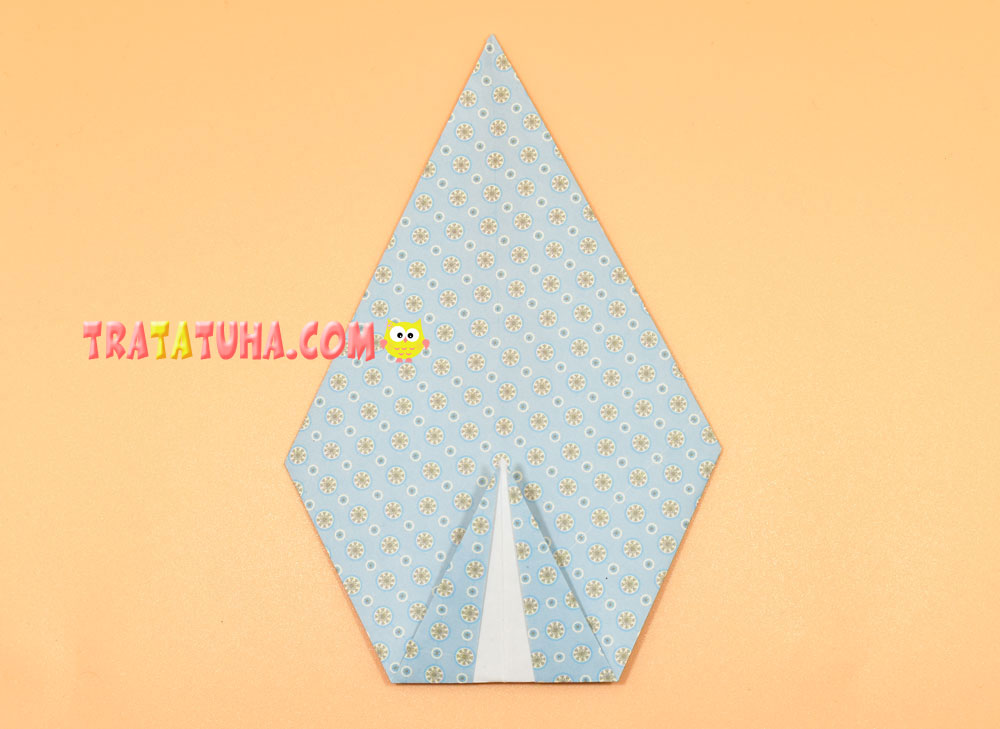
Make a small step and bend back.
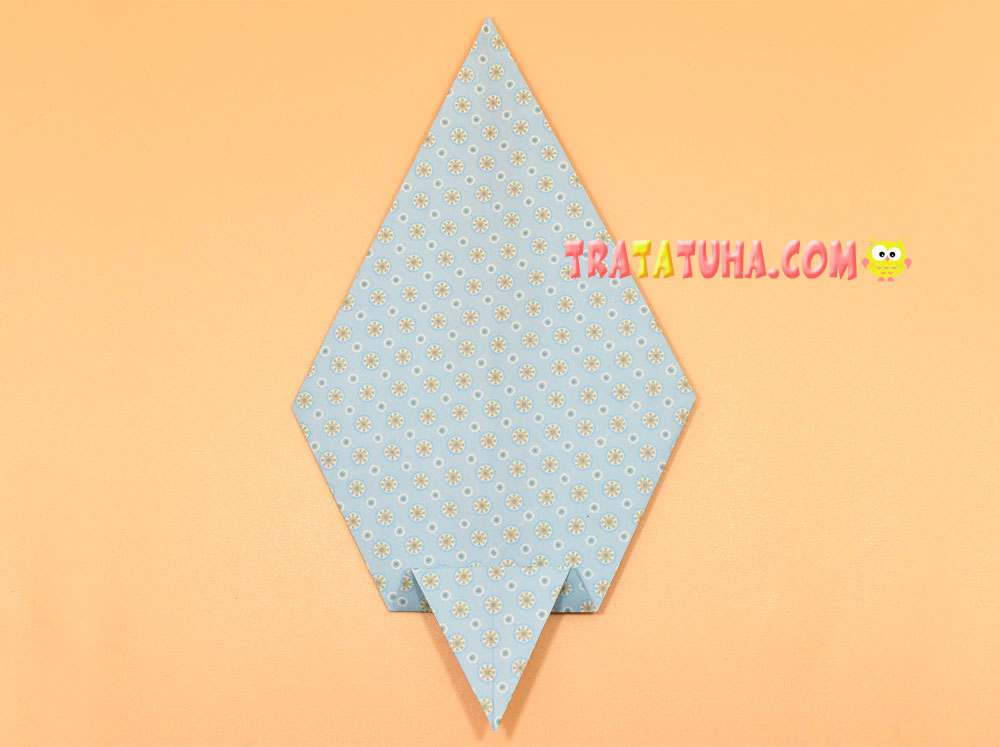
And again bend forward, but already a very small tip.
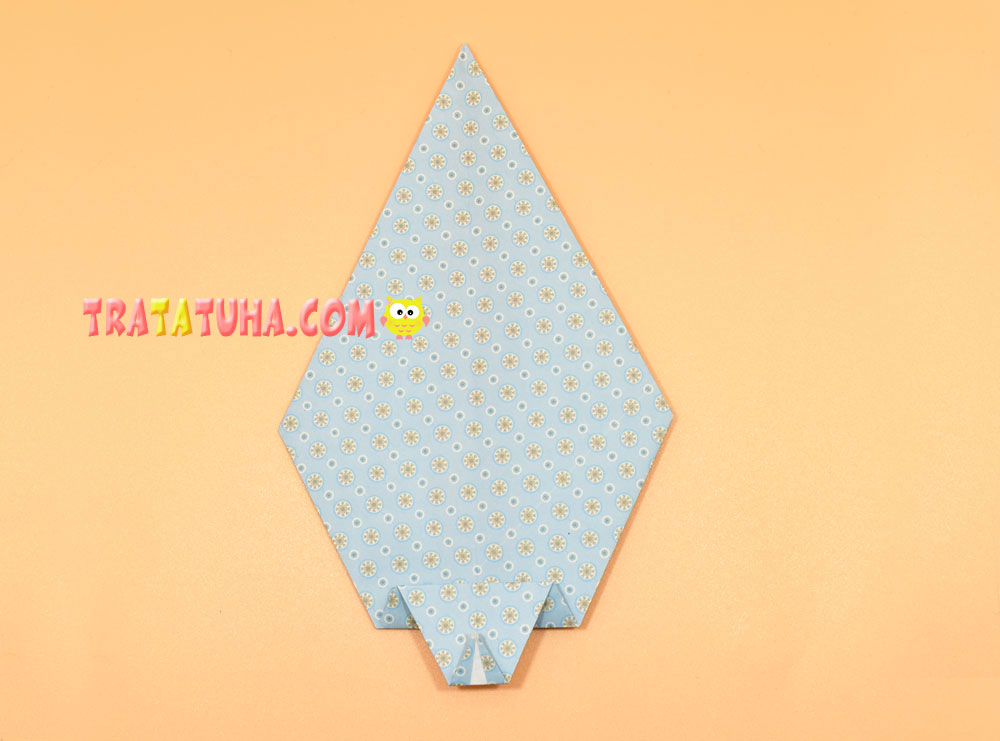
Fold the paper in half. It is already clear that we are getting a dolphin.
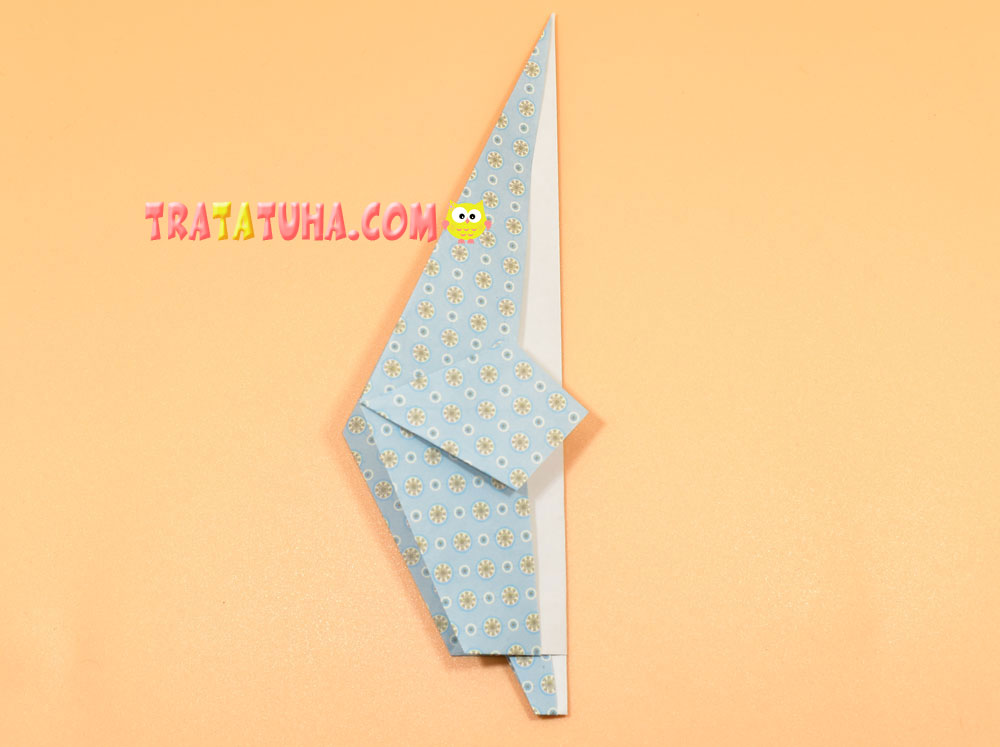
For convenience, flip it to a horizontal position.
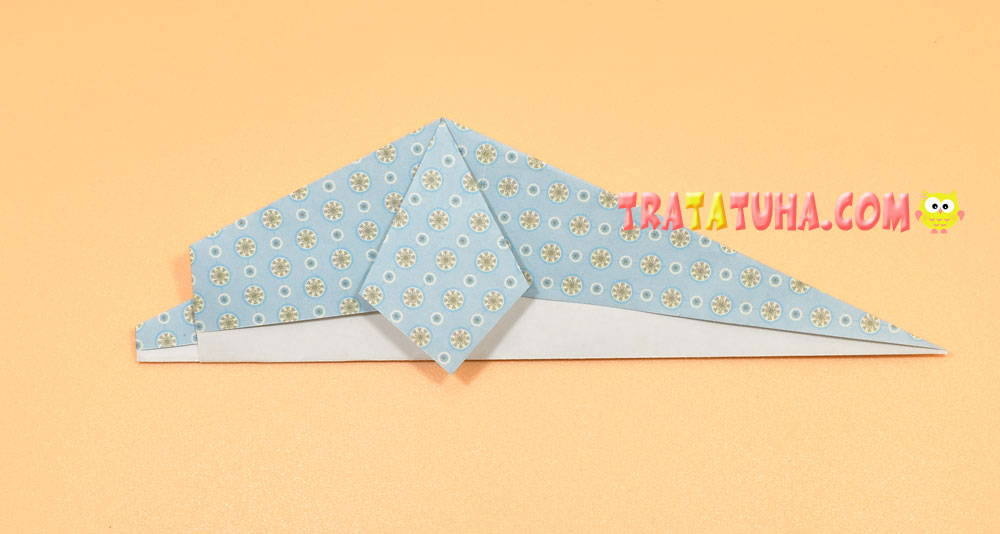
Bend the ponytail up to make a fold.
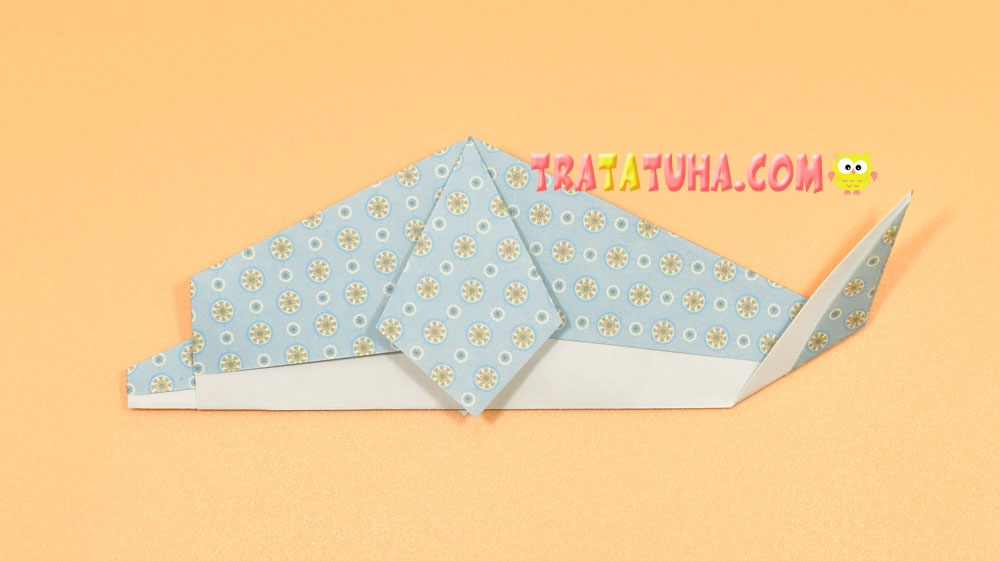
Straighten it and redirect it to the middle.
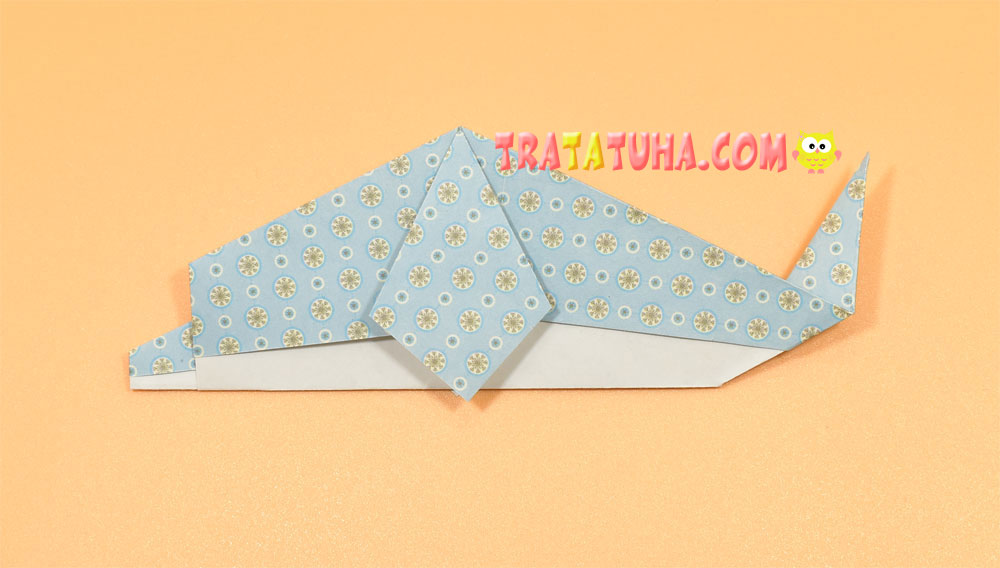
In the area of the back, make an oblique bend back.
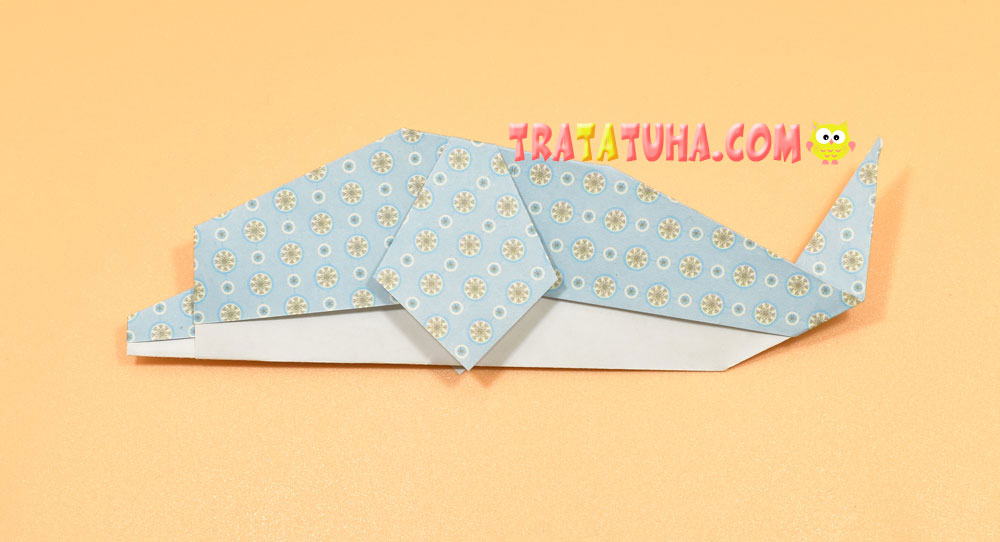
Glue or draw on the eye. Origami dolphin is ready.
See also other tutorial of Origami Animals.
Many other ideas in the collection of Paper Animals Craft.
Crafts for Kids – learn how to make craft at home! Super cute crafts for all age groups!
