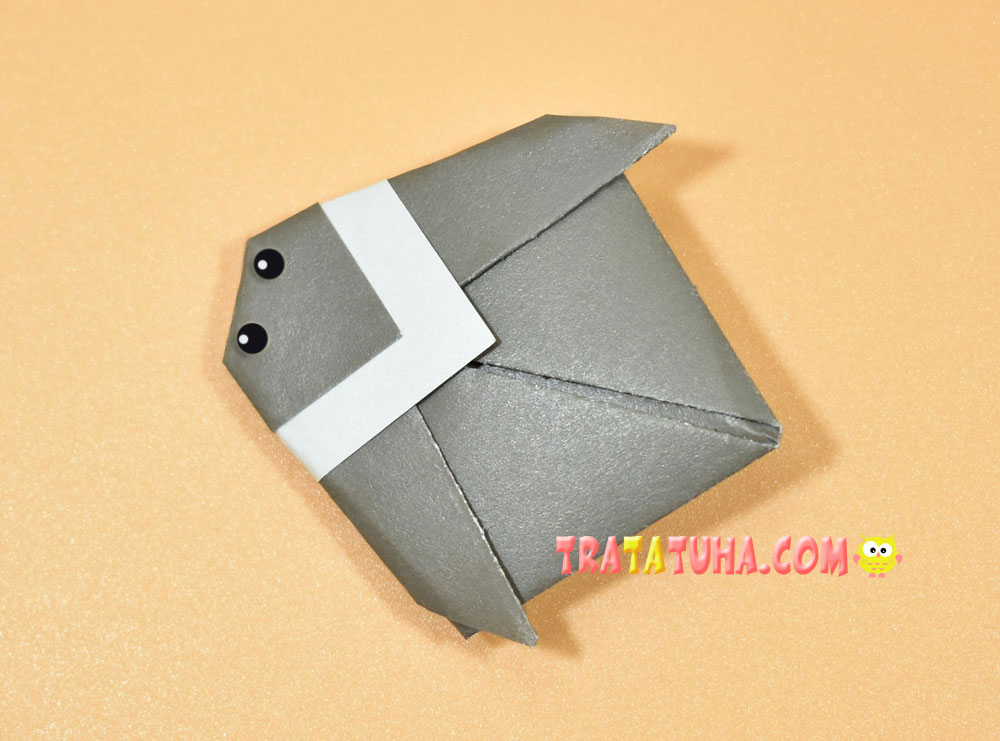
A very easy origami fly. Step by step instructions with photos. Easy insect for beginners and kids.
What you need for work:
- One-sided colored paper. One side can be in a dark shade, and the second in a light shade to highlight the area near the head;
- Felt pens to draw eyes, or ready-made paper eyes, glue.
Origami Fly Step by Step
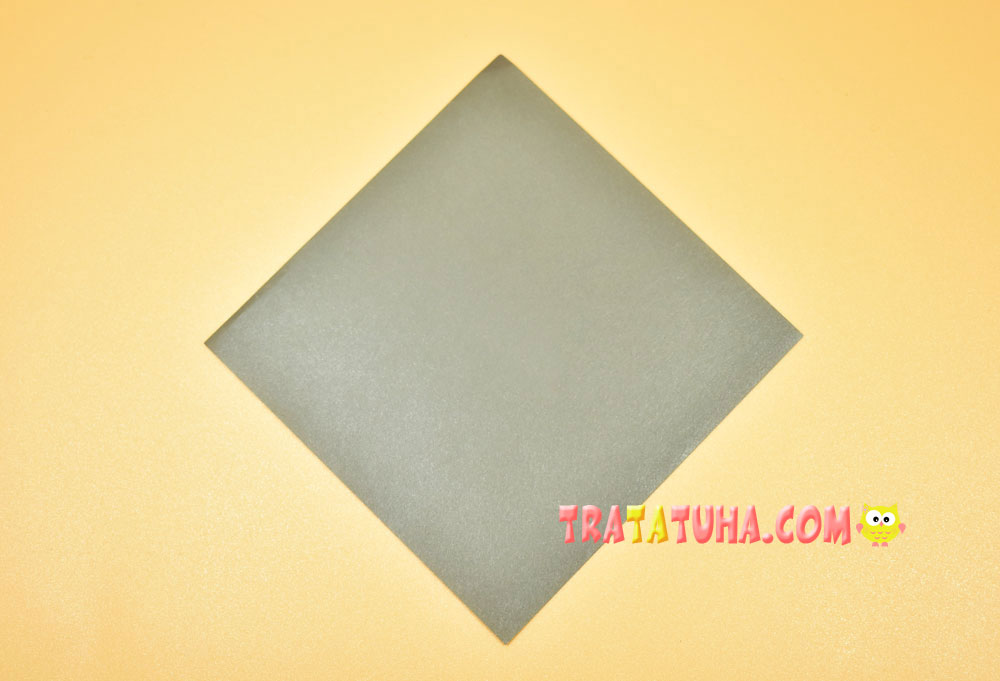
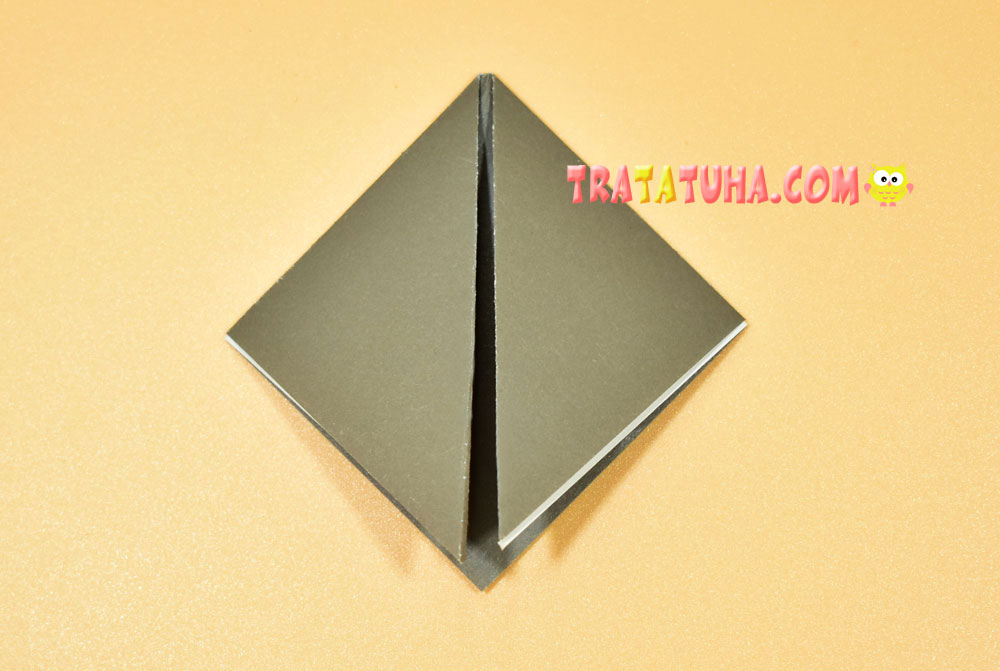
Prepare a square piece of paper. Lay it out in front of you, color side up.
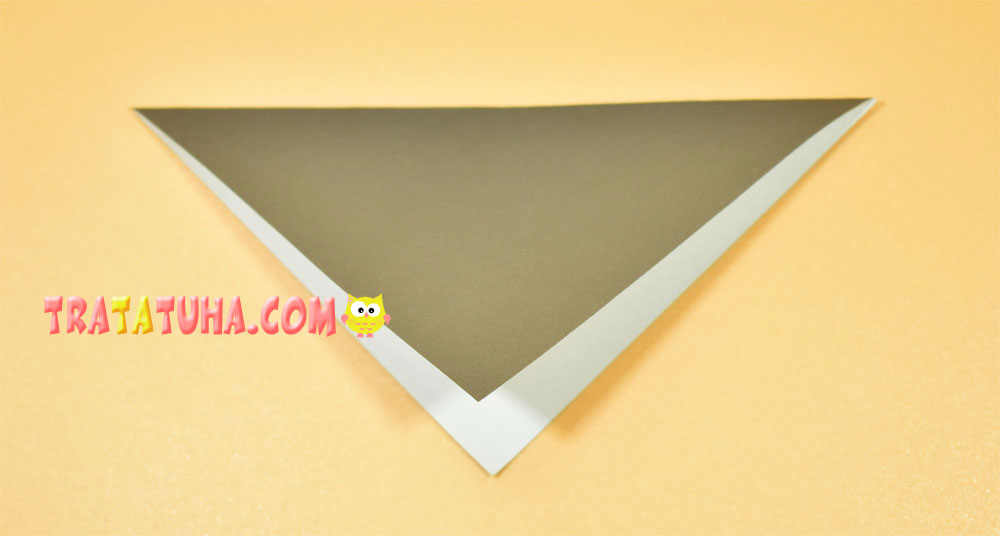
Fold in half to make a triangle. The light shade should be in the middle. This nuance is important so that later the white color turns out to be exactly where, according to the idea, it belongs.
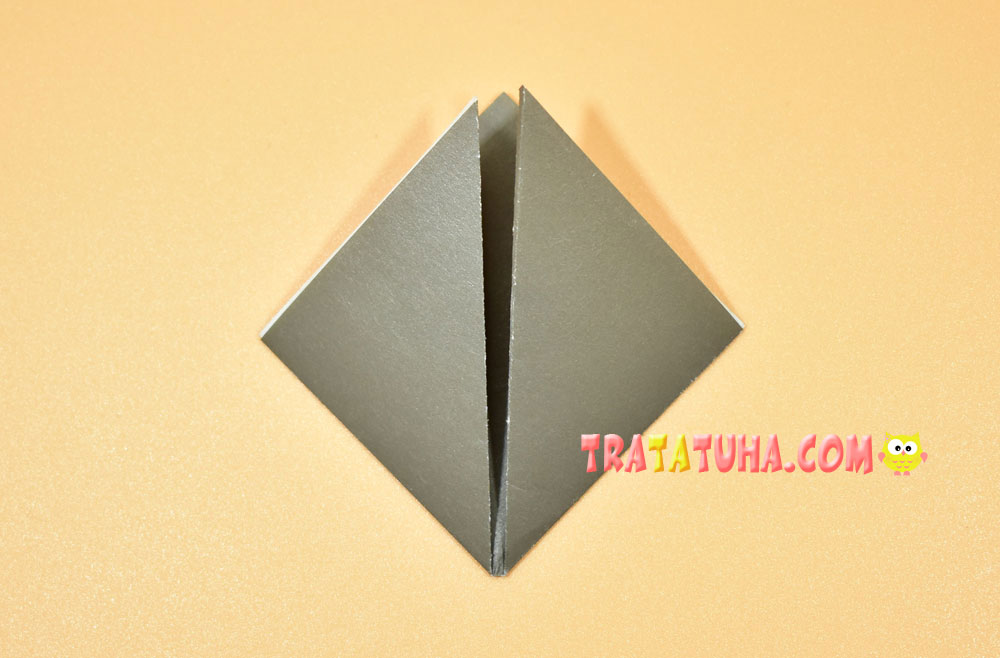
Bend the side corners down, joining them at the bottom corner.
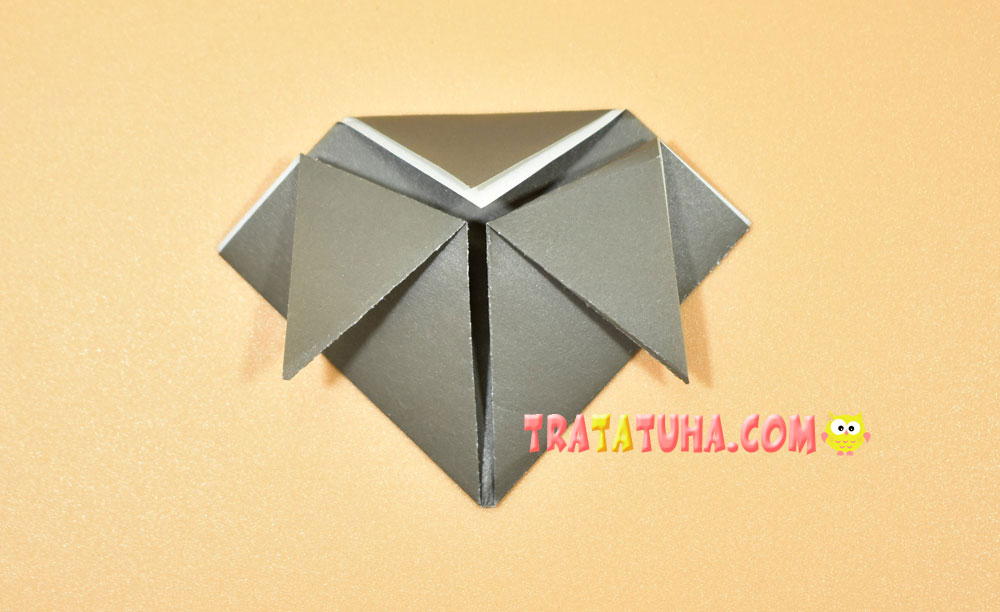
Turn over, changing the bottom with the top.
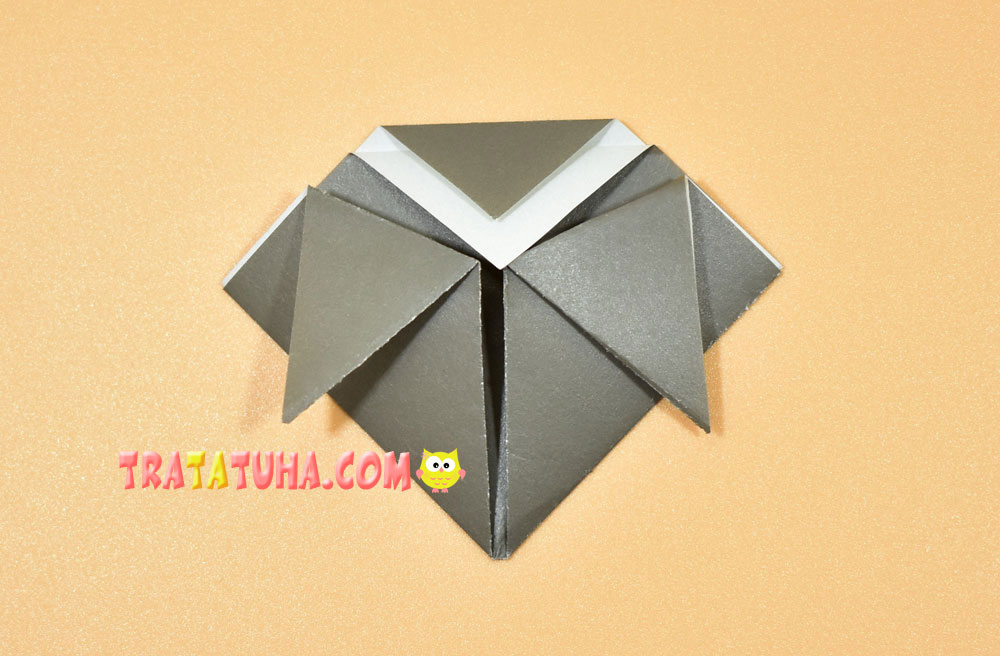
Bend both corners to the sides.

Bend the top double corner down.
Then fold back one layer of the corner.
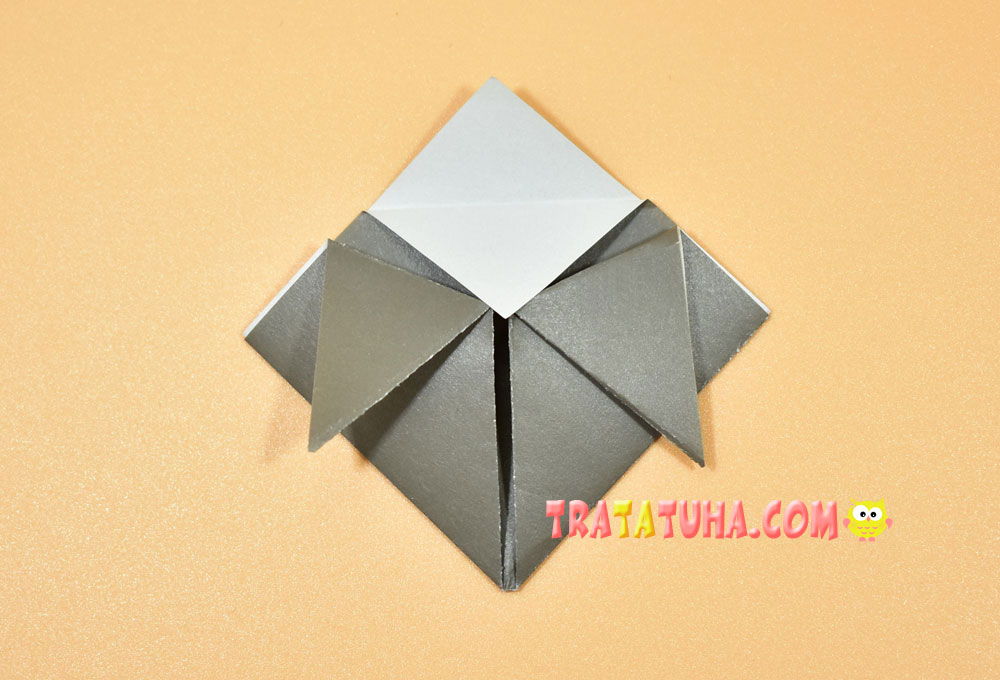
Then point it down again, but not to the very corner, but forming a light edging a little.
Bend inward the right side, grabbing the wing.
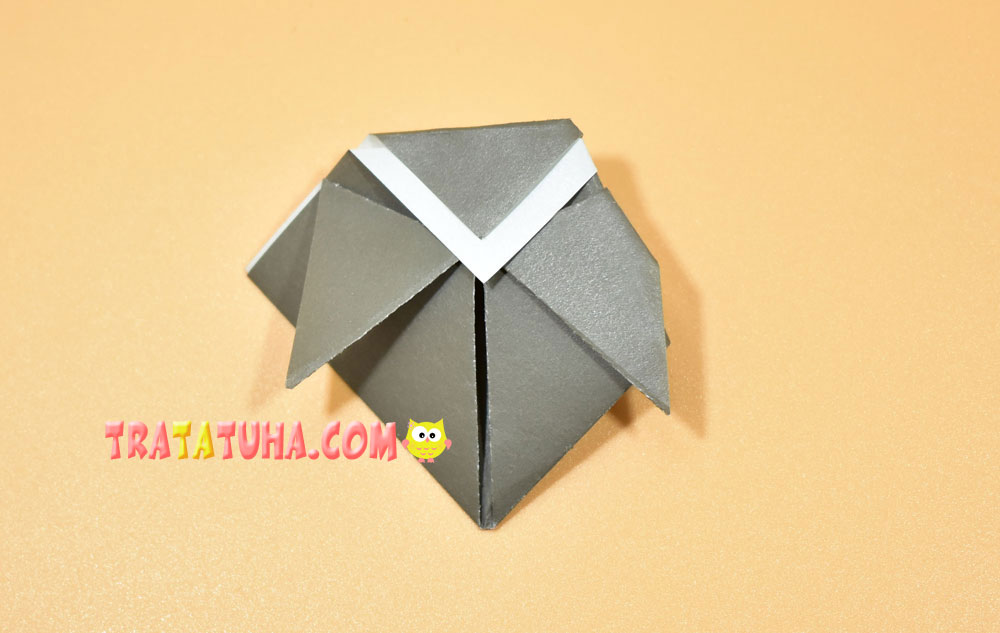
Then left. That’s it, the origami fly is ready. Optionally, draw or glue on her eyes.
Many other Insects Crafts for kids.
Crafts for Kids – learn how to make craft at home! Super cute crafts for all age groups!
Related Post: