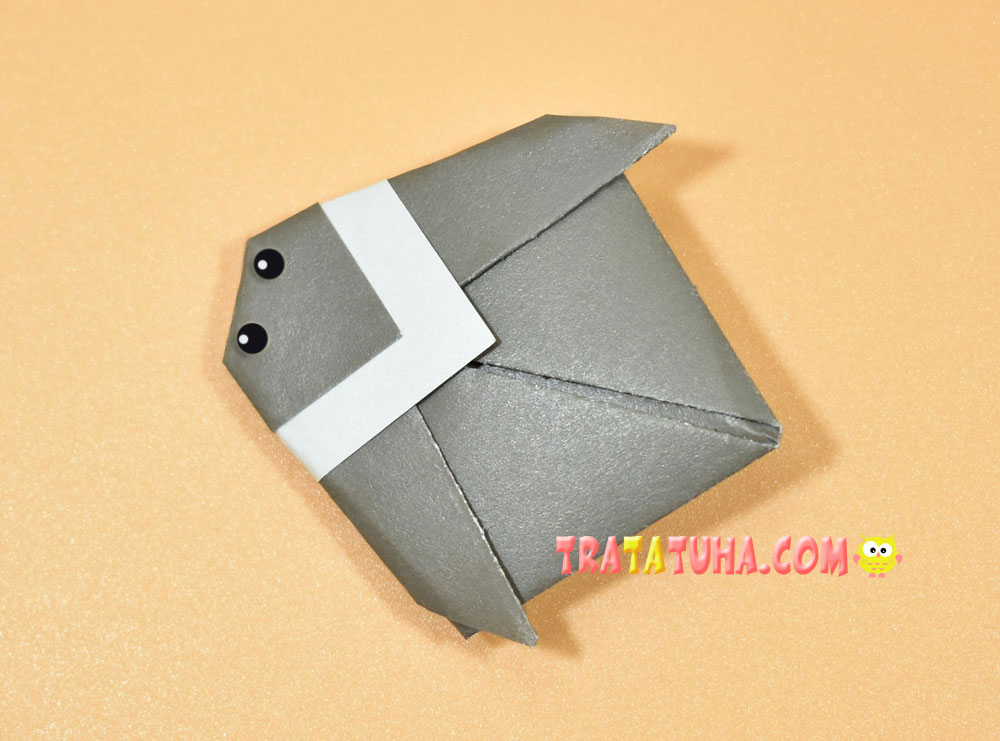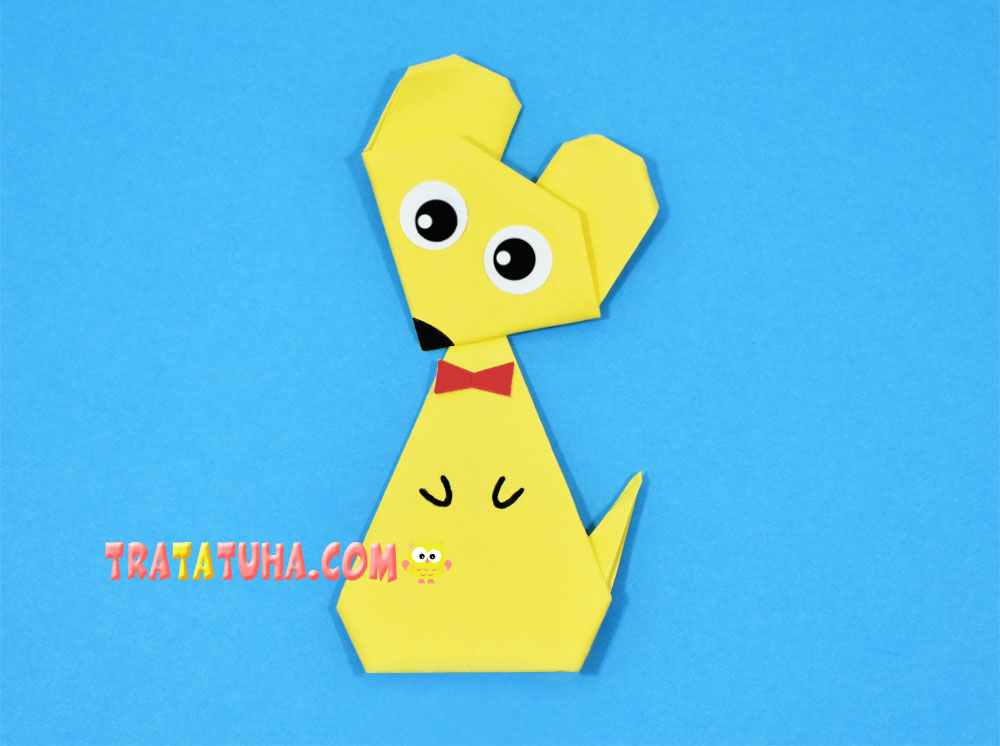
A cute origami mouse consists of two parts: a body and a head. They are added separately, but the actions are absolutely not complicated.
Materials for work:
- Two pieces of paper of the same size square shape (special origami paper);
- Black marker;
- Any eyes: homemade or purchased;
- If there is no special paper, then you will need a ruler and scissors.
Origami Mouse Step by Step
Folding our Heads
Prepare square-shaped paper of any desired size.

Fold in half, corner to corner.
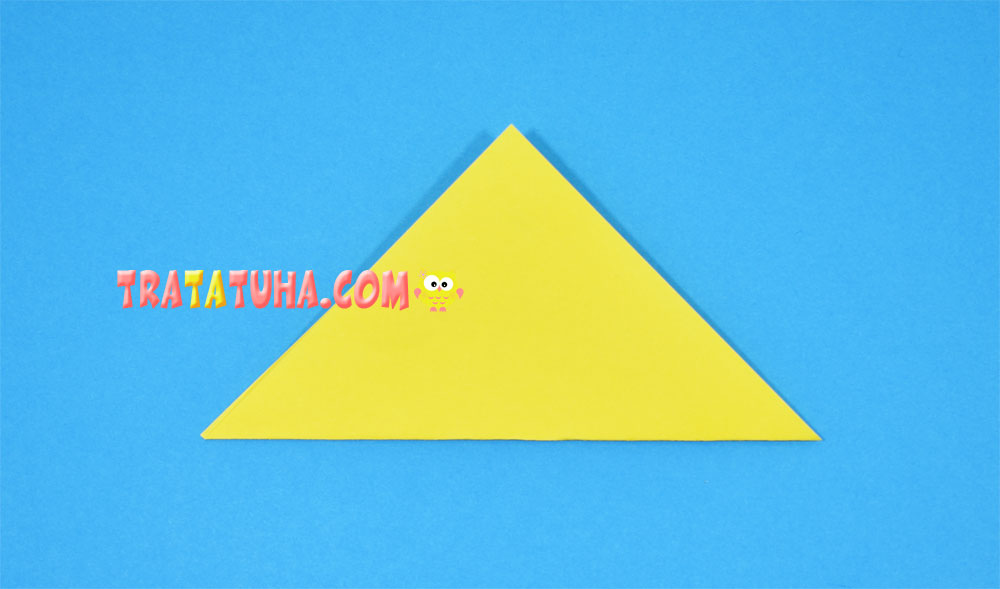
Fold the paper at the bottom, about half a triangle.

Lower the top corner to the level of the folded paper from below.

Lift the sides up and slightly space them so that there is a gap between them. These will be the ears of the mouse.
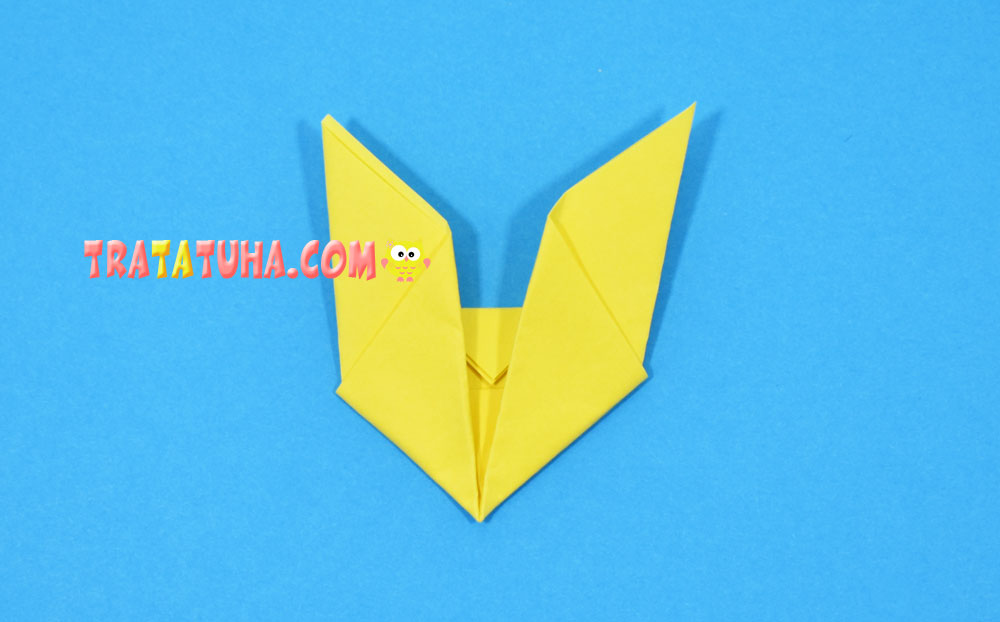
Pull their corners down.
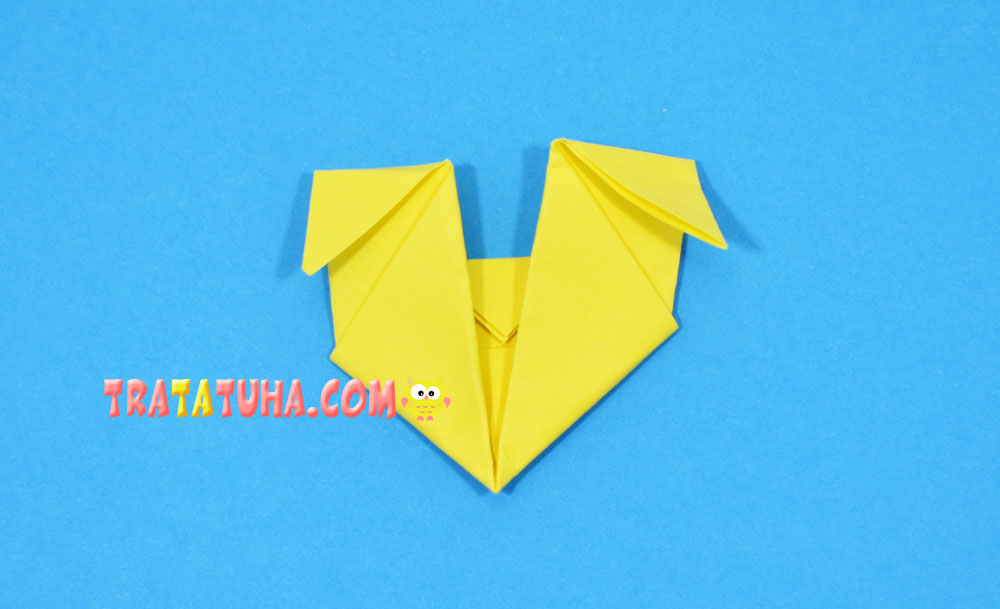
Bend 4 small corners to round the ears.
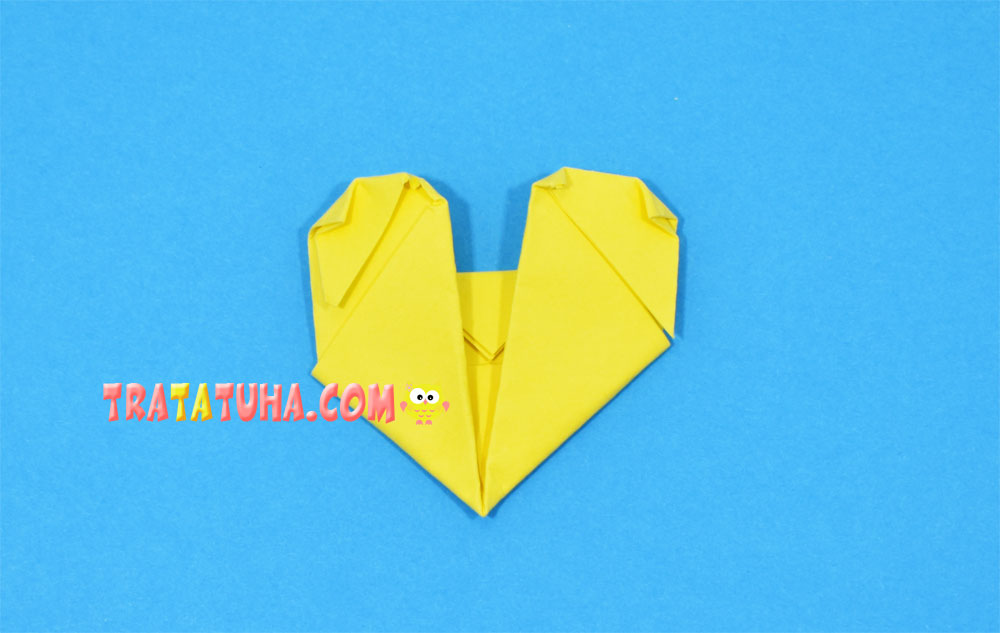
Flip over to the other side. The head is ready.
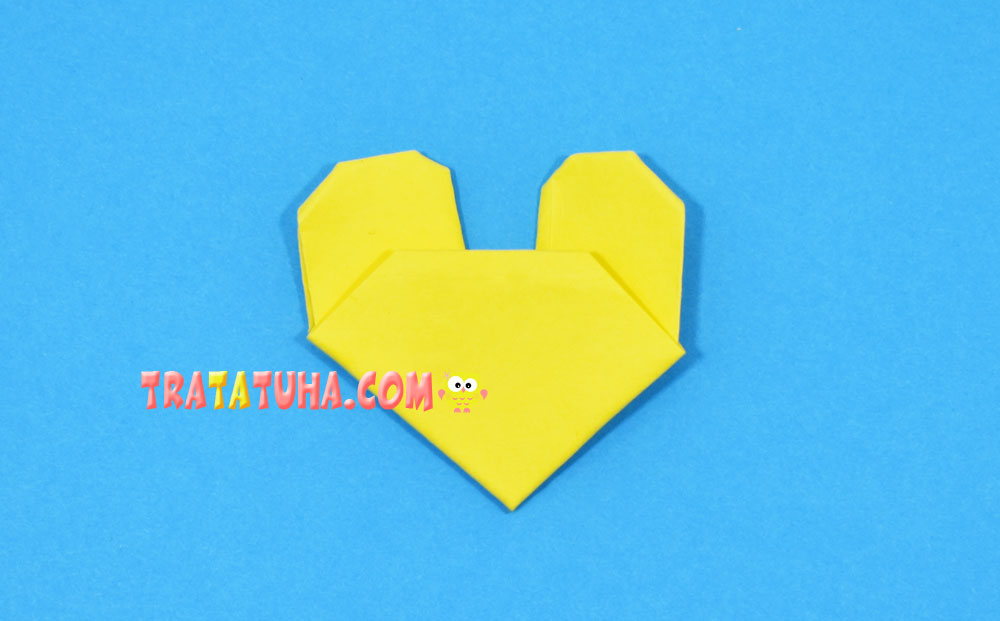
Origami Mouse — Body
Take another square of paper, the same size as the one used for the head.

Fold in half, joining opposite corners. With this we will outline the middle.

Open the paper and center the sides on the bottom, folding them towards each other.

Fold the sides over as well.

Fold the resulting rhombus in half.
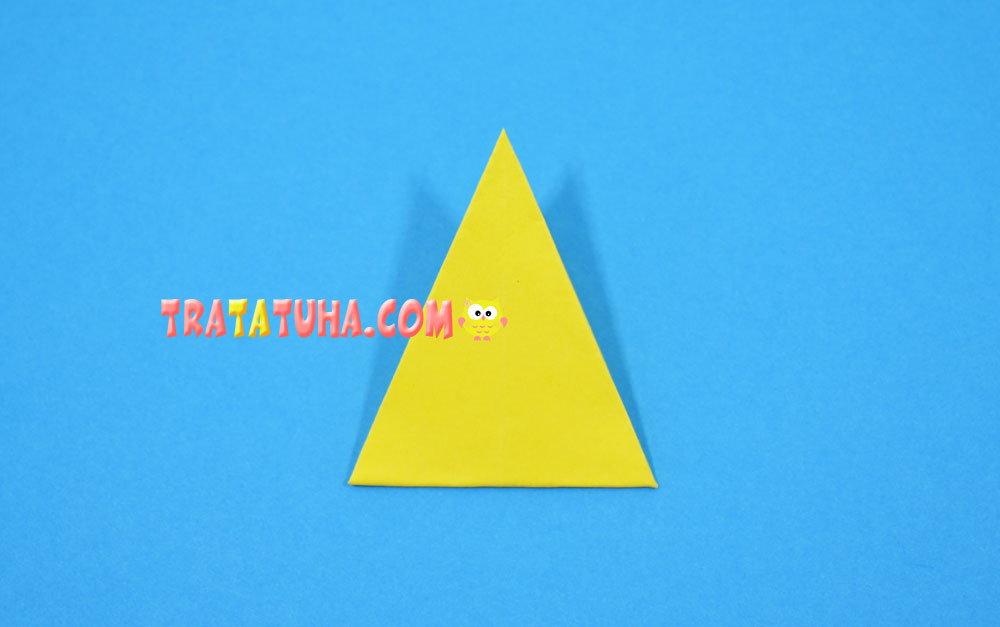
Bend the top to the side, aligning with the edge.
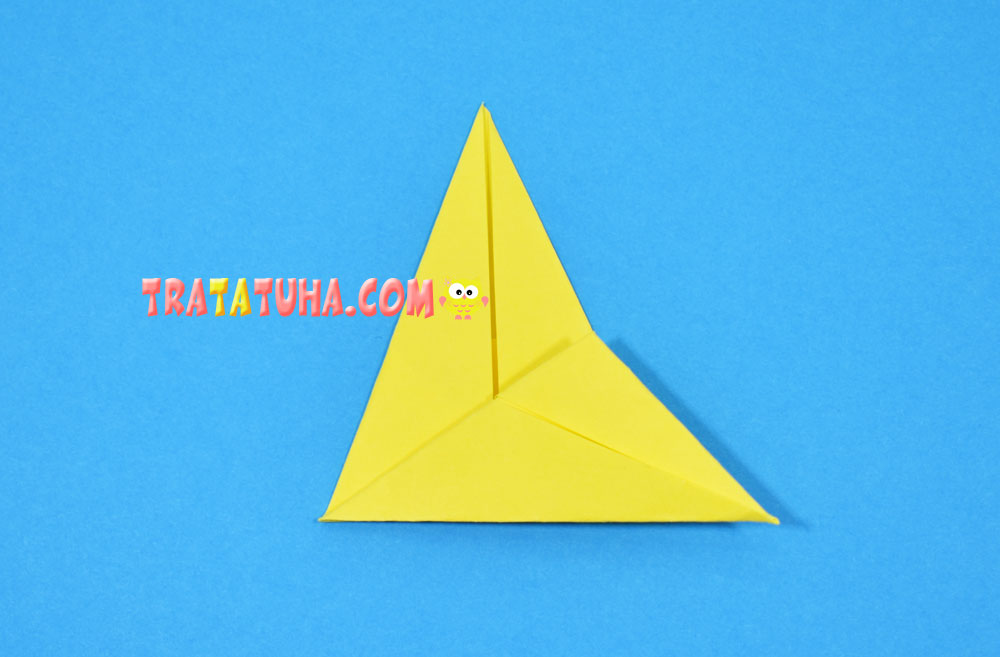
Then fold over to the other side.
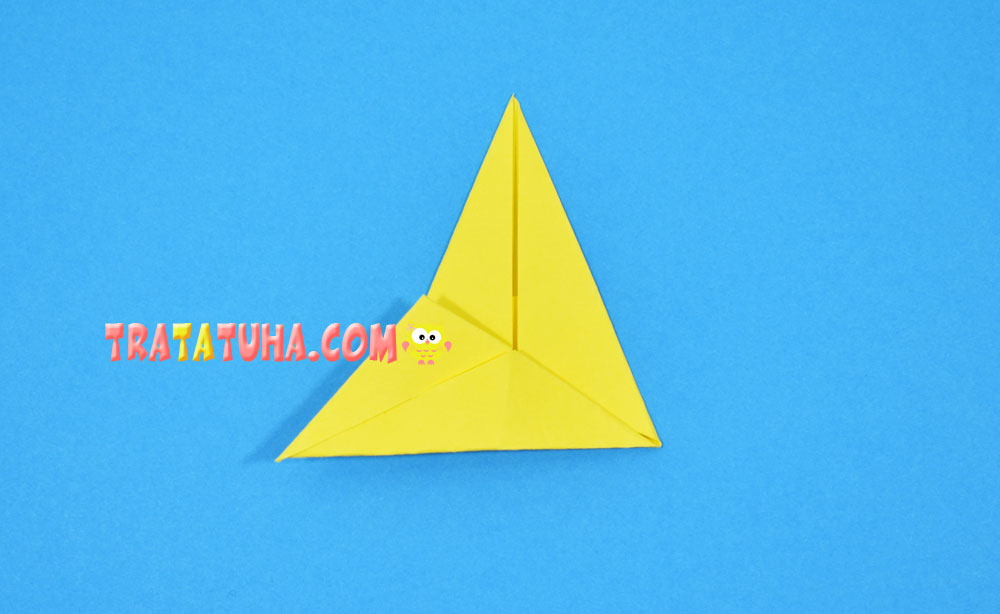
With this we will make the cross folds that we will need to create the tail of the mouse.
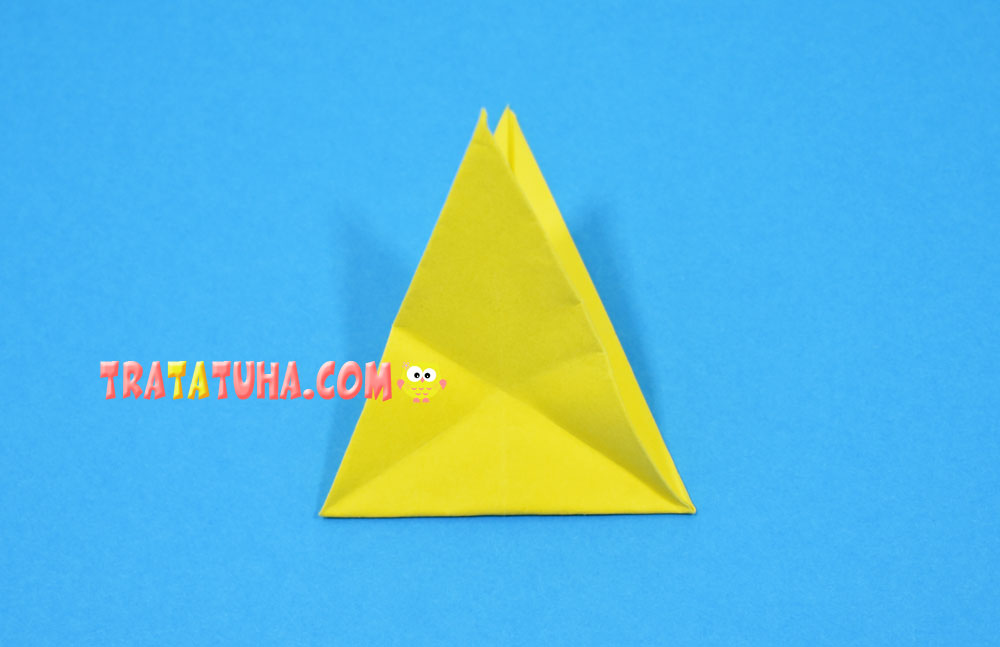
Close the parts of the tail and lower the sides down along the folds. The tail itself will stick out.
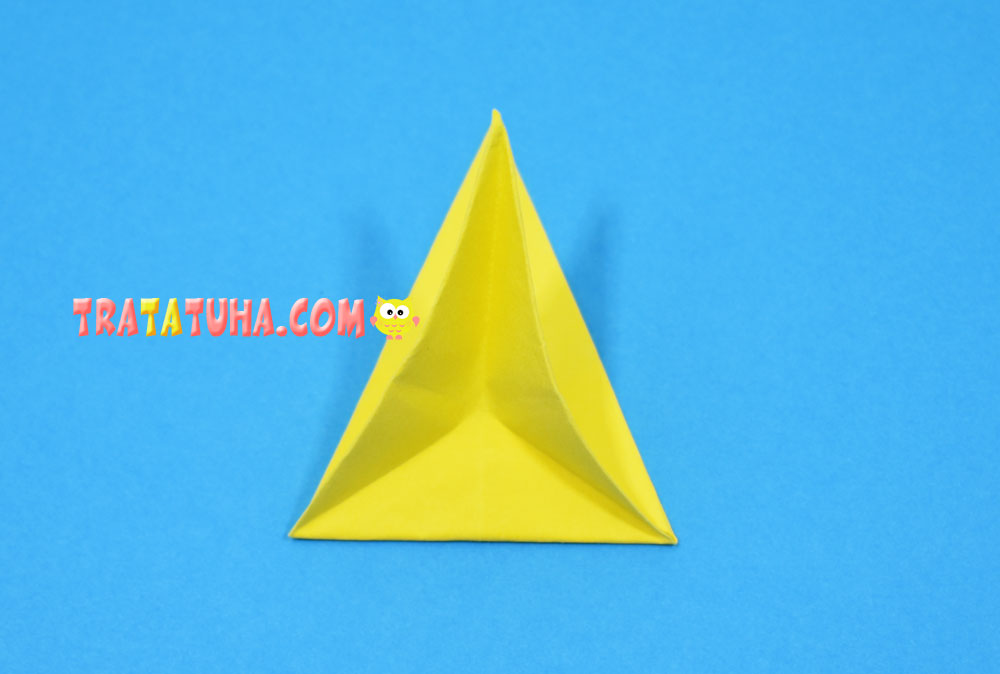
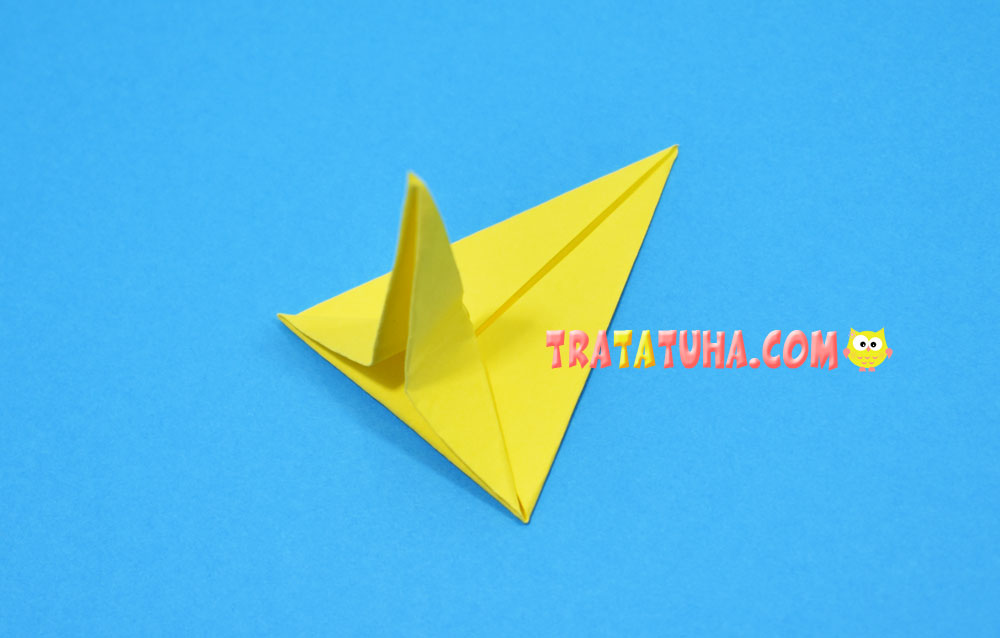
Bend it and point it to the left.

Flip over to the other side.
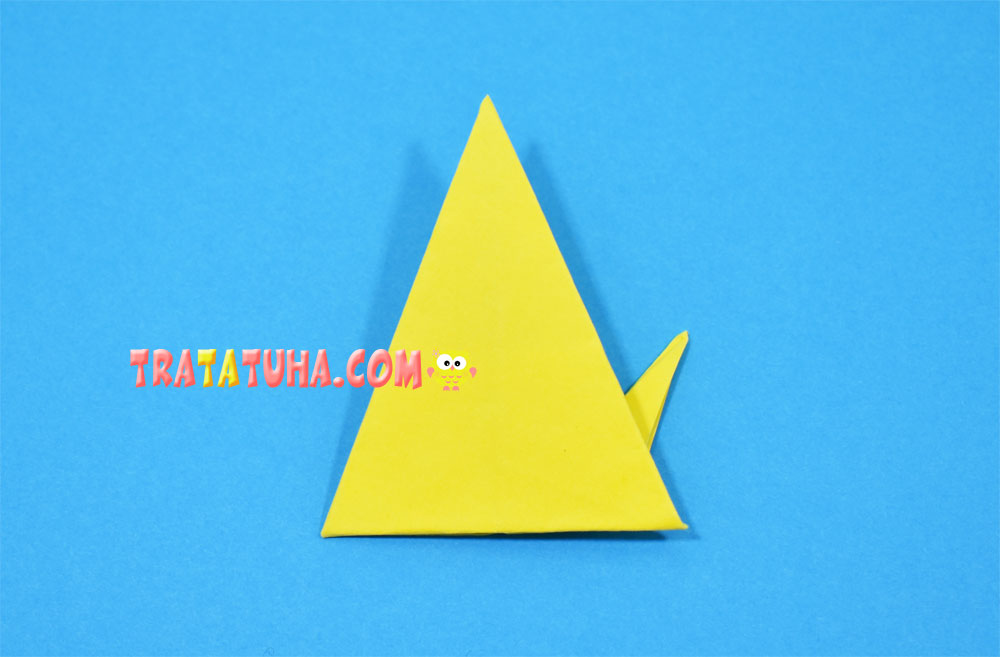
Bend back the bottom corners to round the resulting mouse body.

Glue the head to the body, add eyes, nose, paws. Everything, the origami mouse is ready.

See also other tutorial of Origami Animals.
Many other ideas in the collection of Paper Animals Craft.
Crafts for Kids – learn how to make craft at home! Super cute crafts for all age groups!
