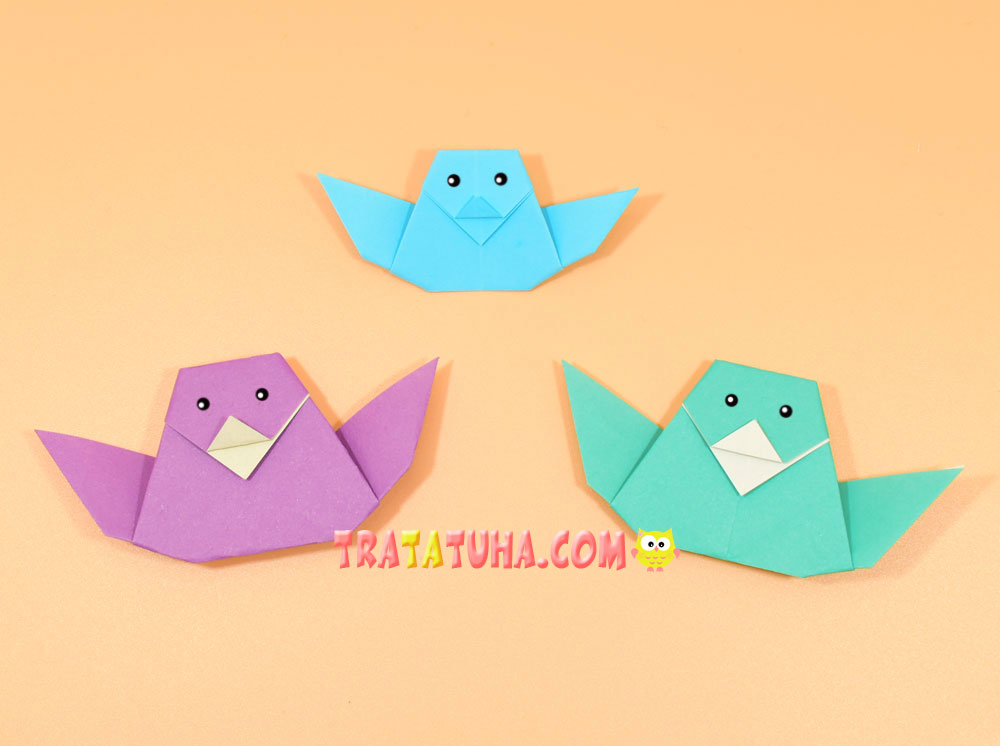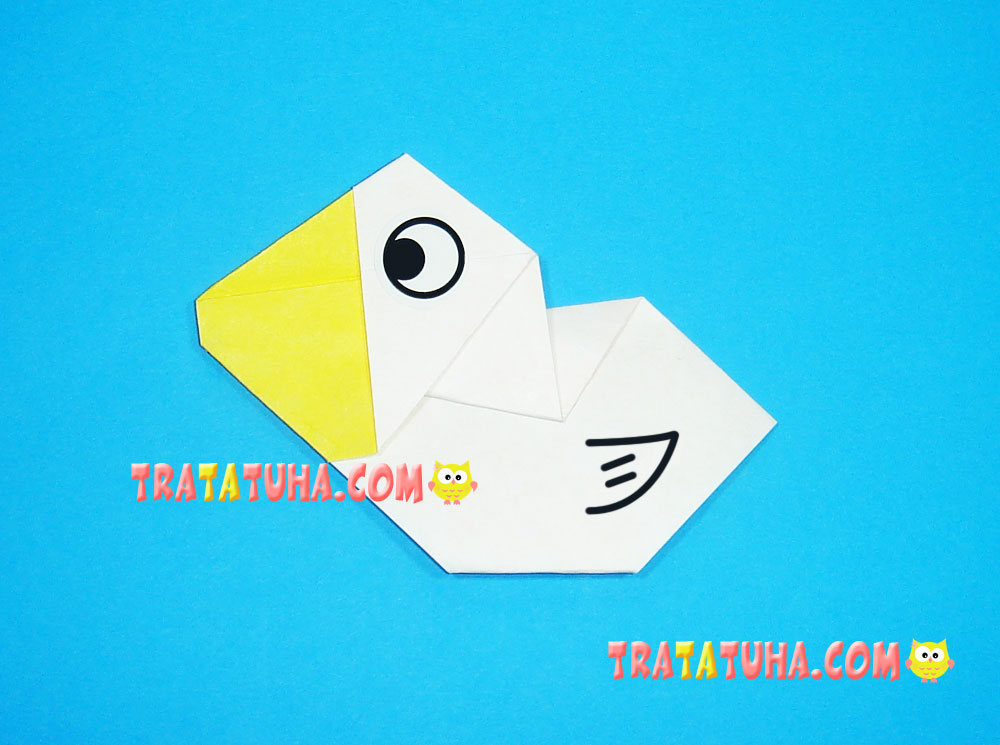
Origami pelican for kids from a one-sided piece of square-shaped paper. Or special origami paper.
Materials:
- One-sided origami paper (in this version, one side is yellow, the other is white). Thanks to this, there will be a distinction in color between the beak and the body of the bird. You can take white paper, and then simply paint the beak with yellow pencils or felt-tip pens.
- Sticky eyes;
- Black marker.
Origami Pelican Step by Step
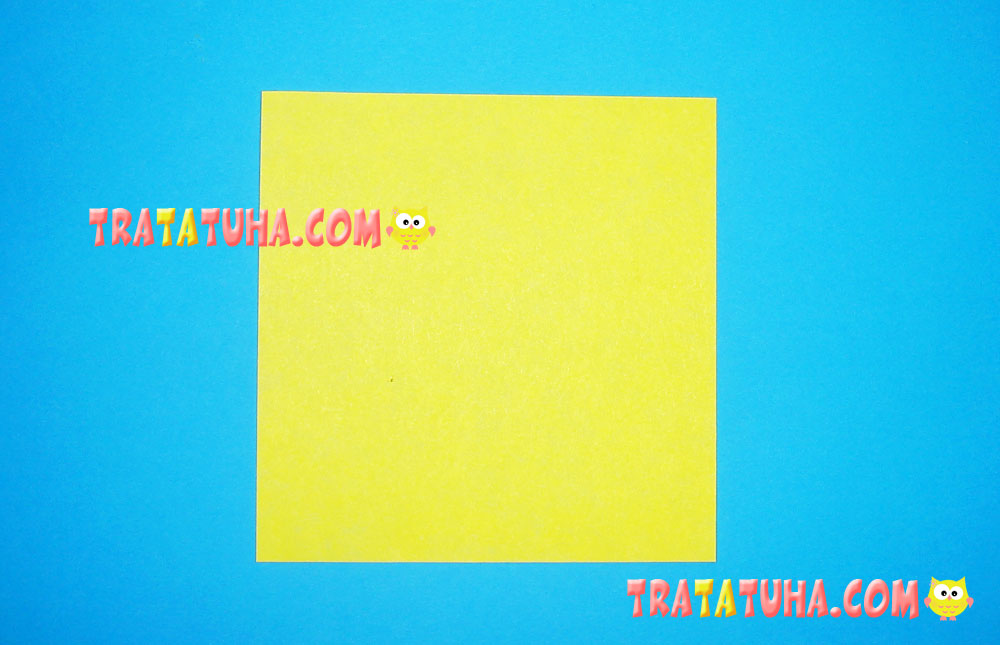
Prepare square paper of any size. Lay color up.
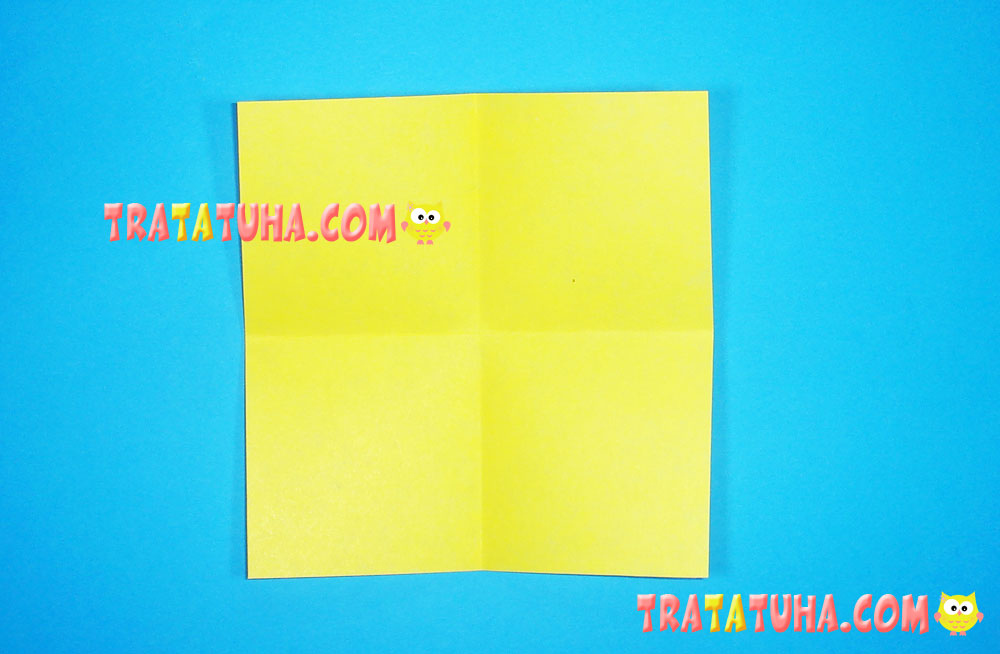
Fold in half, side to side, to make a rectangle. As you can see in the photo, the white color is now on top.

Open the paper and fold in half around the other two sides.
You should get two cross folds.
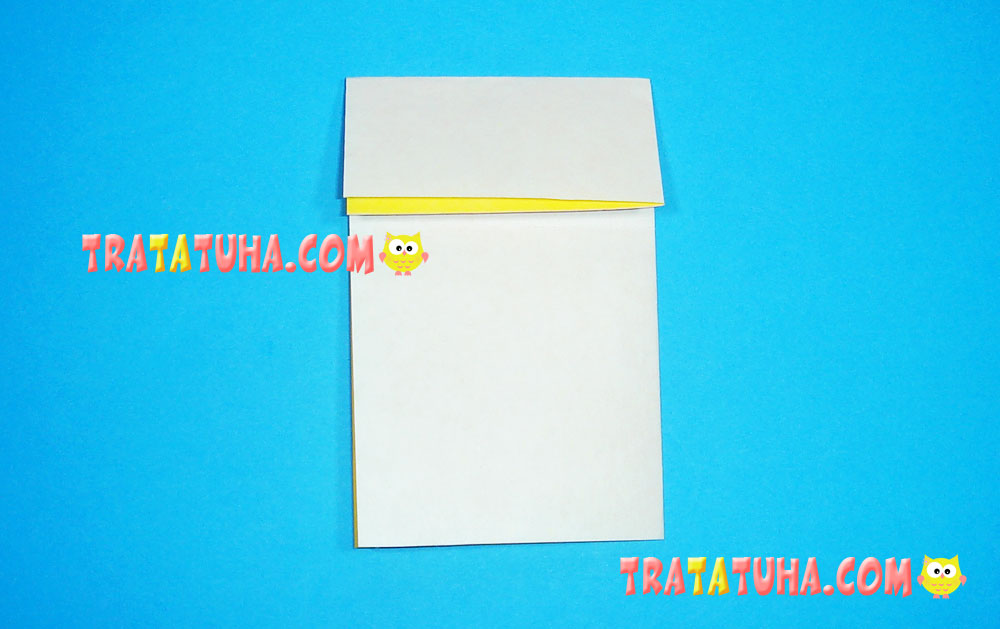
Fold the paper in half from right to left.

From above, bend down a small part of the paper, make a fold.
Bend the right corner of the fold up and align with the top edge of the rectangle.
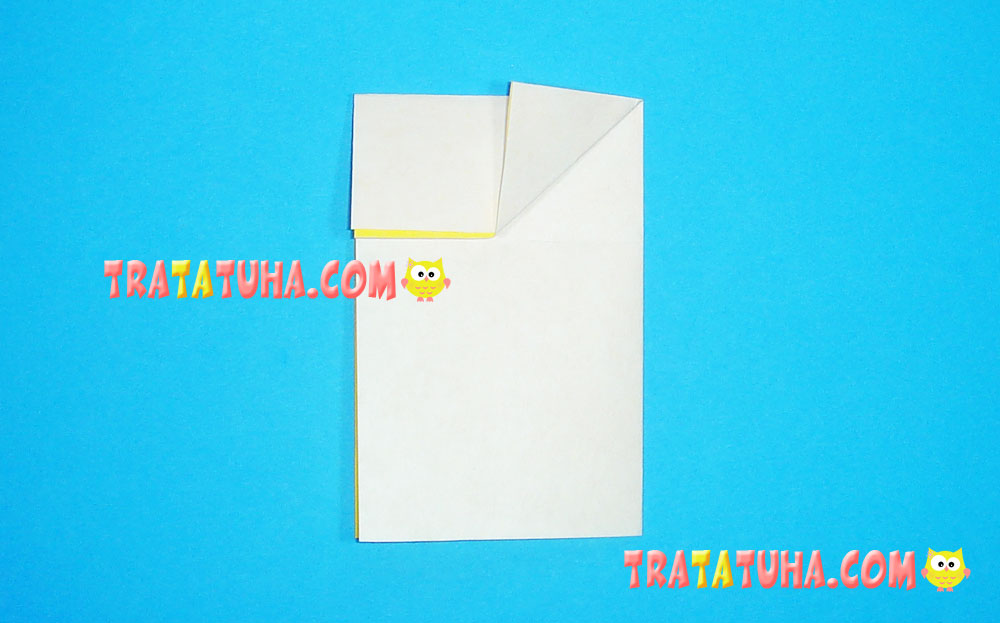
Lift up one part of the left corner so that you get a pocket on the right.

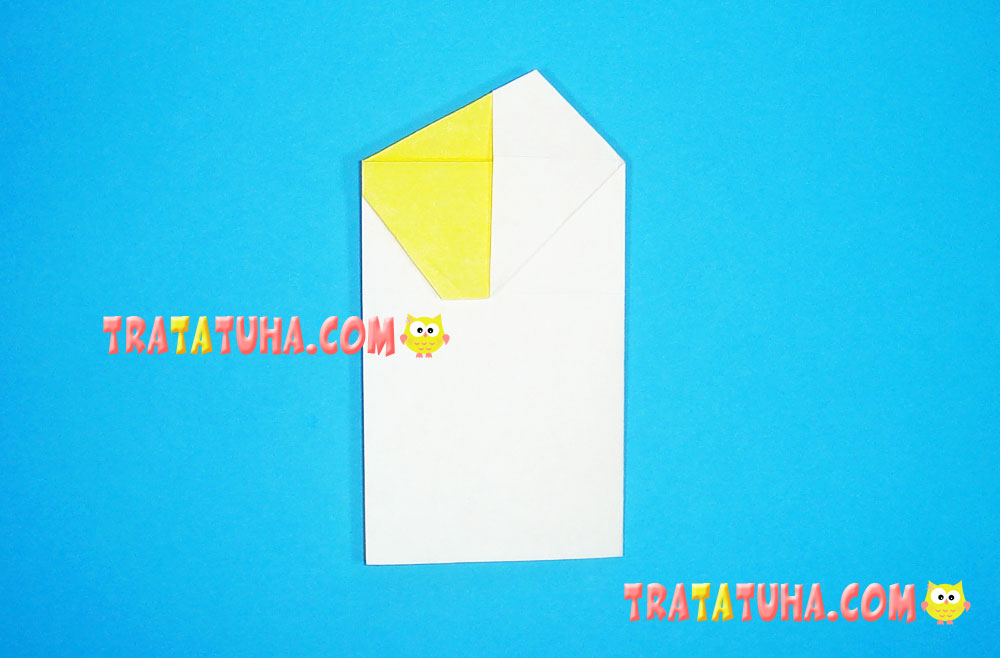
Bend the top corner back.

Finish off the pelican’s beak by folding the bottom corner of the yellow section down.
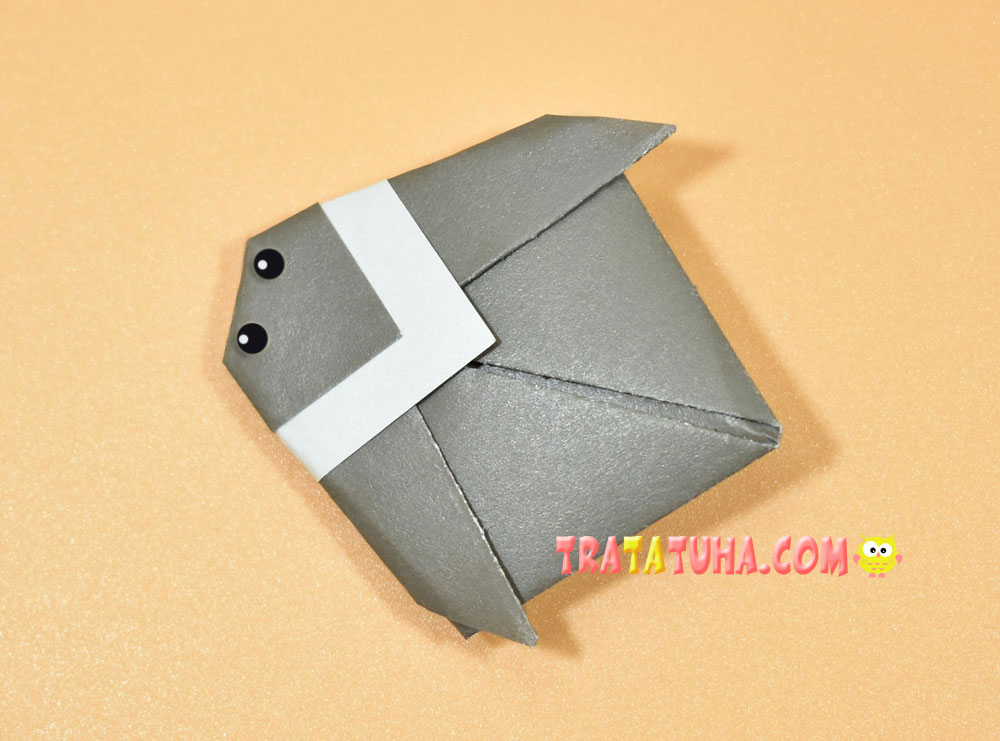
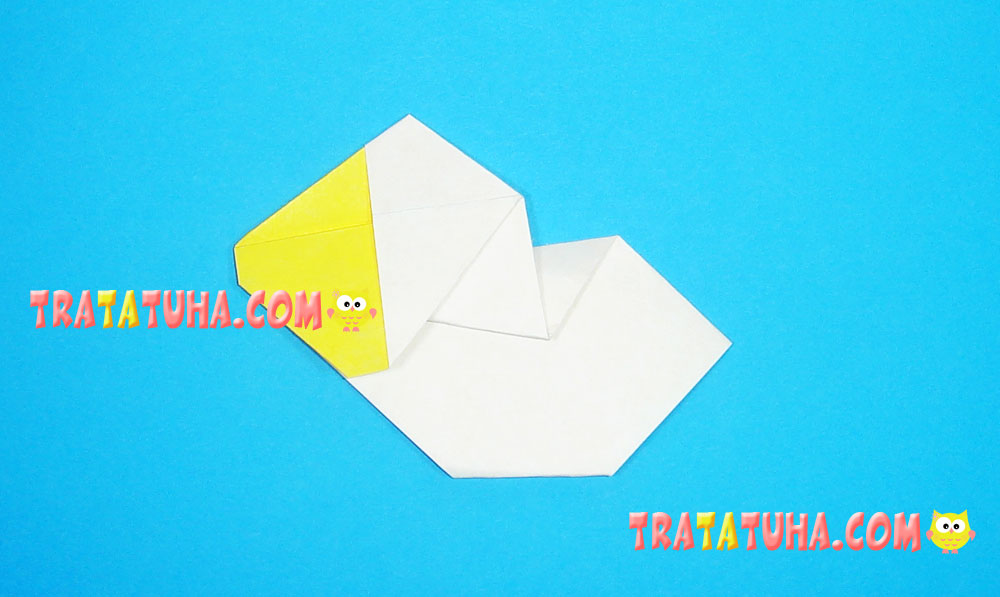
Here is perhaps the most difficult part for children to create an origami pelican. Since you need to bend the head in a manner characteristic of a bird, at the same time align the beak on the left side, and make a fold on the right side.

Adjust the torso by folding the lower sharp corner back.
Glue sticky eyes or homemade paper ones, as an option – draw them with a felt-tip pen. Also draw a small wing. That’s it, the origami pelican is complete.
See more ideas about origami birds.
Birds Paper – art and craft ideas for all ages.
Crafts for Kids – learn how to make craft at home! Super cute crafts for all age groups!
Related Post: