Easy origami penguin for kids step by step. An easy way to make a paper penguin. Origami for beginners.
What will be needed for work?
- Colored paper. It is desirable that the sides are of different colors to highlight the tummy;
- Glue, scissors, paper or other eyes.
Origami Penguin for Kids Step by Step
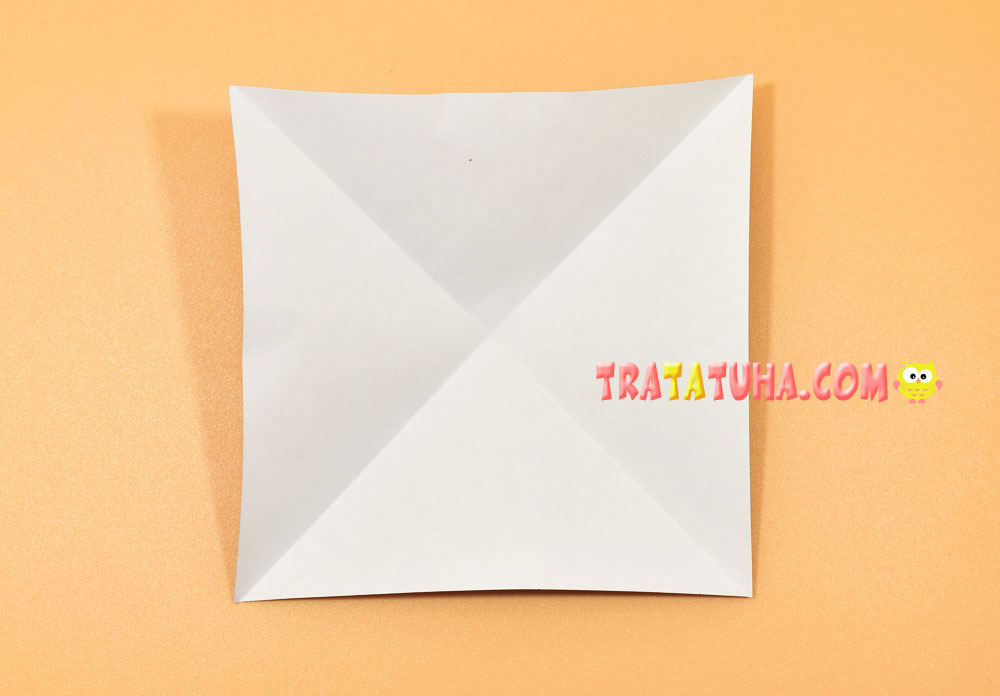
The work uses origami paper in the shape of a square, in which one side is blue and the other is white.

Make cross folds on the paper area. Fold opposite corners, turning the square into a triangle.

Open and fold again, but for the other two corners. Cross bastings for further work are ready.
Open the paper, turn the color side towards you and point the bottom corner up, aligning it with the center fold. As you can see in the photo, the corner does not reach the opposite corner a little, leaving a small distance. Its dimensions are arbitrary, there are no exact calculations.

Fold the corner of the top layer down.

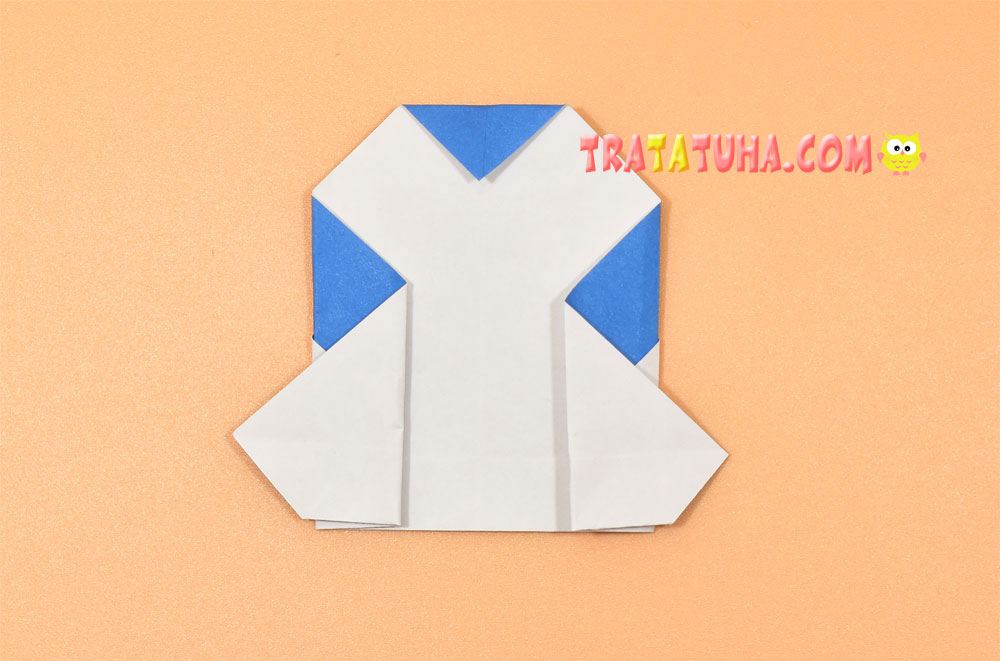
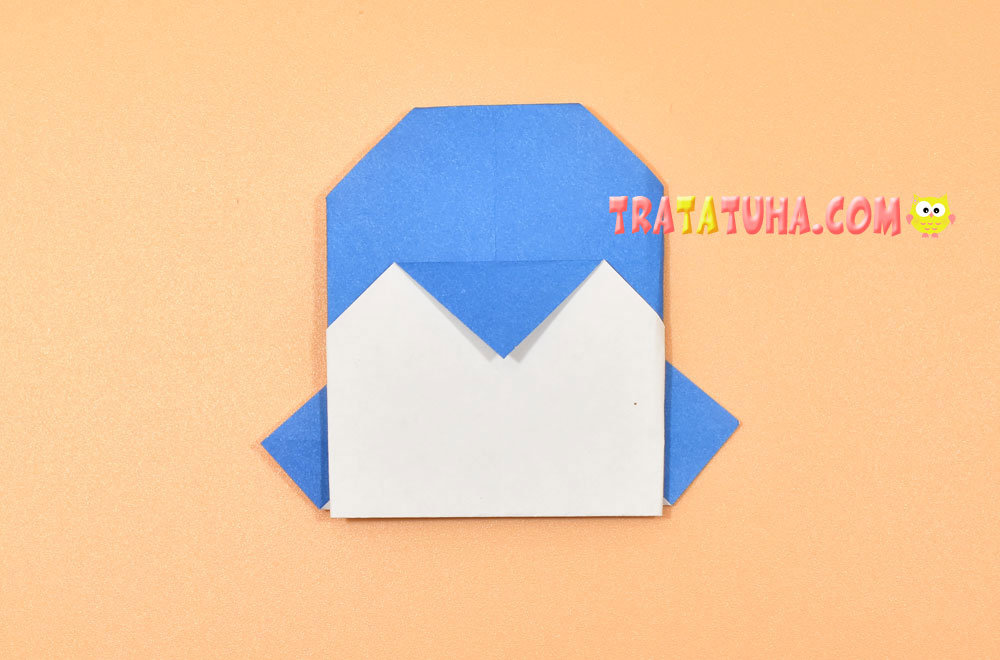
Flip over to the other side. Point the right side to the left, its tip should go over the fold in the middle.

Then, leaving a small crease, fold the right side back.

Do the same with the left side, trying to make it symmetrical with the right. Fold to the right.

Then through the crease to the left.

From above, lower down a small part of the corner.
Flip over to the other side.
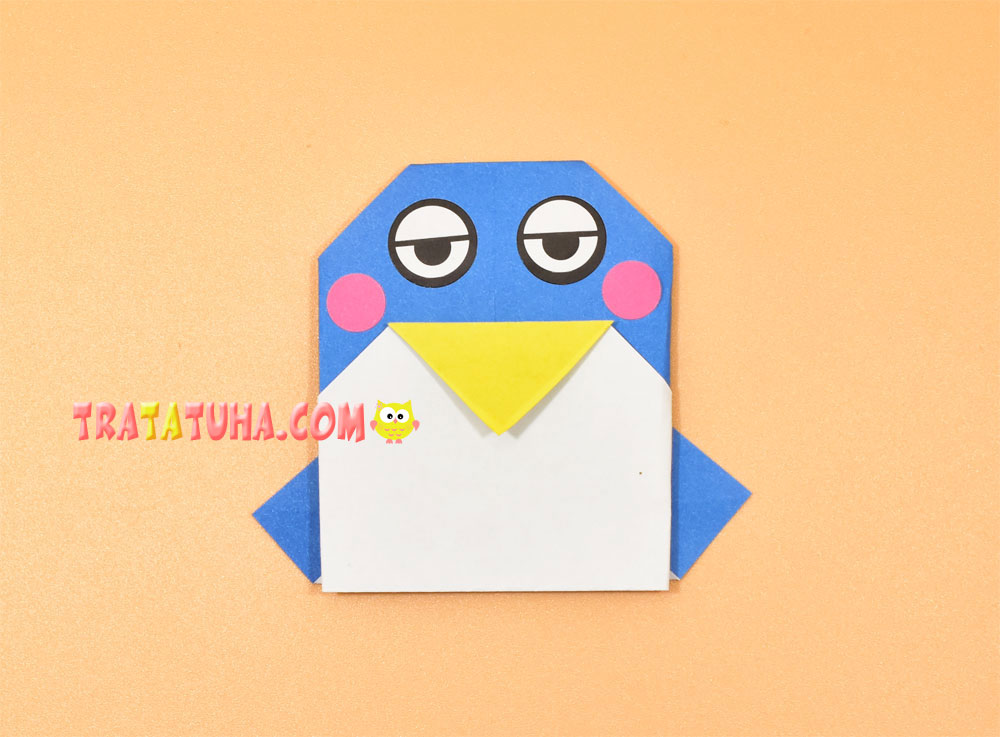
The origami penguin for kids is almost ready. It remains to add eyes to him, if desired – glue a triangle on the beak, making it yellow, decorate with circles of blush.
See more ideas about origami birds.
Birds Paper – art and craft ideas for all ages.
Crafts for Kids – learn how to make craft at home! Super cute crafts for all age groups!
Related Post: