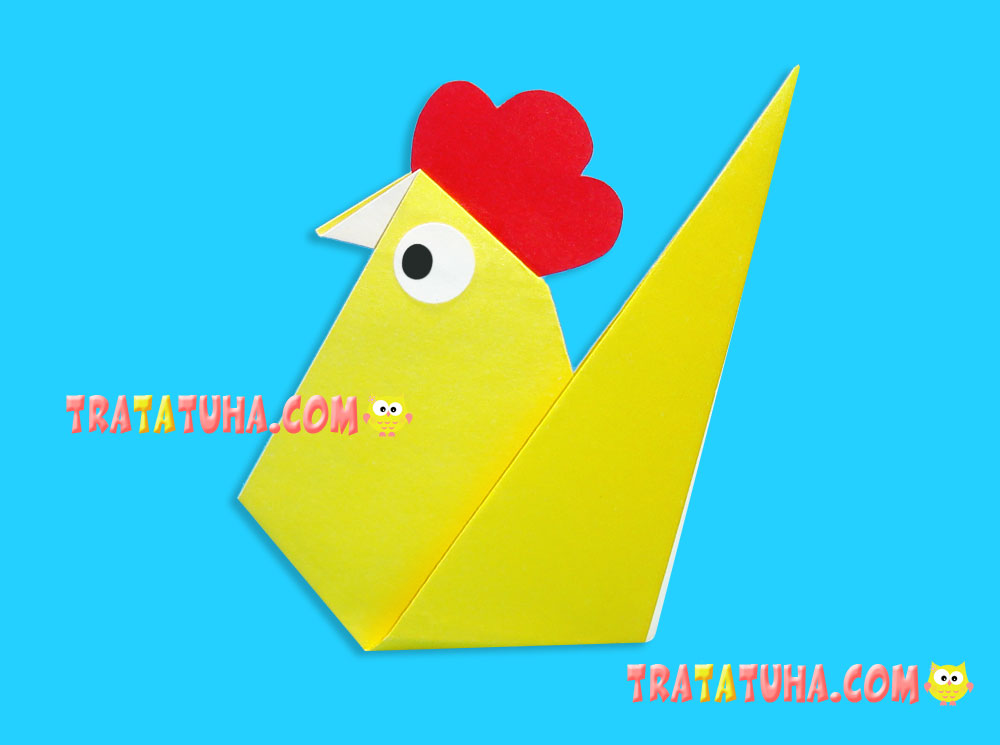
Easy origami rooster for kids with step by step photo tutorial. All activities are easy, accessible for preschool children.
What to prepare for work:
- Colored paper or special for origami. In this work, one-sided is used, but it can also be double-sided, just the beak will be the same color as the cockerel itself;
- Some red paper or cardboard for the comb;
- White paper for the eyes, or moving sticky eyes. Alternatively, the eyes can be drawn with a felt-tip pen.
Origami Rooster for Beginners: Paper Folding Steps
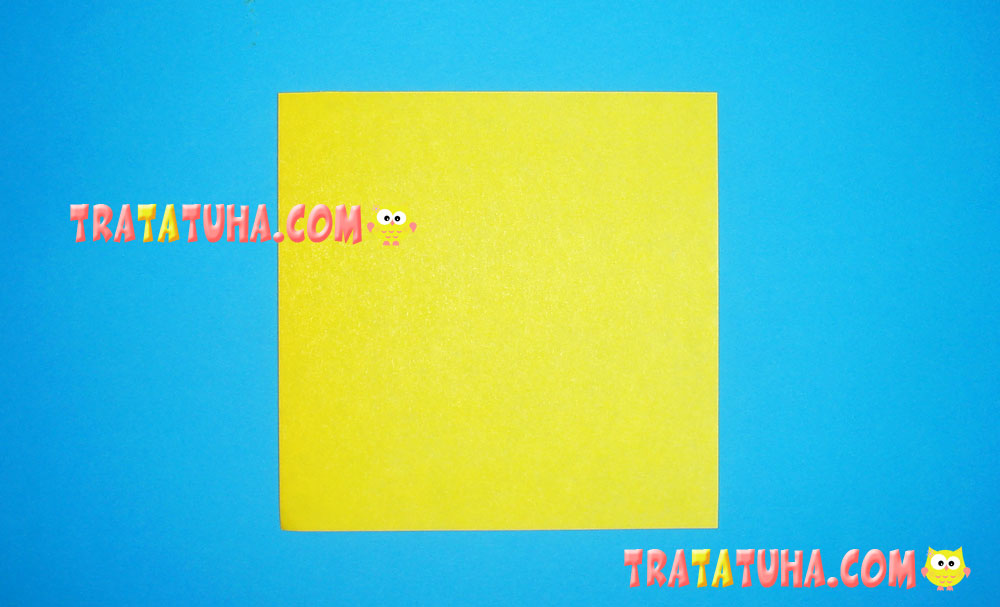
Prepare square paper of any size.
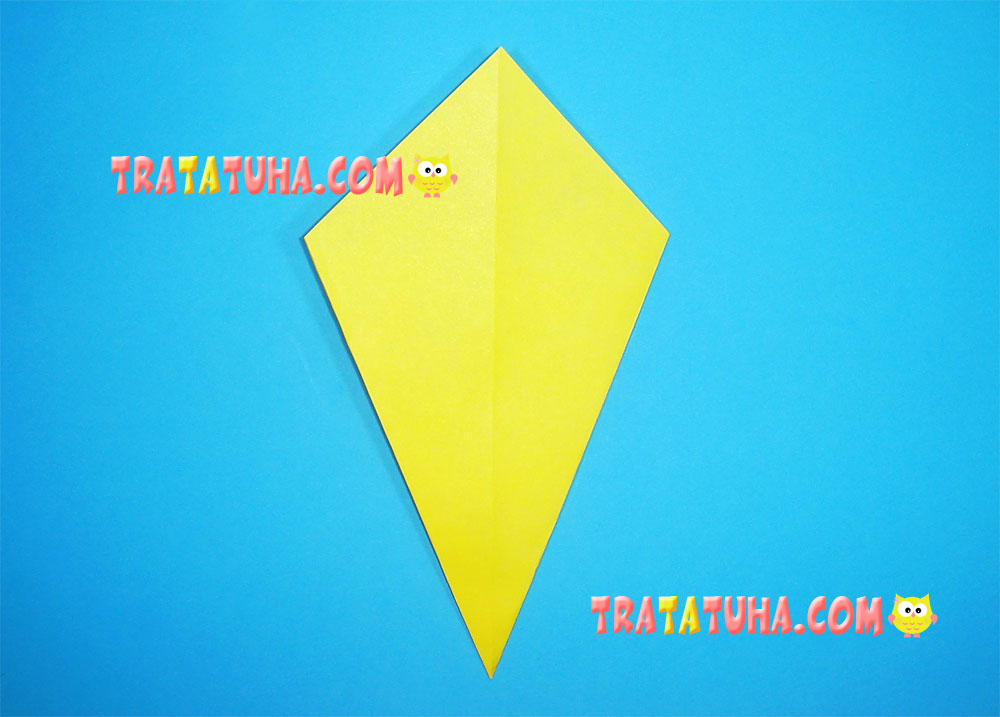
Fold in half, connecting opposite corners. This step is needed in order to designate a line in the center along which the sides of the paper will need to be aligned.
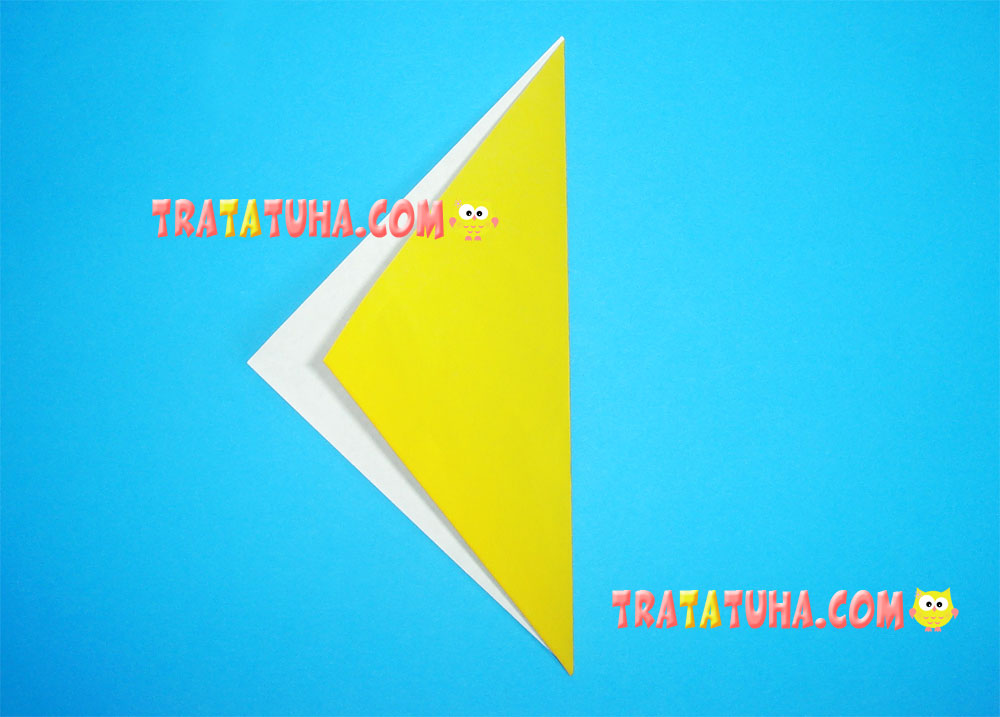
Open the paper triangle and point the sides inward so that they are on the fold line. For convenience, you can bend the sides from below.

Flip the piece over to the other side.
Connect the bottom sharp corner to the top. Smooth out the fold.
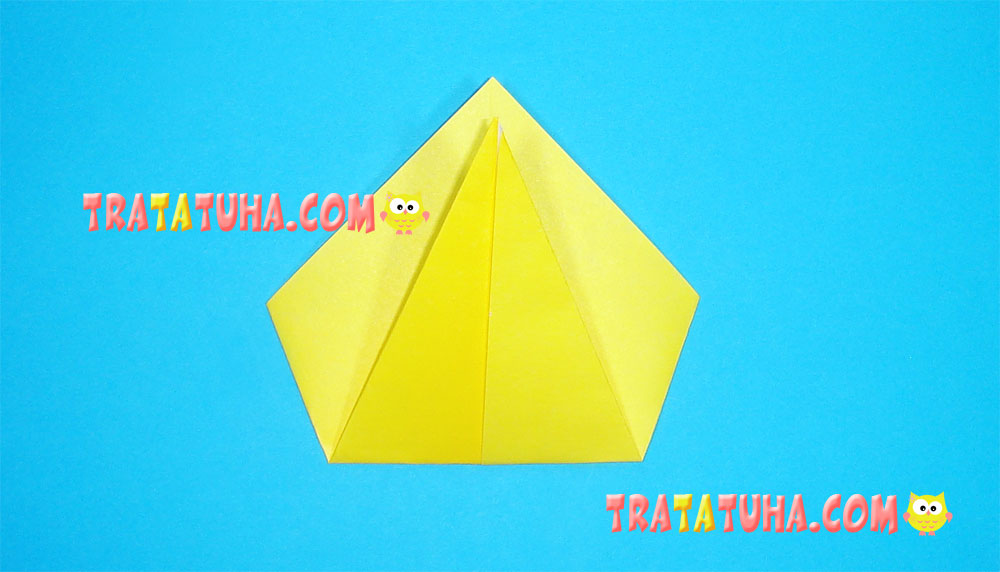
Flip the paper over again.
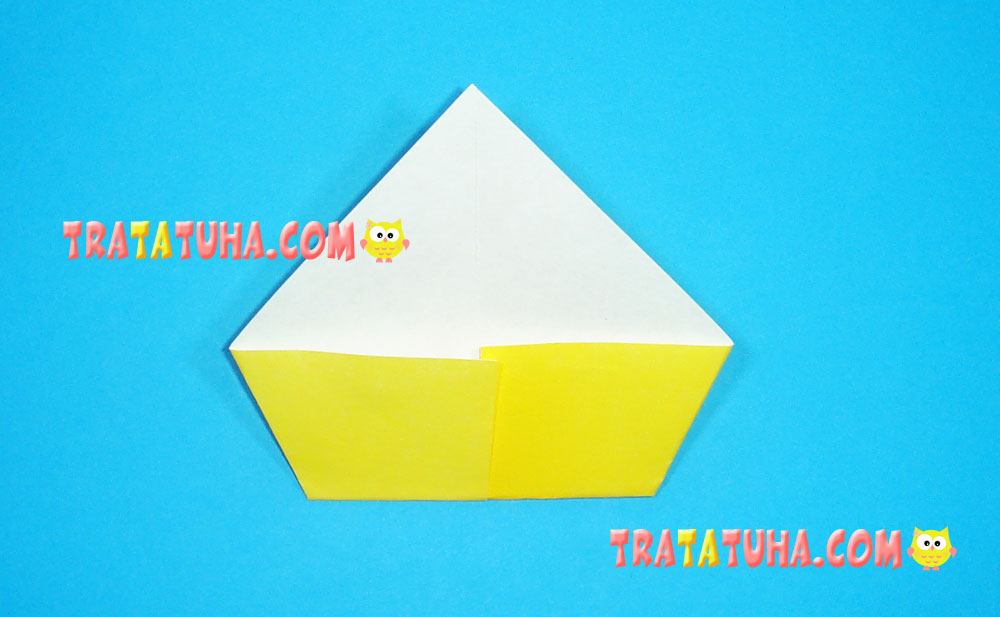
And then fold it in half.

Gently pull the corner on the right to make an origami rooster tail.
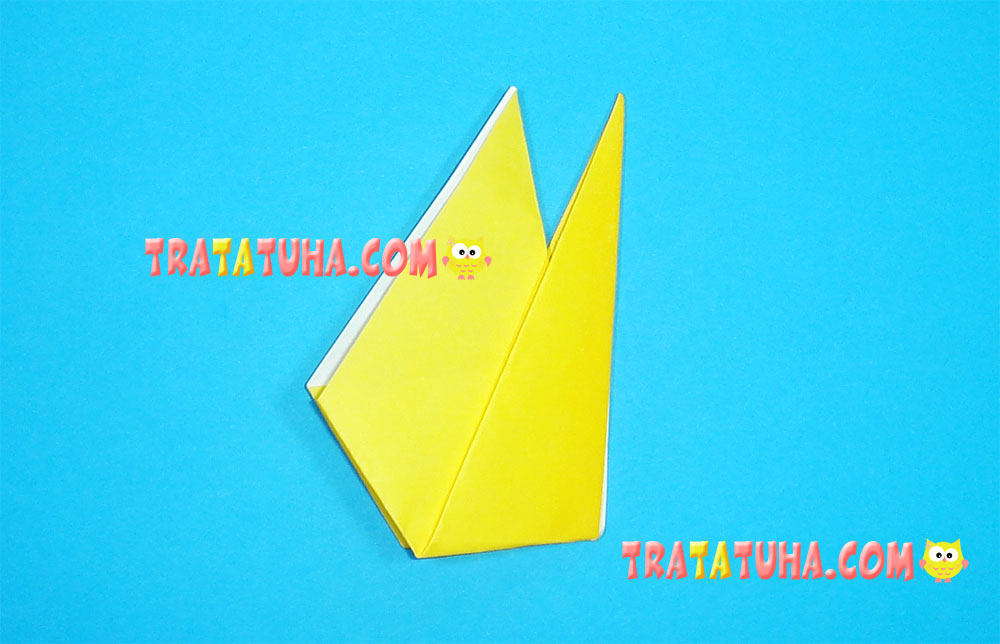
Bend the upper first corner, and then redirect a small part of the corner inward to make a beak.

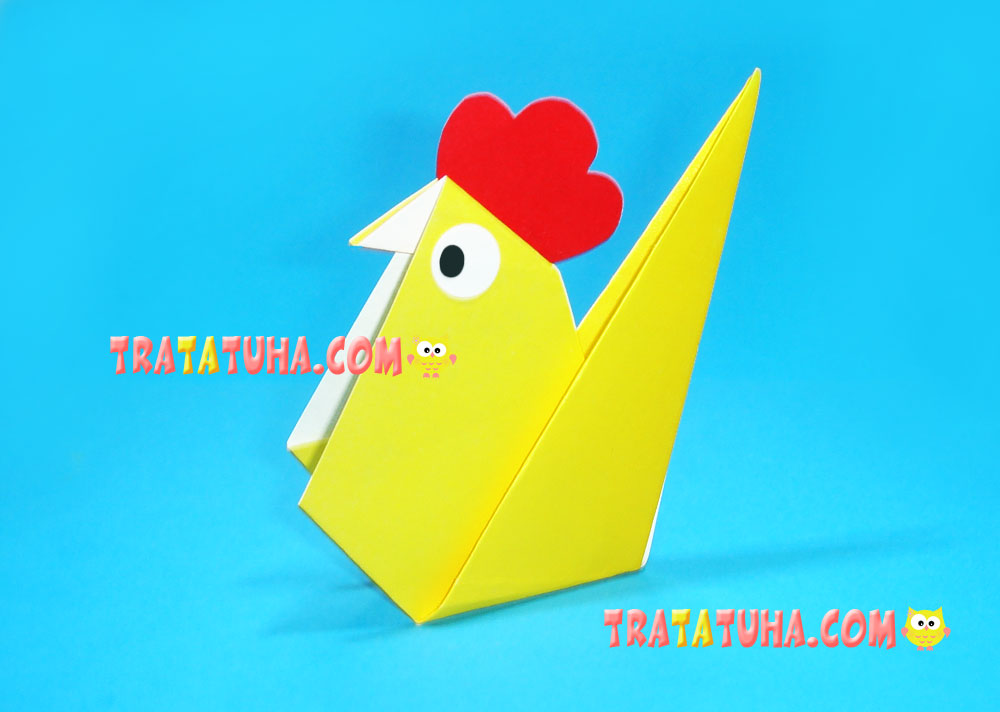
From red paper or cardboard, cut out a scallop of any shape and glue it to the top of the bird. Add eyes, and you get such a colorful origami rooster.
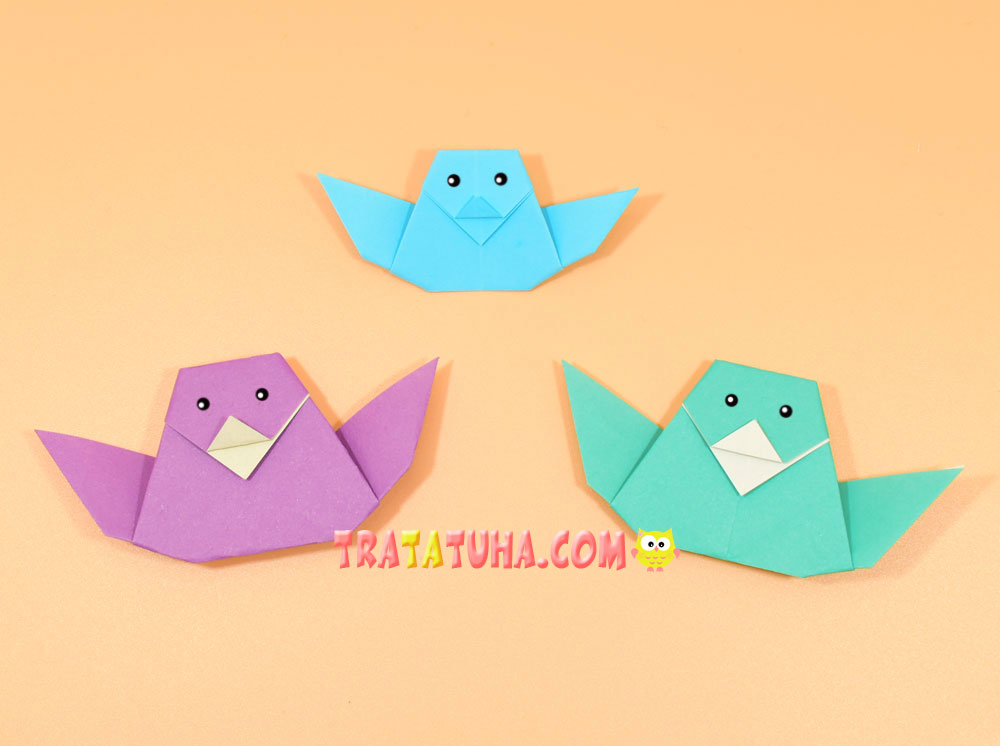
See more ideas about origami birds.
Birds Paper – art and craft ideas for all ages.
Crafts for Kids – learn how to make craft at home! Super cute crafts for all age groups!
Related Post: