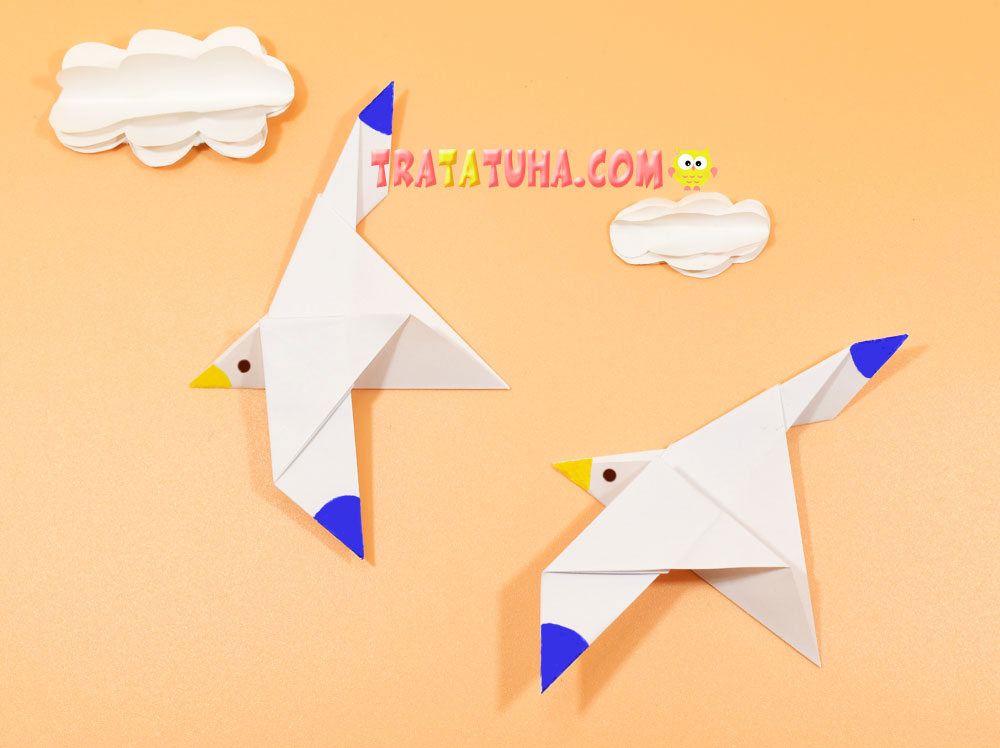
Easy origami seagull step by step. Photo review of how to make a seagull out of paper quickly and easily. An excellent option for creating applications, compositions on a marine theme.
What do you need to be creative?
- White paper;
- Blue, yellow and brown markers.
Origami Seagull Step by Step
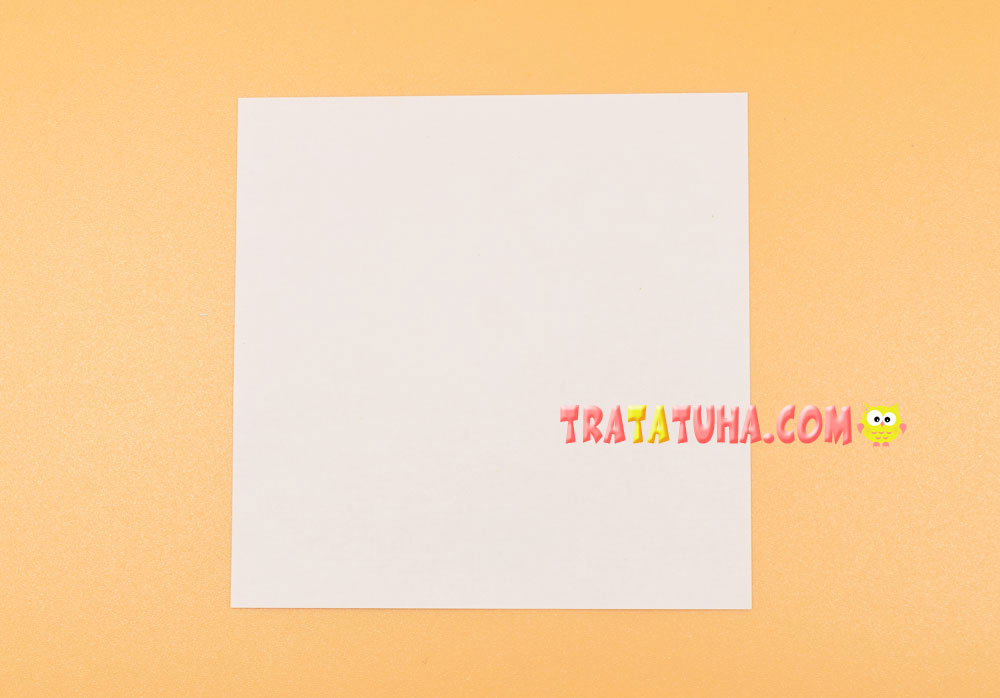
Prepare a piece of white paper in the shape of a square. Size at your own discretion.
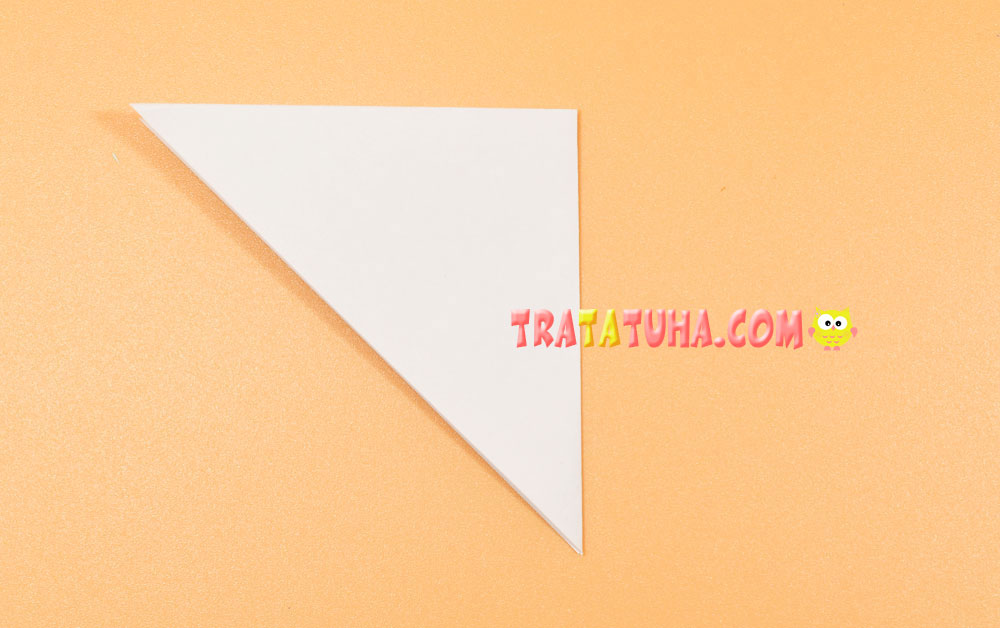
Fold the square into a triangle by connecting the corners.

Now fold the resulting triangle in half, making it a smaller version.
Open the small triangle to its larger counterpart and fold up the bottom corner to the very edge at the top. With this step, we determined the middle and outlined the fold we needed.

Open the paper and now fold the bottom side to the resulting fold.


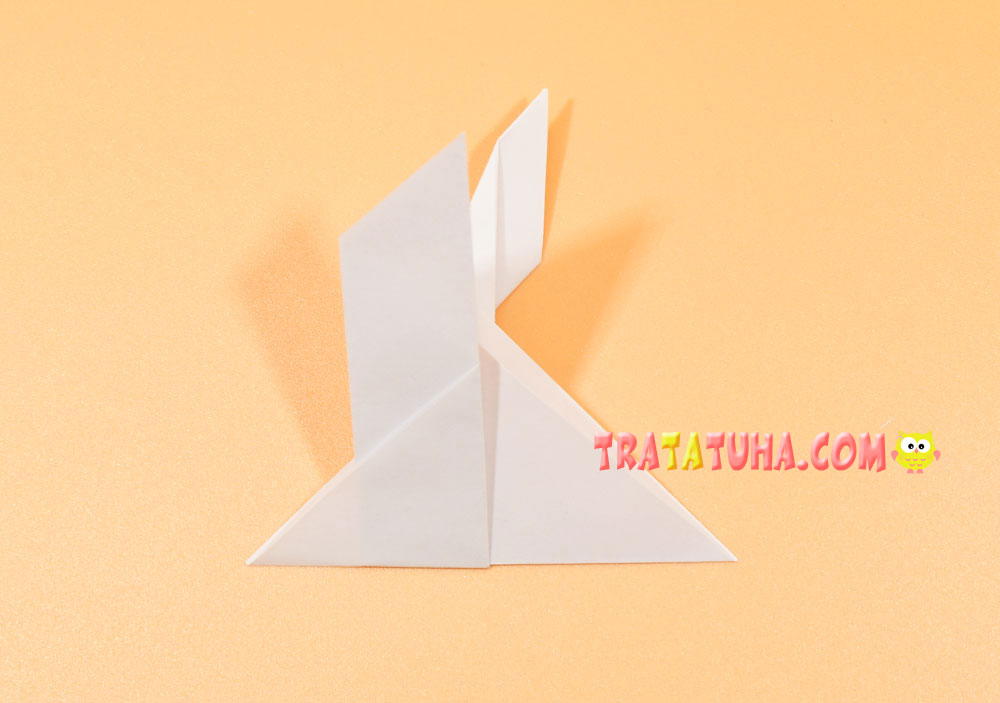
Pull the corner at the top and point one part of it down. In the center of our part, we have a square.

Bend the right side up, aligning with the side of the square.

Flip over to the other side.

Now fold our paper element in half from right to left.

For convenience, rotate it 90 degrees to the right.
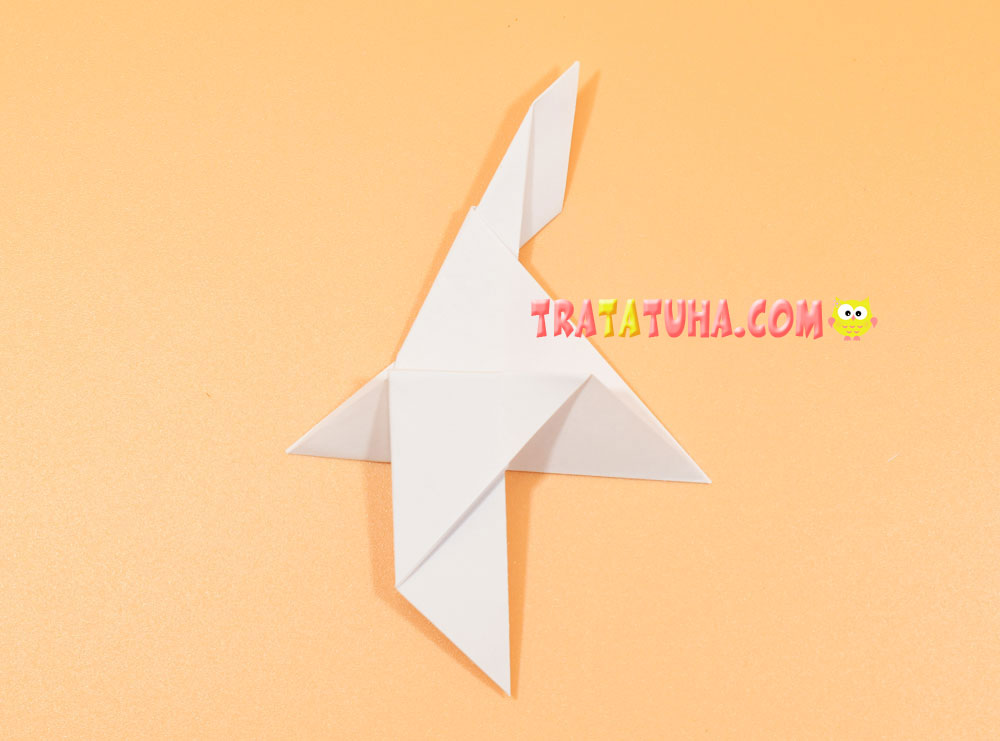
From the corner on the left, bend the top of the paper, or rather, the bird’s wing.
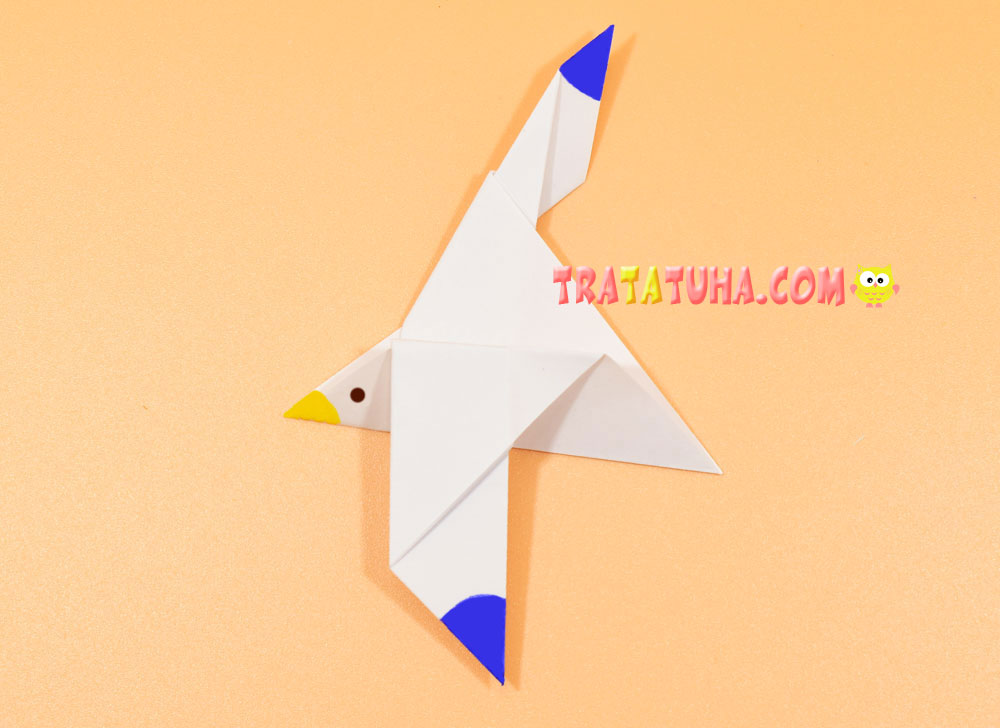
With felt-tip pens draw a beak, an eye, paint over the tips of the wings. Origami seagull is ready.
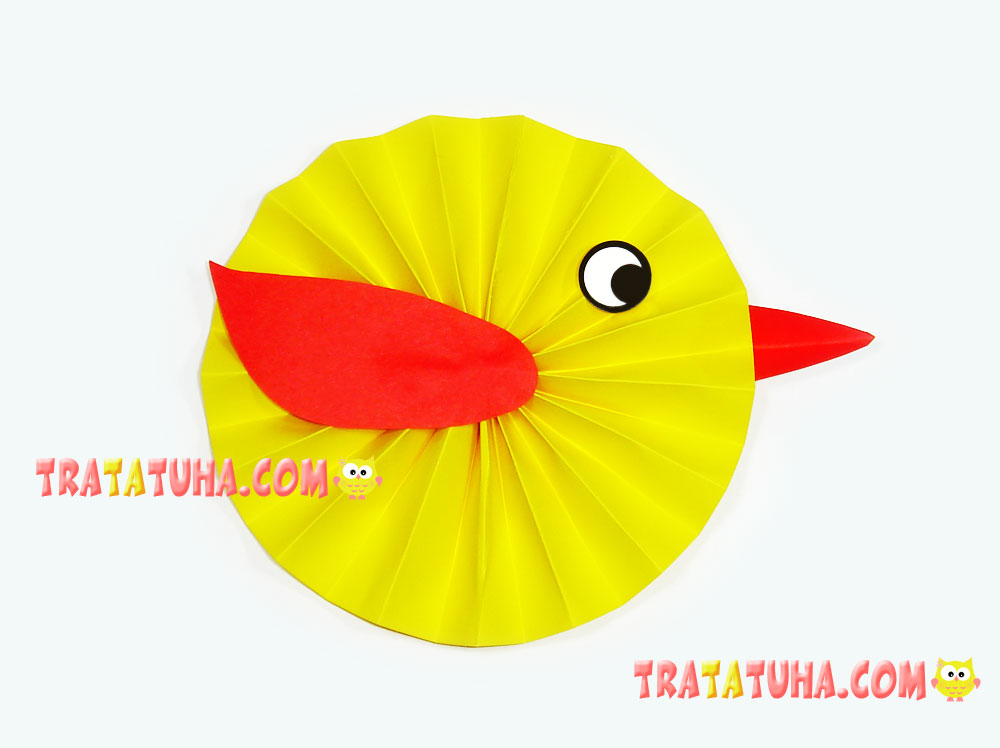
See more ideas about origami birds.
Birds Paper – art and craft ideas for all ages.
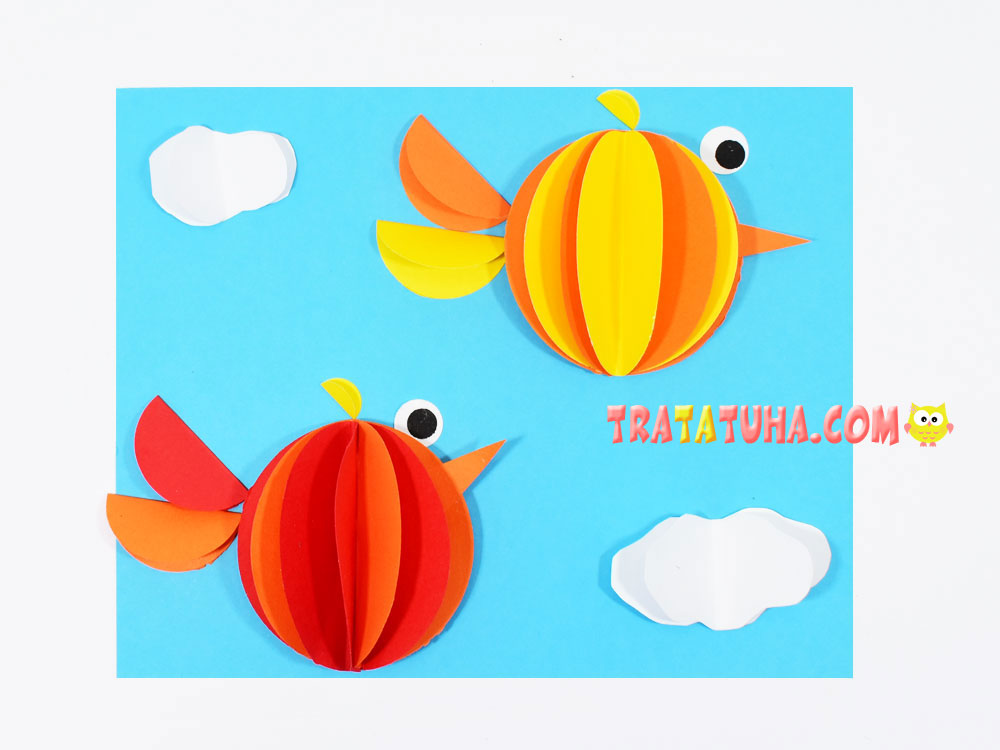
Crafts for Kids – learn how to make craft at home! Super cute crafts for all age groups!
Related Post:


My teacher forced me to make this im so sad