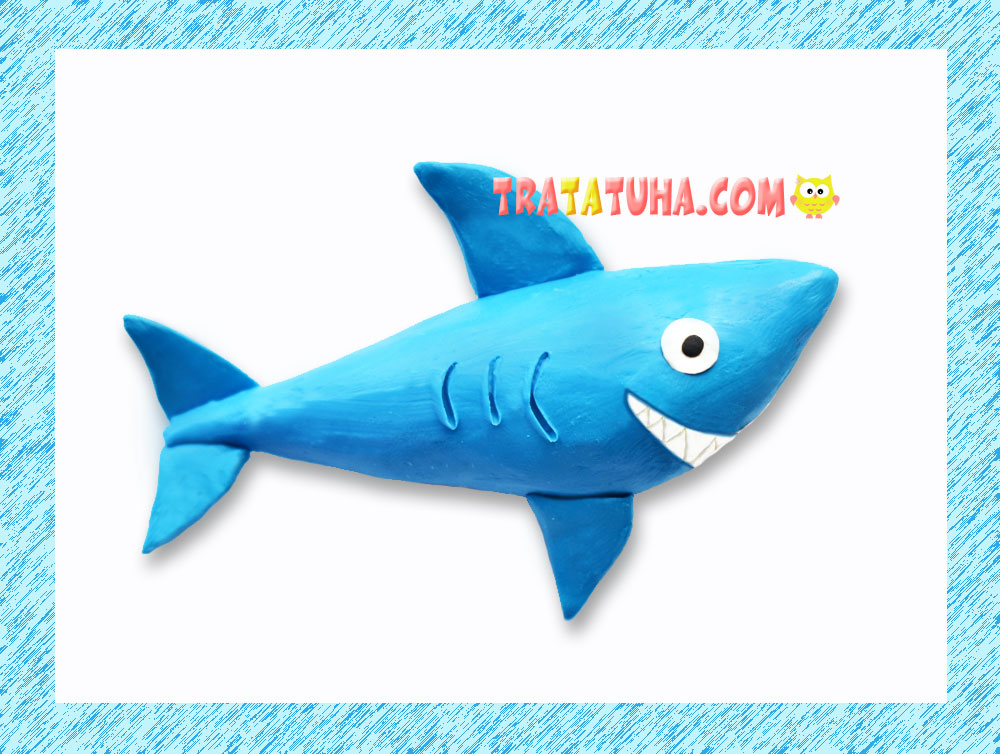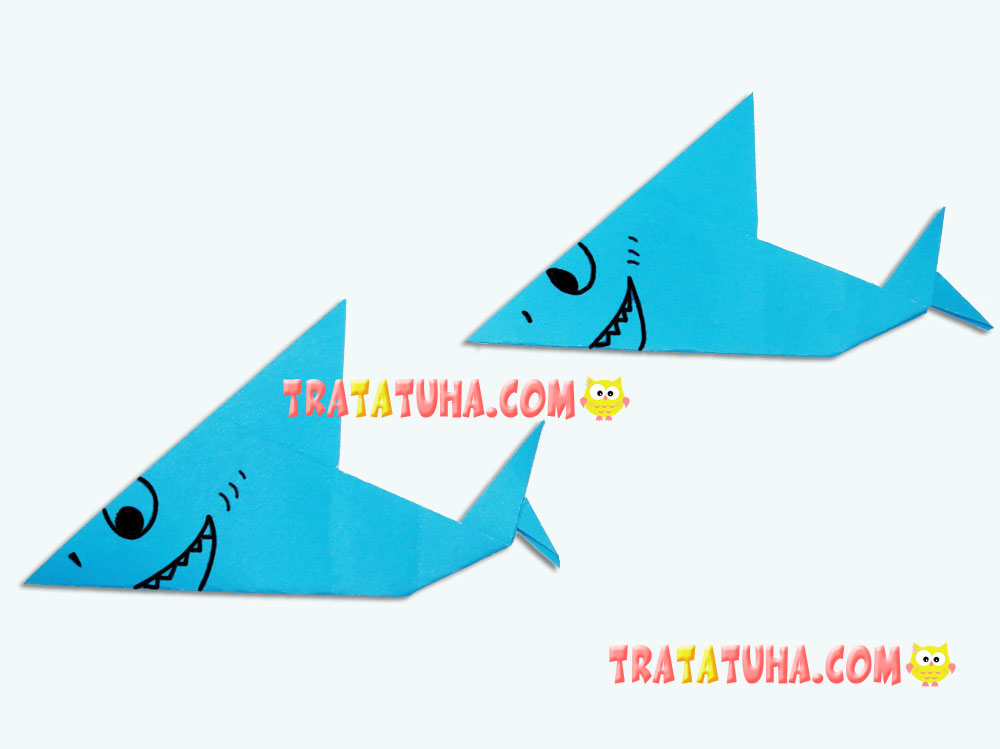
Let us continue with mastering the art of paper folding. This time, we will make an origami shark. It is very easy to make, both for children and grown-ups.
You will need colored paper, a black marker pen, and scissors. If you have special origami paper, so much the better.
Steps to Making an Origami Shark from Paper
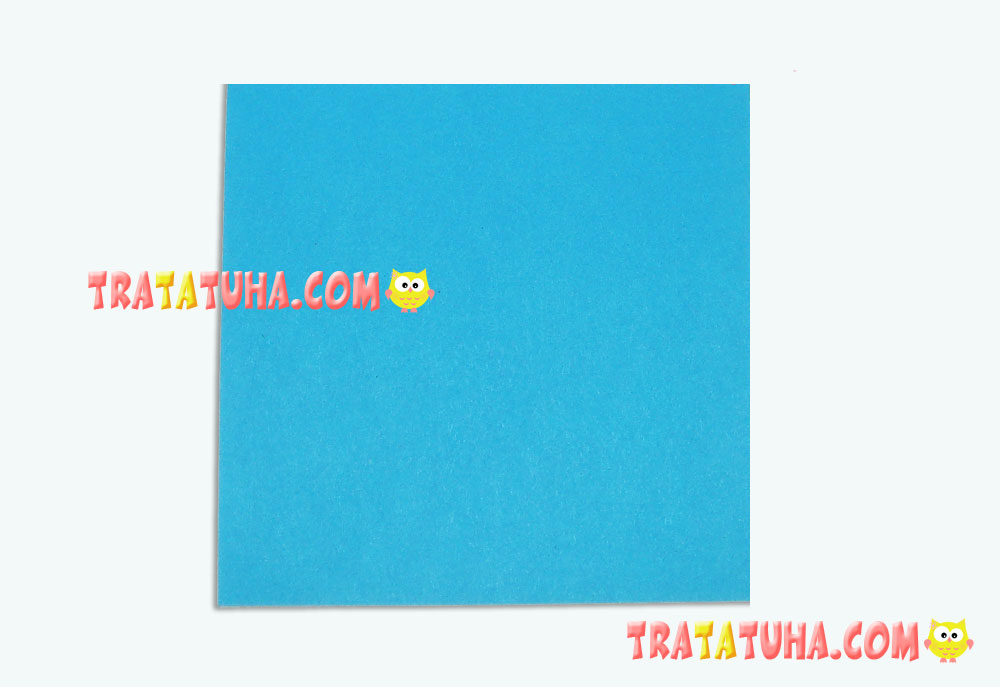
Prepare a square blue sheet of paper.
Fold it in two, putting the opposite corners together to form a diagonal fold.
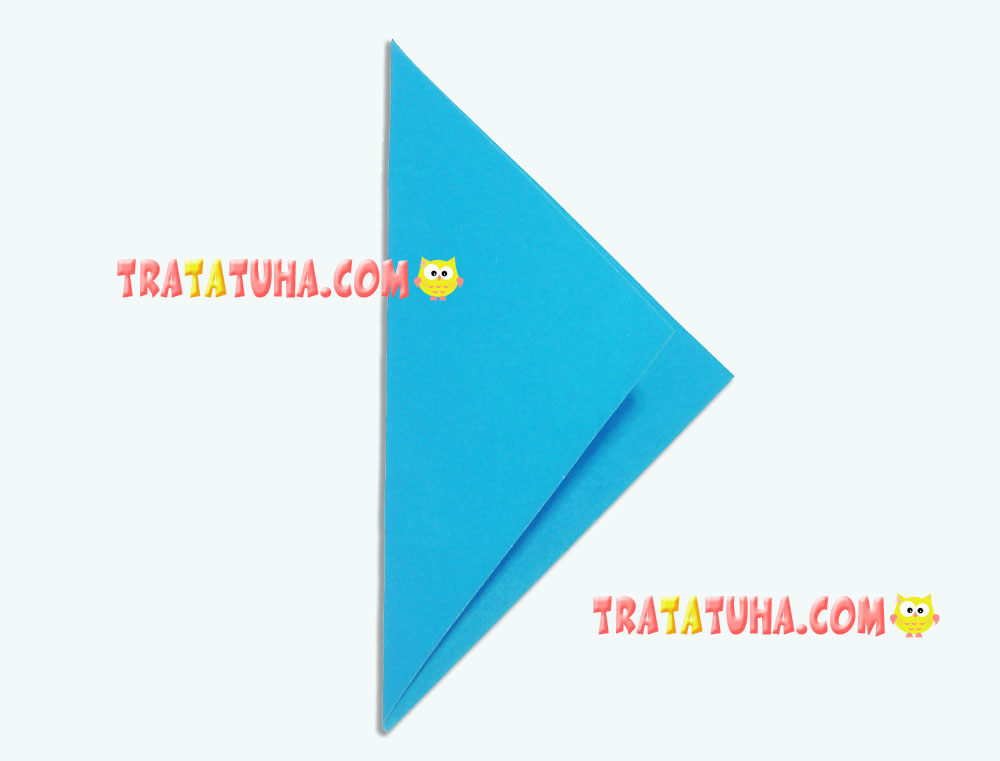
Fold one side inwards aligning the edge with the center crease.
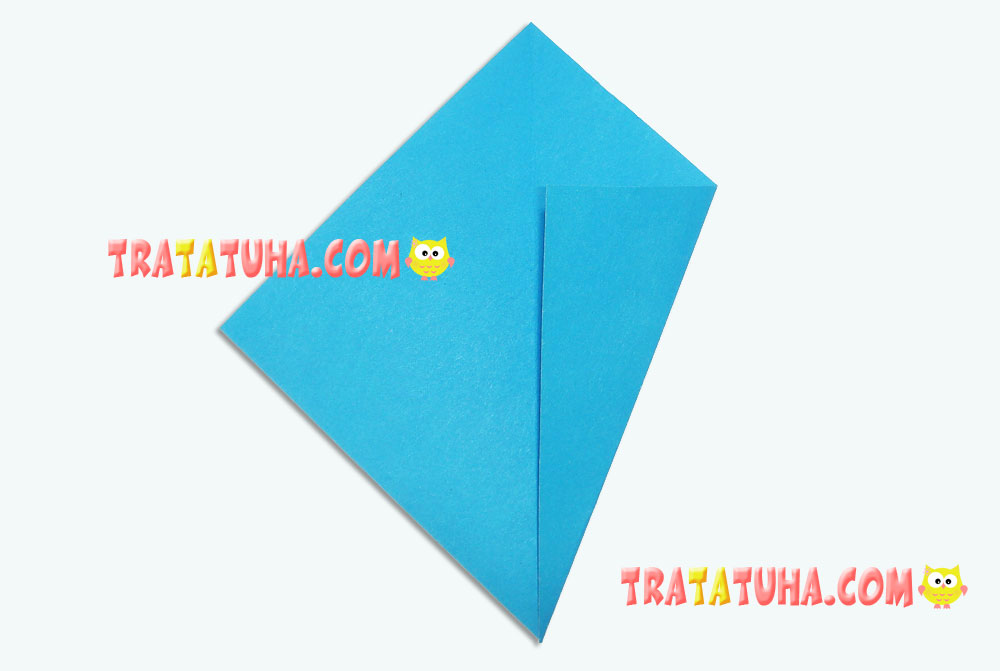
Then do the same with the other side.
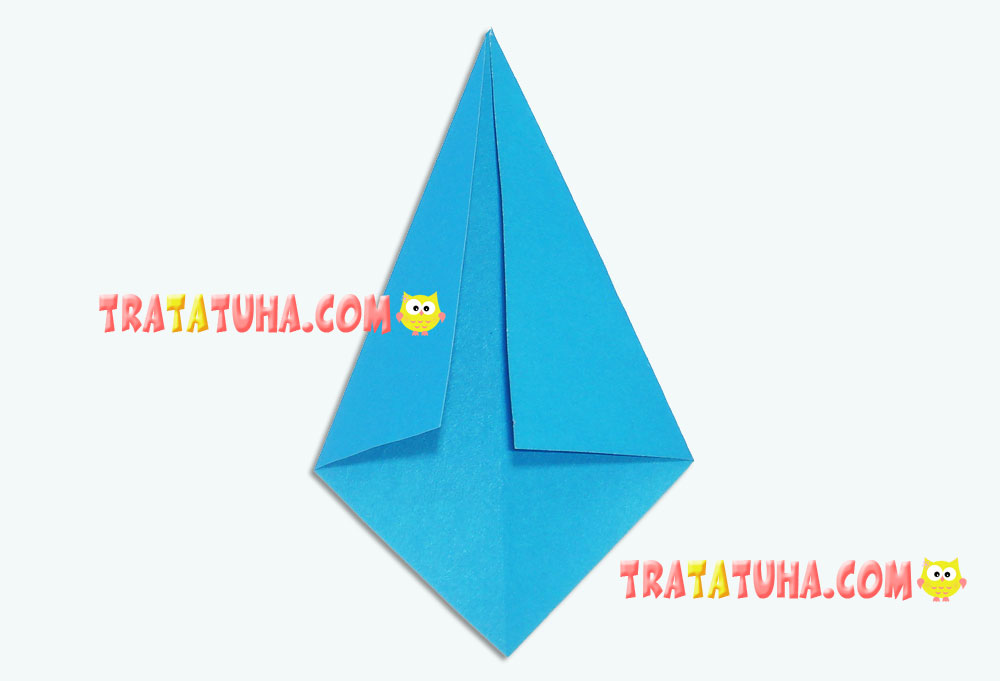
Fold the lower corner up to meet the upper one and smooth the fold.
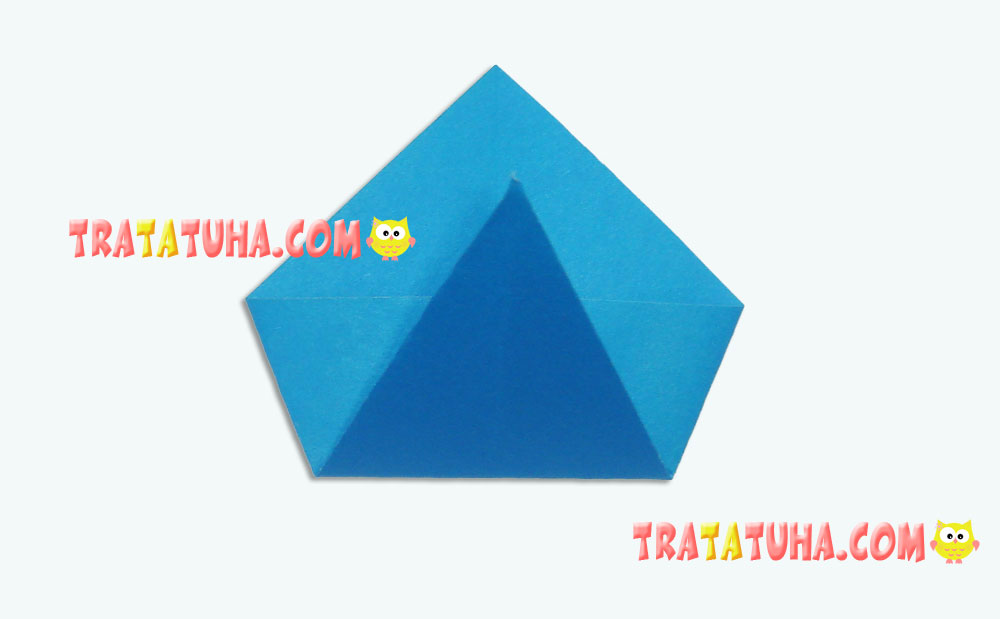
Release the fold and cut a small piece off the corner to the fold line.
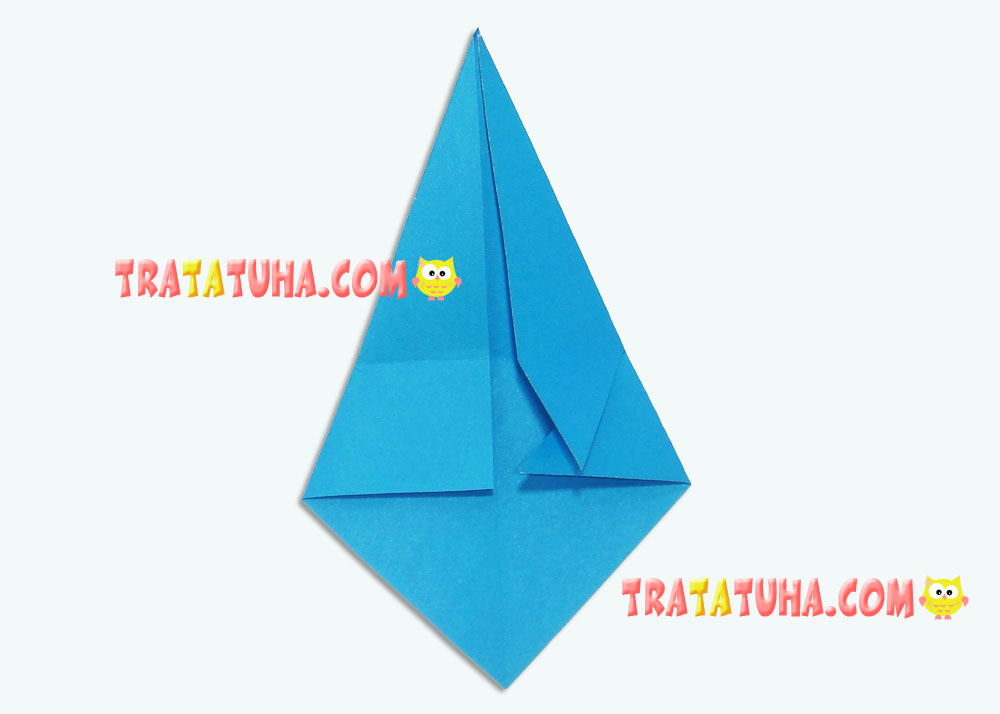
Put the work piece upside down and fold the ‘tail’ upwards.
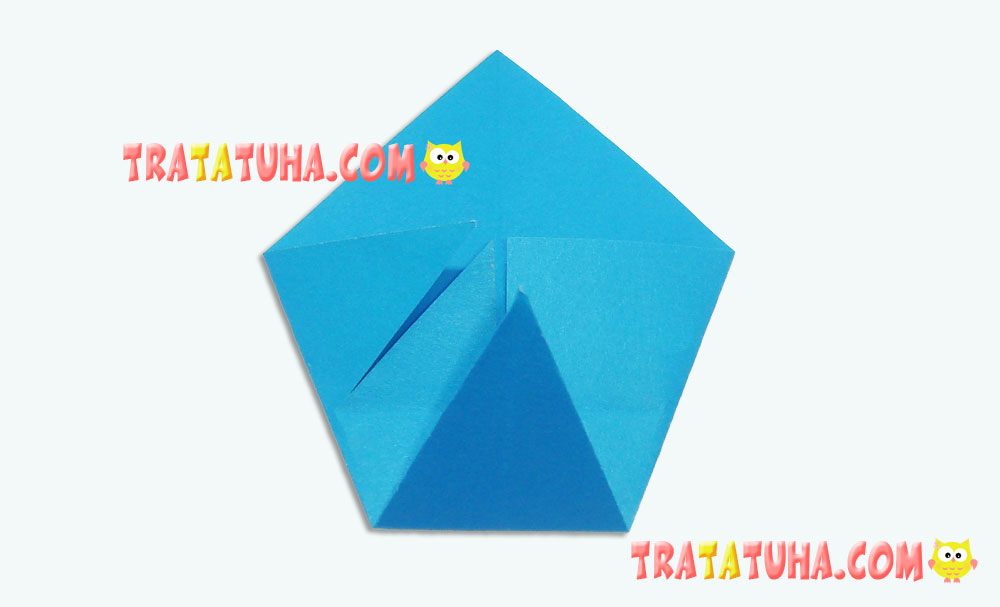
If you unfold the corner, you should see two parallel folds in the middle of the work piece.
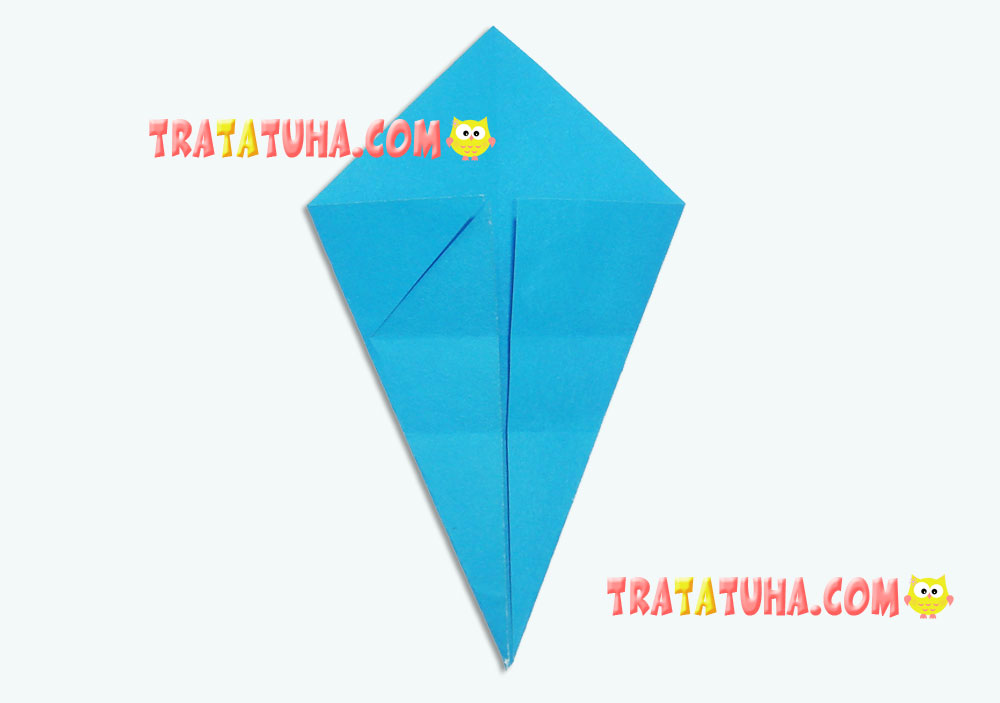
Return the ‘tail’ to its prior position.
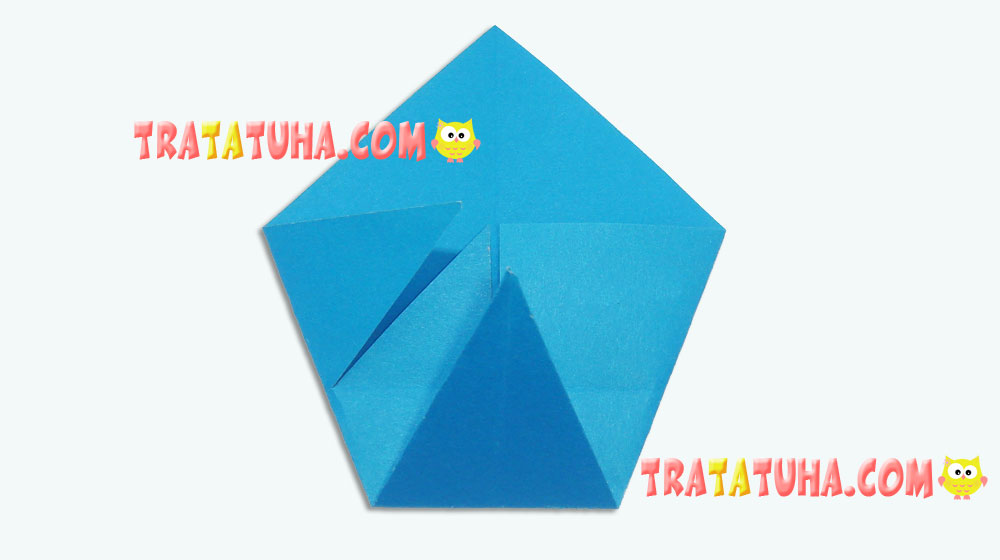
Now fold the work piece in two along the very first diagonal fold.
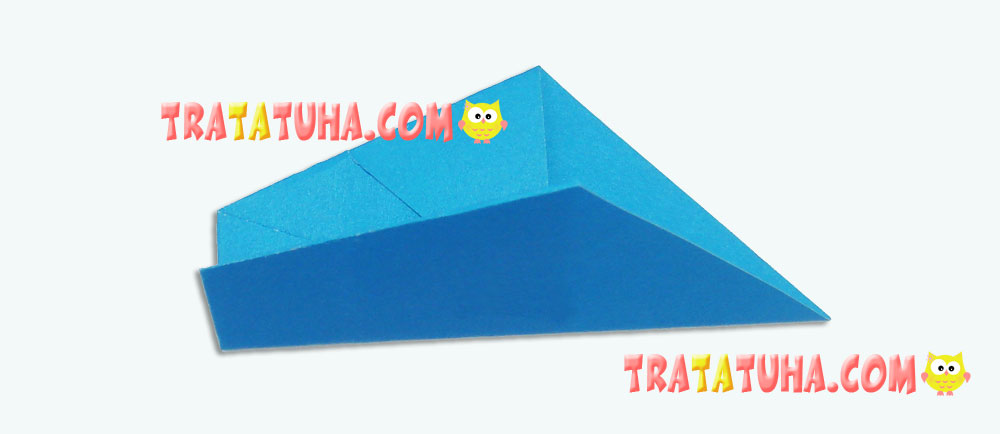
Pick the folded ‘tail’ up with your finger and straighten it outwards pressing the two halves of it together.
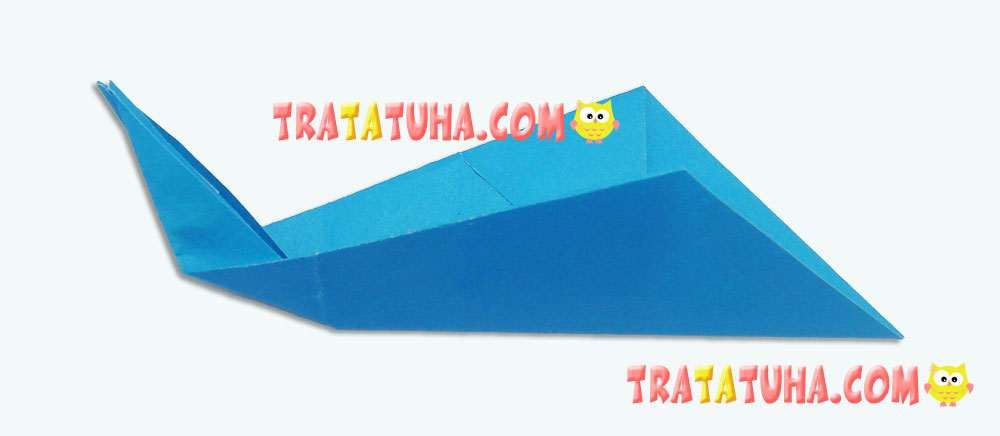
Fold one part of the ‘tail’ to the side.
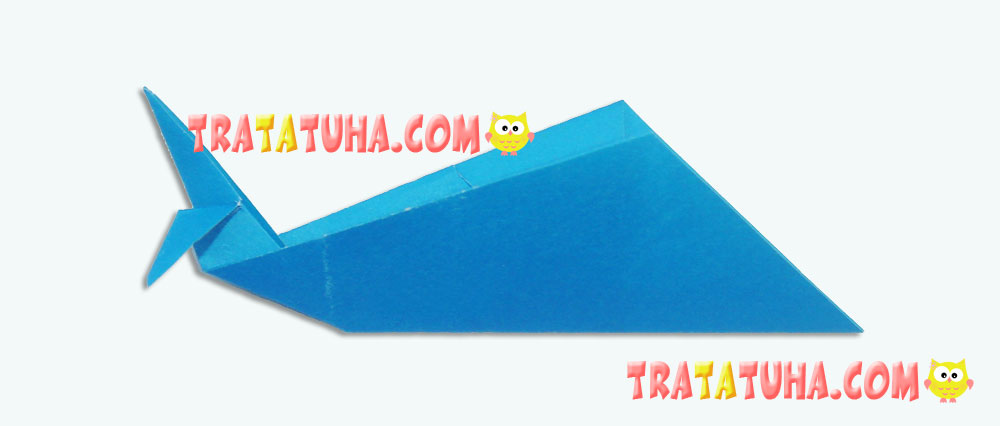
Pull the cut edge out from the middle — this will serve as the shark’s characteristic fin.
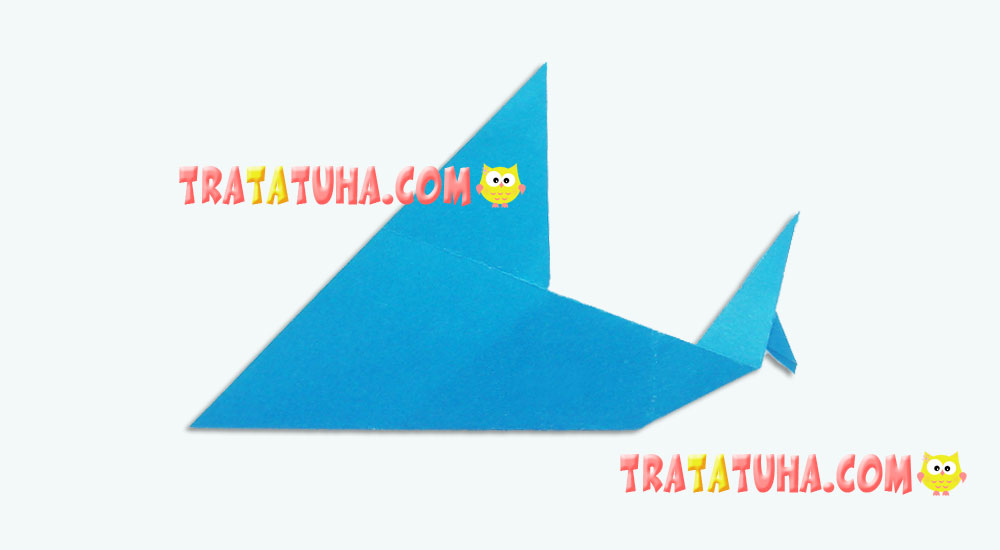
Turn the shark’s other side to you.
Draw the eyes and the predatory grin. The origami shark is ready! You can regard it as an individual crafted item or use it as part of an applique work, something like ‘Sea World’ or ‘Sea Predators’.
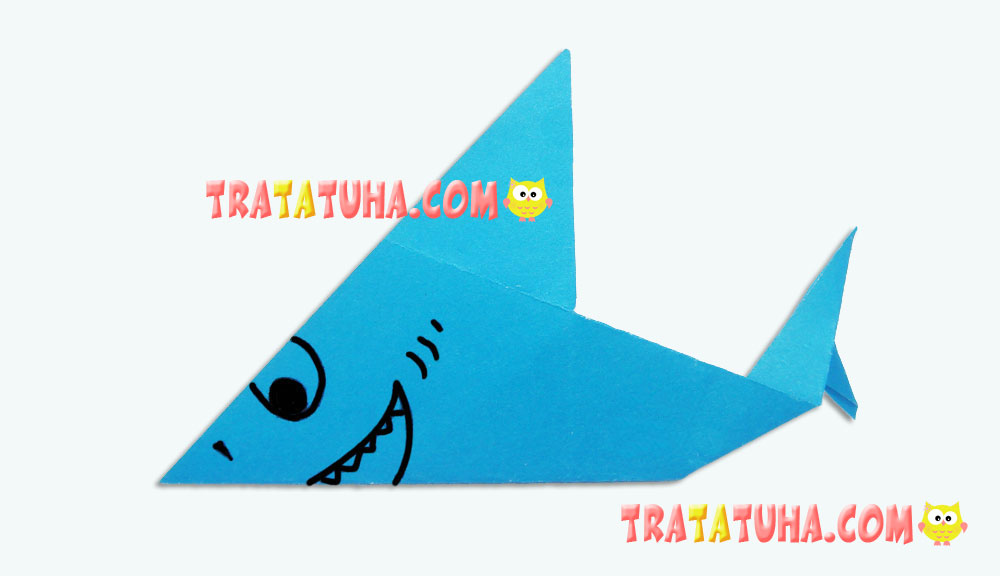
Once you have made the shark, consider crafting a simple origami snail or a still simpler origami ghost.
See also other tutorial of Origami Animals.
Crafts for Kids – learn how to make craft at home! Super cute crafts for all age groups!
