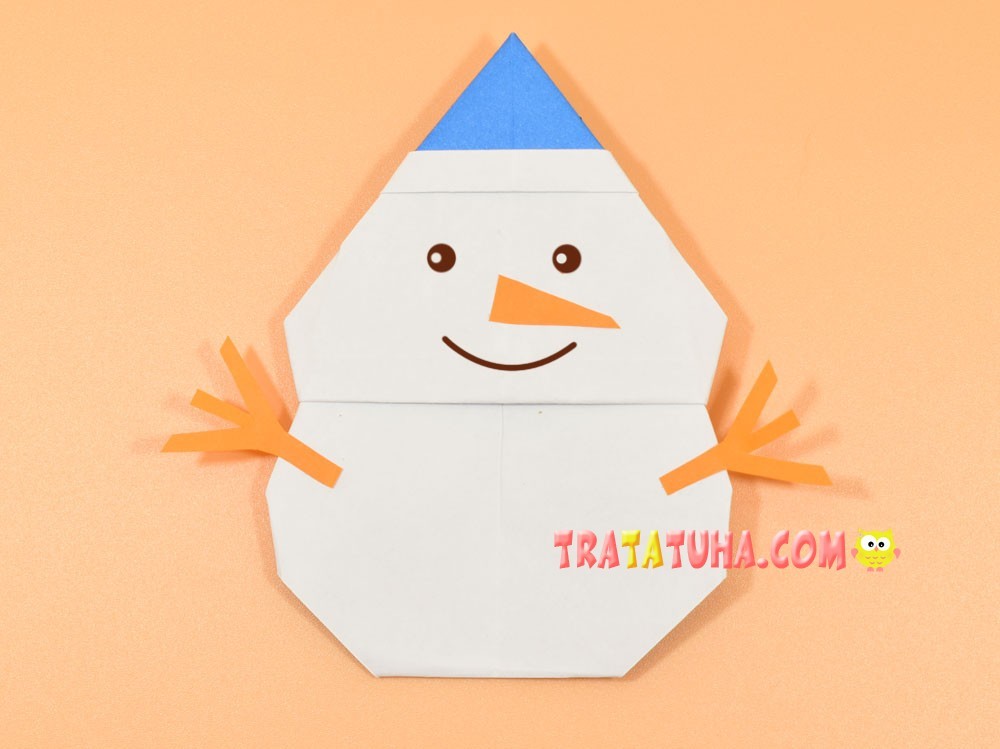
Funny origami snowman. How to make a paper snowman step by step. Easy origami level for beginners and kids.
What materials will be needed:
- The paper is one-sided. One side is white and the other is blue;
- Orange paper;
- Brown marker;
- Scissors, glue.
Snowman Origami Step by Step
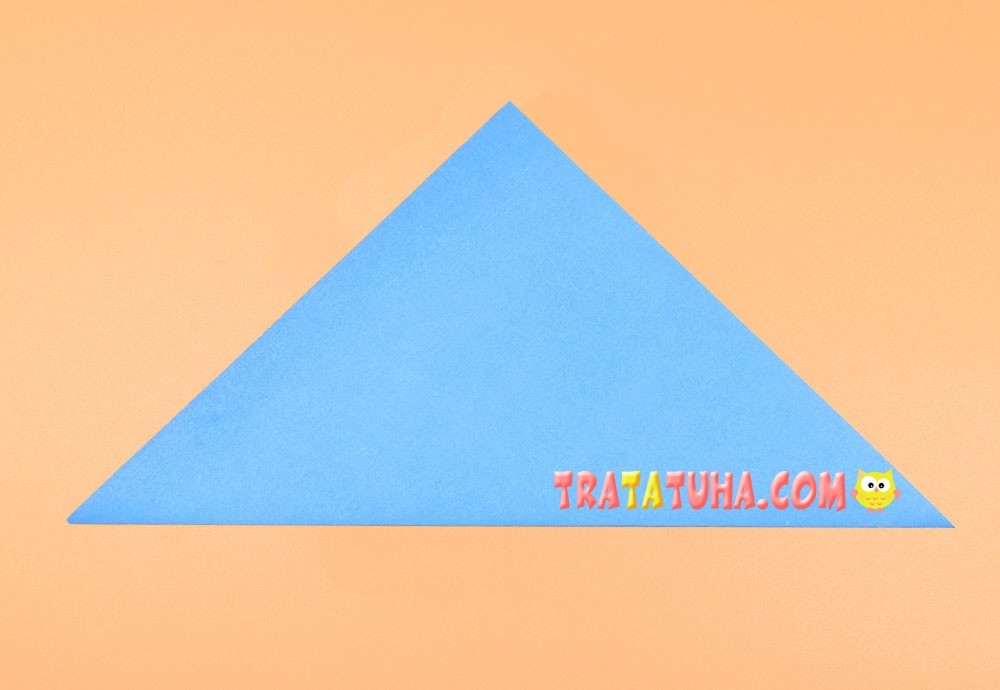
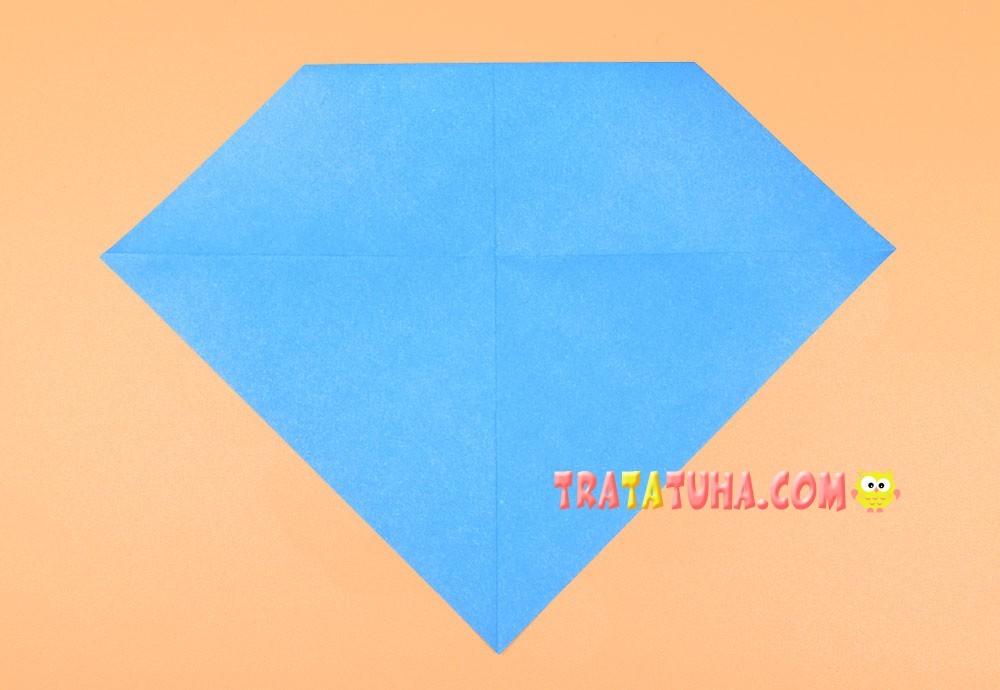
To work, you need paper in the shape of a square. Place it in front of you.

Fold into a triangle, connecting opposite corners. The color should be on top while the white is on the inside. These nuances are important in order to subsequently get a white origami snowman with a blue cap.
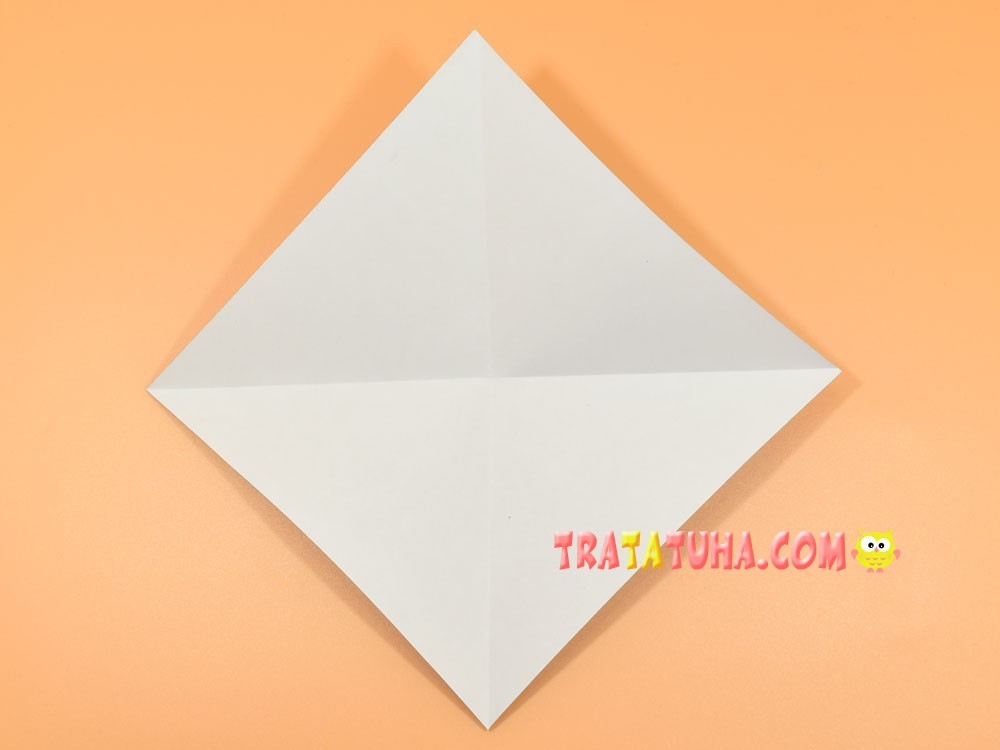
Open and fold again into a triangle, connecting the other two corners. You will get intersecting folds.
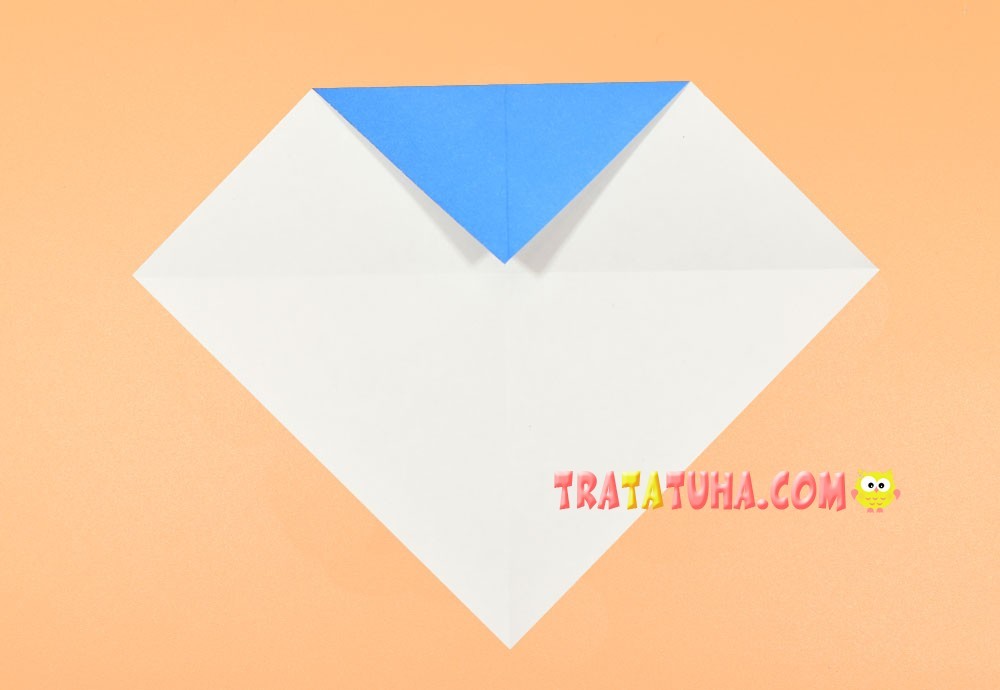
Open the paper and fold the top corner up to the fold line.
Send the same corner back to the top side.
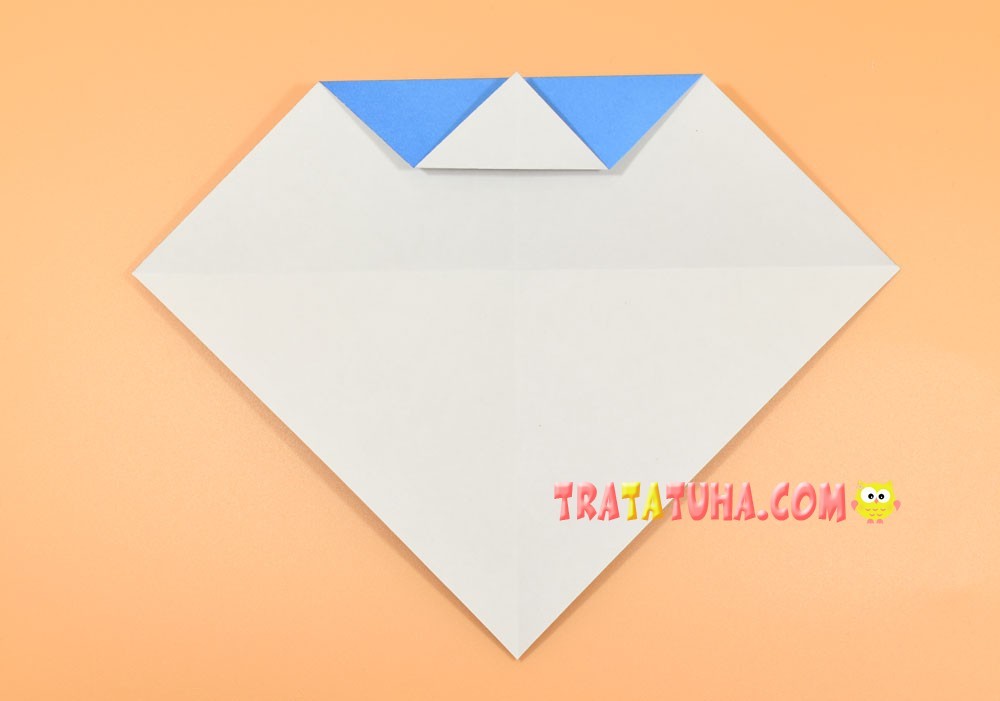
Bend this long-suffering corner again and bend a very small part of it, to the newly formed fold.
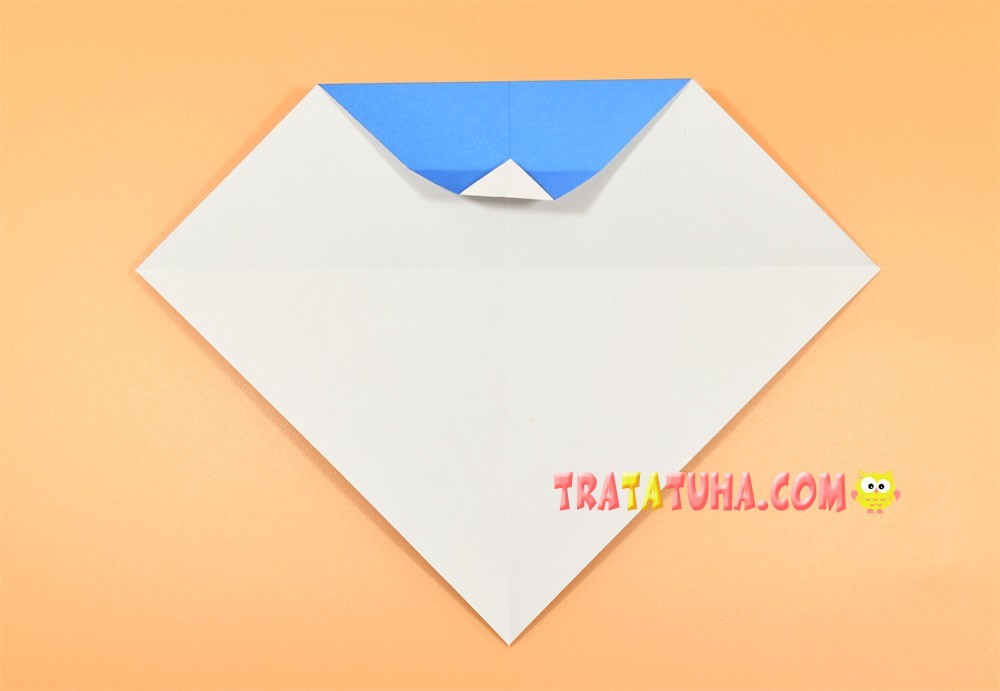
Fold it again, making a fold to the same fold.

And then again, a little higher.
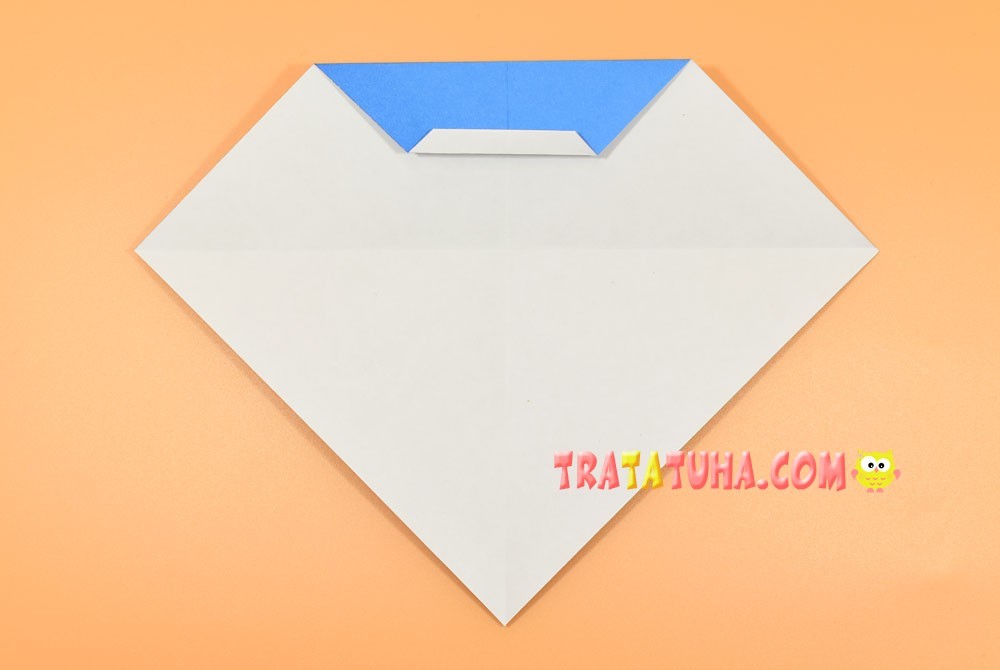
Flip over to the other side.
Bend the left side to the middle.
Then right overlap.
Lift the bottom corner up and fold the paper up.
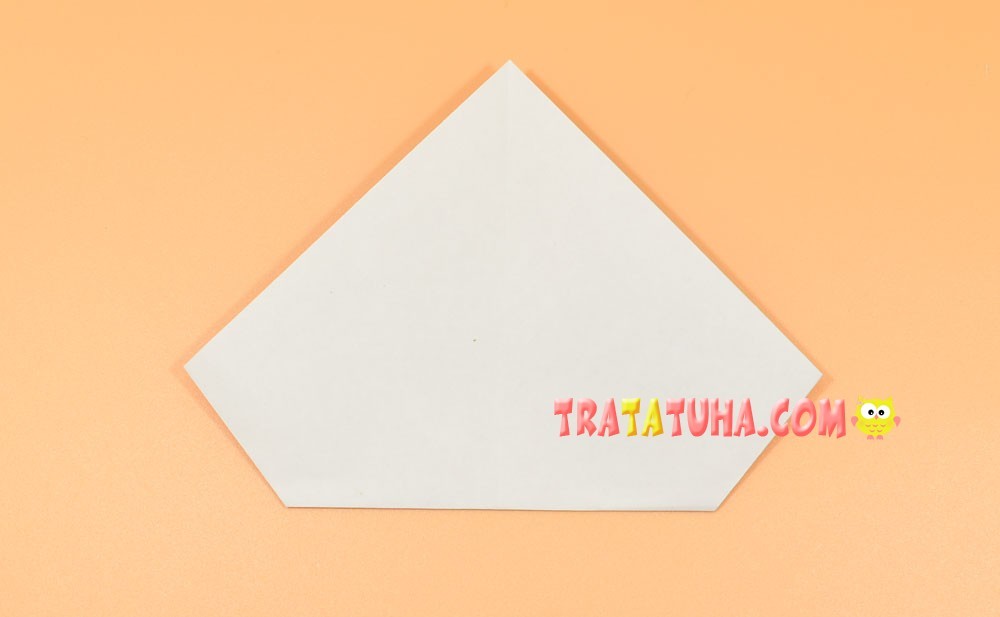
And then immediately down, making a horizontal crease.
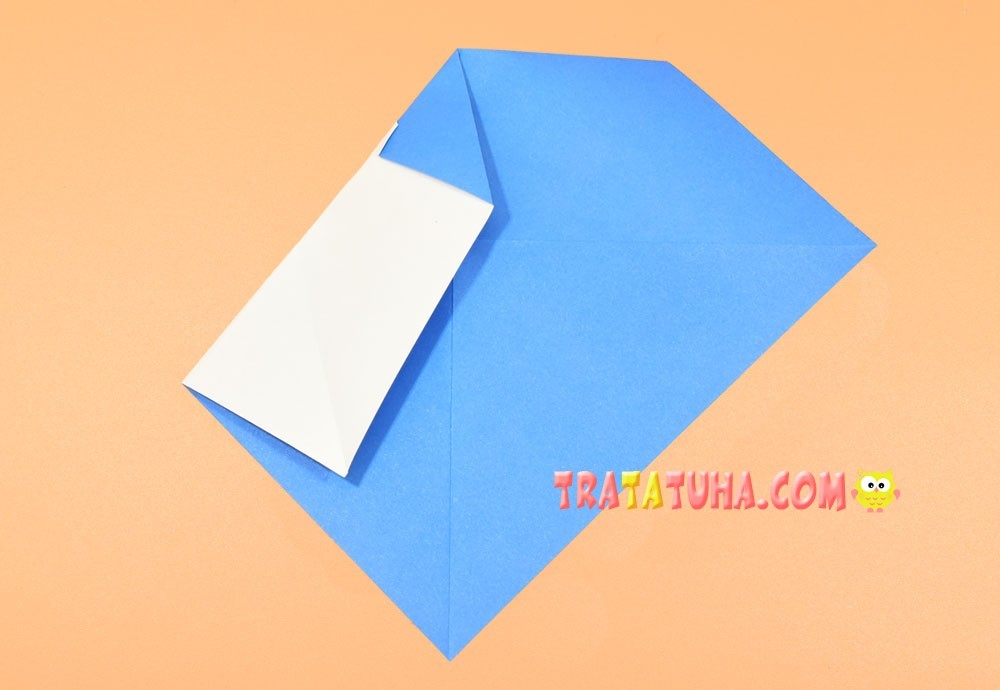
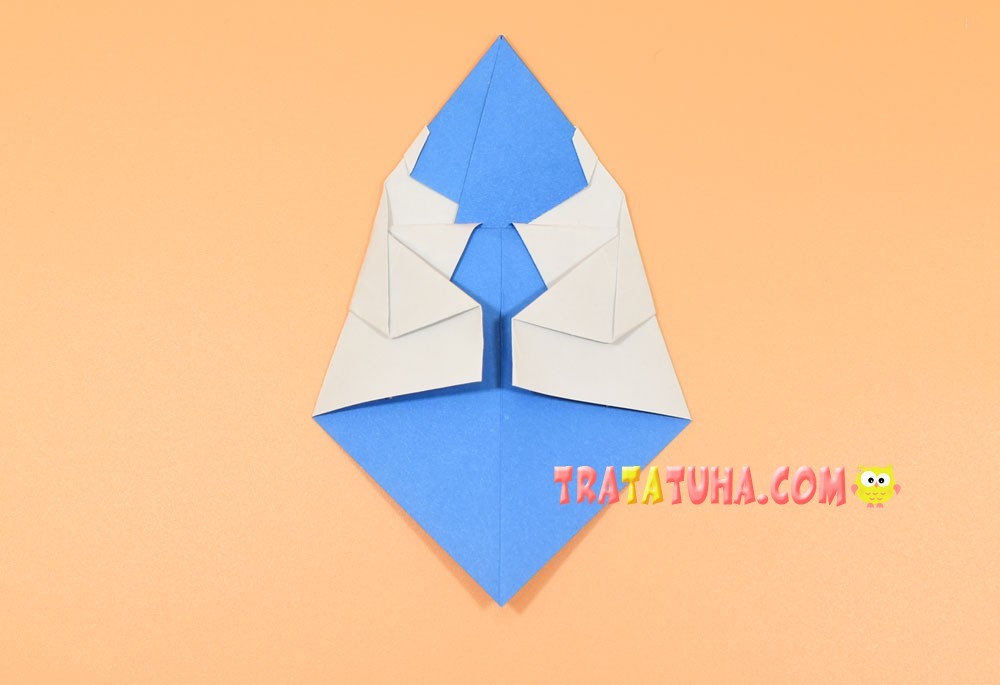
Fold the right side to the center.
Then left.
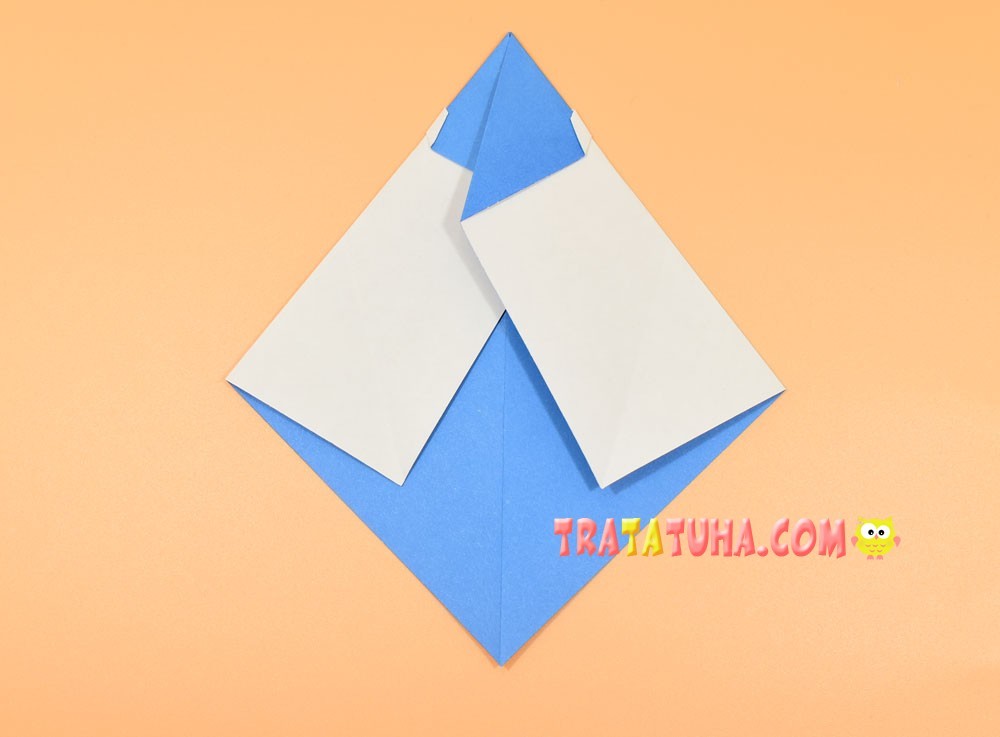
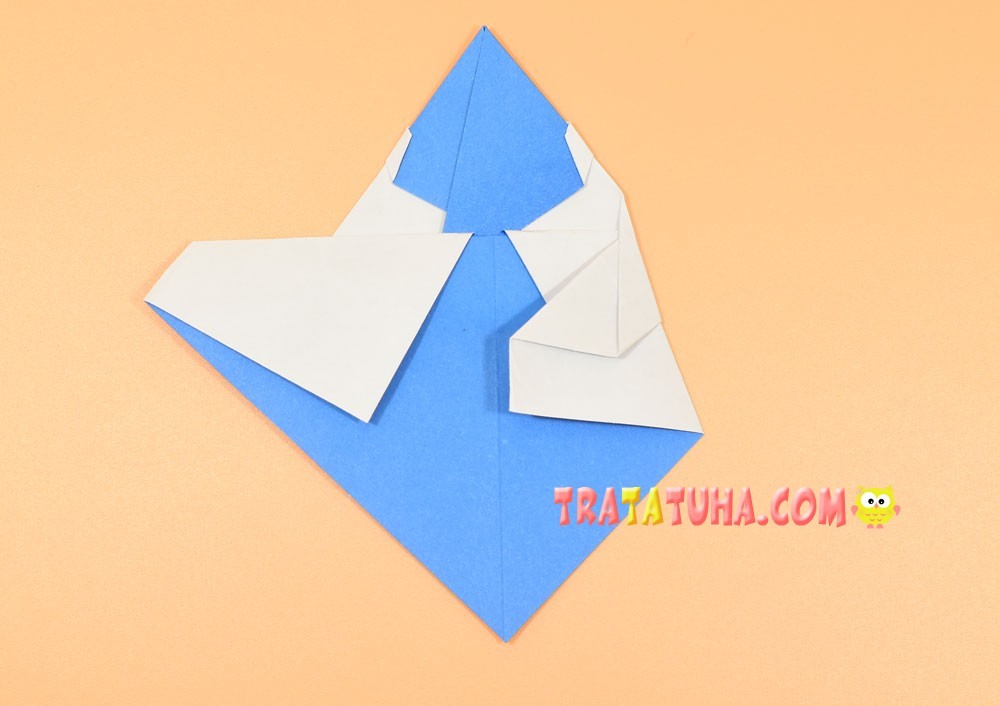
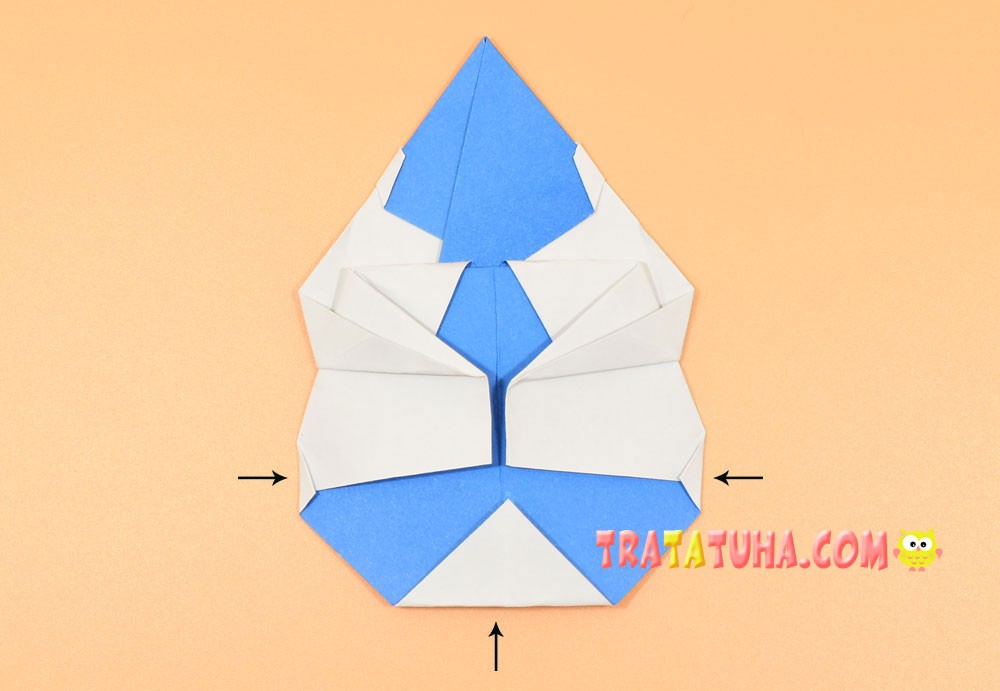
Spread the resulting pockets on the sides to the sides. Right.
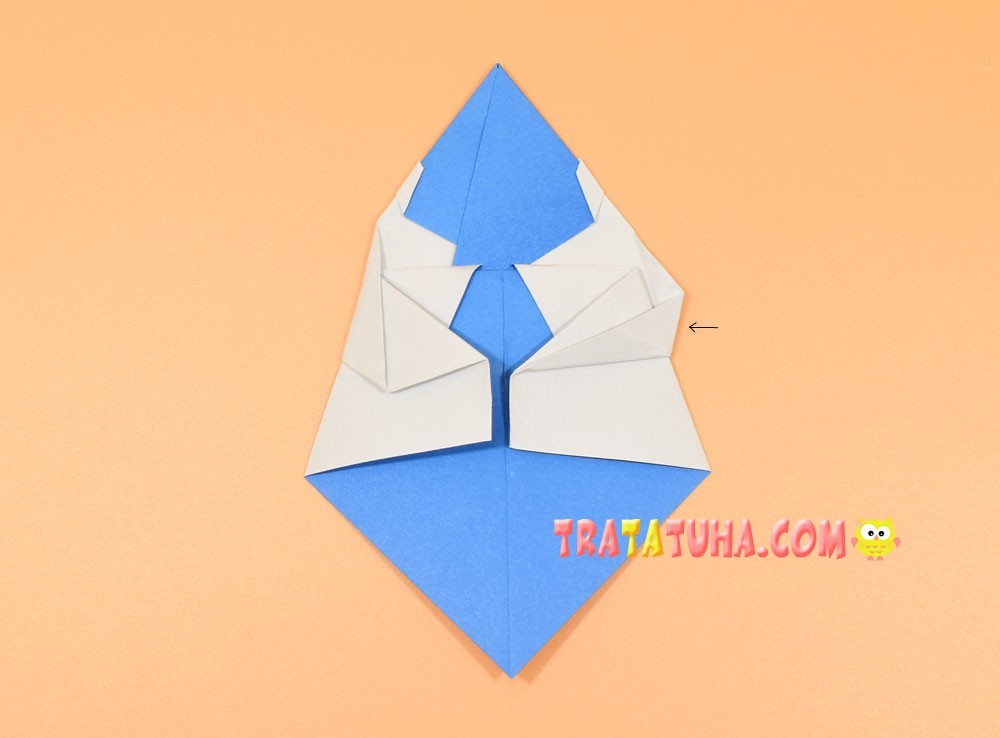
Left.
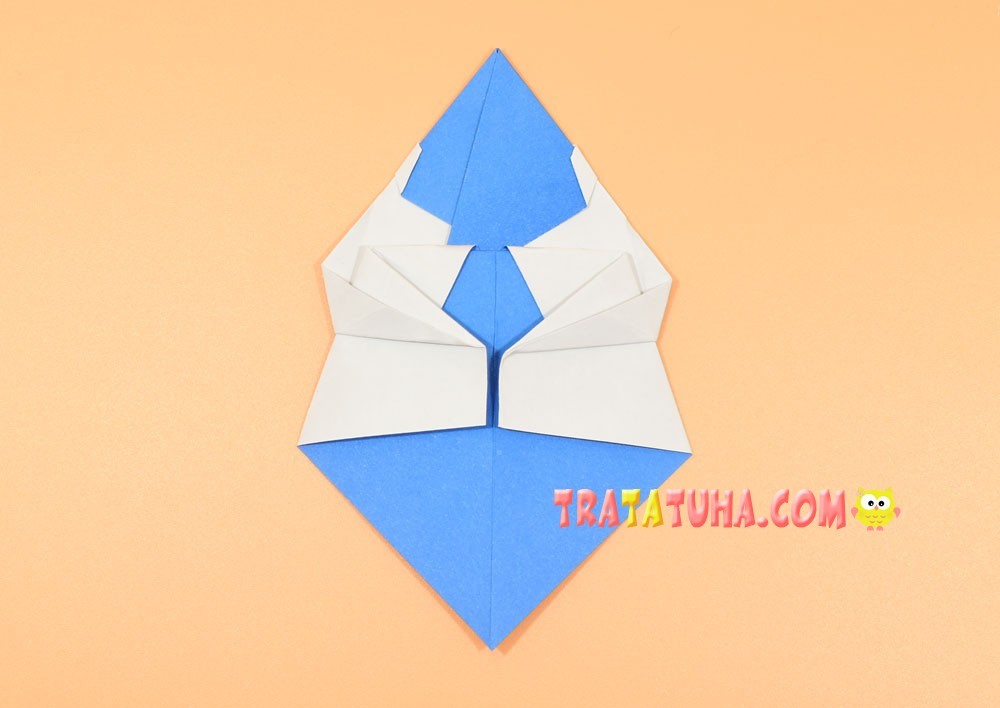
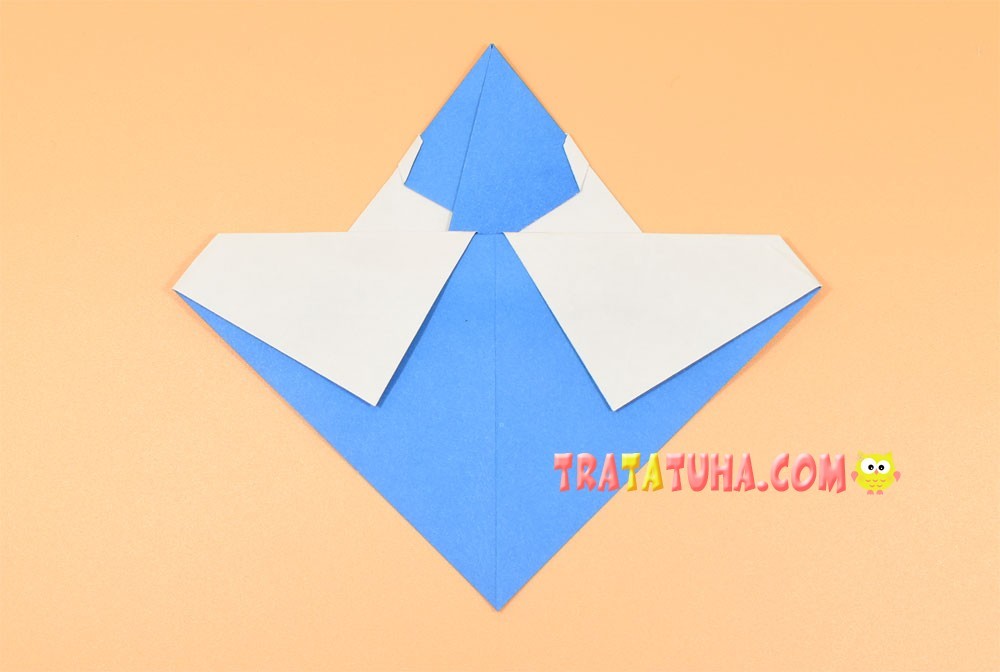
Bend small corners on the sides and twice as much on the bottom.
Flip over to the other side. The origami snowman with a blue cap is almost ready.
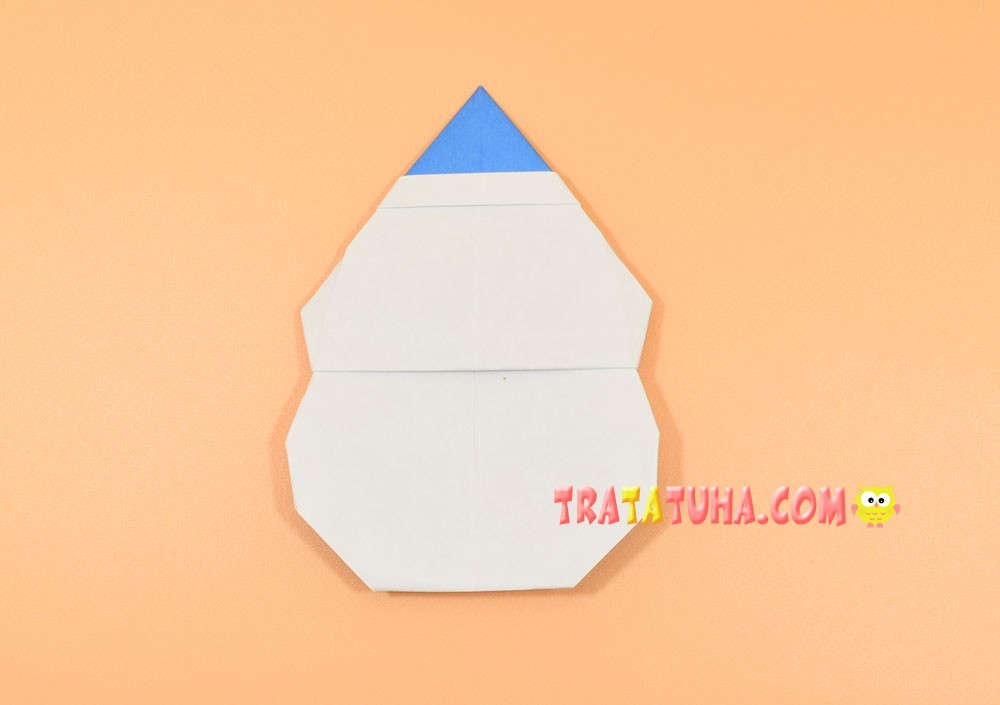
It remains to glue his nose, draw eyes and a smile. Optionally, add three-toed limbs on the sides.
Related Post: