Easy origami tie for children’s creativity. A detailed review with photos will help children and beginners in their work.
Of the materials, you only need double-sided square paper, of any desired color and size. It is convenient to use special origami paper.
Origami Tie: Detailed Instructions
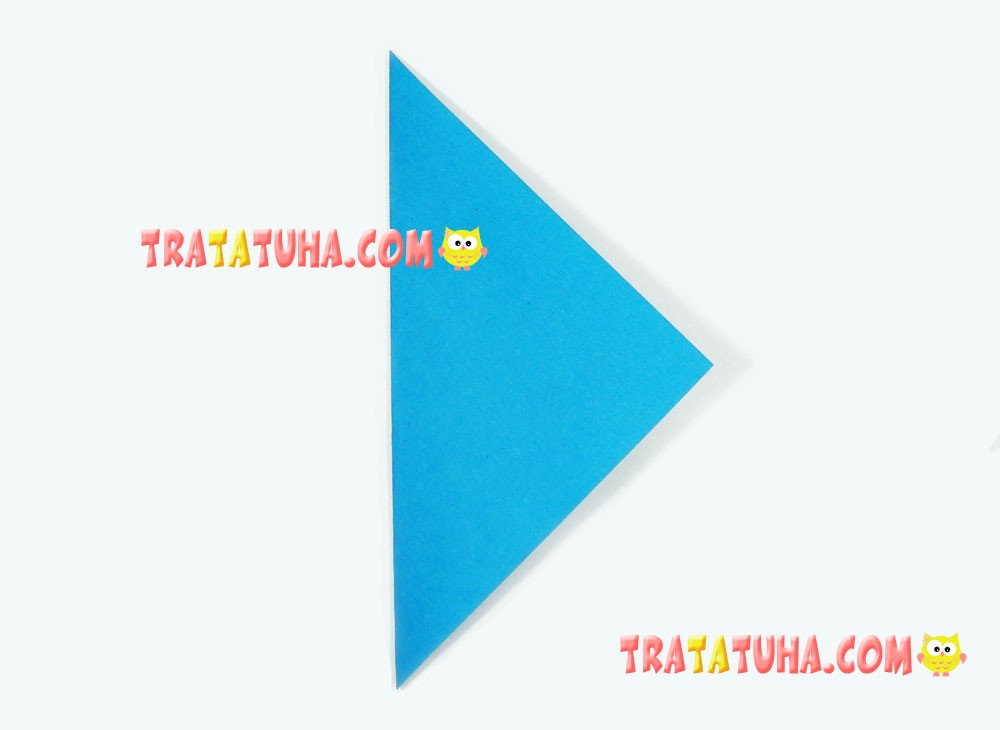
Place a square piece of paper in front of you.

Connect two opposite corners and fold the square into a triangle. We get the fold we need in the middle.
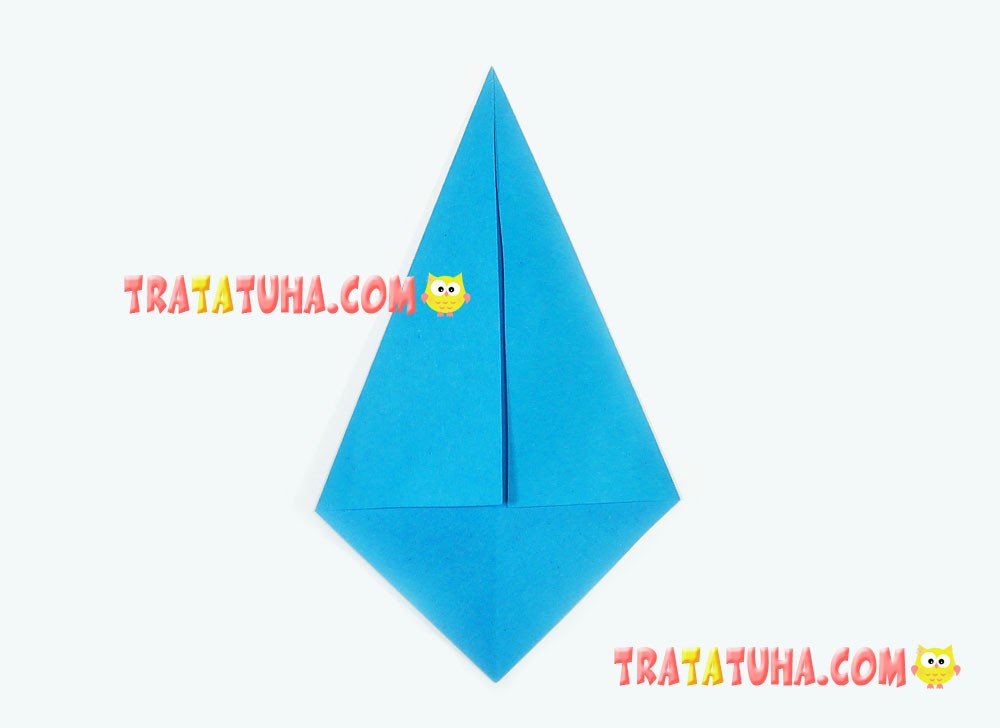
Open the paper and fold both sides straight, aligning the side corners to the center and smoothing the folds on the sides.
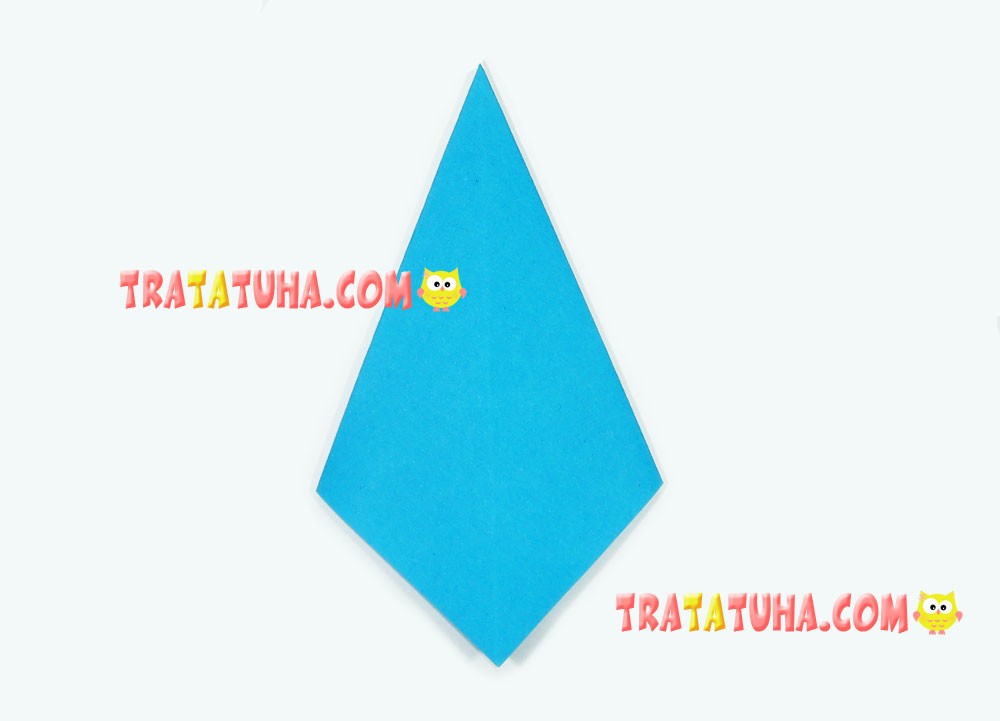
Flip the piece over to the other side.
Pull and fold down the top sharp corner, stopping about halfway down the length of the piece. Or at the level of the side corners.
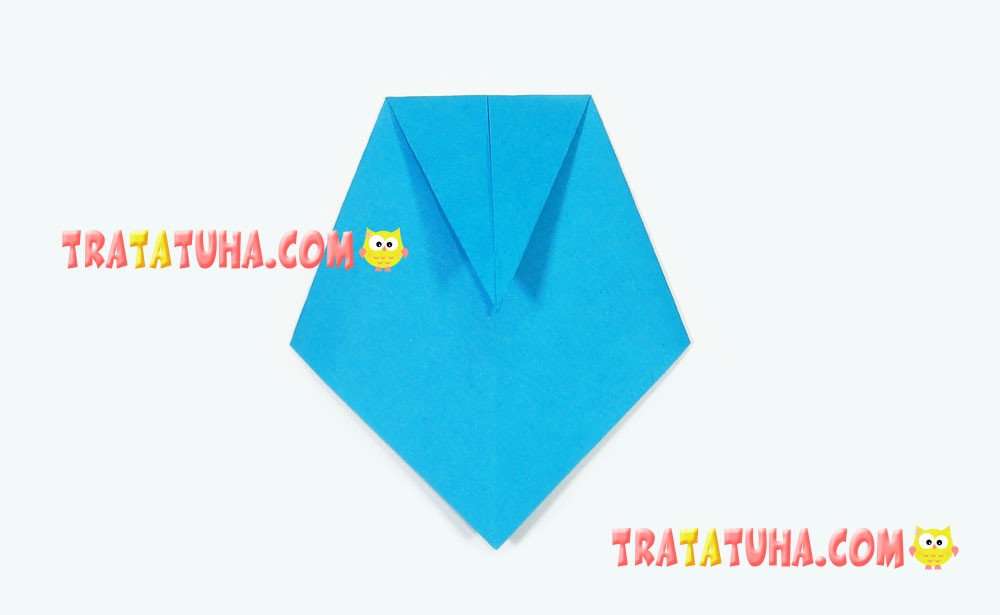
After that, bend the tip of the corner up, but not to the very fold, but a little short of it.
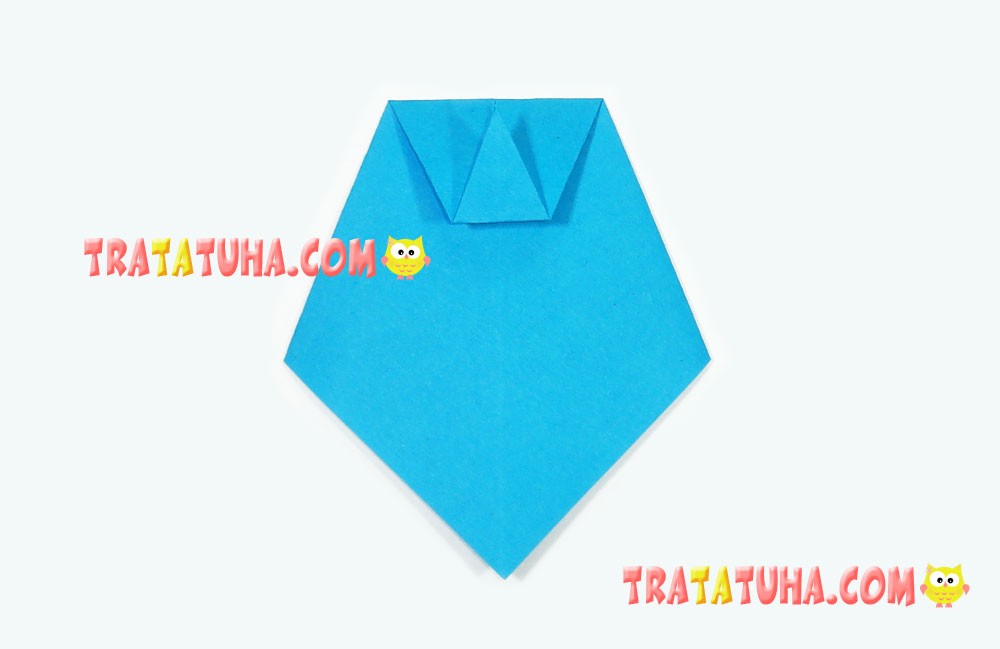
Now bend the same area of the folded corner up again, while making a small crease. The width of the fold is exactly equal to the part that the tip of the corner reached in the previous step.
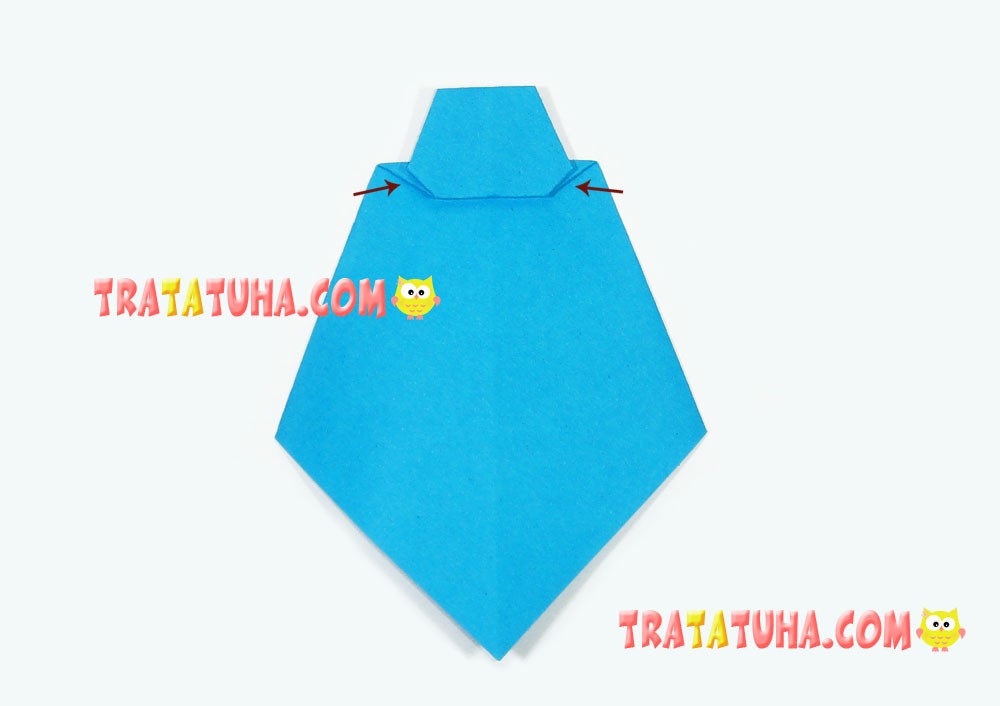
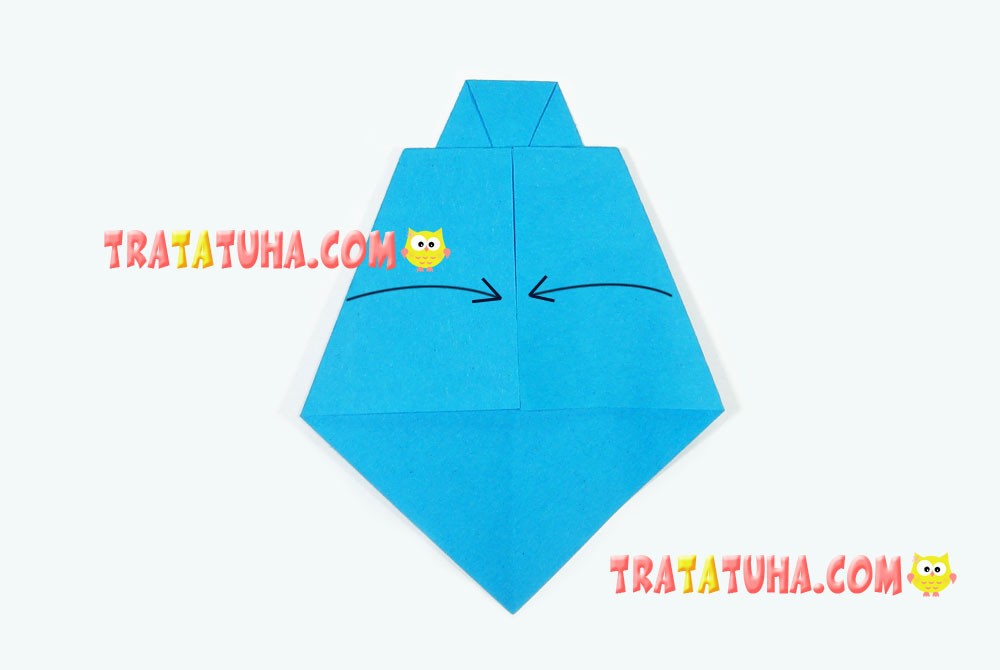
Redirect the small side corners, shown in the photo by arrows, to the middle and smooth out the small folds well.
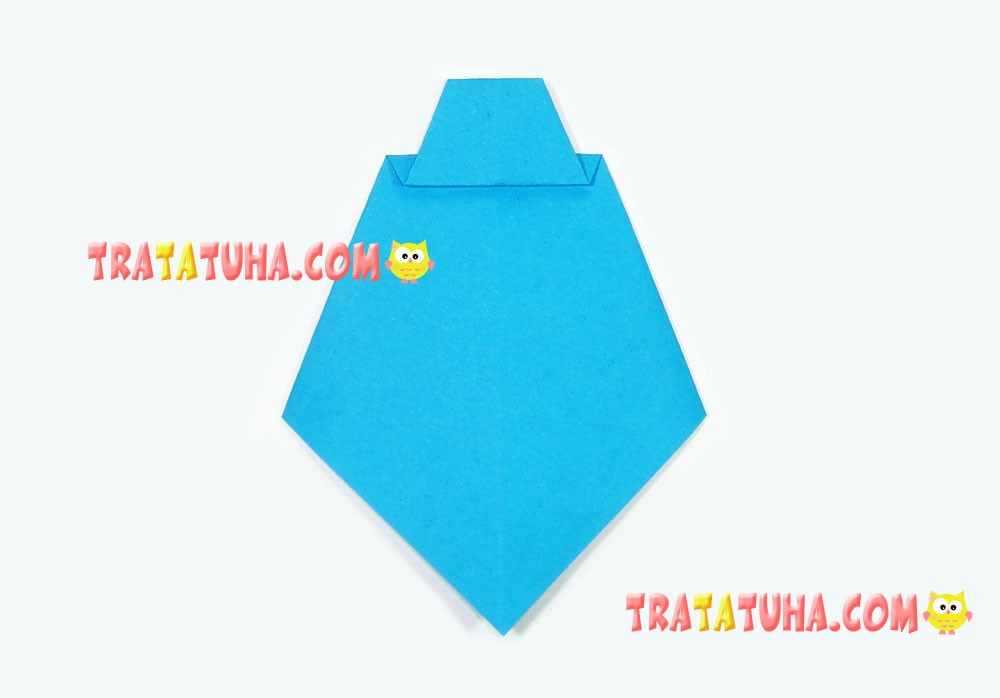
Flip the paper over to the other side. The item should be the same as in the photo.
Close the sides of the part in the middle along the fold.
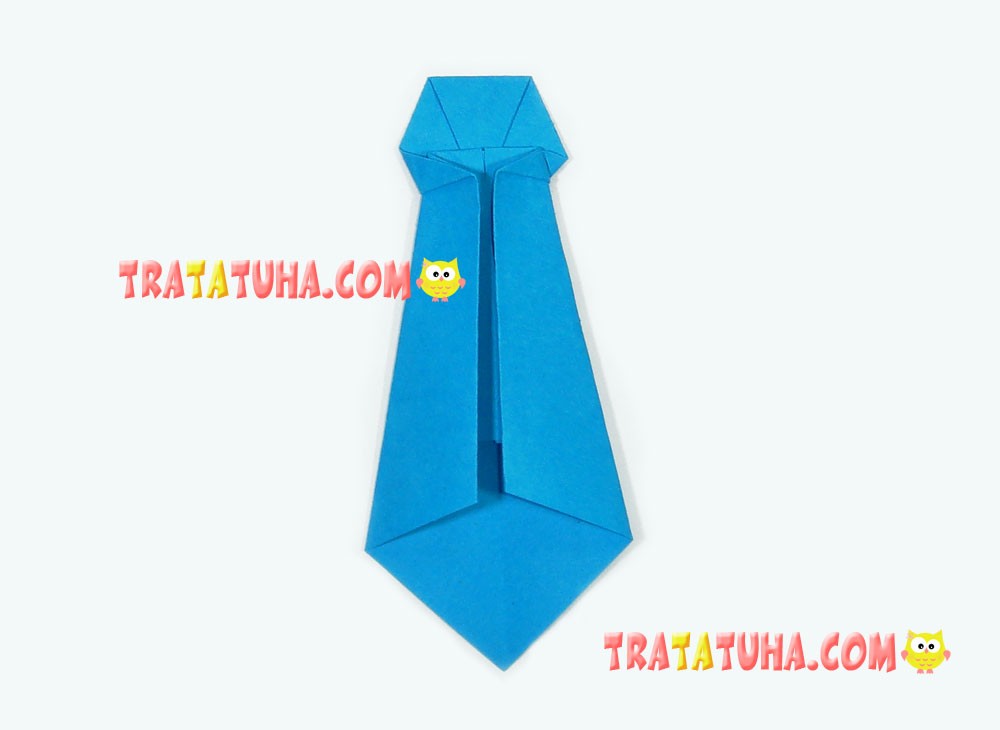
Flip over to the other side, the origami tie is completely ready. It can be made as a gift to dad, grandfather, teacher. Decorate a postcard dedicated to the holiday of men.
Related Post: