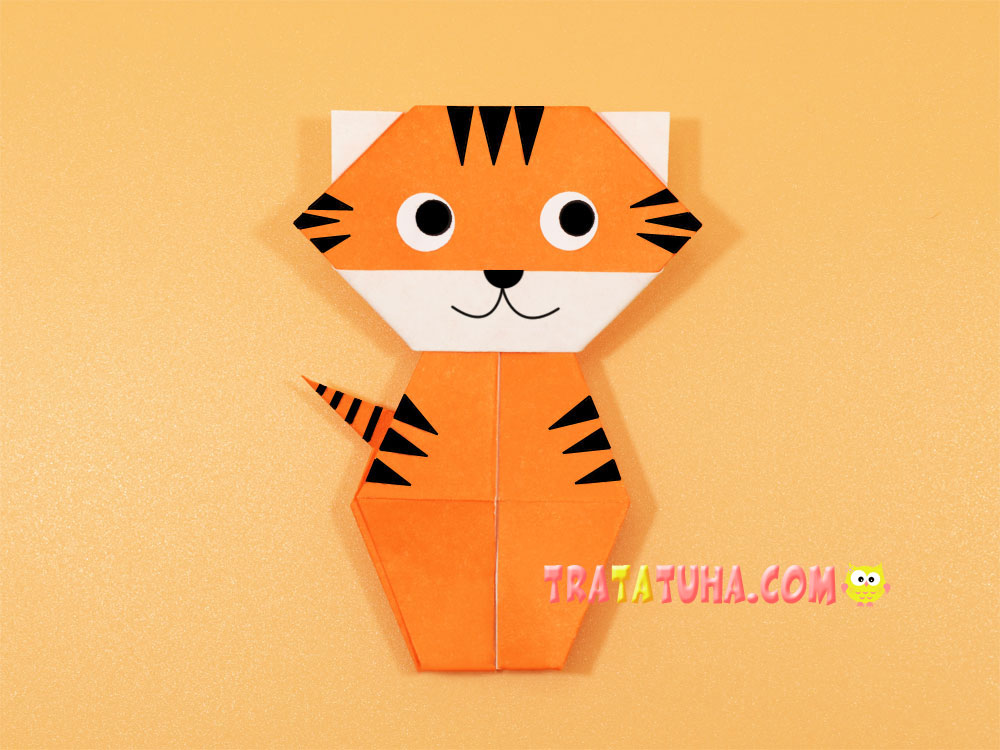
Origami tiger in stages of medium difficulty. It consists of two parts – the head and the body, which are created separately. There are many actions, but they are all simple and with a detailed explanation.
What you need for creative work:
- Two square pieces of paper;
- Black marker;
- Glue;
- Paper eyes.
Origami Tiger Step by Step
Prepare two paper squares of whatever size you want. This tiger is small, the paper is 10:10 cm in size. The paper itself is orange on one side and white on the other. Thanks to this criterion, the muzzle and ears stand out perfectly.
Folding the Tiger’s Head
Take one piece of paper.
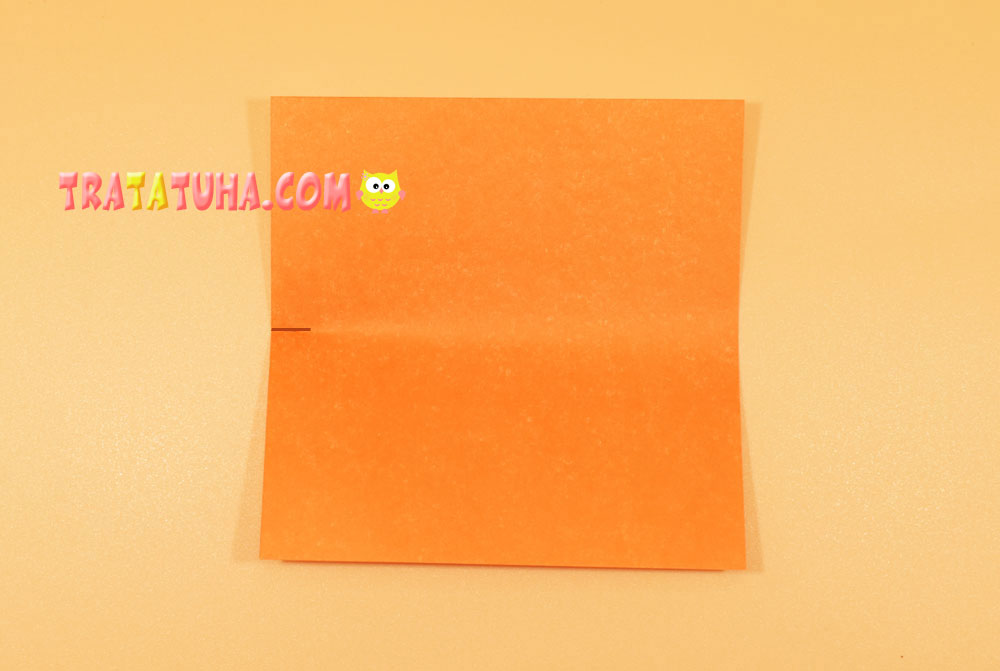
Determine on one side its middle. To do this, fold in half, but do not fold over the entire area, just press a little from one side.

We have defined the middle.
Now fold up the bottom of the paper to the marked area.
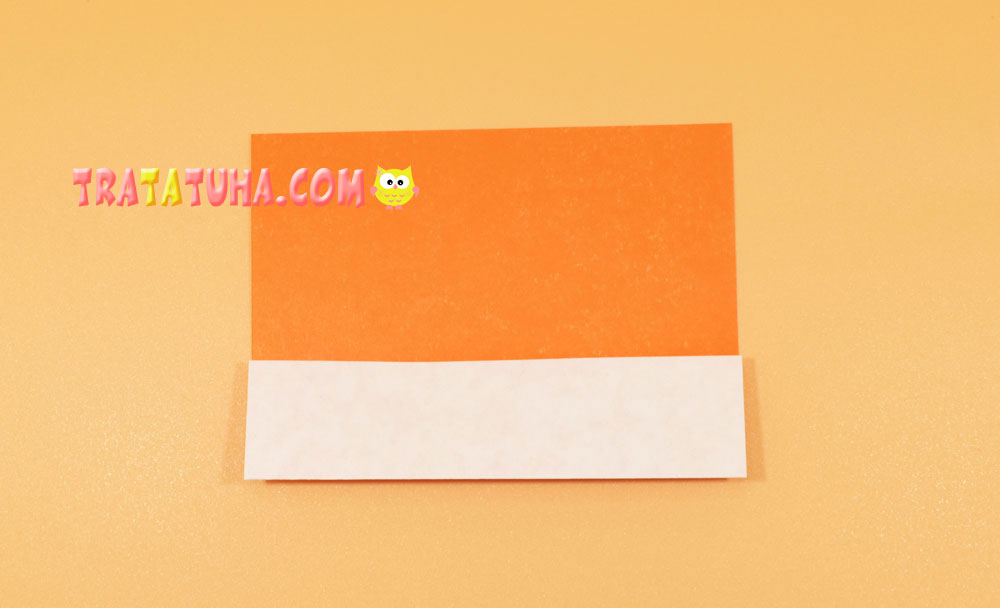
Open and fold to the resulting fold.
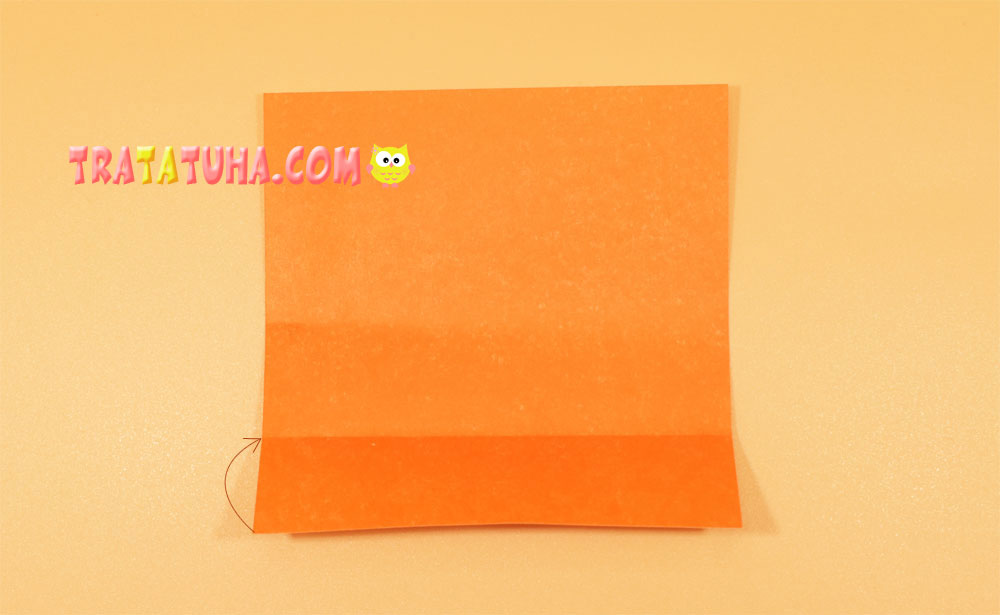
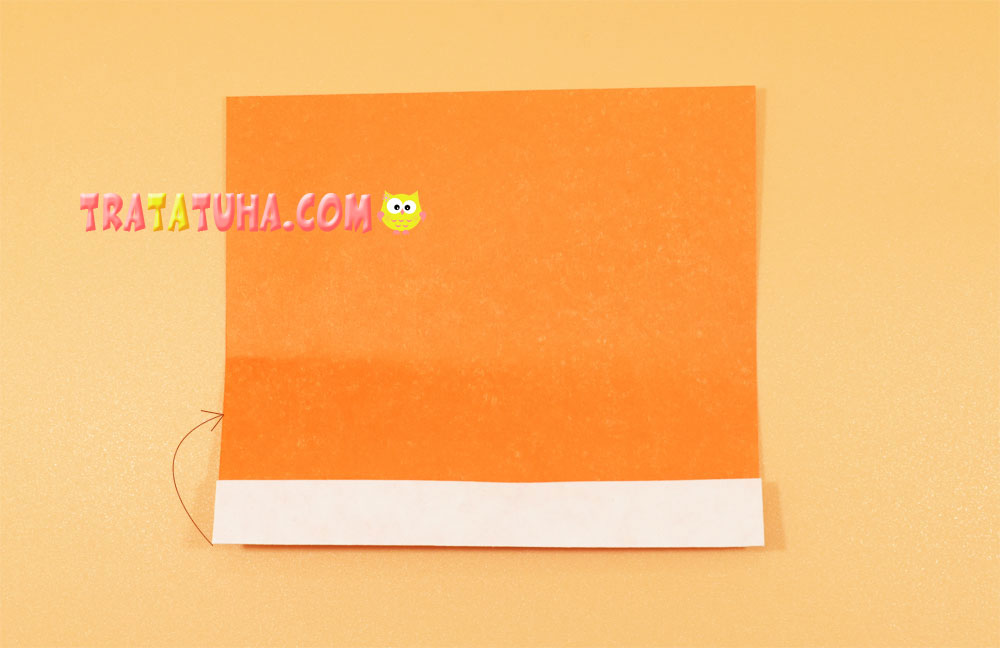
Fold up again to a distance that is equal to the white stripe.
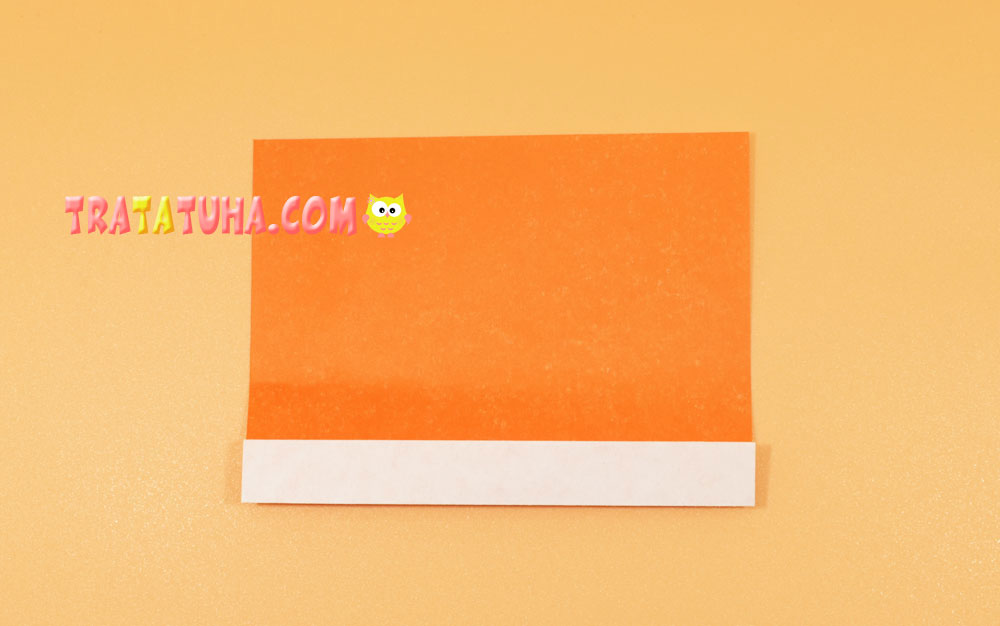
Flip over to the other side.

Lower the top side to the bottom, folding the paper in half.
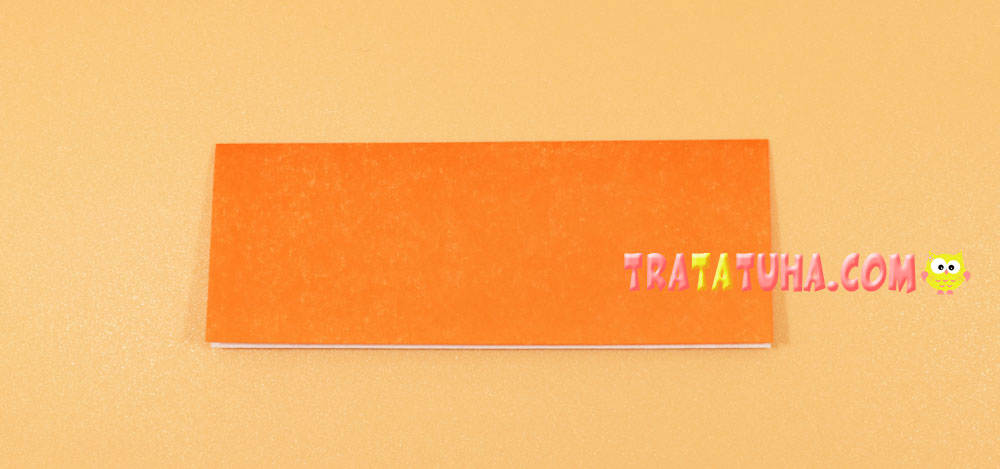
Pull the top right corner down to the bottom side.

Then fold over the top left corner.

Lift the lower right side up.

Then left.

Secure the sides with glue so they fit snugly.

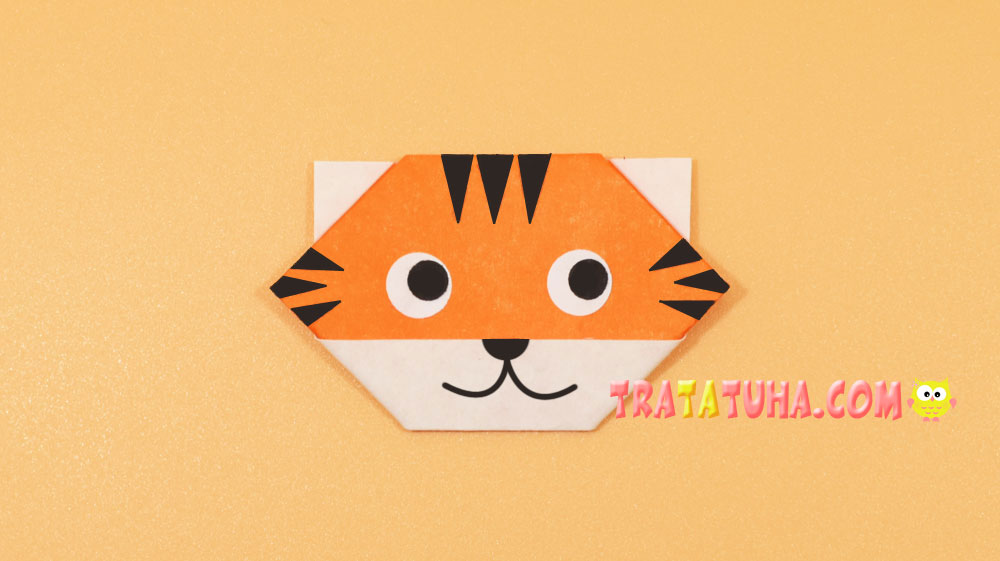
Turn over to the other side, the head is ready.

Draw black stripes or triangles, a nose, a smile. Glue your eyes.
Origami Tiger Body
For him, we need a second piece of paper in the shape of a square.
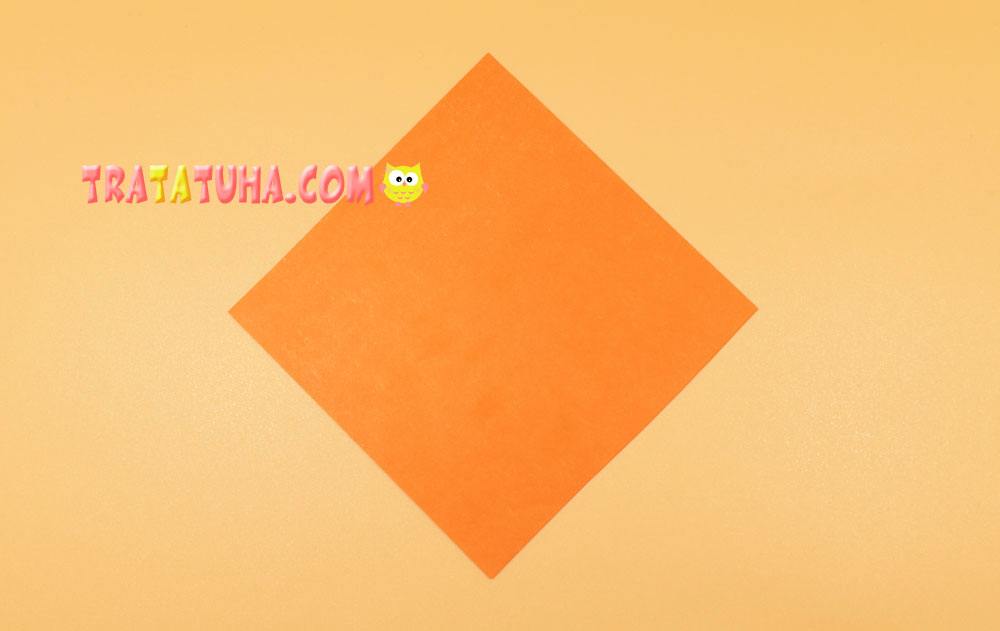
From it you need to make a basic origami shape – a double square. To make it easier to make, on the surface of the paper you need to make 4 intersecting folds. Fold the square into a triangle, open and fold again, but now connect the other two corners. The first 2 folds are ready.

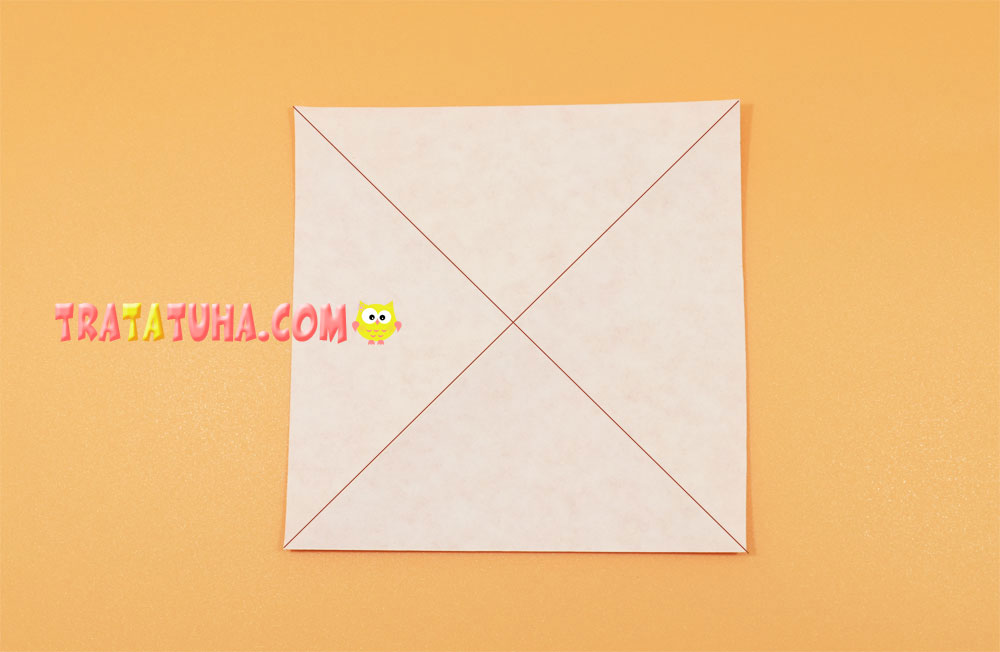
Now fold the square into a rectangle, open it and fold it again, connecting the other two sides.
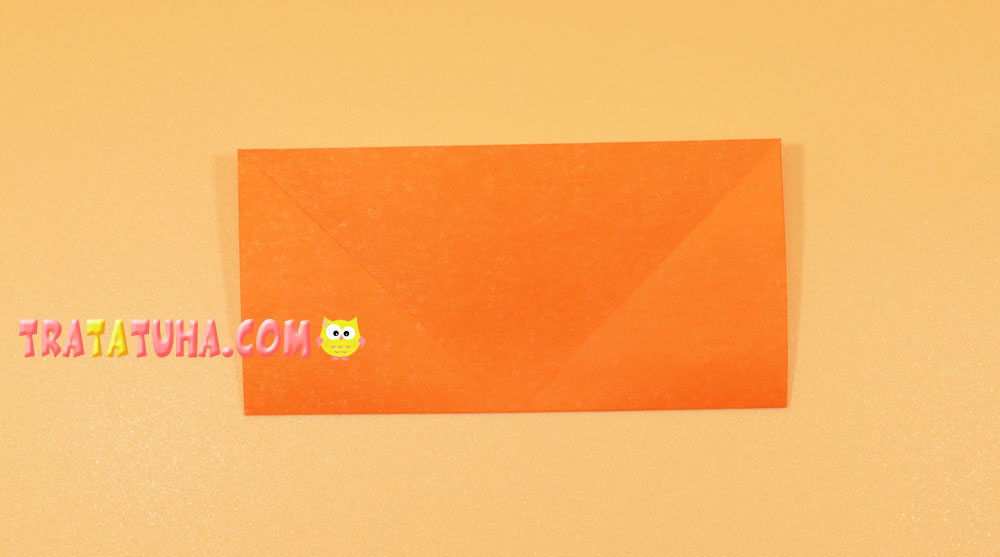
This is how the paper should be folded.
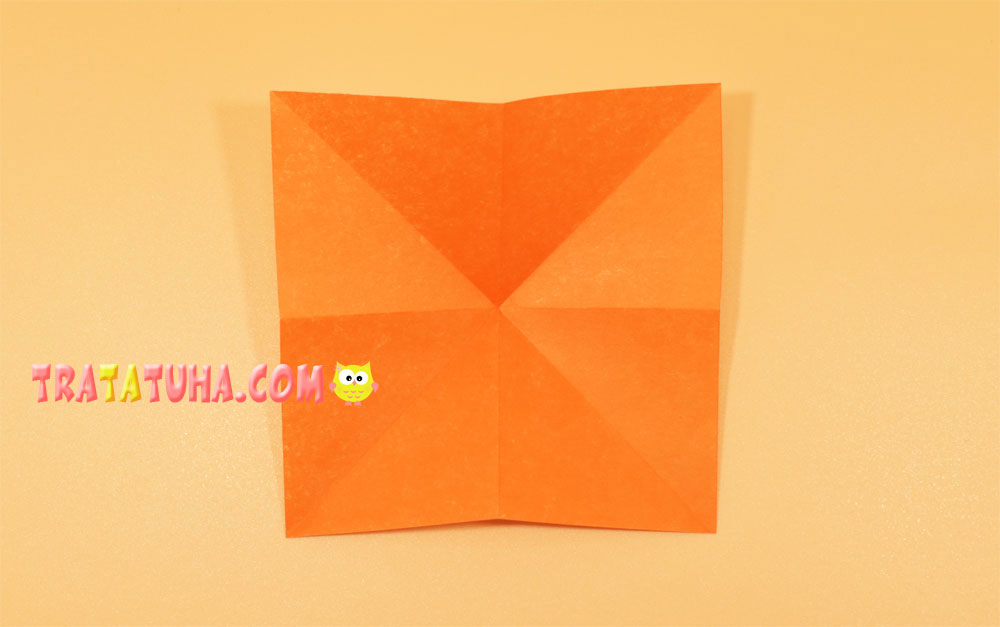
Direct the horizontal fold inward, while lowering the top corner to the bottom corner.
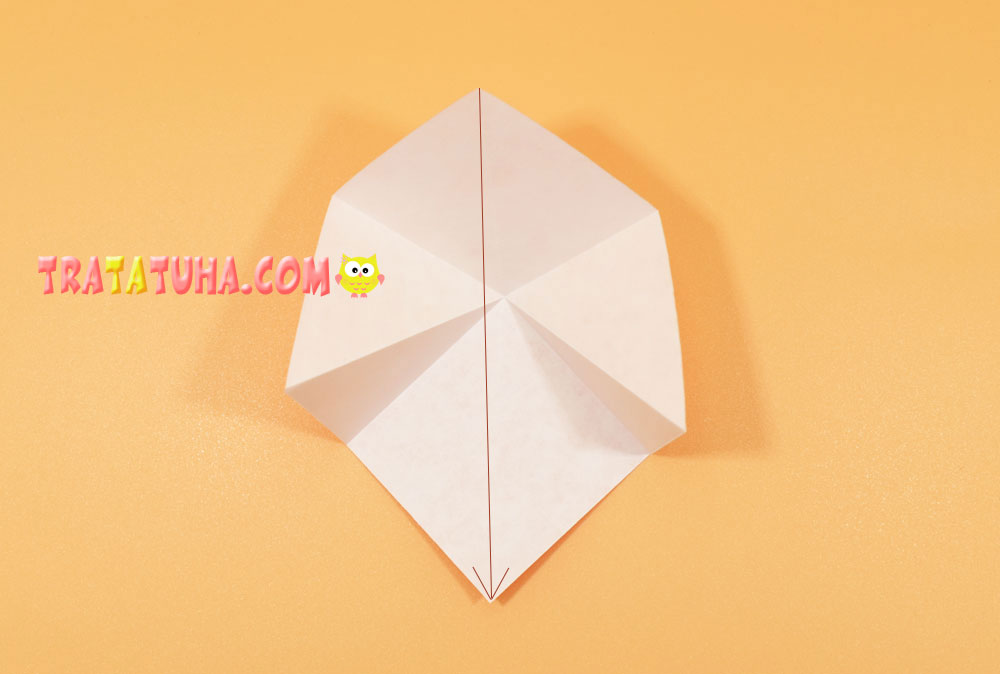
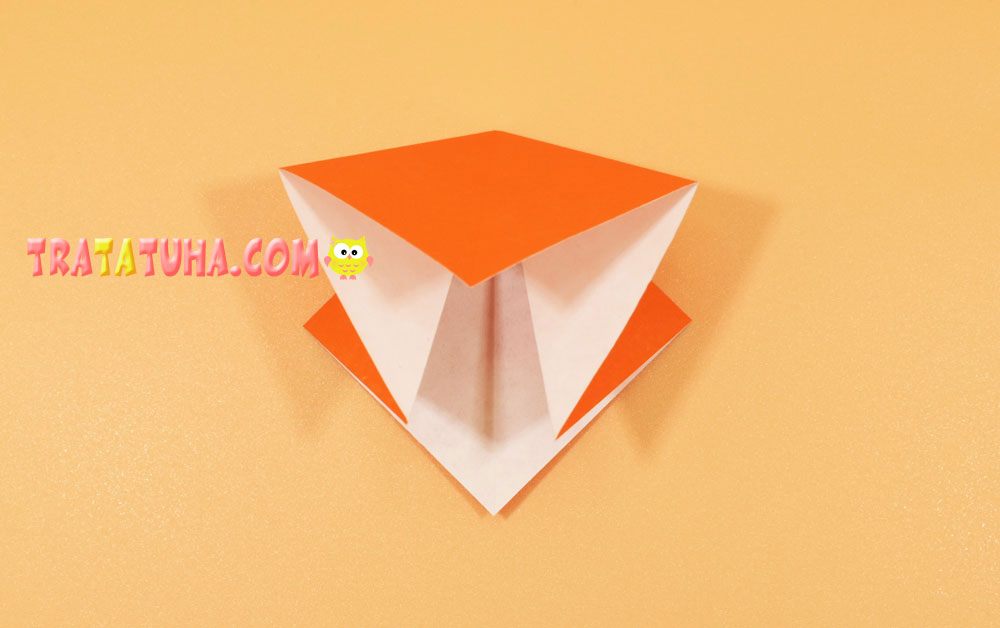
Press on the folds. The double square is ready.
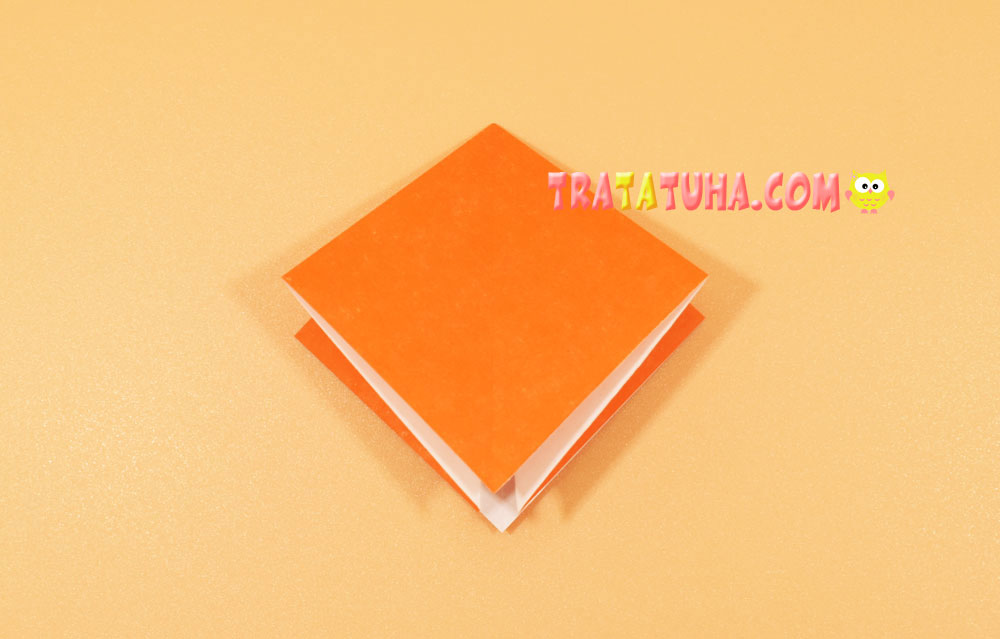
Bend the top of the square to the middle, starting from the right.
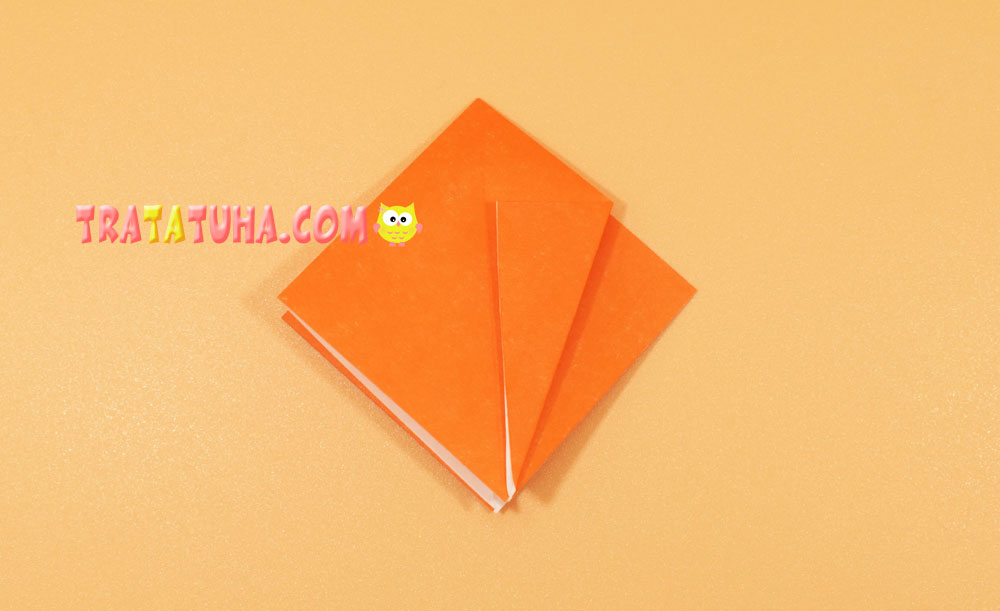
Then to the left.
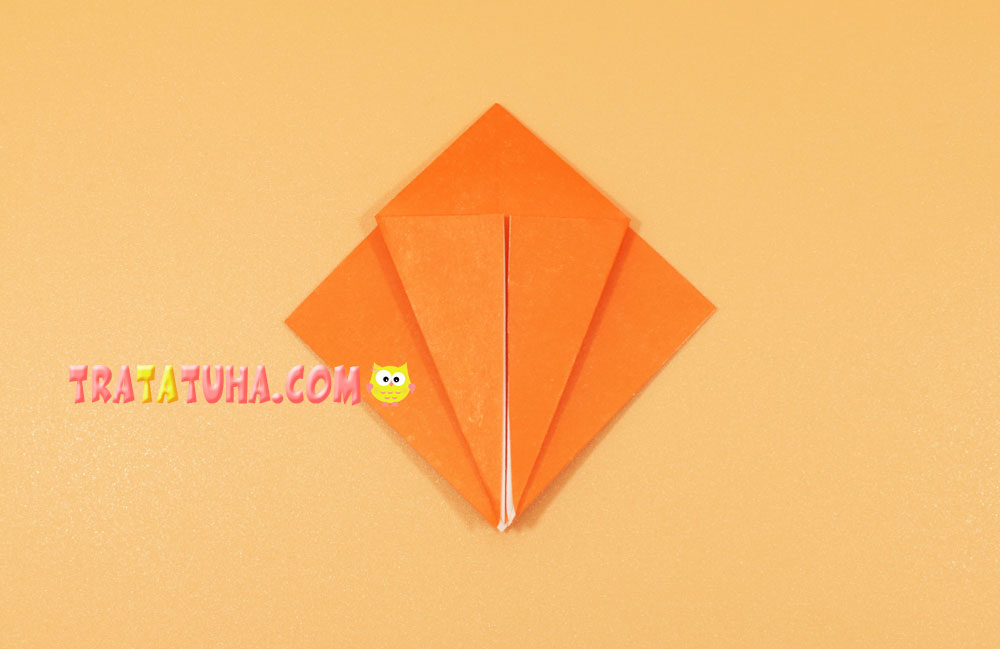
Pull the top corner down.

Now lift the top corner back and expose the sides of the top layer of the square.
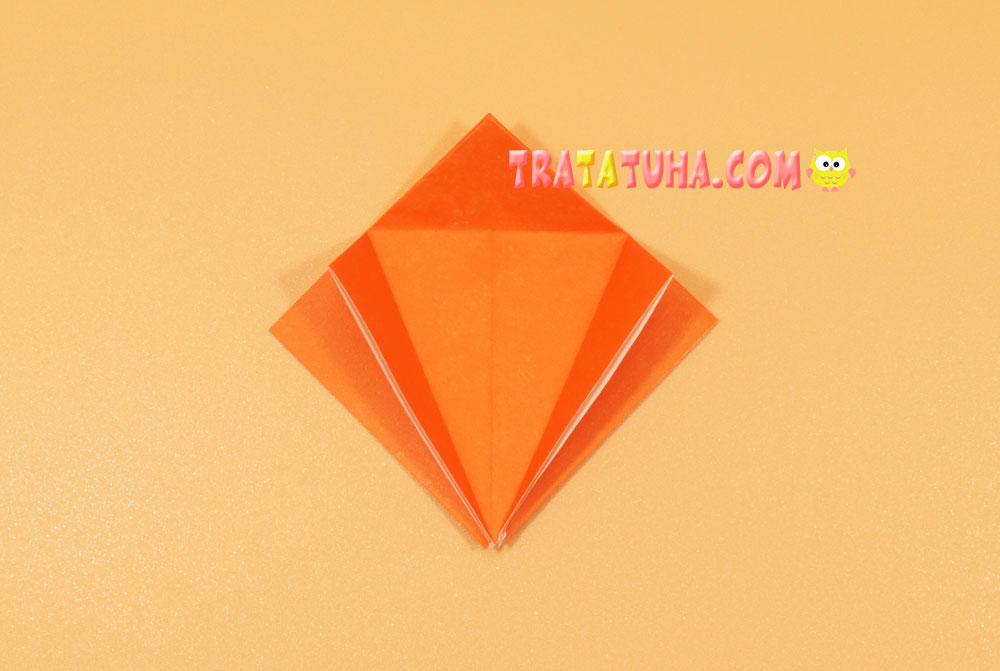
Drag the bottom corner, affecting only the top layer.
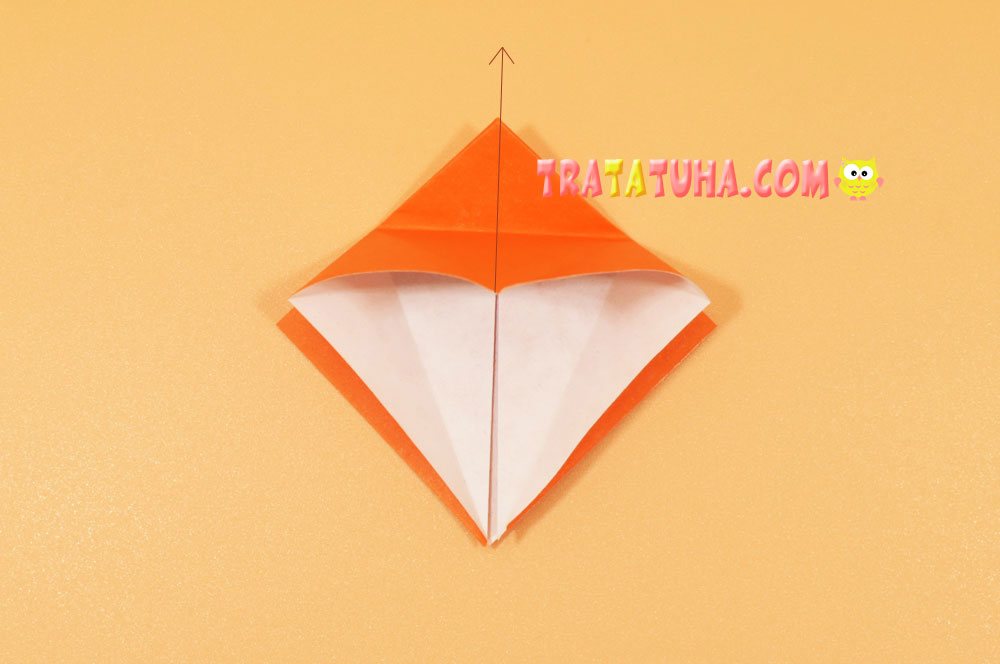
Lift the corner up, along the way directing and straightening the sides inward to get such a rhombus.
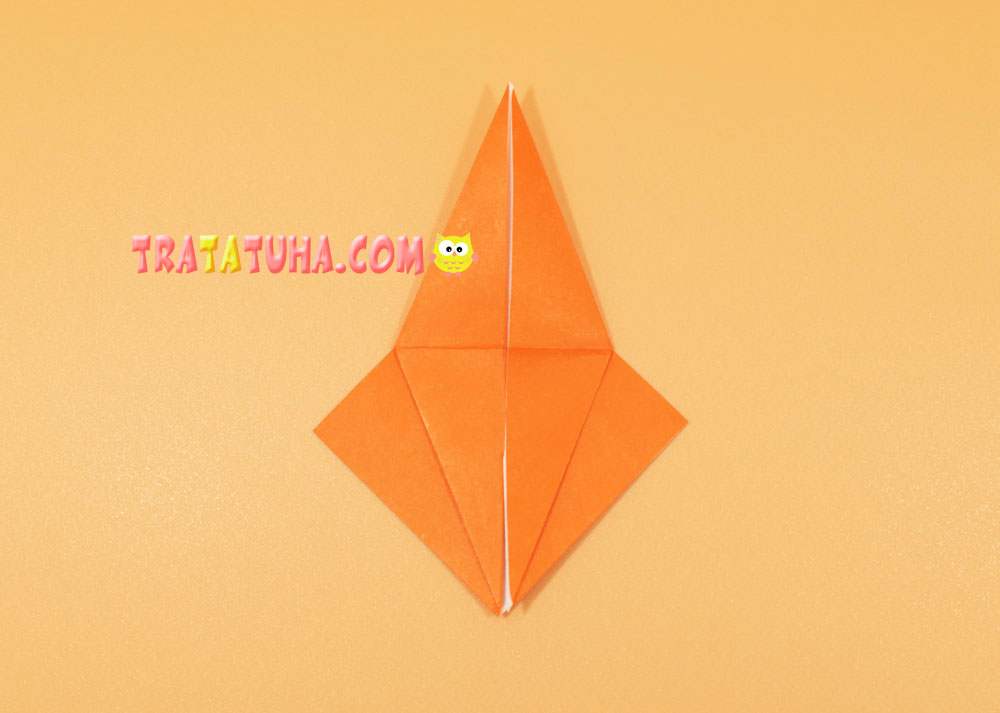
Flip over to the other side. And from this side you need to make exactly the same rhombus. To do this, repeat all the steps that we did on the other side.
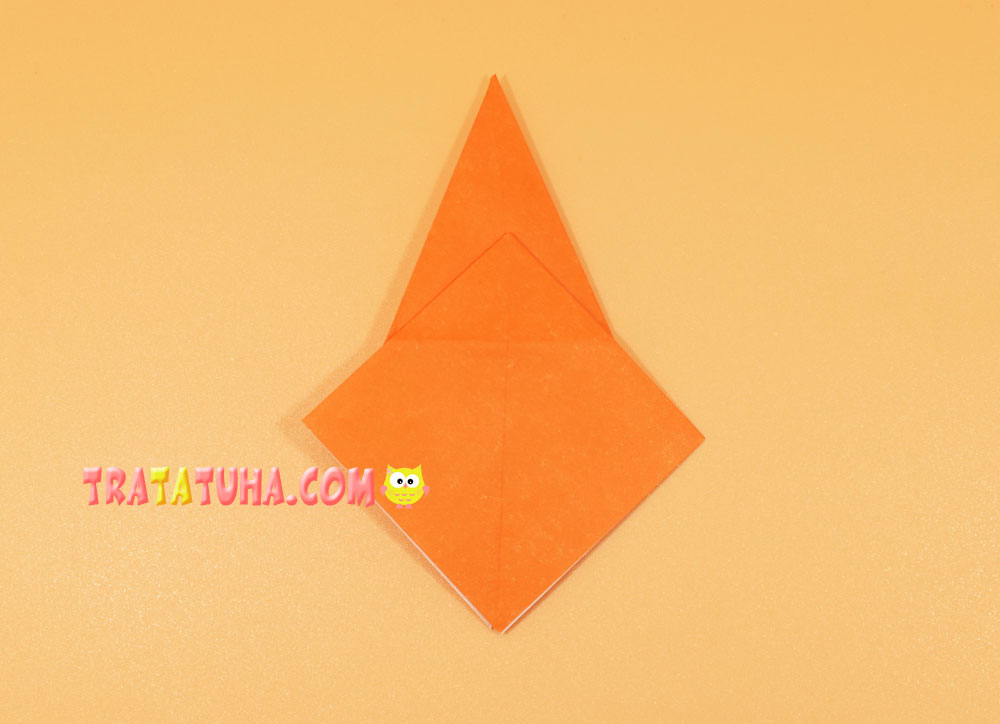
Fold the sides of the square to the middle and lower the top corner.

Open all corners: top and side.
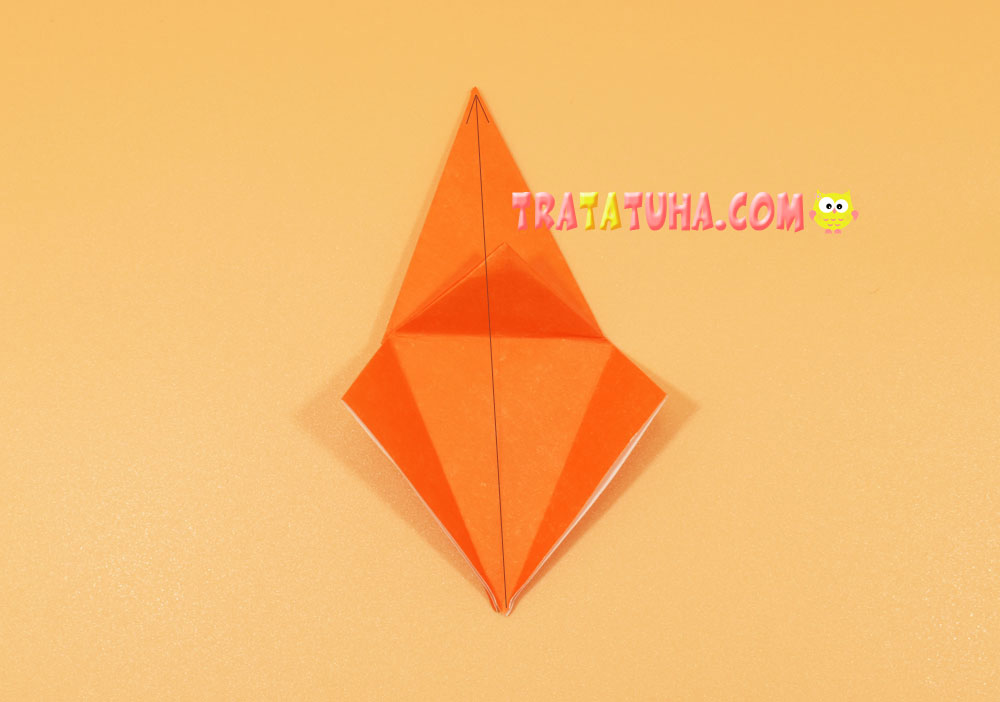
Direct the bottom corner to the top, and close the sides vertically.
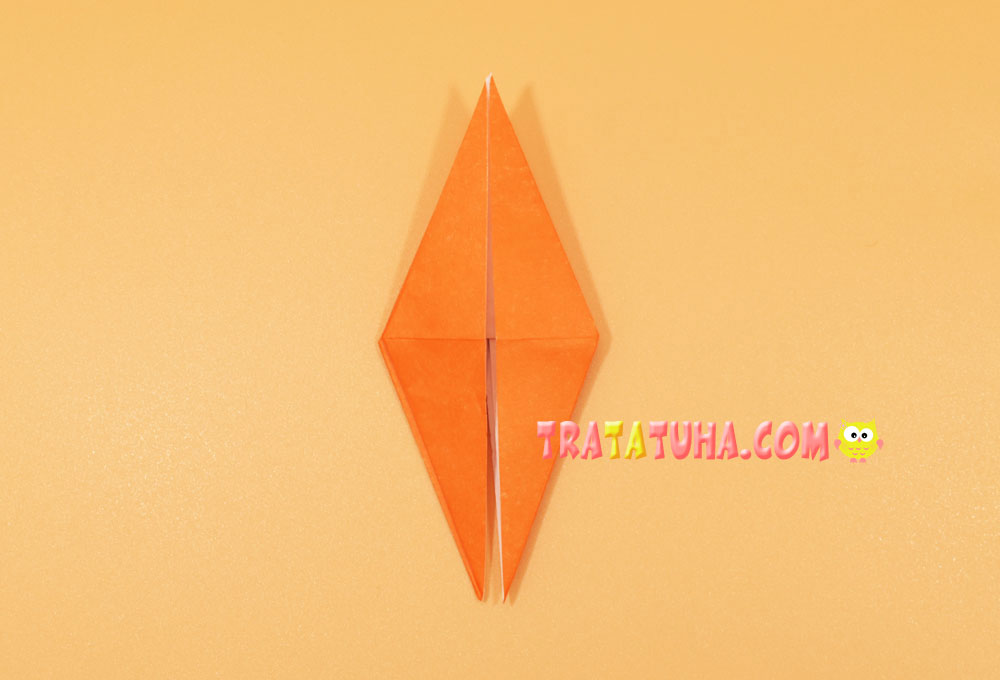
Move the right side of the top piece to the left.
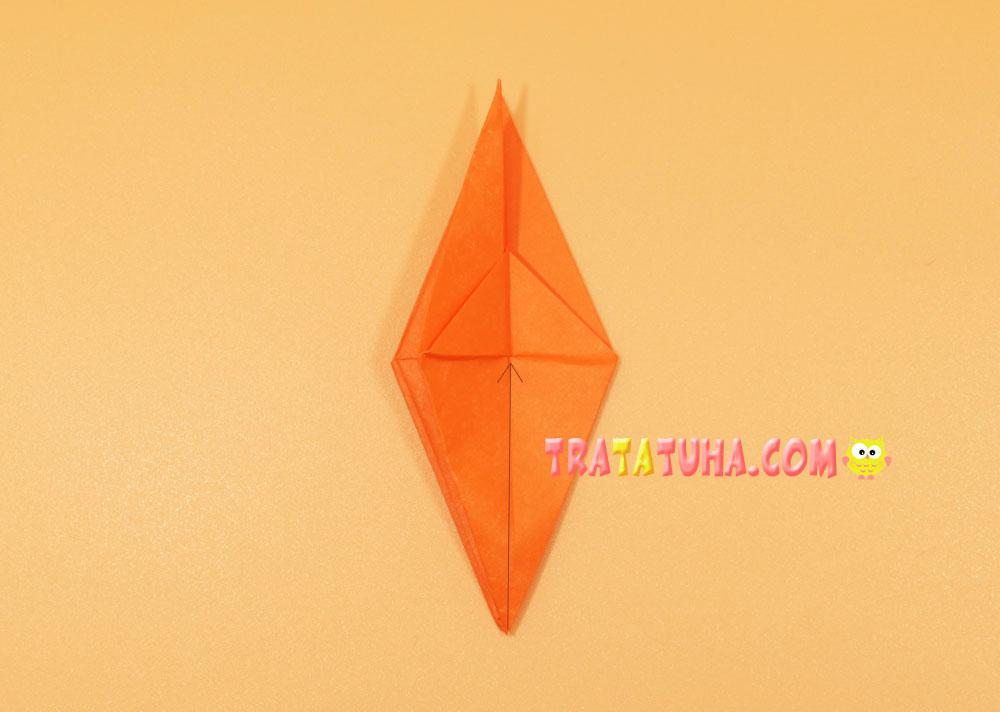
Fold the bottom corner towards the middle.

Bring the moved side back to the right.
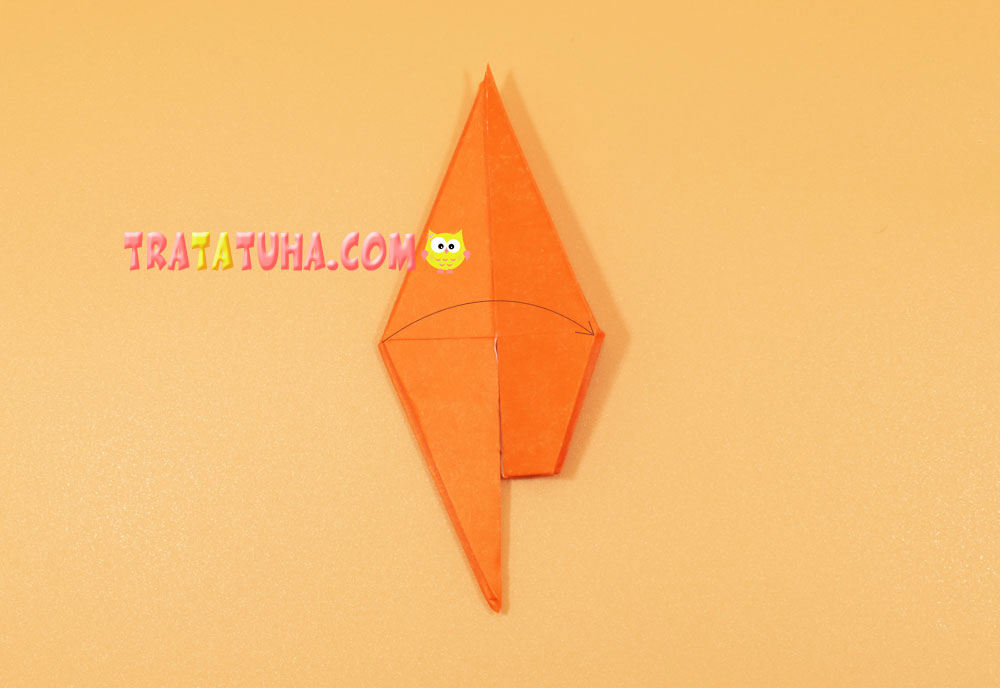
In the same way, you need to bend the lower left corner. First move the left side of the paper to the right.
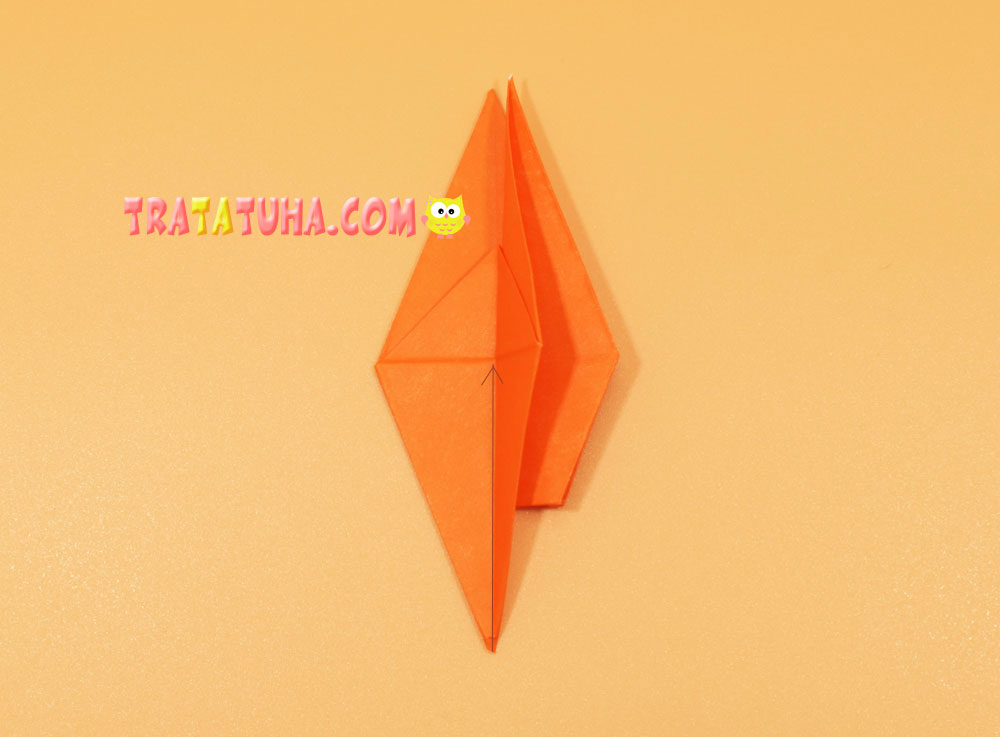
Fold the bottom corner up there.
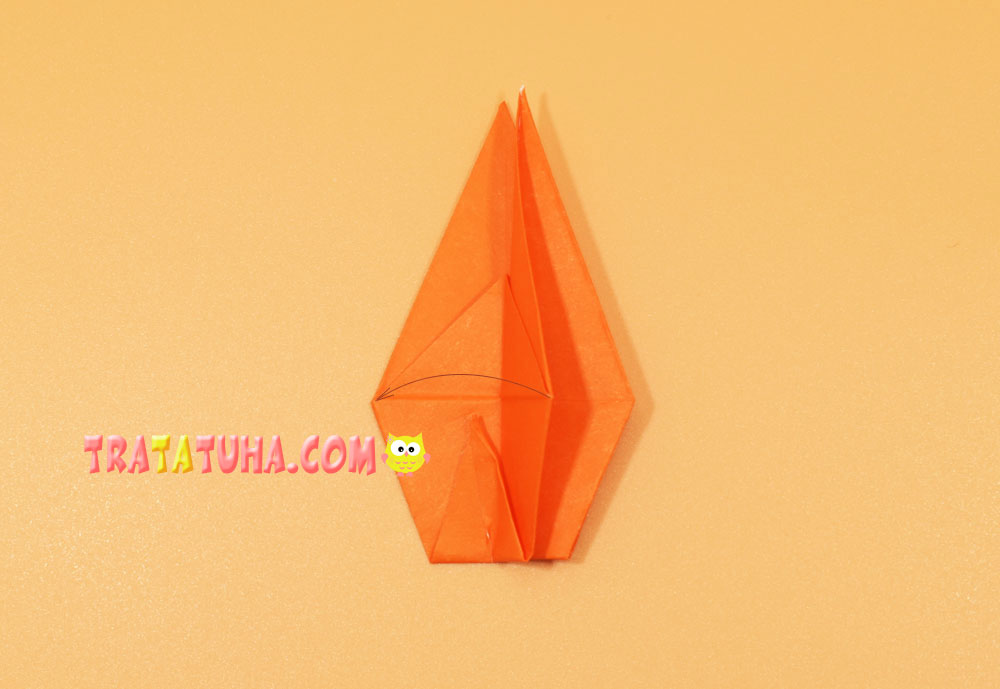
Bring the side back to the left.
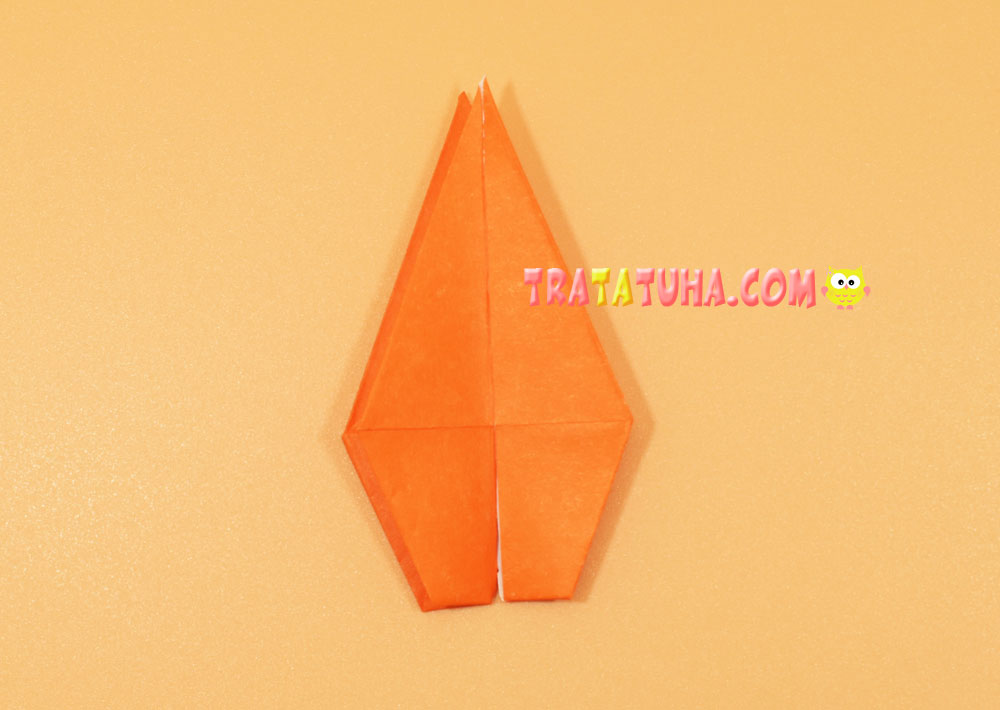
Lower the top corner down, as shown in the photo. Do not use the bottom layer of paper in this case.
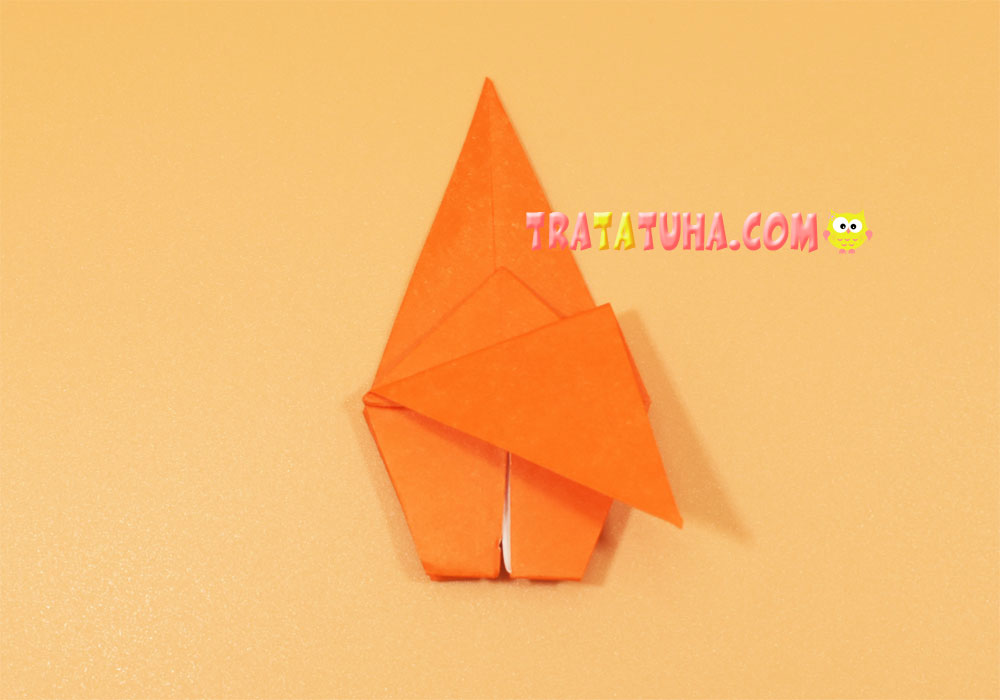
Lift the same corner up and to the right.

And then bend part of the corner again to make the tail thinner.
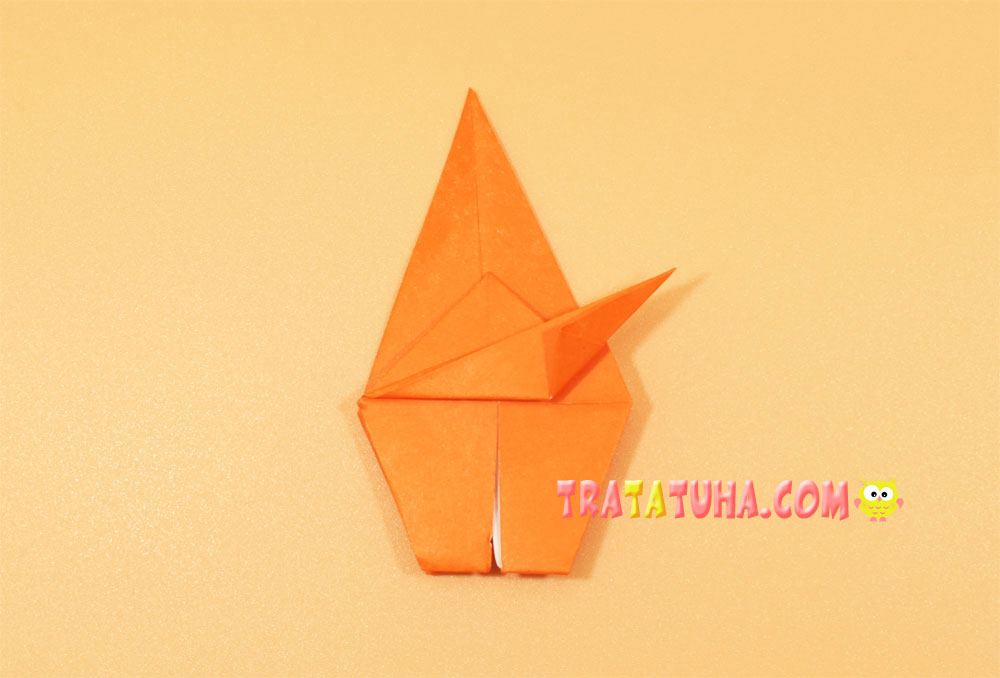
Flip over to the other side, the body is complete.
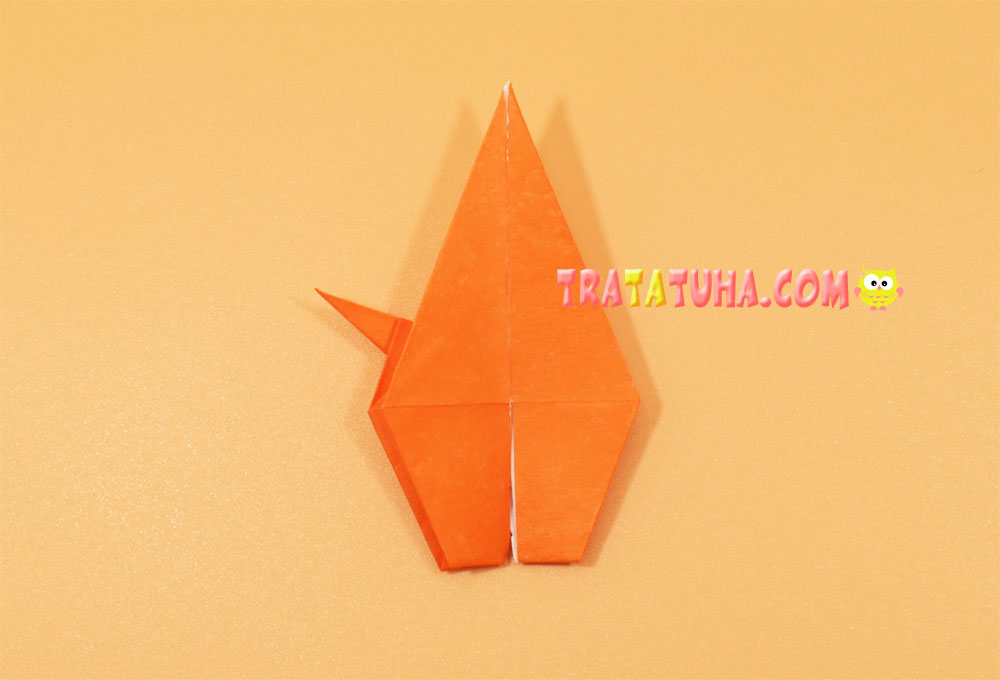
There is a small pocket at the bottom of the head, put the top corner on the body into it. For reliability, both parts can be fixed with glue.
Draw black markings characteristic of a predator on the body and tail. That’s it, the origami tiger is ready.

See also other tutorial of Origami Animals.
Many other ideas in the collection of Paper Animals Craft.
Crafts for Kids – learn how to make craft at home! Super cute crafts for all age groups!



Hii sir will send you the English work