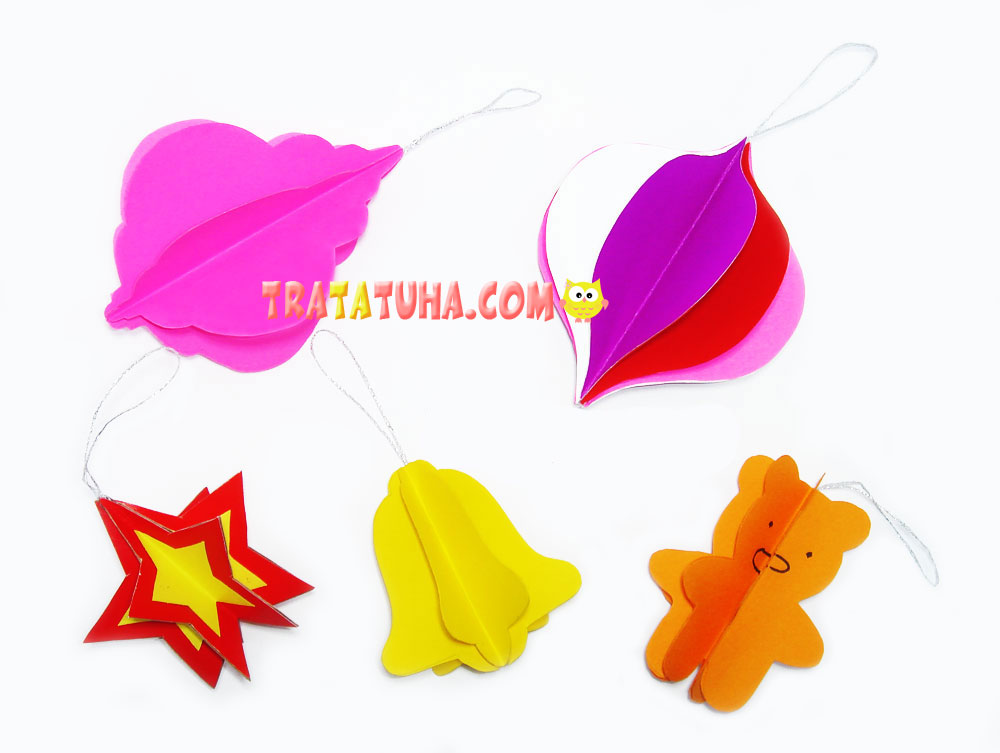
All the children are fond of decorating the Christmas tree but they will also love to make voluminous paper Christmas decorations on their own. Since it is extremely amusing to decorate the tree with your own crafts, look at them every day and demonstrate to others.
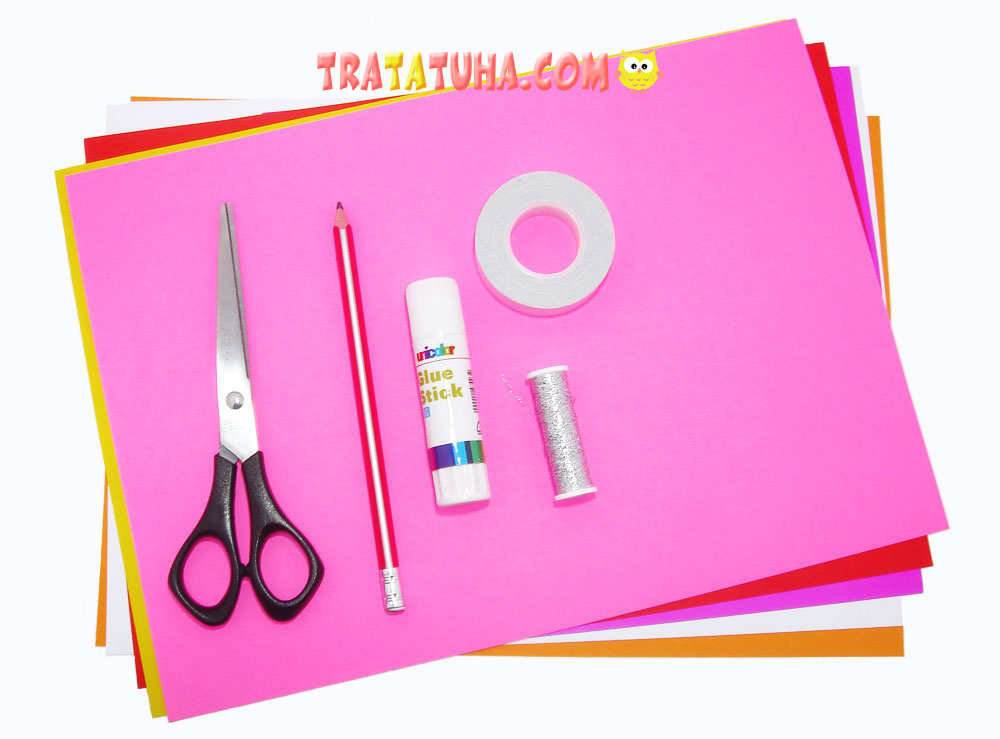
To make the crafts you will need:
- Coloured construction paper of various colours (not too thick);
- Threads, a ribbon or a string (take your pick);
- Double-sided or common adhesive tape;
- A glue stick, scissors, a writing pencil.
Voluminous paper Christmas decorations step-by-step
1. Bell
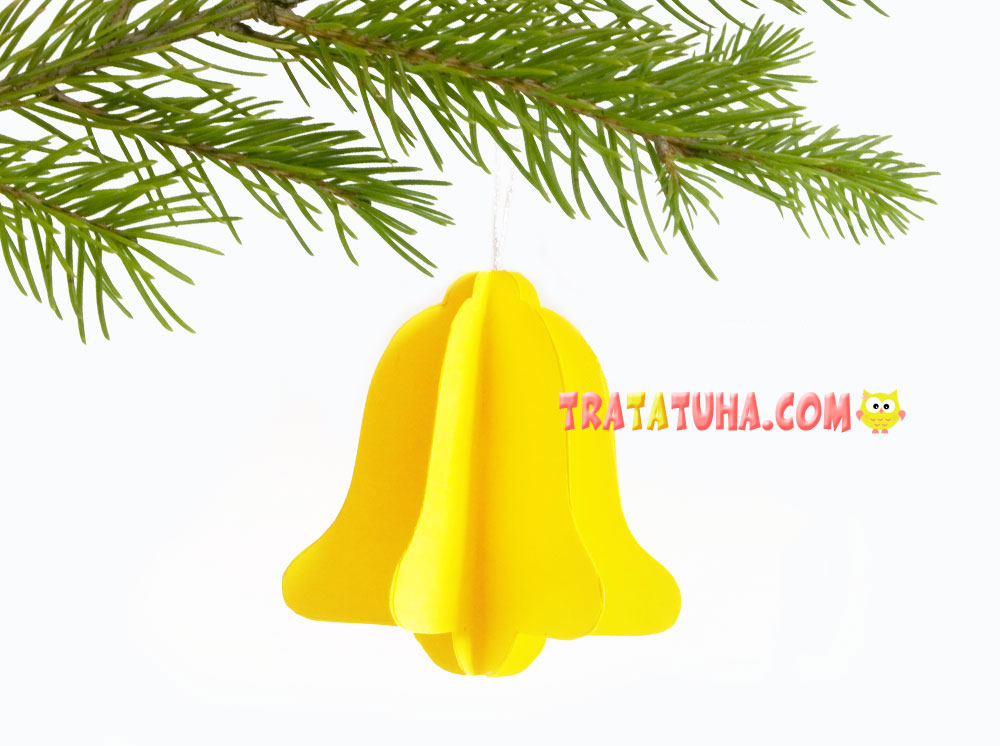
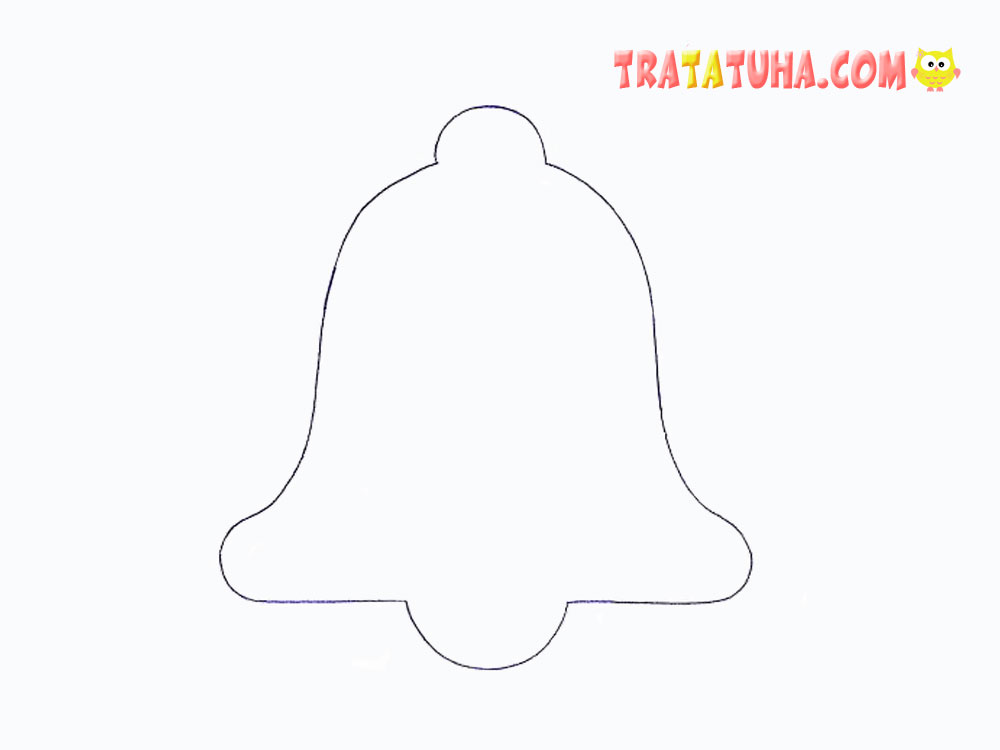
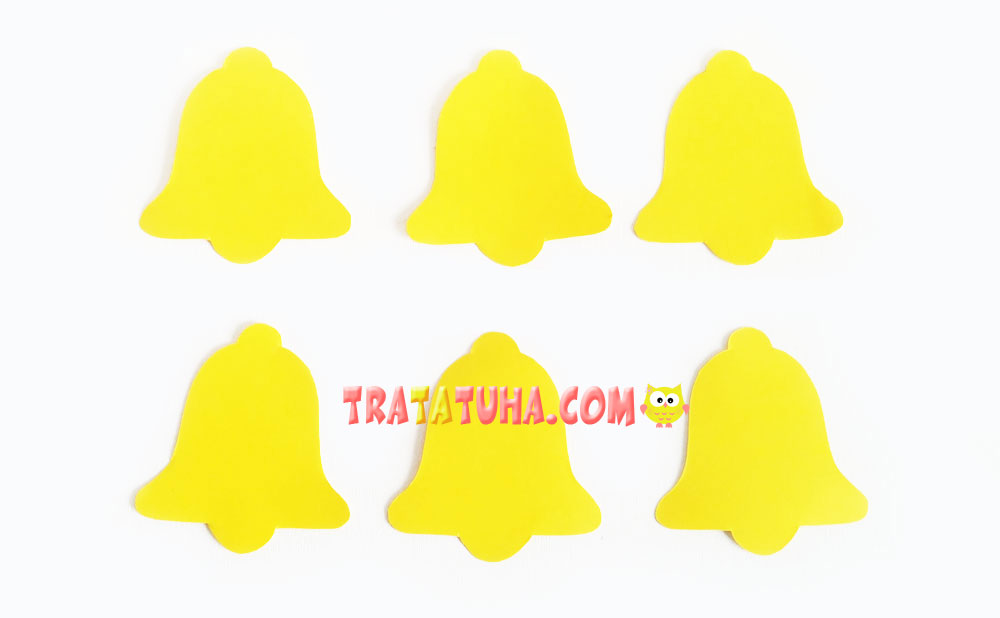
Use this or any other pattern found on the Internet to outline and cut out 6 flat bells.
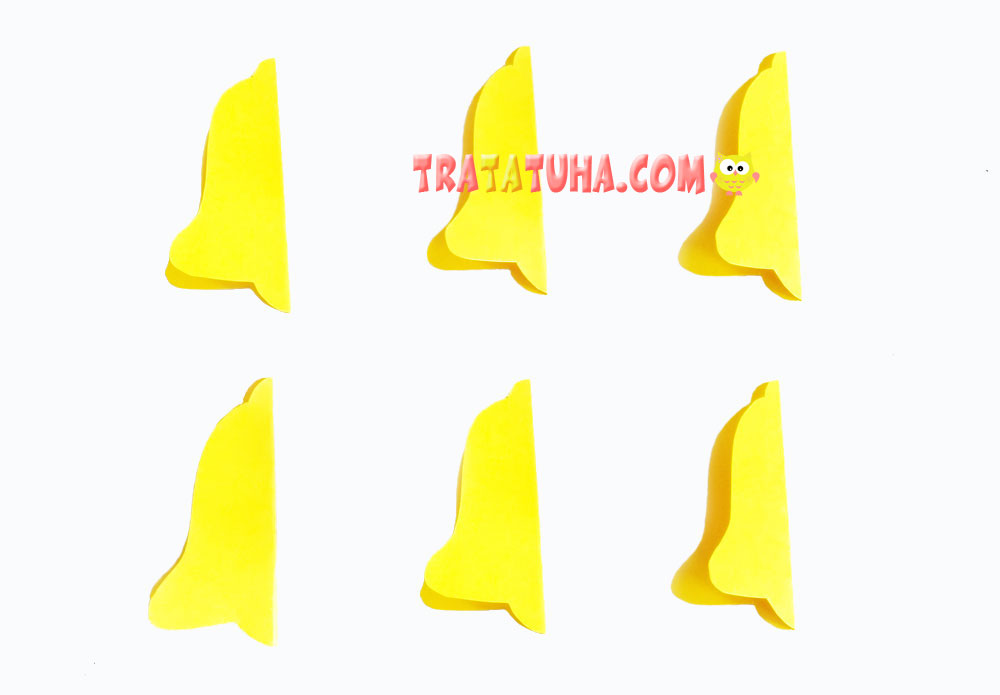
Fold each of them in half trying to match the edges thoroughly.
Glue a half-side of one detail together with a half-side of another detail.
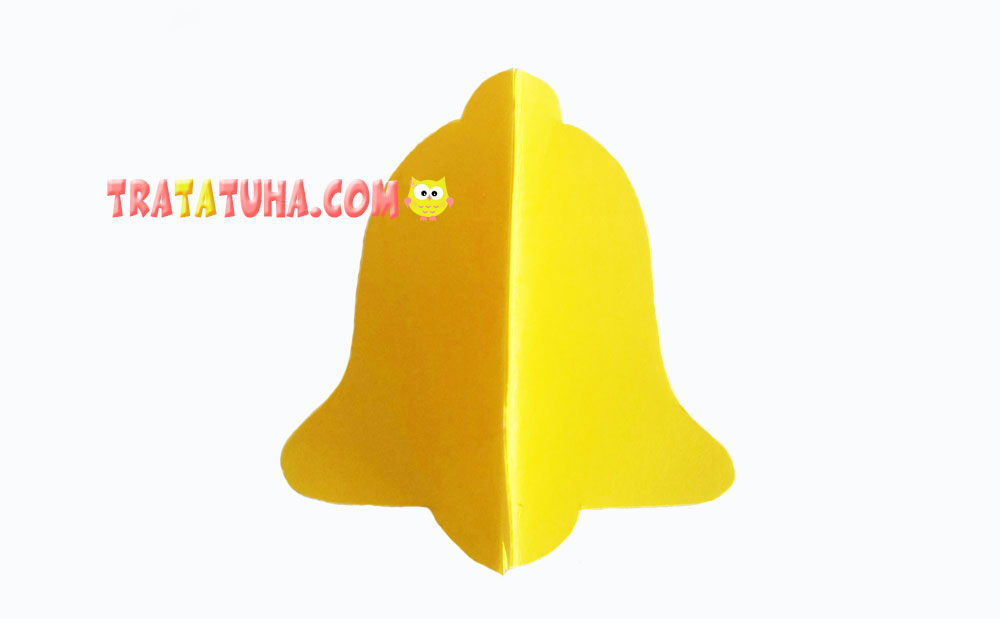
Glue all the 6 details together; then, insert a thread in the center and fix it with adhesive tape. In fact, glue is also suitable for the task, but you will manage quicker and more secure using adhesive tape.
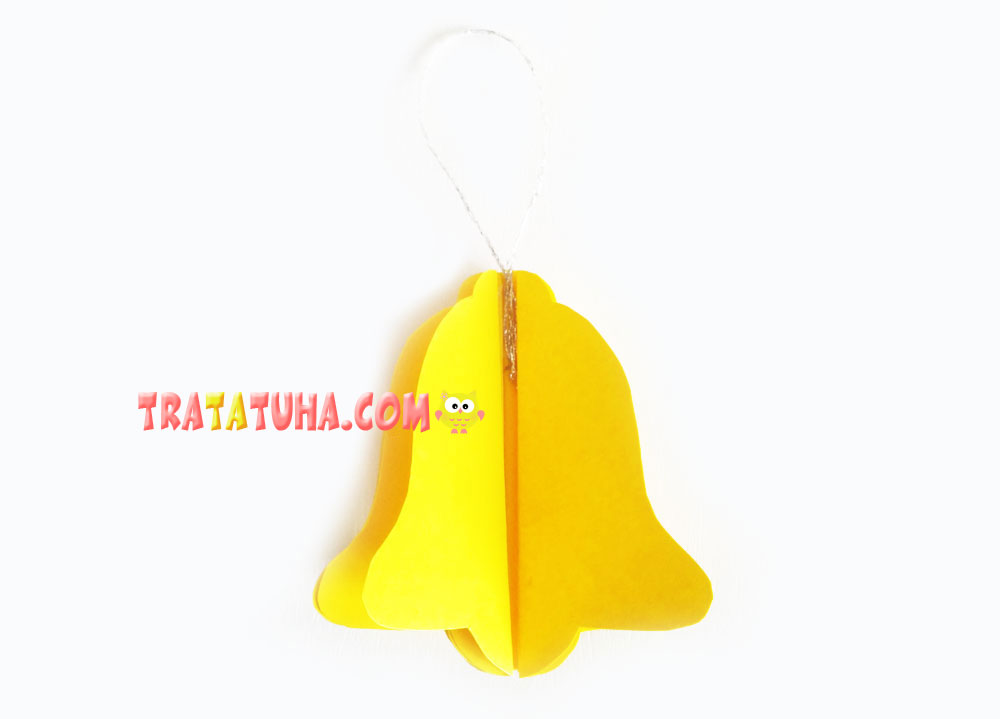
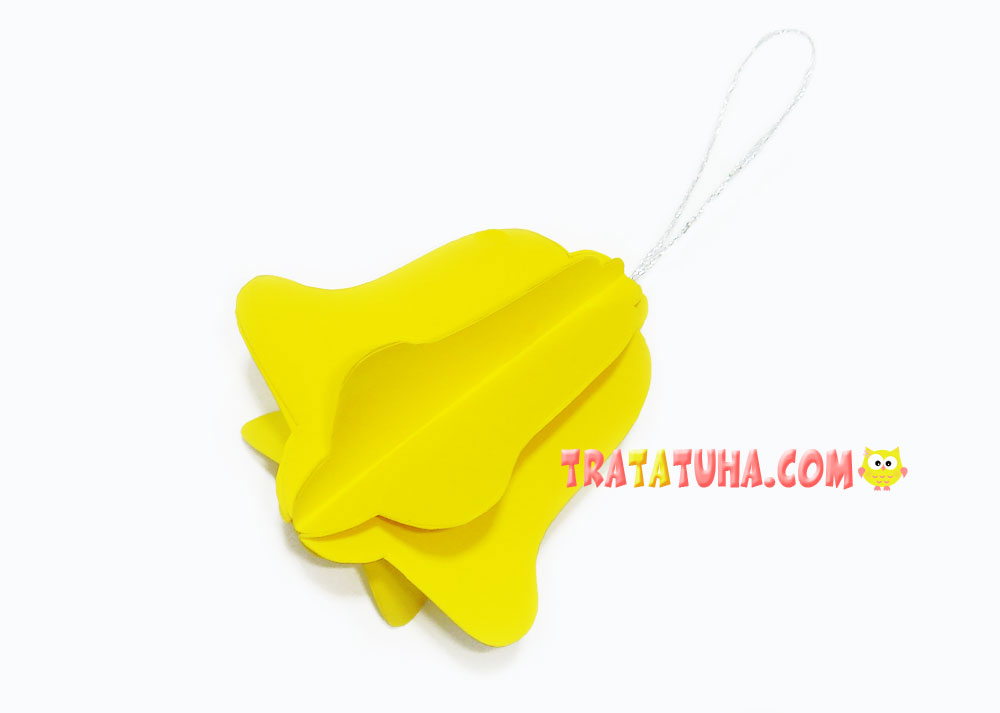
Glue together the last two sides to make the solid voluminous bell for the Christmas tree.
2. DIY complex Christmas decoration
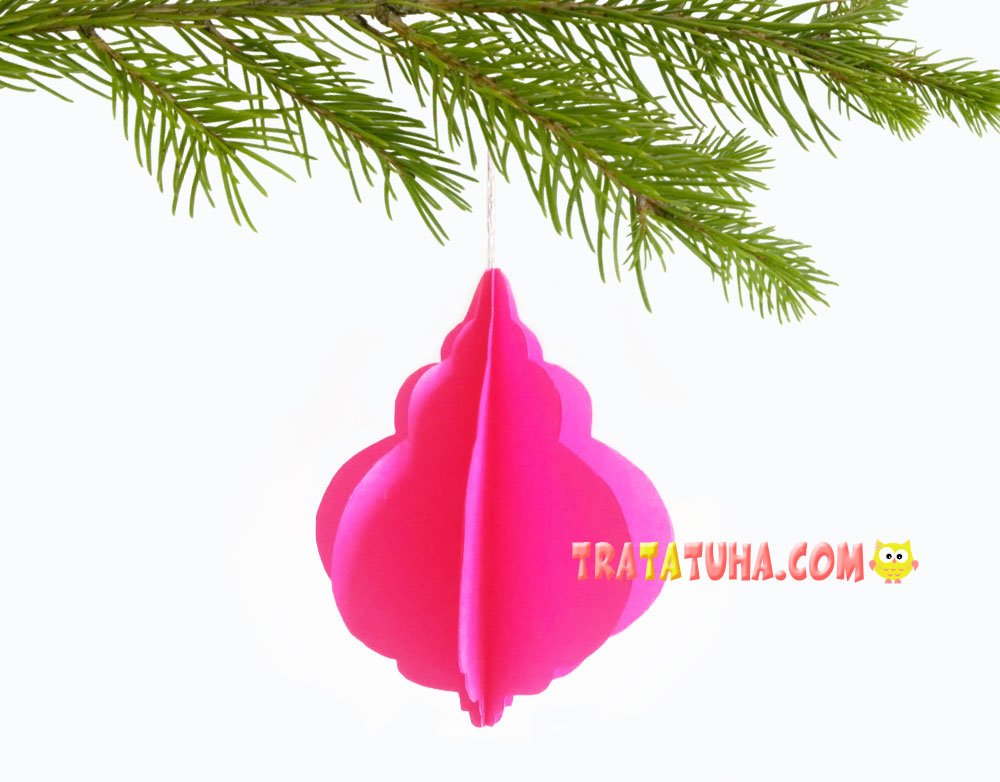
Copy or print the pattern.
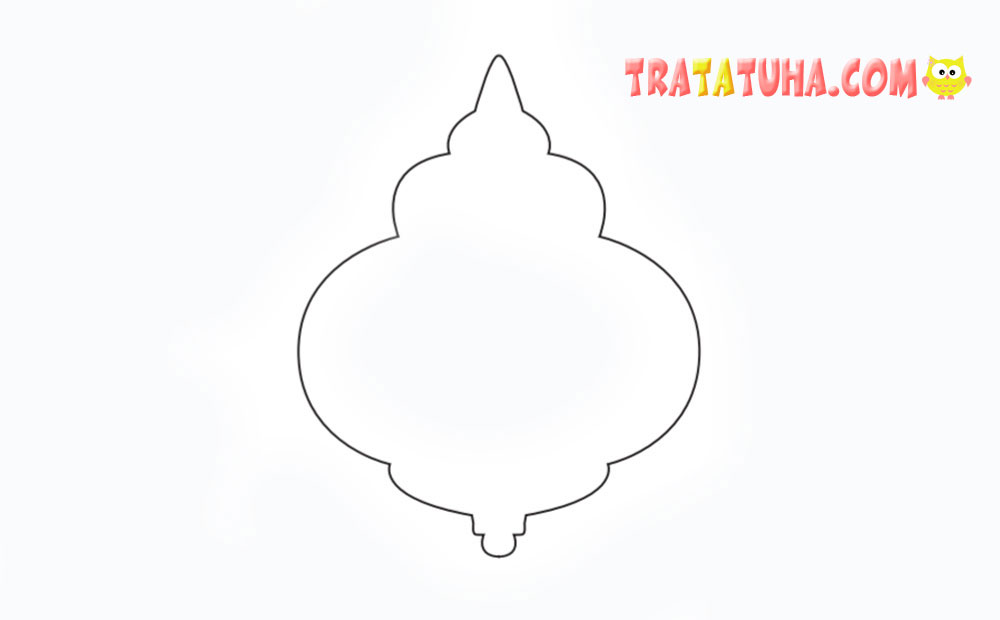
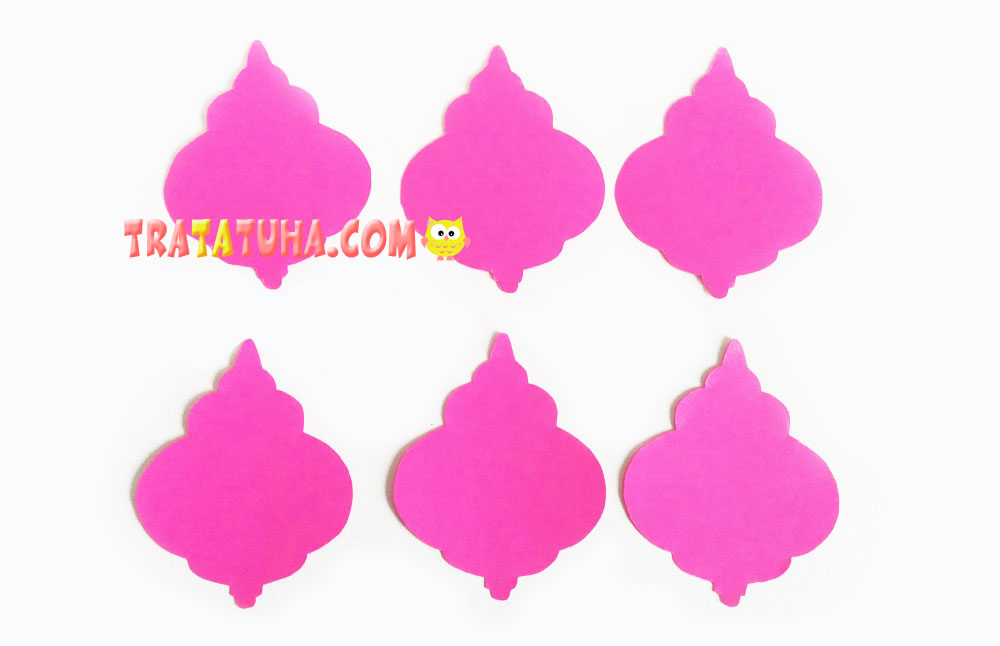
Cut out 6 figures.
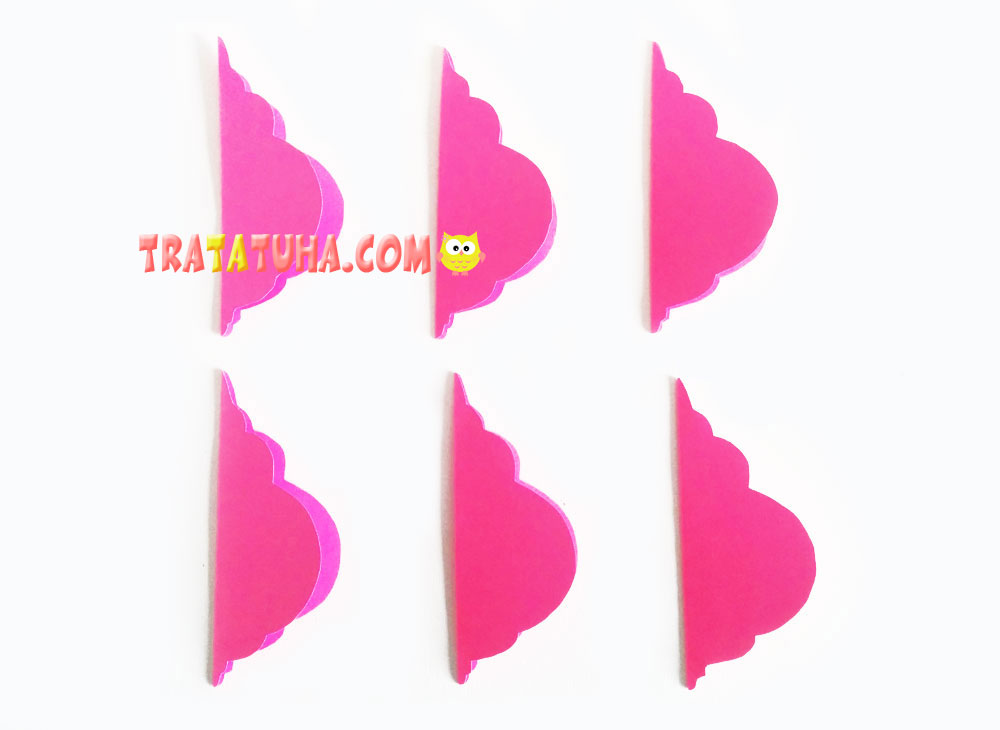
Fold them in half.
Take one detail and cover the half of it with glue; glue it together with a second detail’s side matching the pattern.
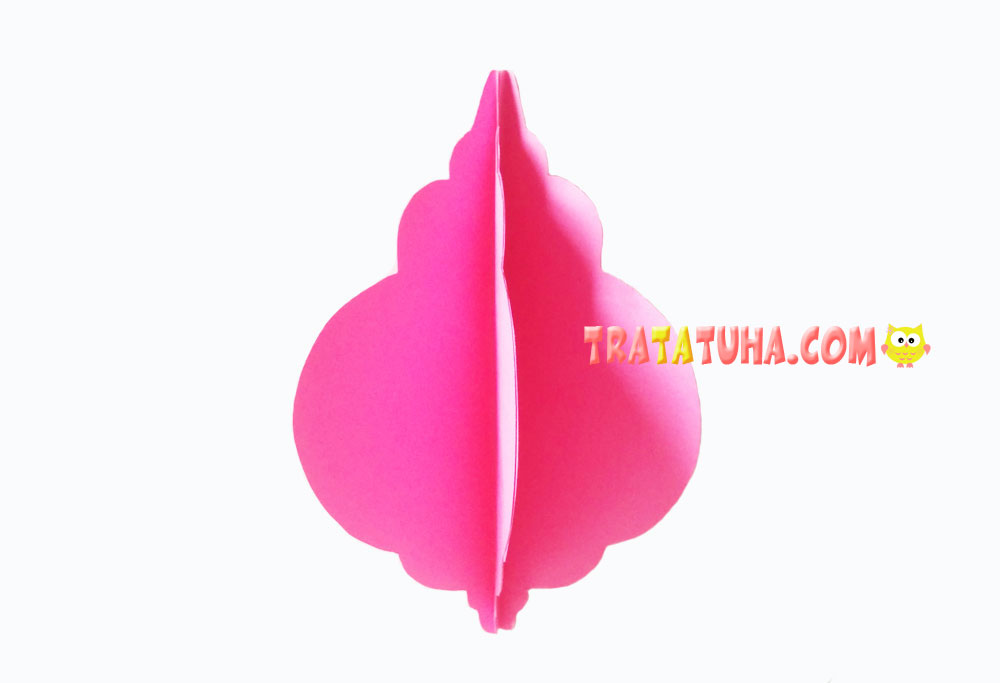
Repeat the step until you have glued all the 6 details.
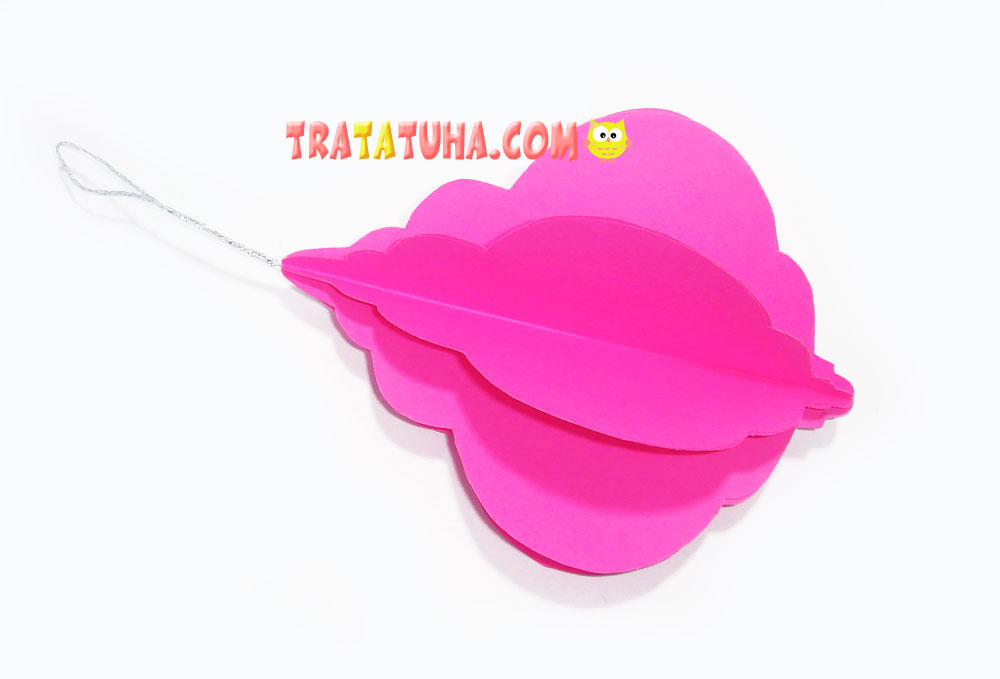
Before gluing together the rest two edges don’t forget to put a thread or a string in the middle of the decoration and make a loop out of it.
3. Colourful whip-top as the Christmas tree decoration

Now, let’s make the task a bit more complicated although it still remains as easy as the previous ones.
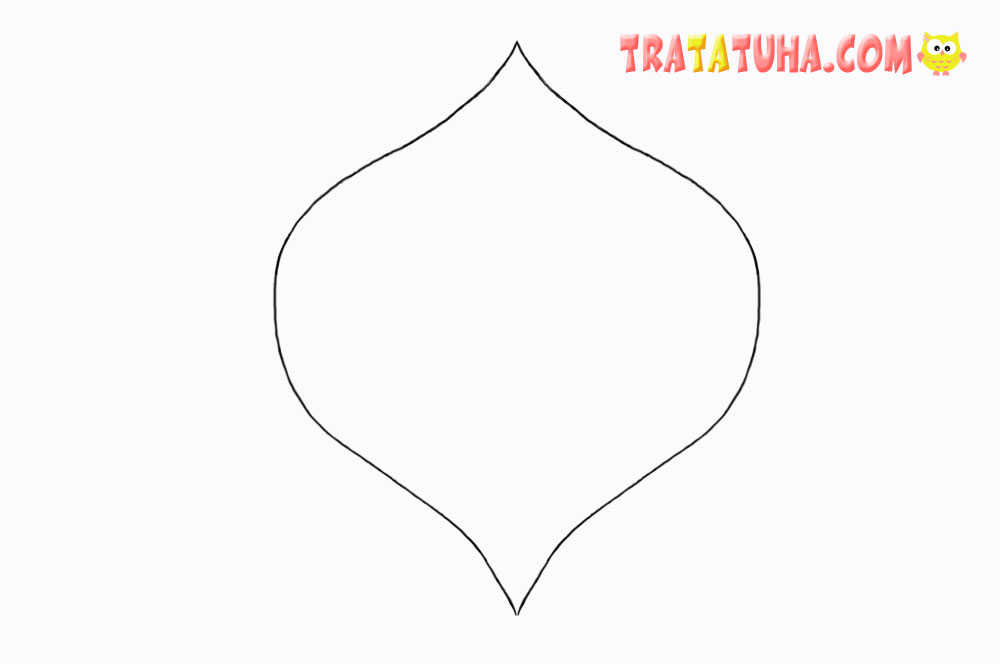
Use the pattern to cut out 6-8 details of various colors. Optionally, you can have repeated colours.
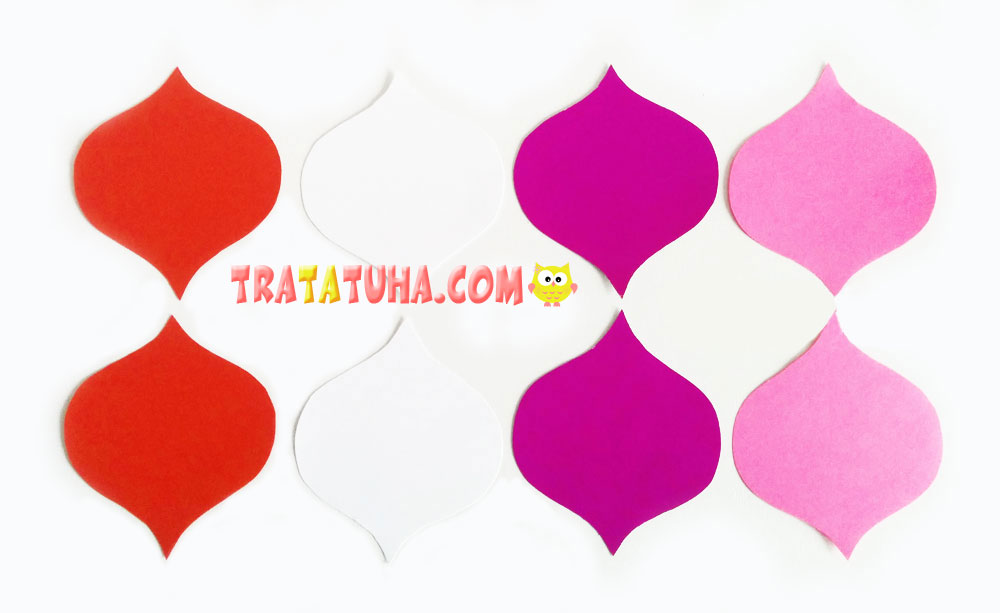
The following steps are similar to those of creating previous paper Christmas decorations. Fold all the blanks in half.
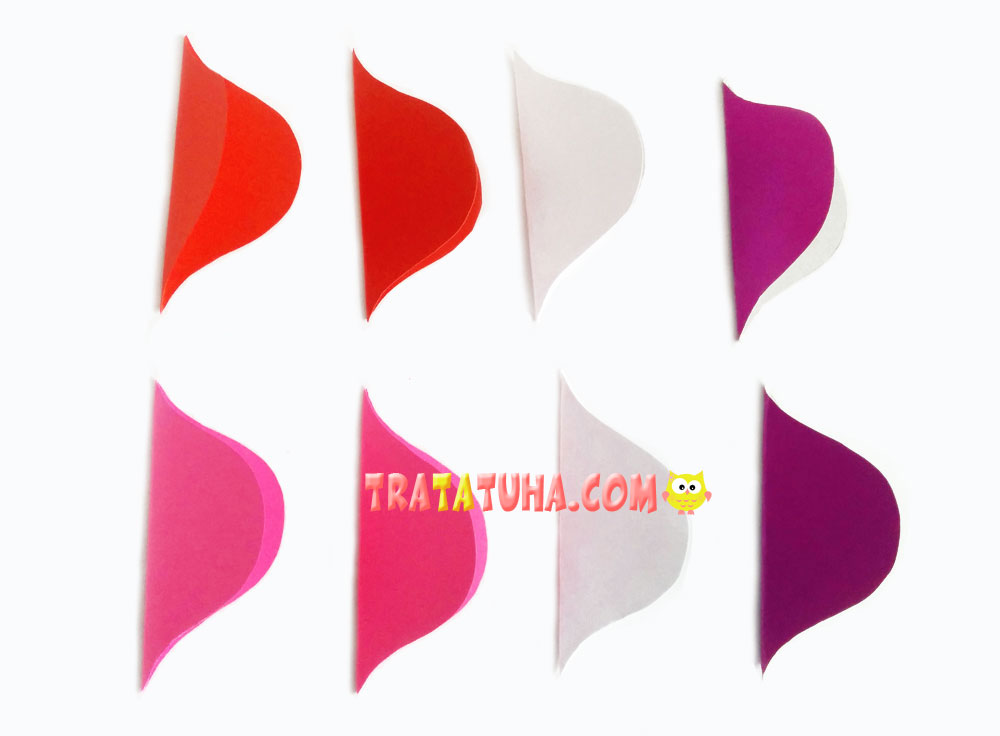
Glue the sides together; don’t forget to insert a thread loop in the middle.
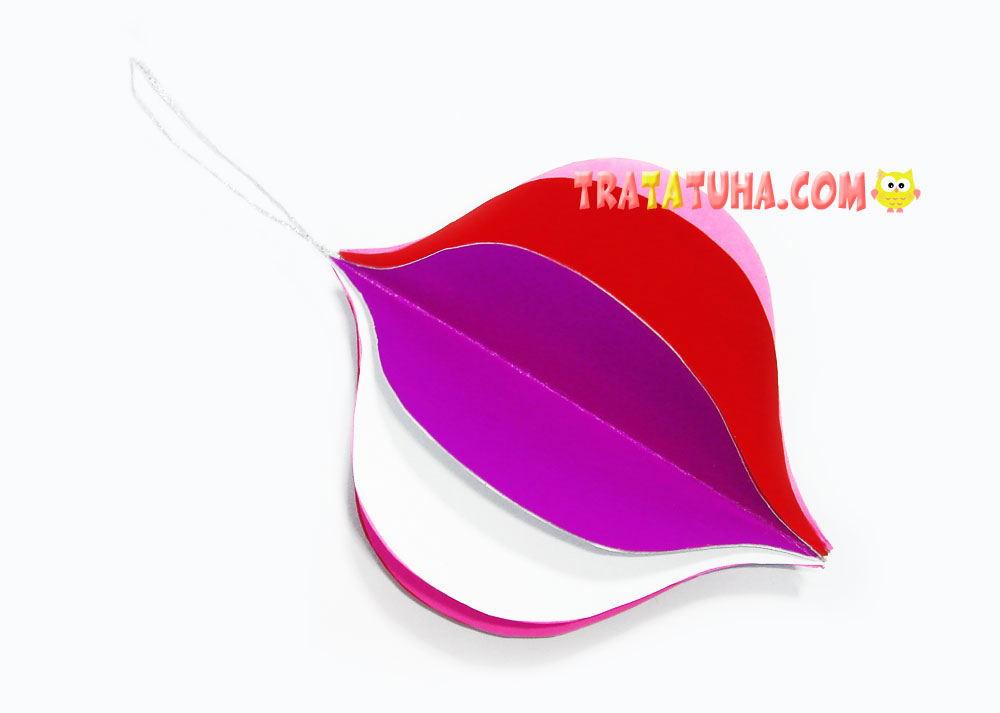
4. Paper bear
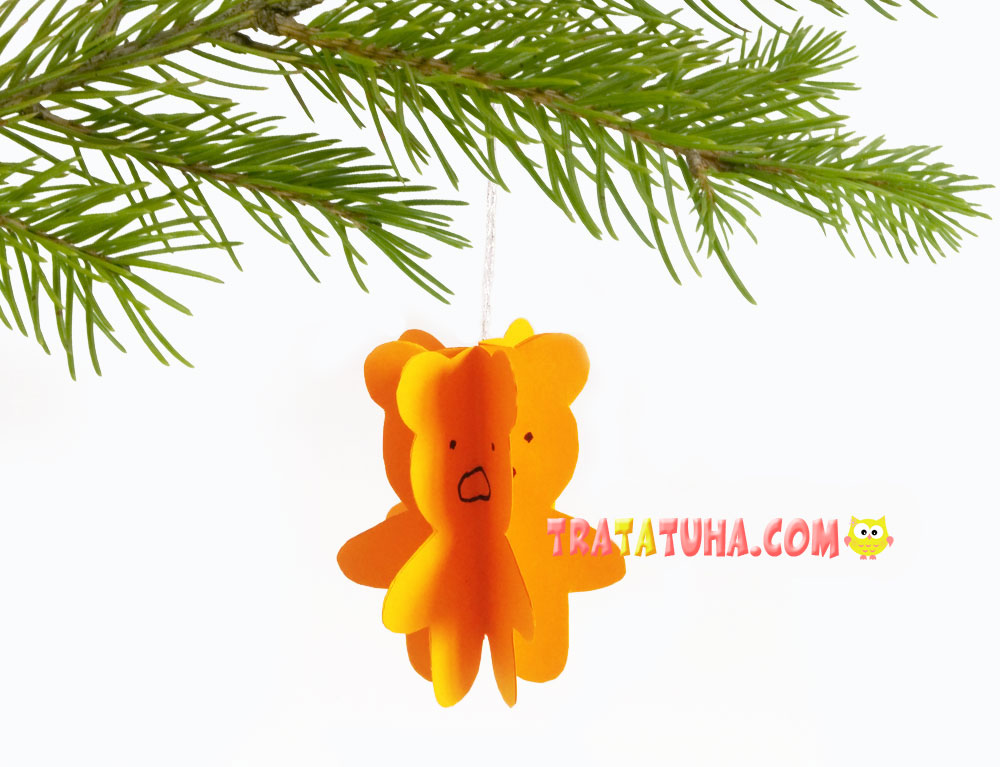
Children will especially love to make this decoration and then see it hanging on the Christmas tree. Use the pattern to cut out 6 bears.
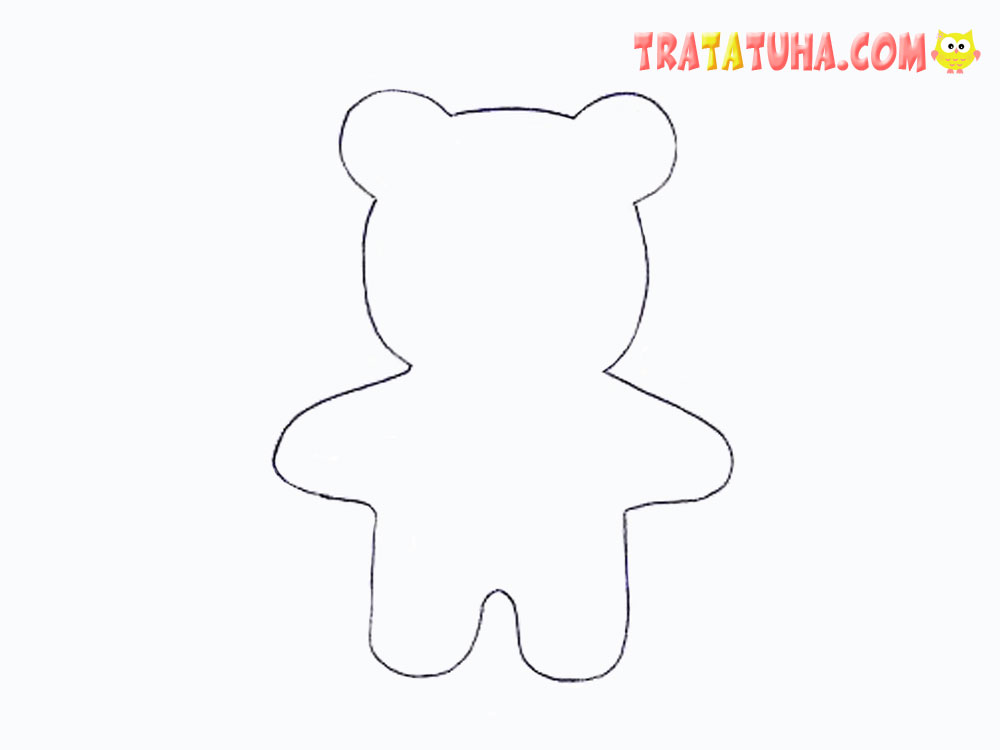
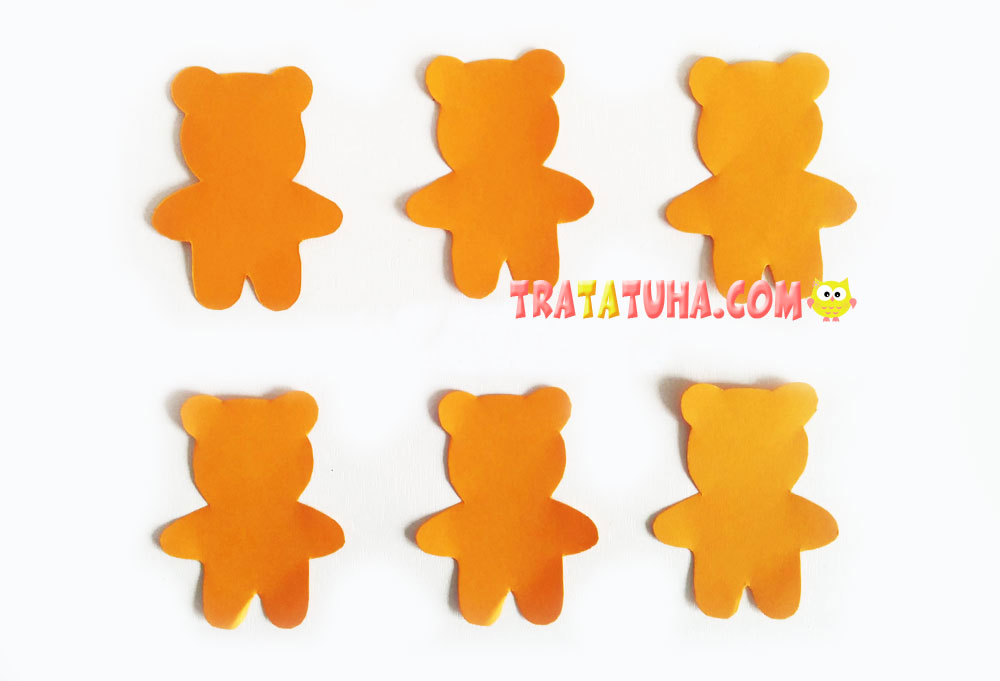
Fold them in half.
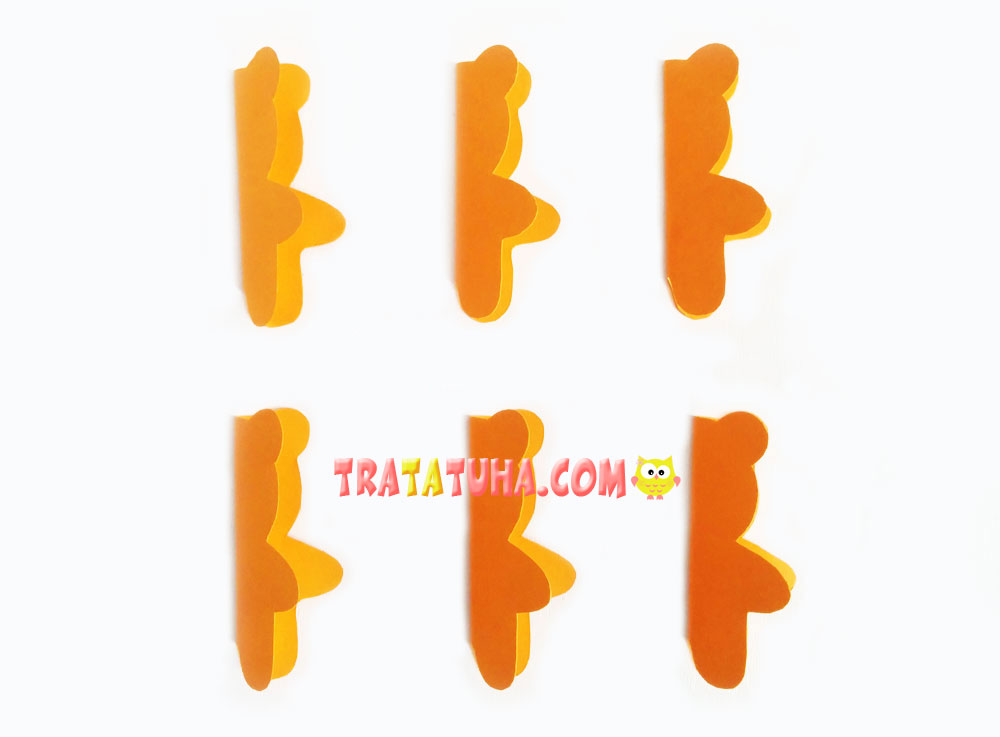
Glue one side of the first blank with another side of the second detail.
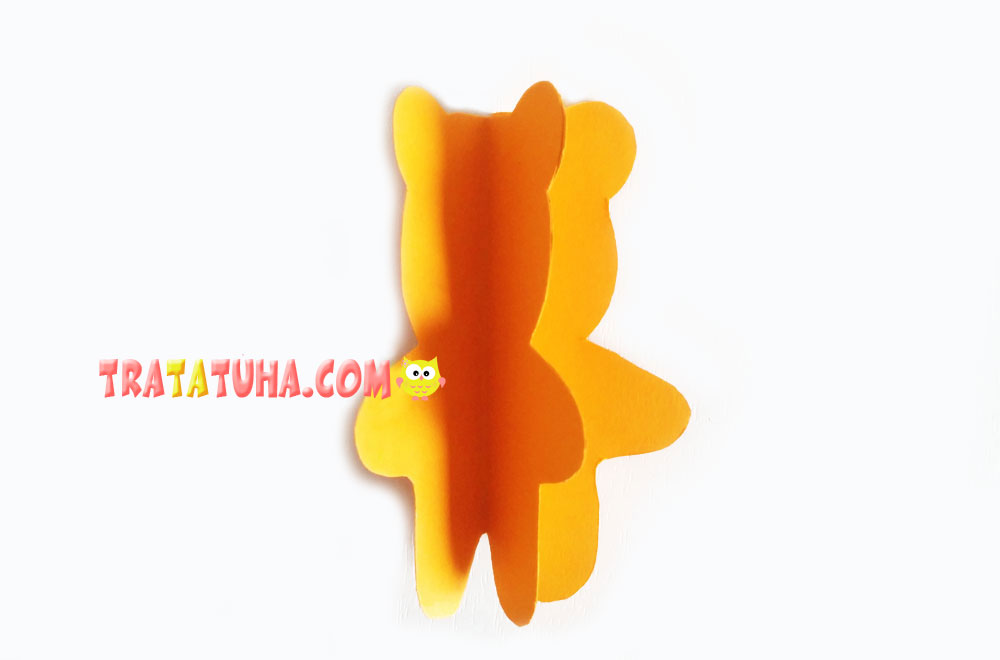
Before gluing the last sides, use adhesive tape to fix a thread loop in the middle of the decoration.
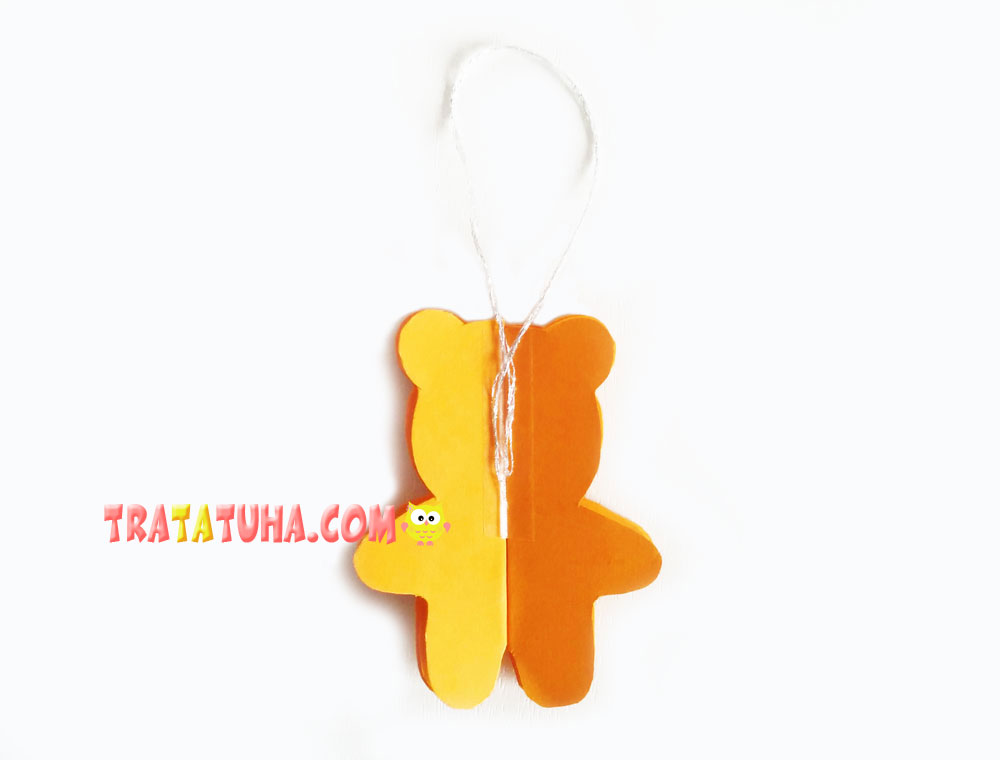
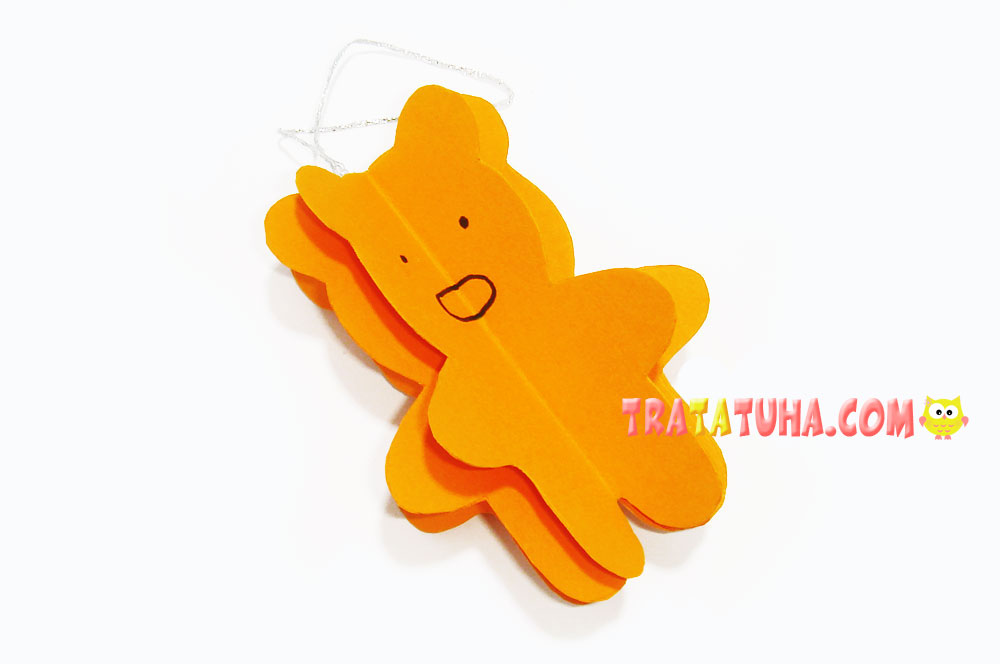
As the last step, you can draw eyes and neb of the bear. Also, you can fully paint them, add a smile and talons, outline ears.
5. Voluminous paper star Christmas decoration
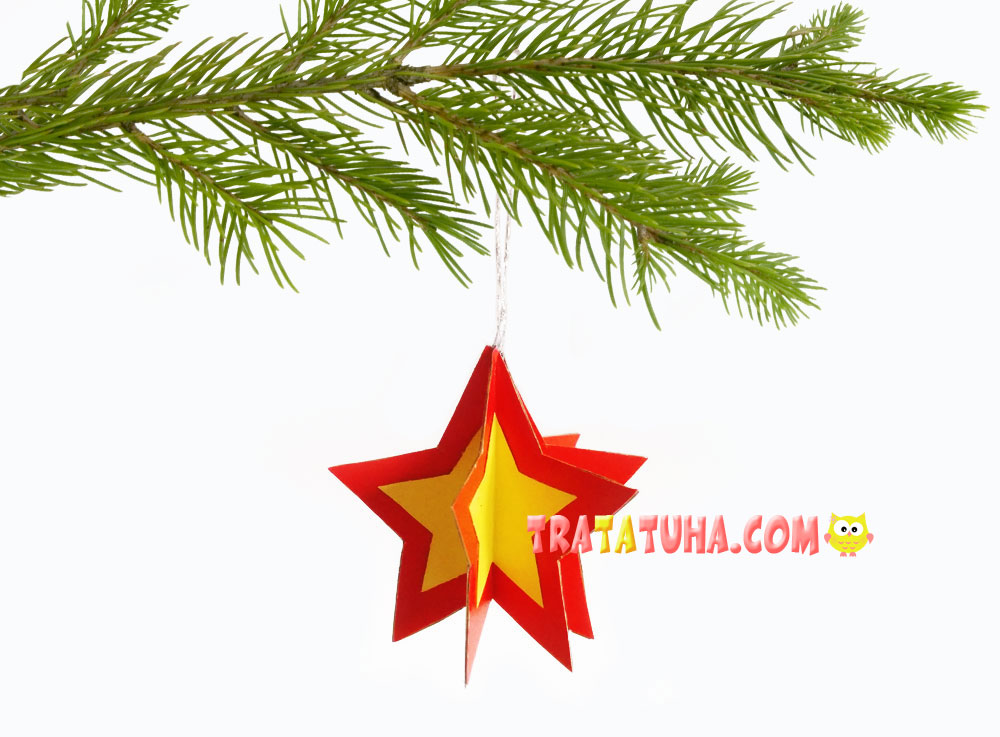
The way of making this craft is completely the same as the previous one, but you can add an inset of a various colour in the middle.

Cut out 6 paper stars of similar colour, using the pattern. And 6 more smaller stars of paper of a different colour.
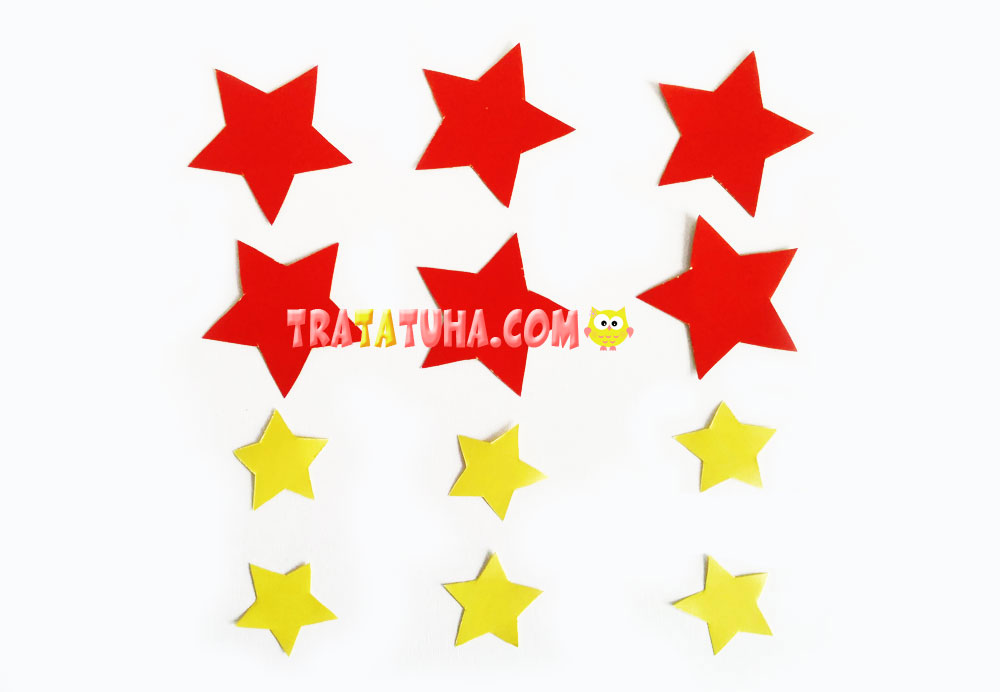
Glue small stars to the center of larger ones.

Fold in half.
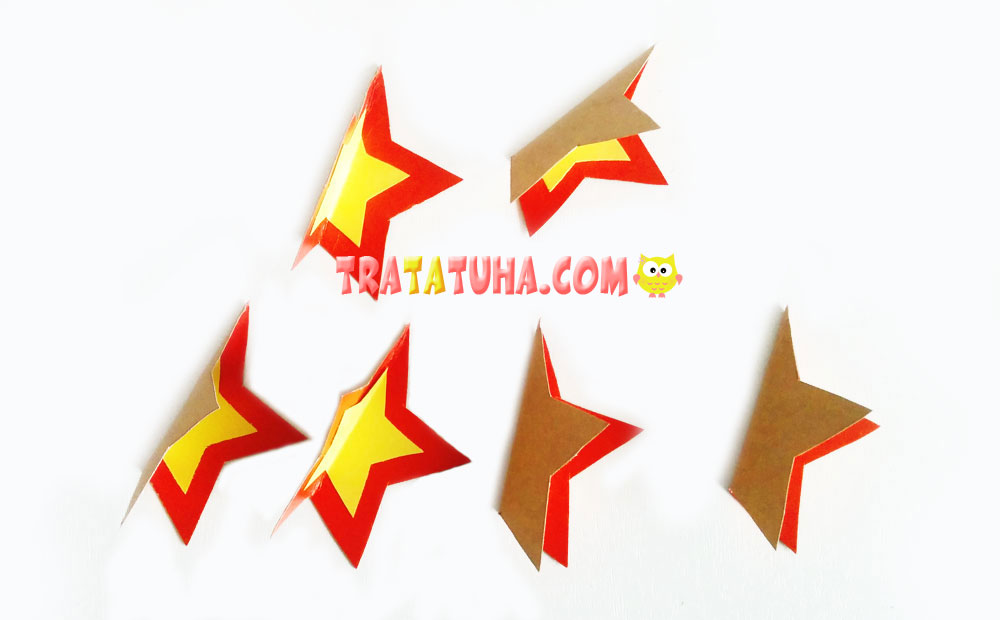
Glue the half-sides together, insert a thread and glue the rest two halves of the sides. The star is ready.
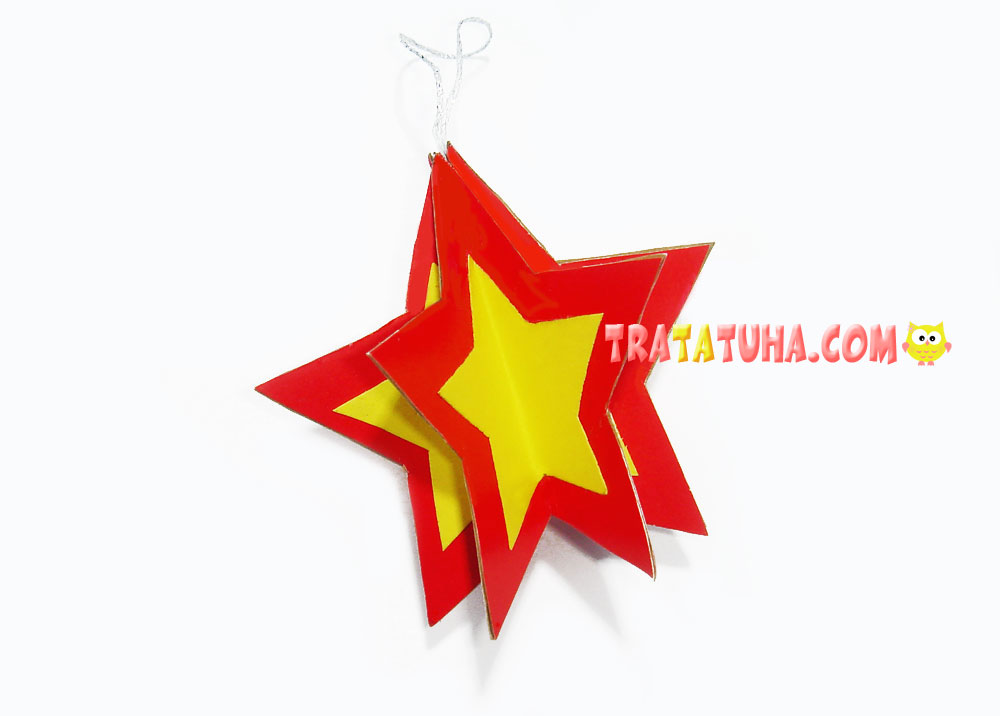
Here are the paper Christmas decorations we’ve made. They can be of various kinds – it depends on the patter you use and there are thousands of them on the Internet. You can decorate the tree solely with the handmade paper animals, birds and decorations of various forms that are also made according to the above-described step-by-step photo instruction on creating voluminous objects.

You can also make a Christmas Crafts.
Crafts for Kids – learn how to make craft at home! Super cute crafts for all age groups!
