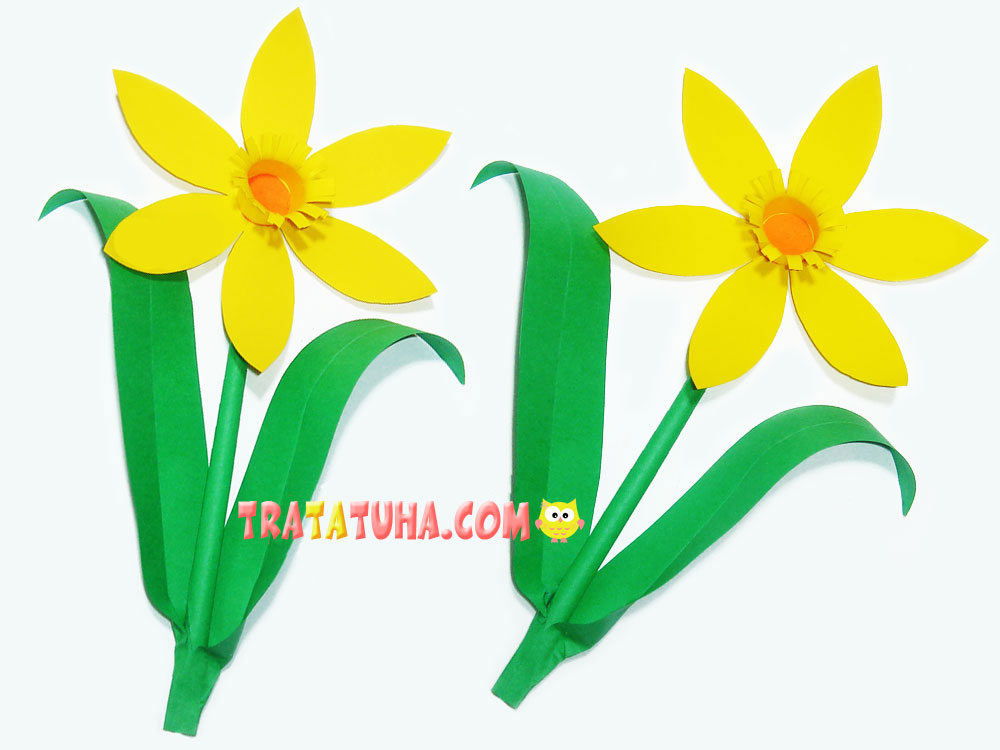
A simple paper daffodils with a step-by-step visual explanation. Suitable for children of primary school age. With a little help, preschoolers will cope with the work.
To create a flower you will need:
- Green paper;
- Yellow paper;
- Quite a bit of orange paper;
- Ruler, scissors, a simple pencil, glue stick and some PVA.
Paper Daffodils Step by Step
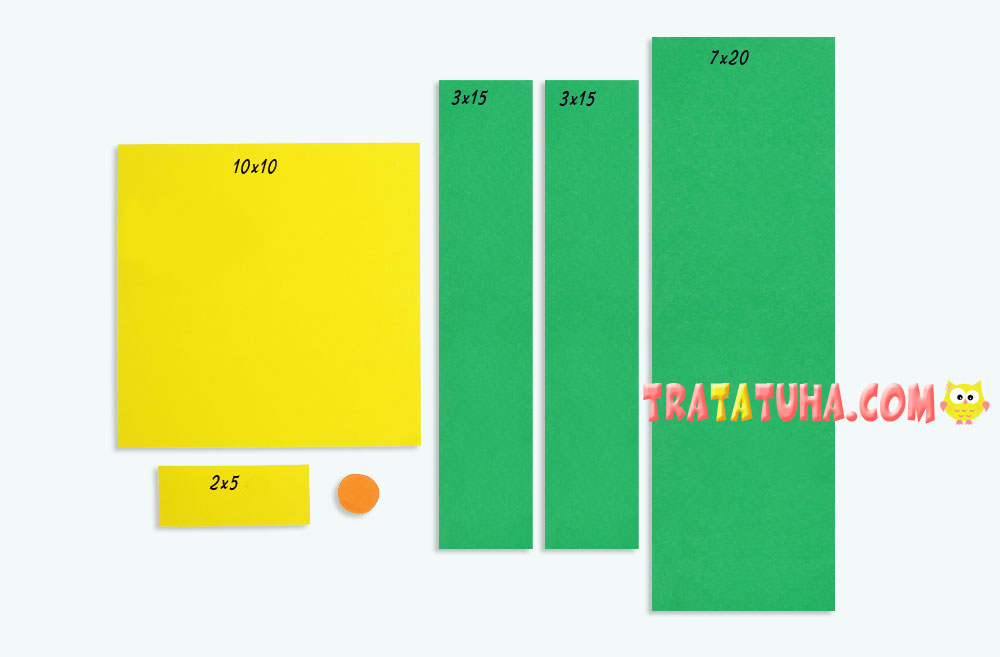
Prepare the following pieces of colored paper. For your convenience, verified sizes are indicated, but you, of course, can use others, make the flower larger or smaller.
Measure and cut:
- Yellow square 10×10 cm for a flower;
- A small yellow strip 2×5 cm, from which there will be a voluminous core;
- A small orange circle is also for the core with a diameter of 1-1.3 cm;
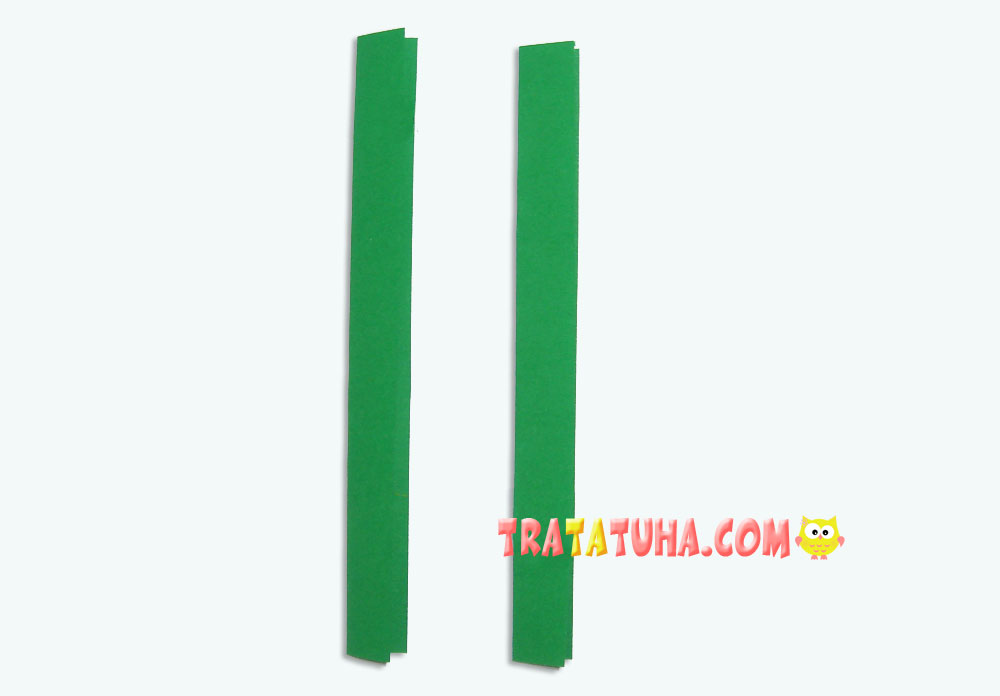
- Two green stripes 3×15 cm for leaves;
- One green strip 7×20 cm, from which the stem will be.
Making a Stem
Roll a 7×20 cm strip into a thin tube. To do this, start twisting one of its corners with a toothpick, gradually moving to twisting with your fingers.
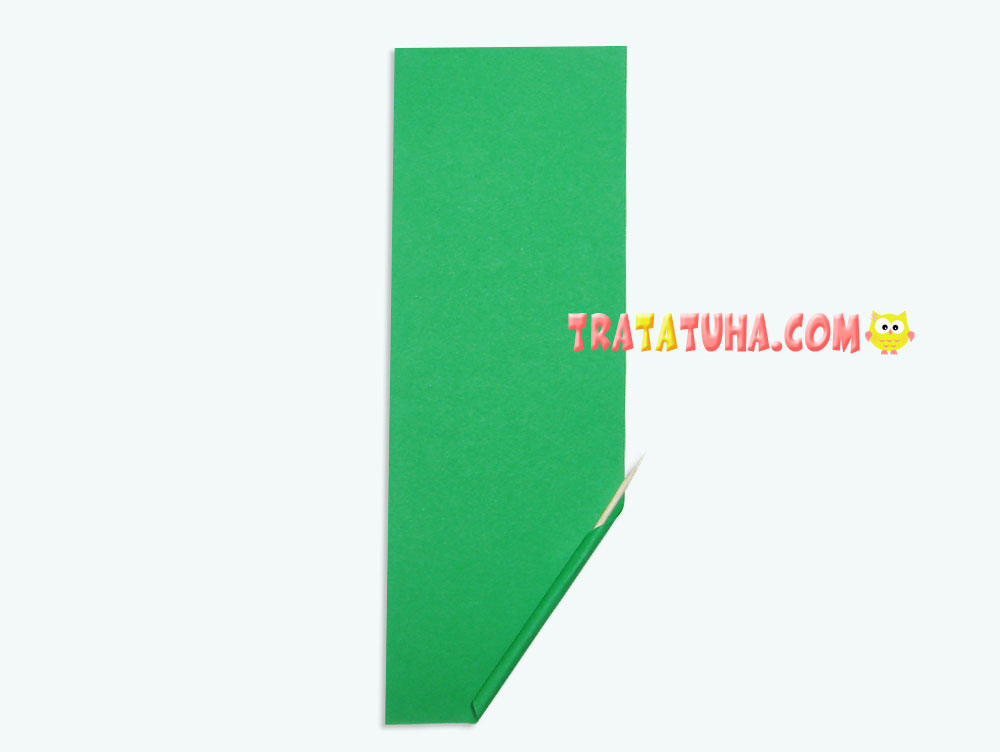
Attach the end with glue. The paper daffodil stalk is ready.

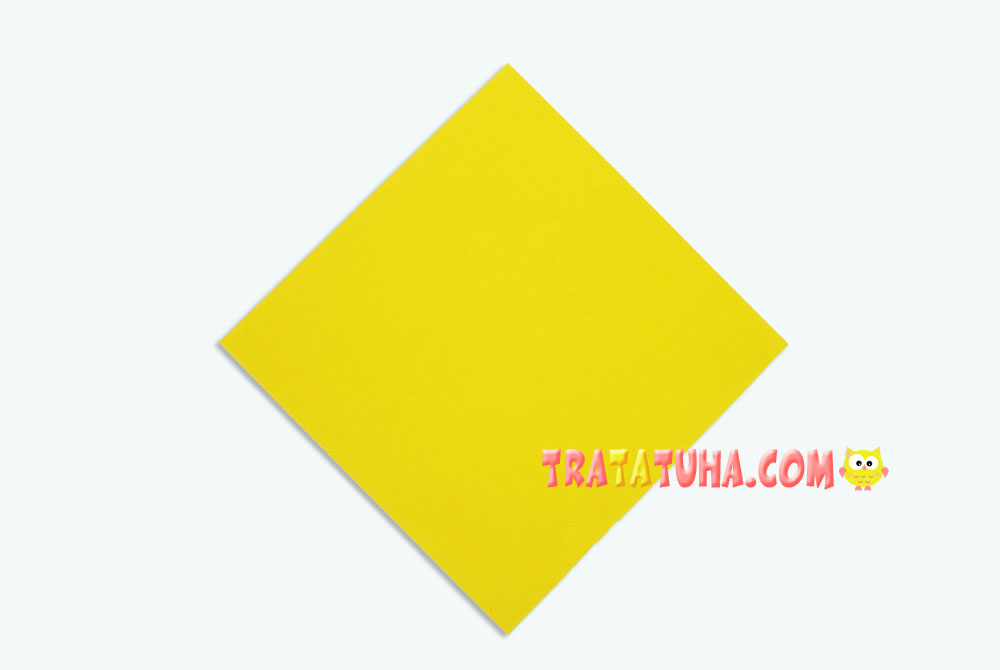
Create a Flower
Prepare a square yellow piece 10×10 cm.
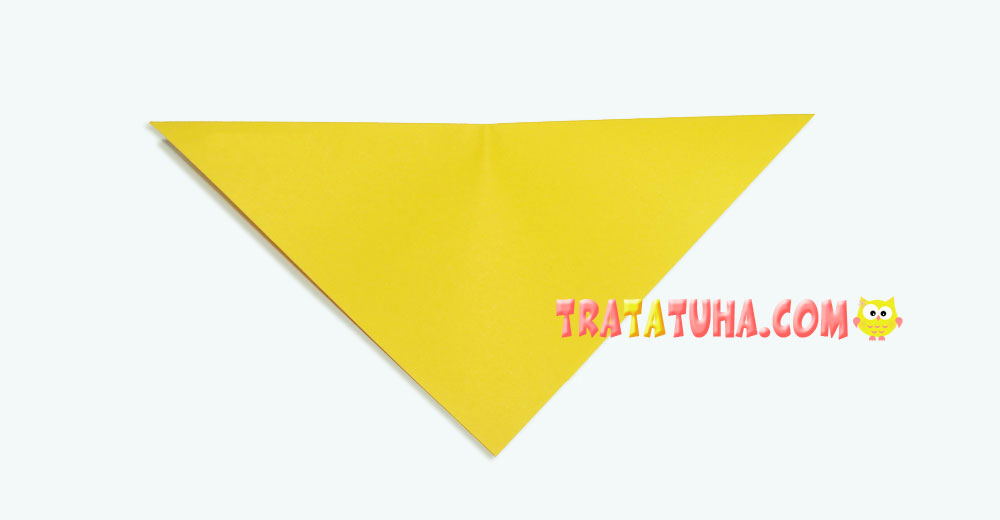
Fold it in half, connecting the opposite corners. It should be a triangle. Quite a bit, fold the triangle in half to indicate the middle from the side of the fold. Or use a ruler for this purpose.
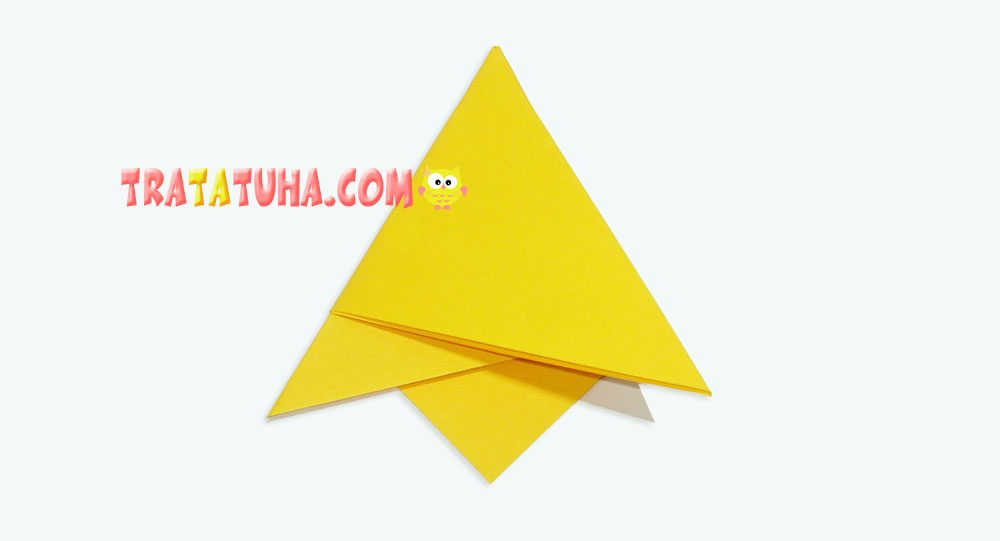
Considering the middle, pull the right corner and redirect it to the left.
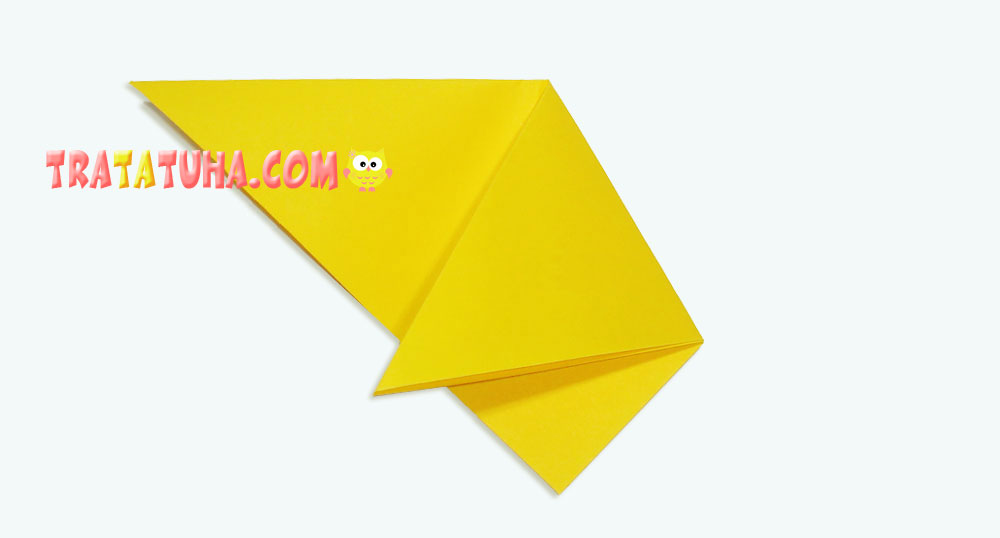
Then bend the left one to the right, aligning with the edge.
You get such a detail, in the center of which you need to draw a petal, or immediately cut it out. One side of the flower should fall on the central part of the crossed corners, then draw a smooth arc, but not to the very top corner. Please note that on both sides of the top corner there should be an uncut area, a centimeter on each side.
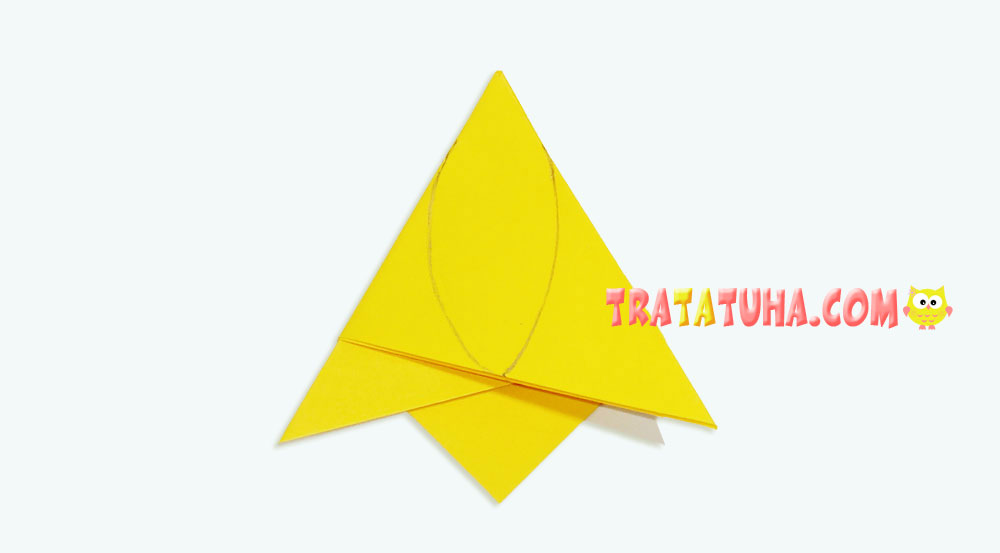
Cut along the lines.
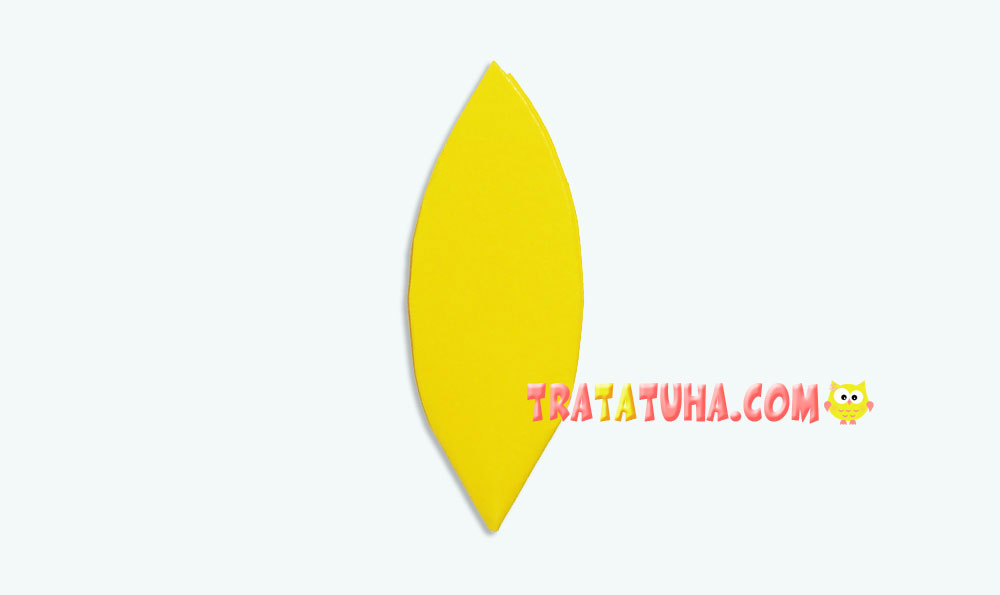
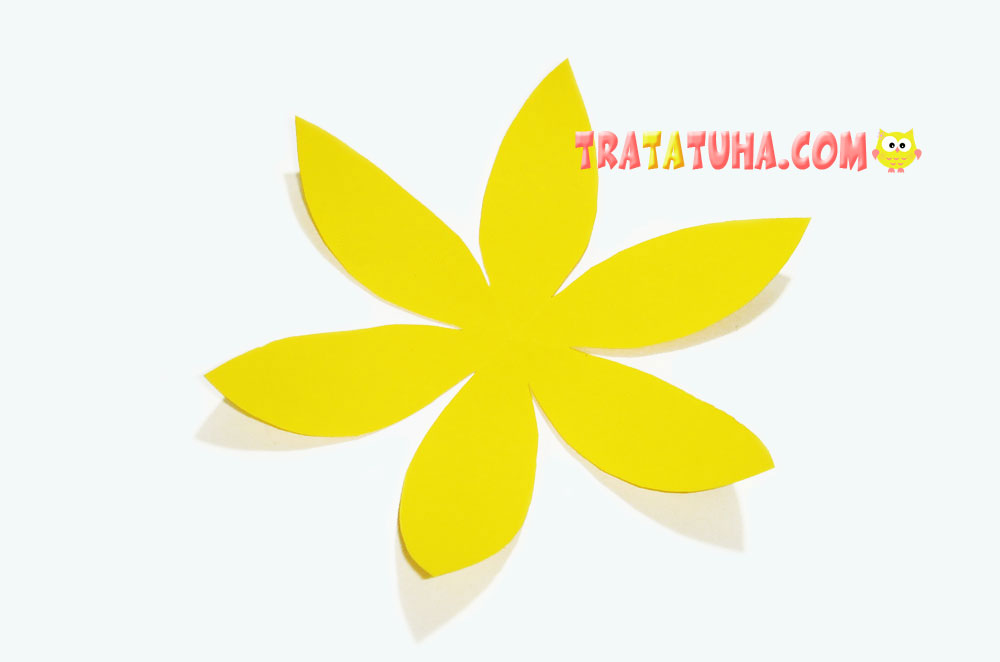
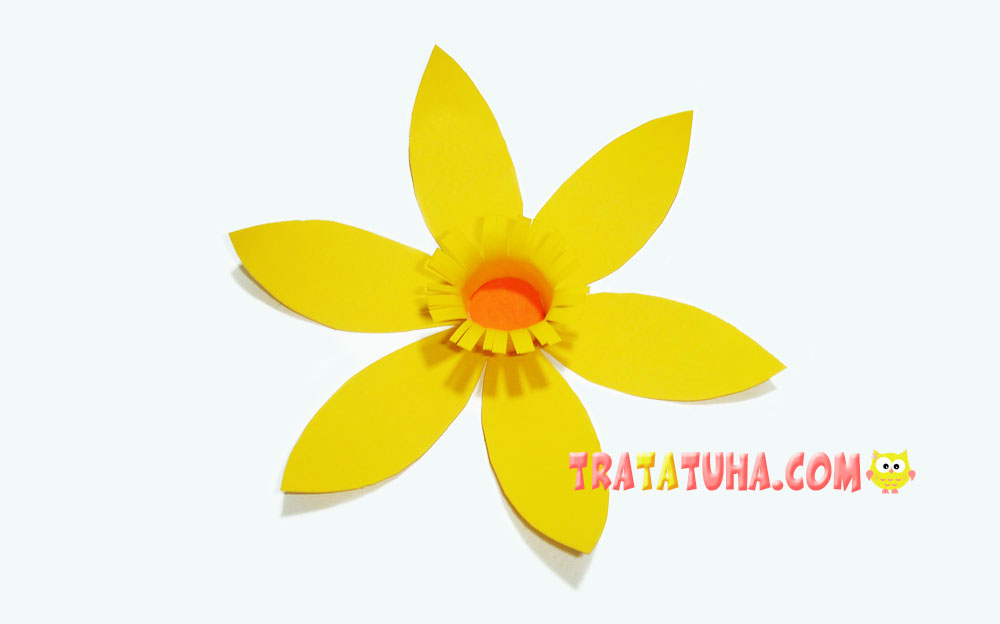
Open it up and you have a beautiful flower with six petals.
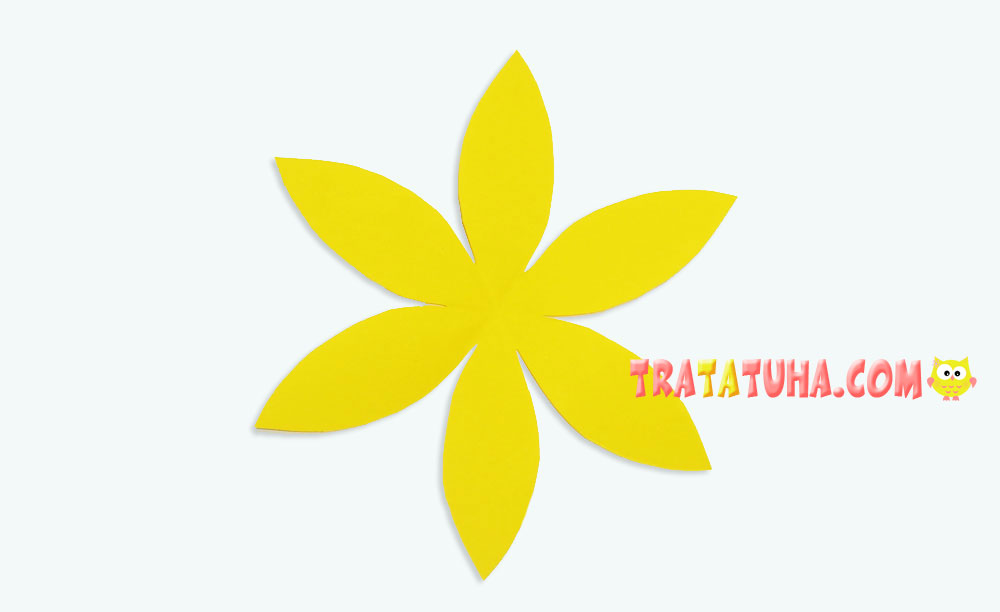
Using the end of the scissors or a pencil, lift the edges of the petals up.
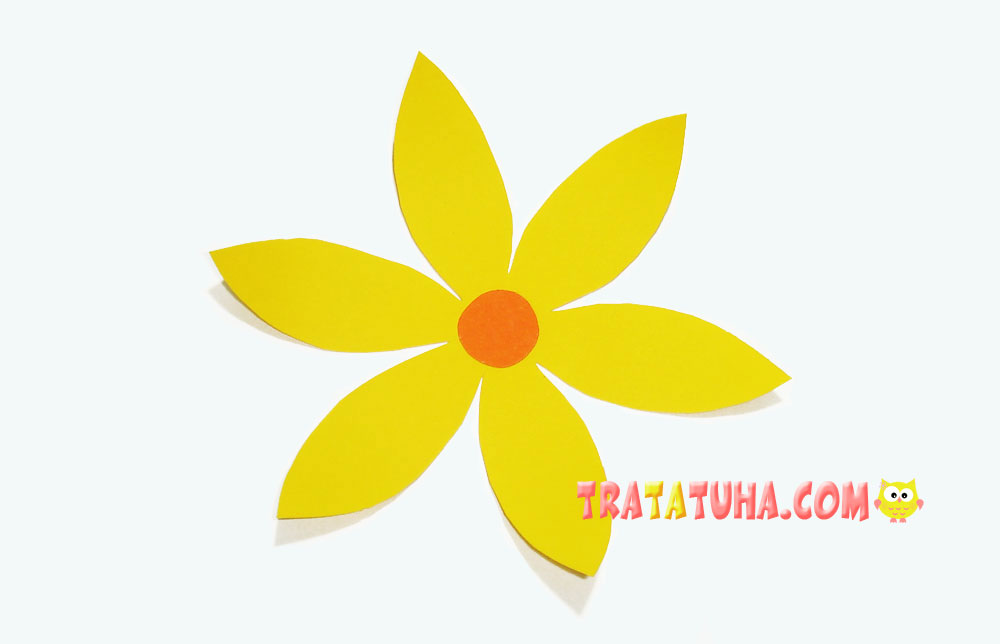
Glue an orange circle to the center.
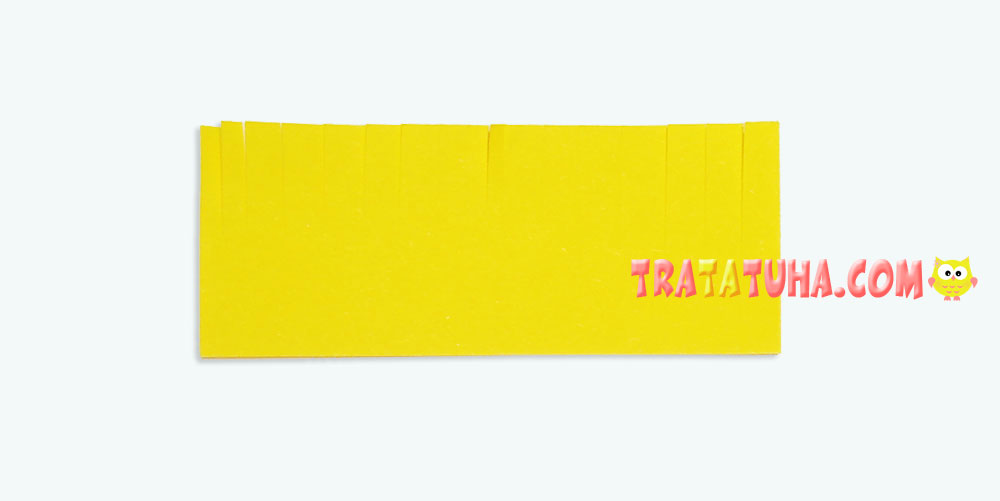
Now take a small yellow strip 2×5 cm and make small cuts on one side in the form of a fringe.
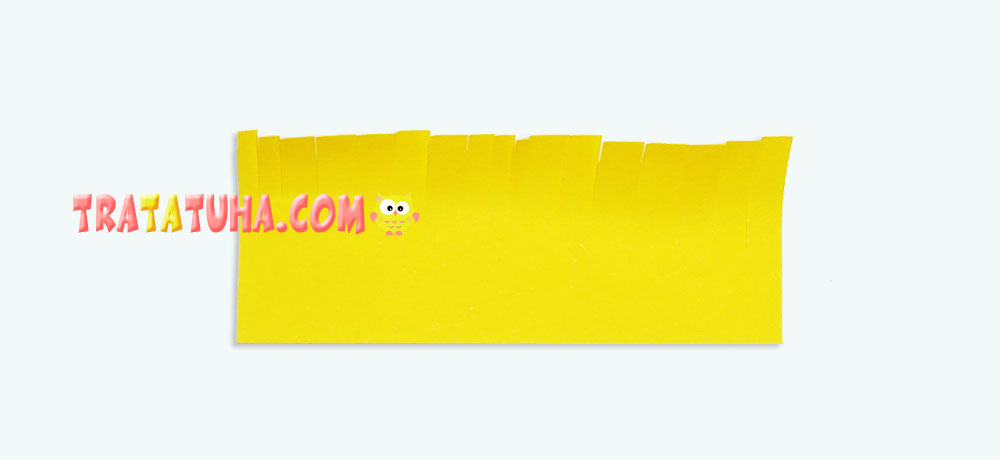
With the edge of closed scissors, bend the fringe in any direction.
Roll into a ring and glue the edges.

Glue the resulting core in the middle of the flower, just on the orange circle, which should be in the middle of the volumetric core. It is better to glue with PVA glue, as it is easier to apply it to the thin edge of the paper ring, and it quickly grasps the details of the flower. Paper daffodil flower is ready.
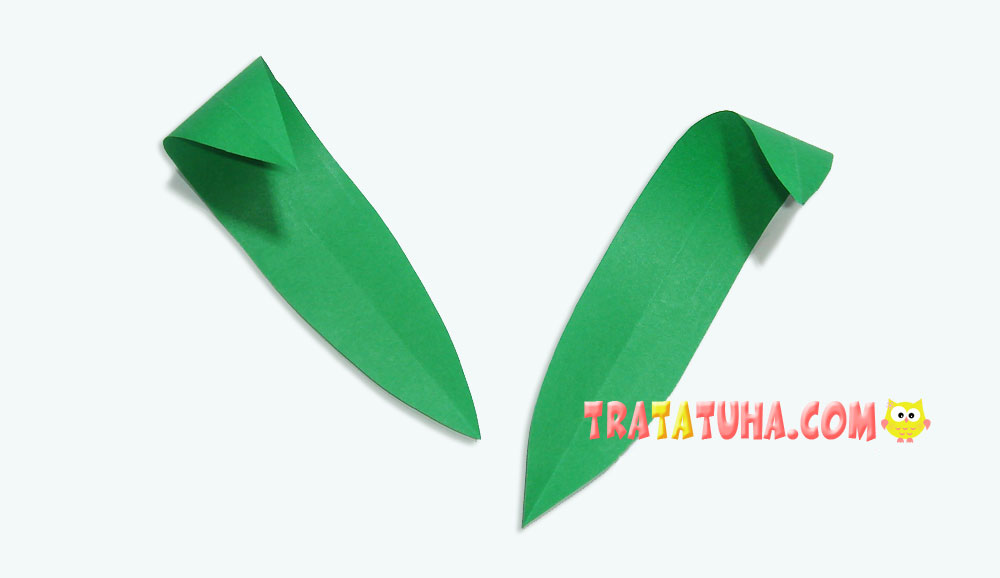
Making Paper Daffodils Leaves
To do this, fold the green strips 3×15 cm in half along the length.
First draw the lines of the desired cuts with a pencil or immediately round off the corners from opposite narrow sides.
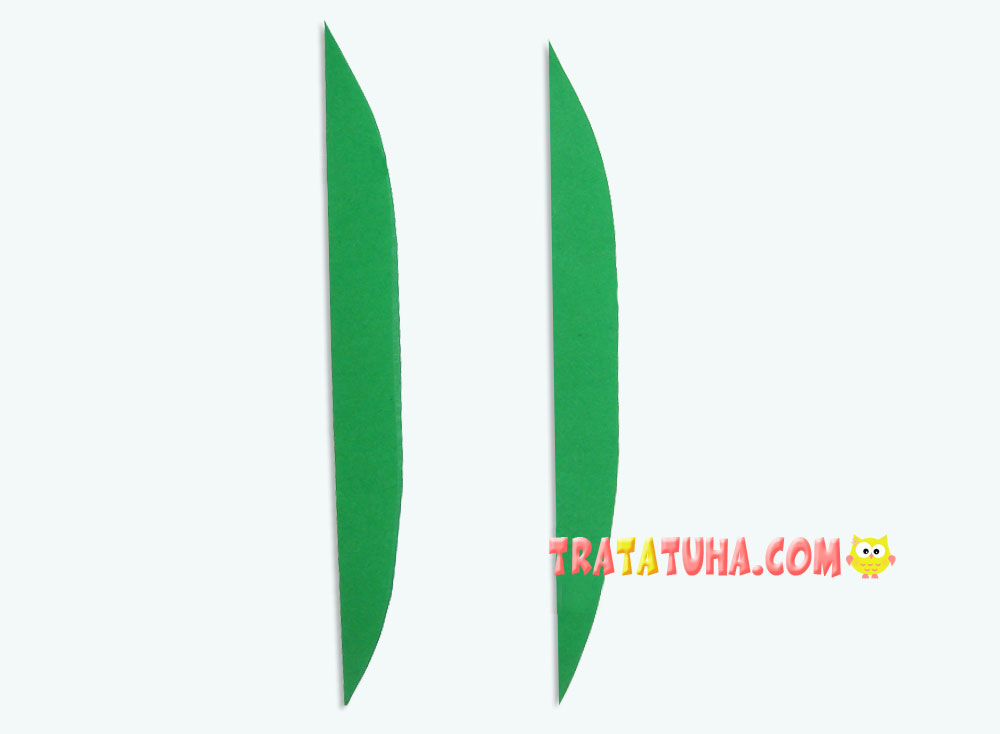
Open and you will get the leaves of the flower.
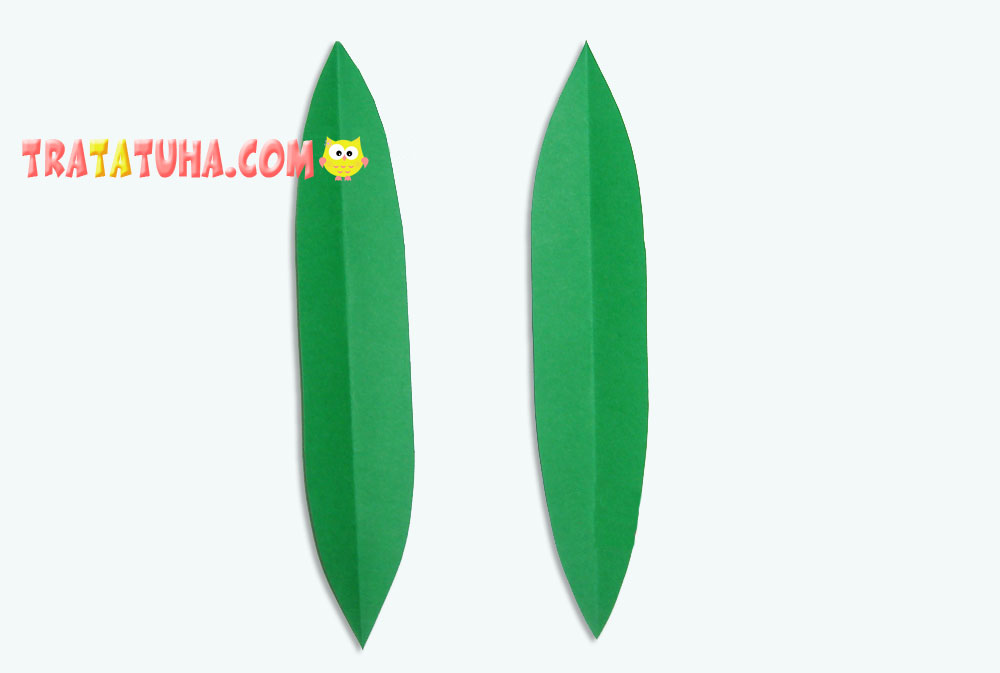
Run the end of the scissors along the sheet to make a nice smooth fold.
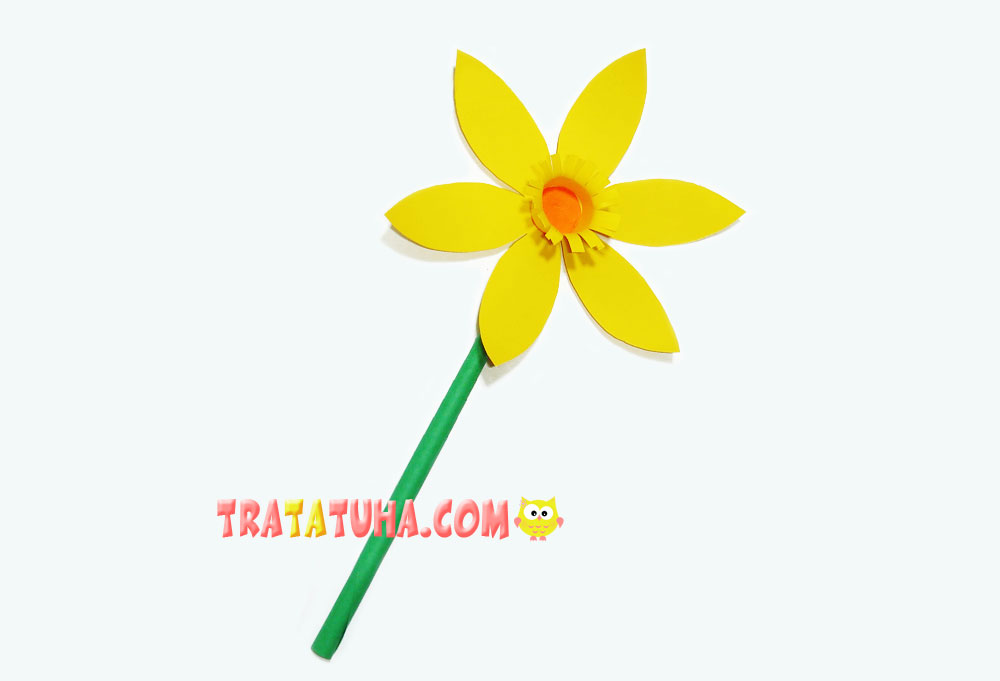
Final Stage
Glue the flower to the stick, you can pre-trim it with scissors.
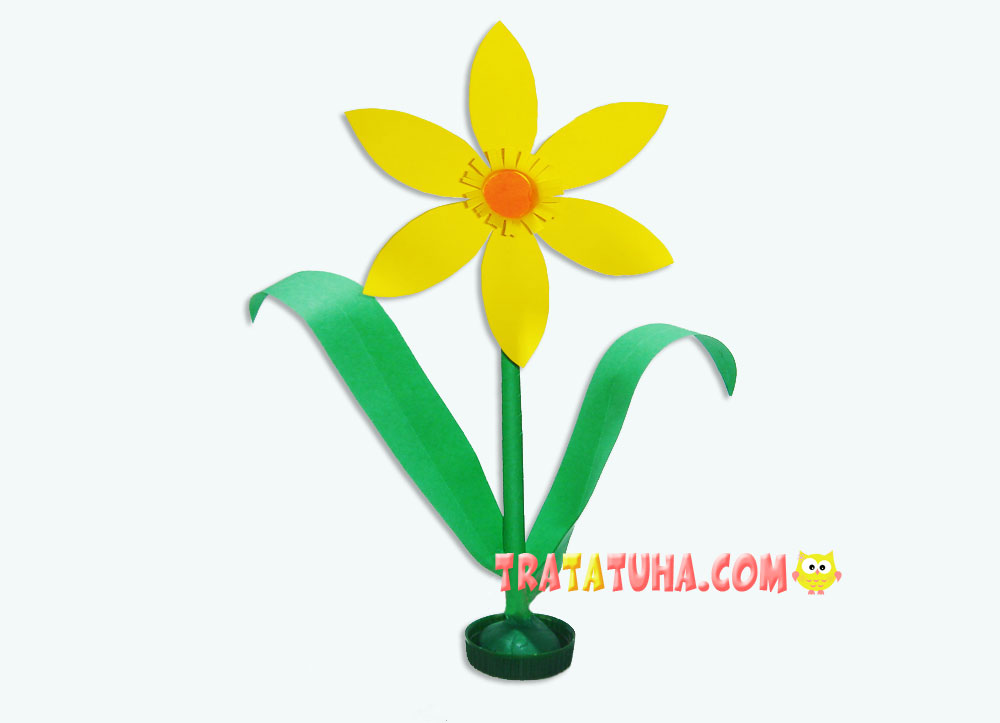
Apply glue to one side of the leaf, squeeze it a little and glue it to the bottom of the stem. Paper daffodil is ready.

It can be fixed in a vertical position with clay.
Crafts for Kids – learn how to make craft at home! Super cute crafts for all age groups!
Related Post: