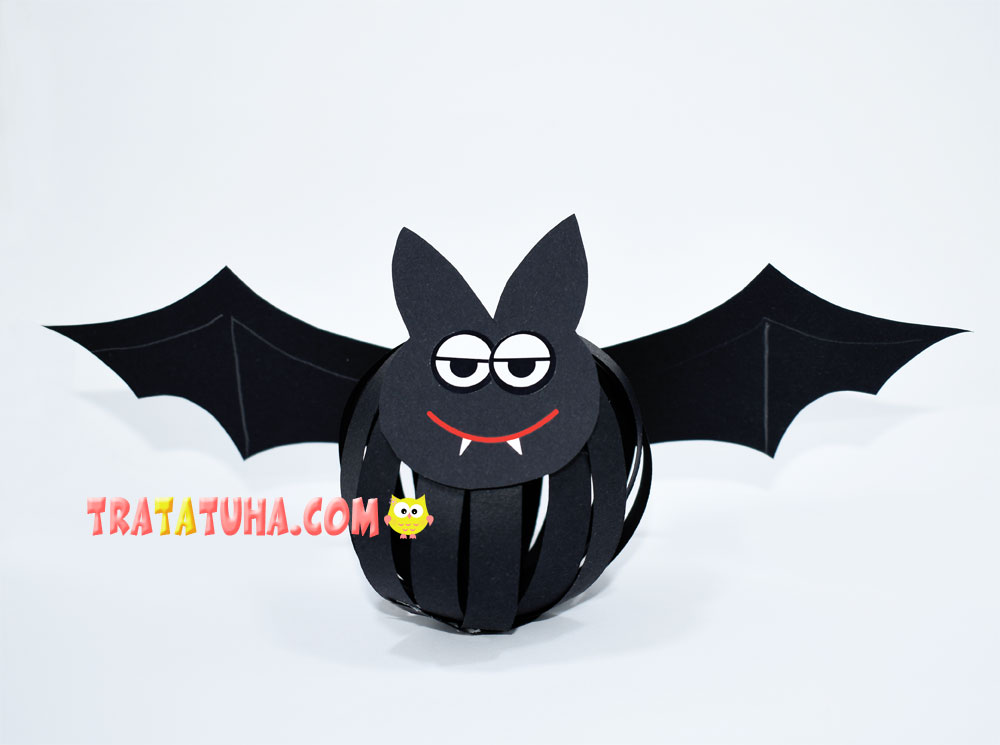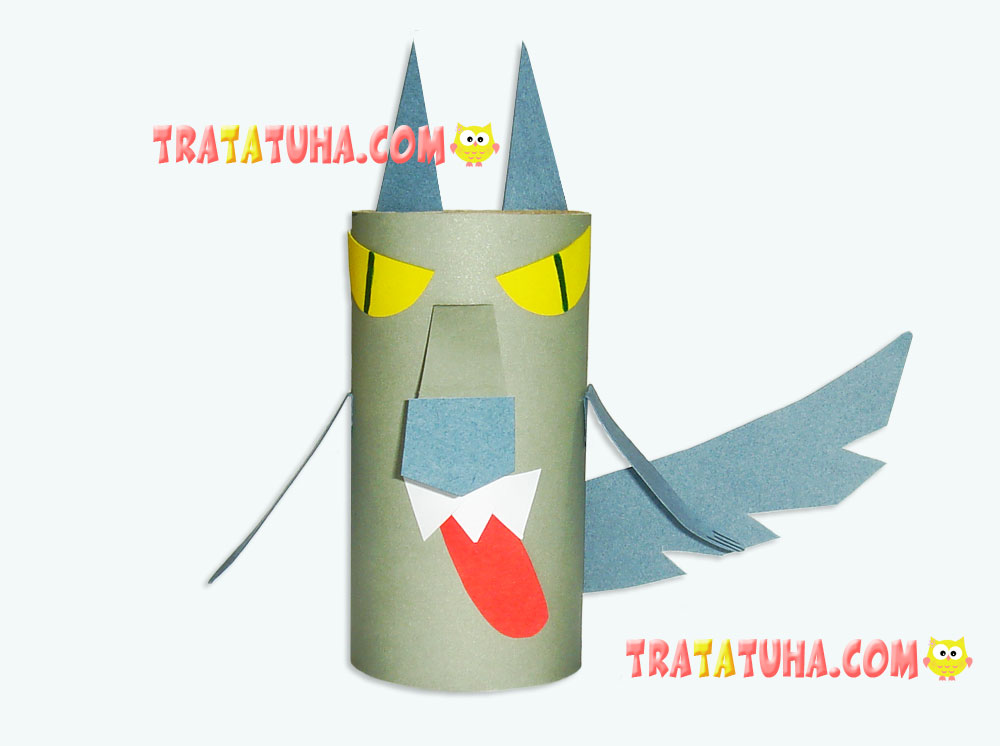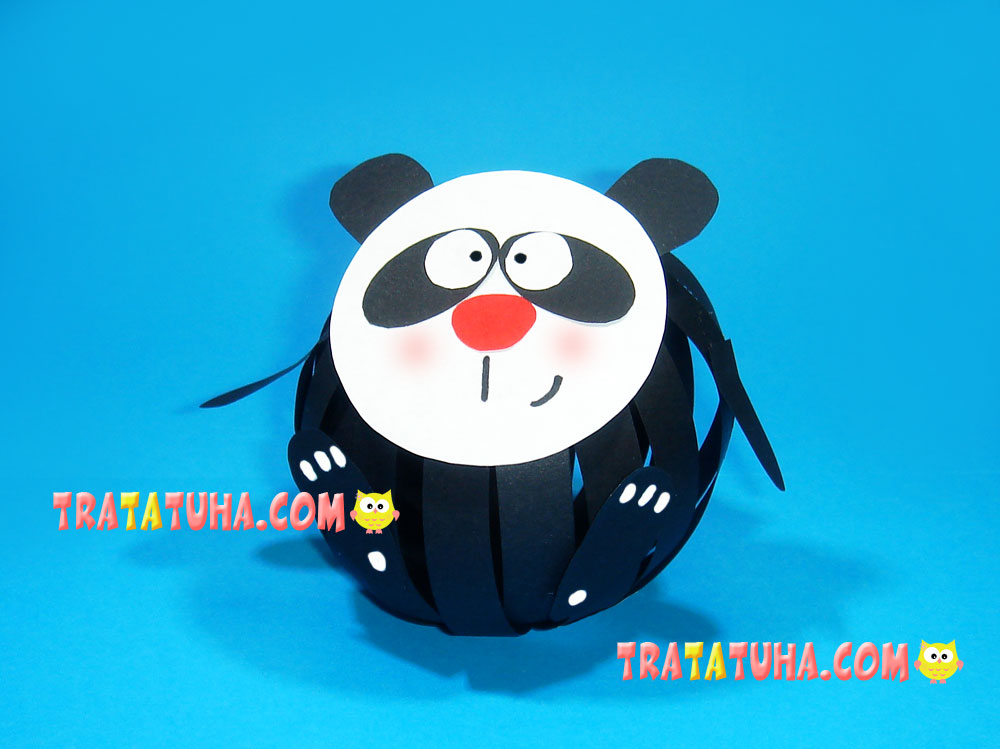
The paper panda consists of a round head and a voluminous body made of thin paper strips. There are lots of characters made with the use of this technique on the website; some of them can be found in the Crafts of Paper Strips review.
Materials to Use:
- Black and white paper (cardboard is preferable), red paper;
- White gouache;
- A writing pencil, compasses, scissors, a glue stick, a black felt pen.
Paper Panda Step by Step
The Animal’s Body
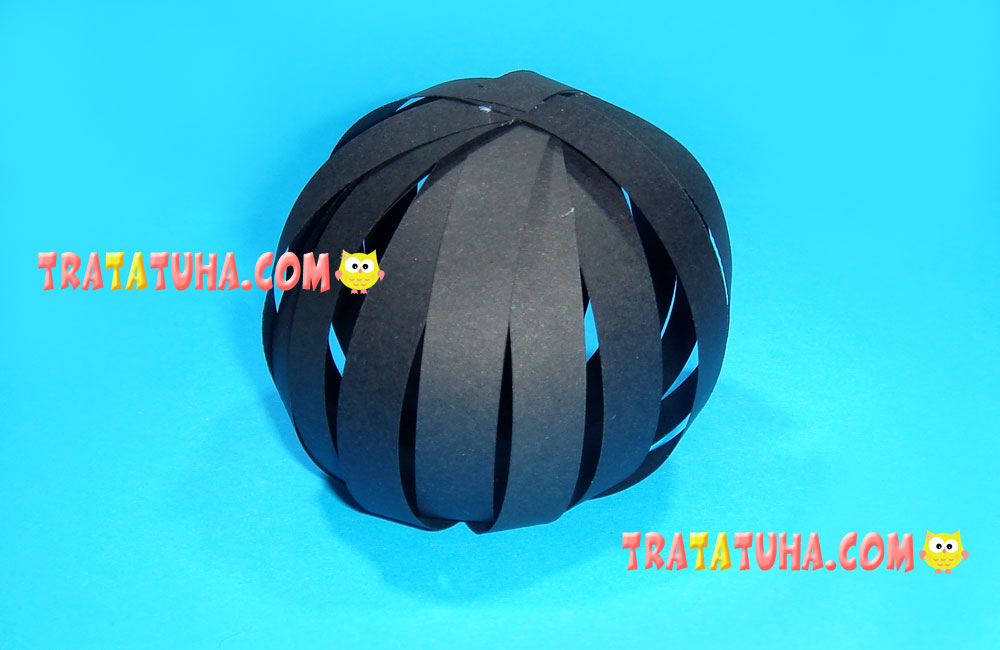
The panda’s body is a ball made of paper strips. Usually 4 strips are enough. But I wanted to make an experiment and create a thicker ball. Therefore, it consists of 8 paper strips. They are as long as the narrow side of A4 paper and are 1 cm wide. The more strips there are, the harder it is to work with them, but we will manage to make the ball almost with no gaps. For smack children, 4 strips are enough.
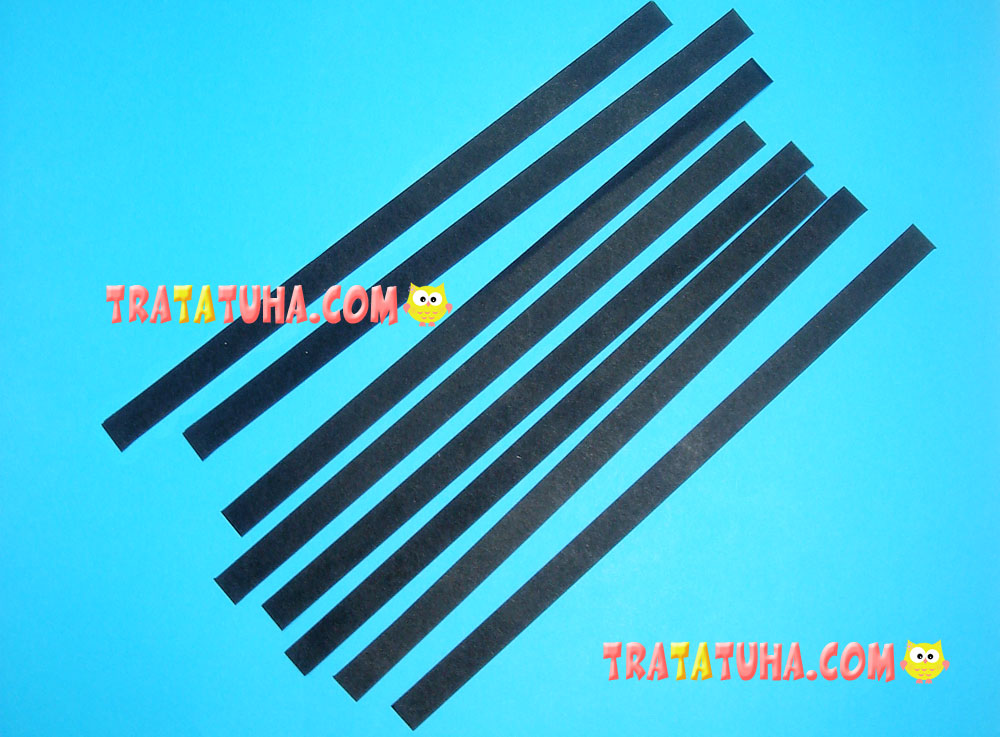
Fold each strip in half to find its middle.
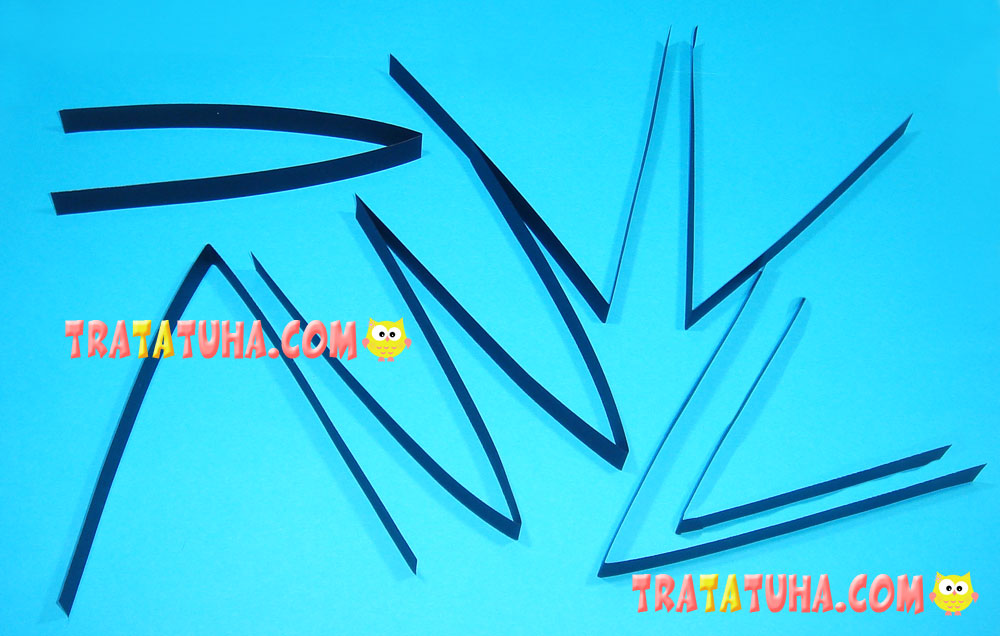
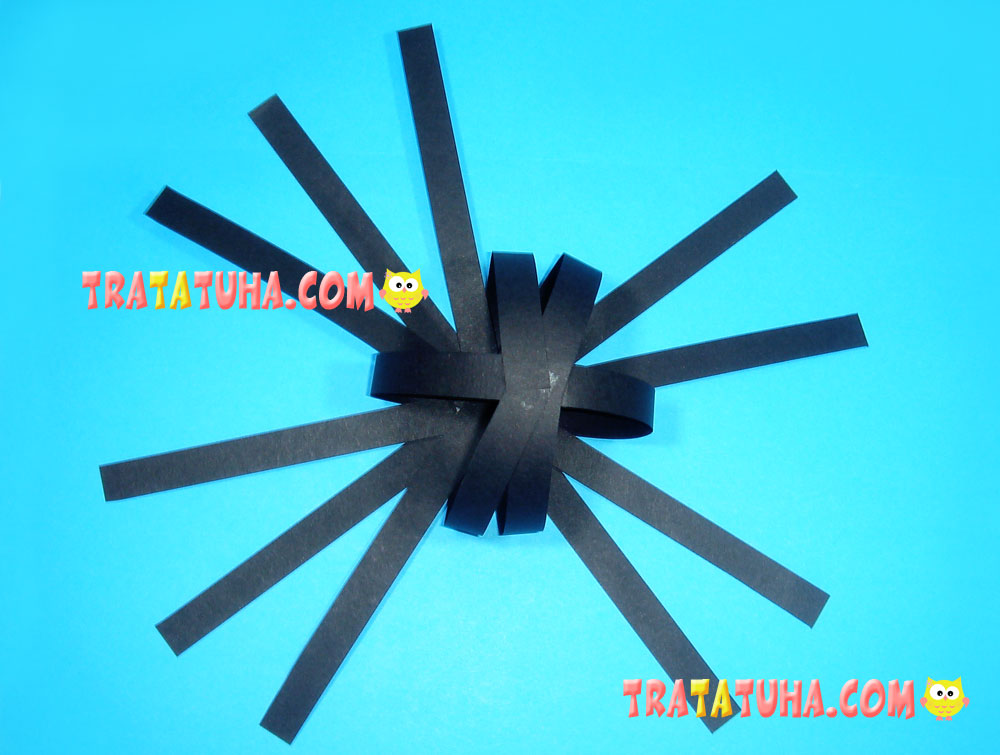
Glue all the strips together at their fold spot. If you use 4 pieces, it will be even easier to glue them – just stick two of them together and then add two more strips to the sides. It will look like a mind of a snowflake.
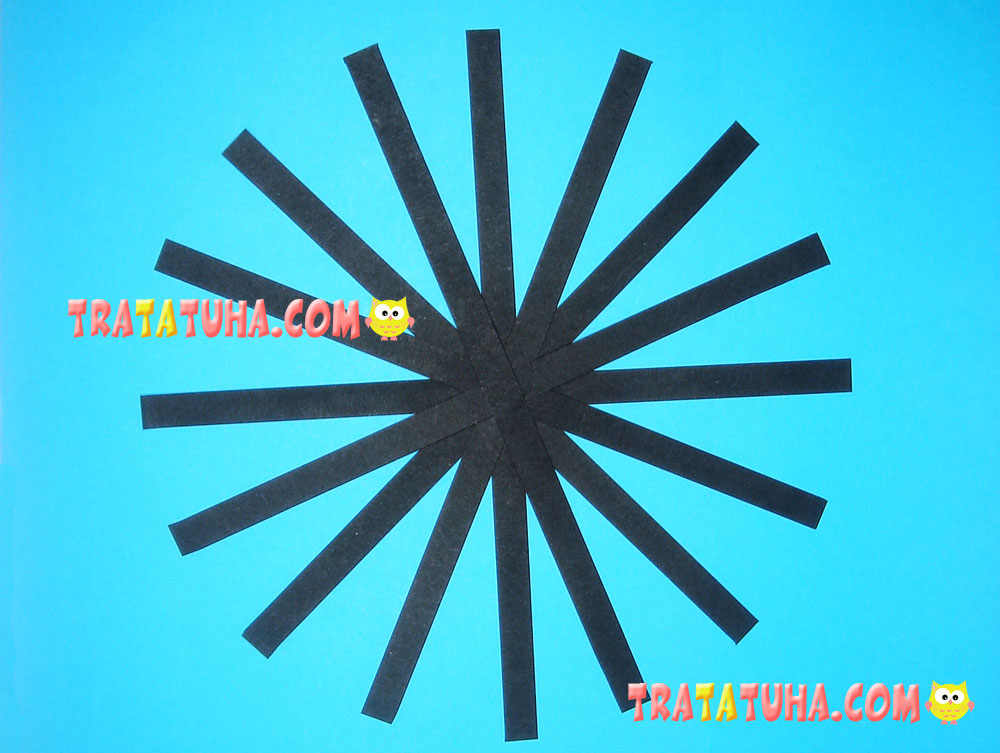
Slightly lift each of the strips and glue the ends together. Try to glue the opposite sides to make the ball look symmetrical. The body is ready.
The Rest Parts of the Paper Panda
- Cut a round head out of white cardboard. It should be a little smaller than the body;
- Prepare black ears;
- You will also need two black ovals and white circles to make eyes;
- A red nose;
- Two black paws with white claws. You can use white gouache, correction fluid or a special marker pen to draw claws;
- Optionally, you can add two forepaws.
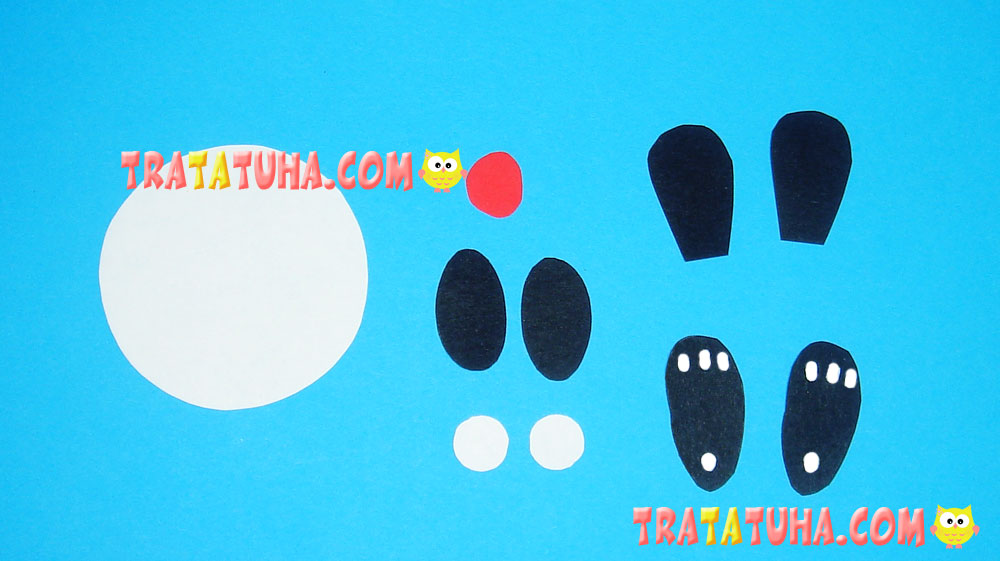
Stick all the parts you’ve prepared to the head and body. Attach the head to it, and the paper panda is complete.

Also see how to make a pig of paper stripes.
Many other ideas in the collection of Paper Animals Craft.
Crafts for Kids – learn how to make craft at home! Super cute crafts for all age groups!
