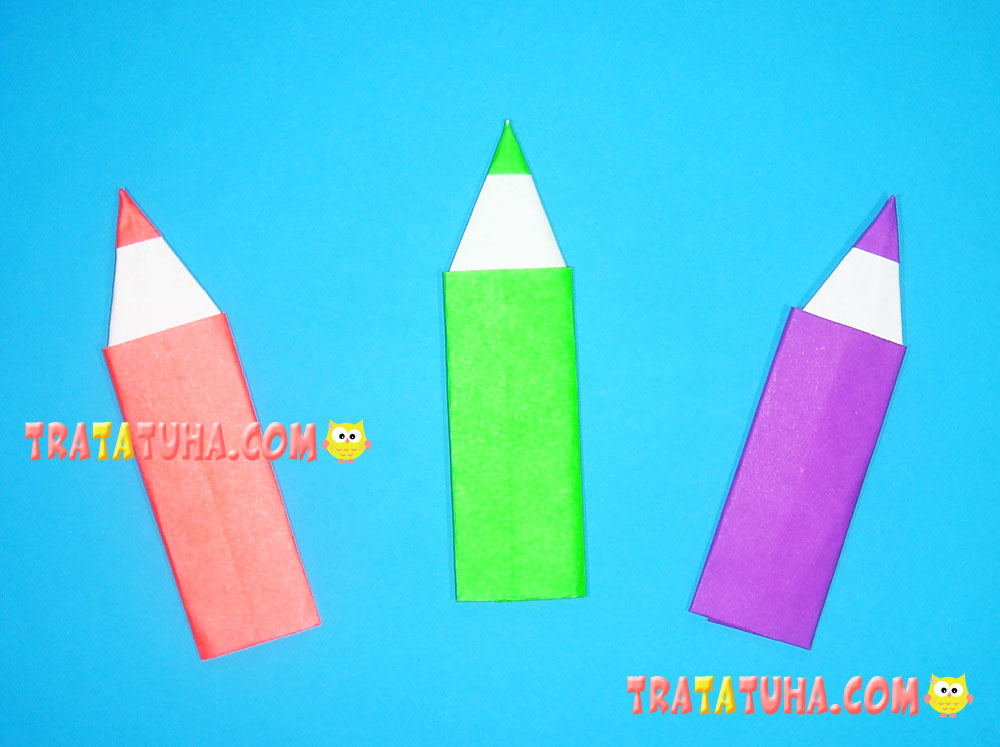
A pencil bookmark is one of the easiest origami crafts for children. And, it is a useful handmade thing!
To make it, you need:
- One-sided colored paper (which means, one side can be in any color, and the other side is white);
- Glue stick;
- Scissors.
How to make a pencil bookmark?
Prepare a rectangular piece of paper. The size of paper depends on what size of the bookmark you want. To us, 21 cm in length and 8.5-9 cm in width is the best.

Fold the paper in half, with the white side inside.

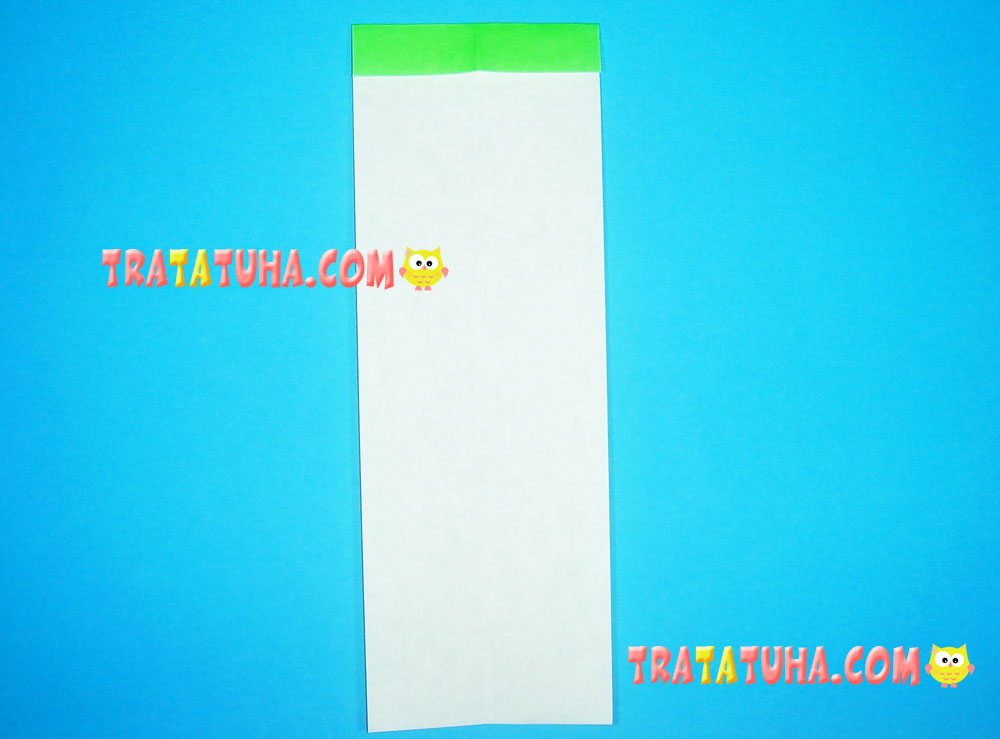
Unfold the paper, put it white side up and crease the top, no more than 1 cm.
Now, turn the paper color side up. Crease the right corner, aligning it along the central fold.

Then, do the same with the left corner.

Now, fold the right side again, aligning it along the central fold in the same way as before.

And, again the left one.

Position the paper with the white side facing you. You already can see the pencil tip on the top. Fold the bottom part up, defining the height of the white part of the origami pencil.

Flip the paper around again and fold the sides. First – the right one.

Then, fold the left side, slightly overlapping the right side.

To secure the sides together, open the left side a little and insert the right side of the paper into the flap.

Now, when the lower part is fixed securely, attach the upper side with a glue stick.

Flip it around and, here you are: the origami pencil bookmark is ready!

Crafts for Kids – learn how to make craft at home! Super cute crafts for all age groups!
Related Post: