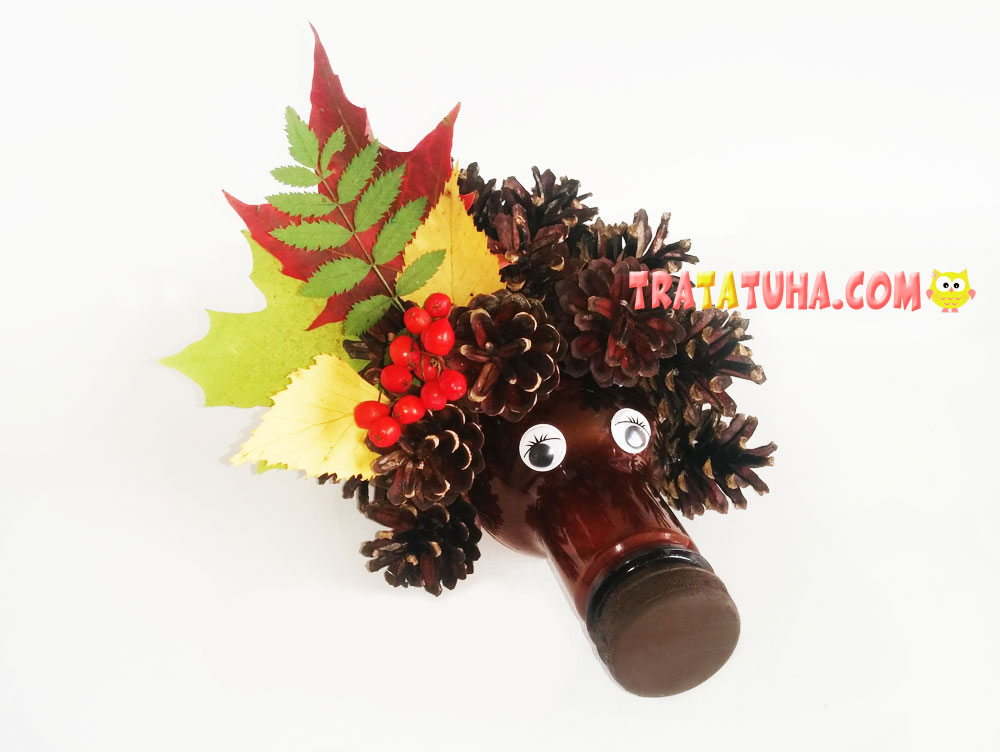
In this tutorial, we will use various materials. Combining them, we get a pinecone bear. Even small kids can easily cope with such a craft.
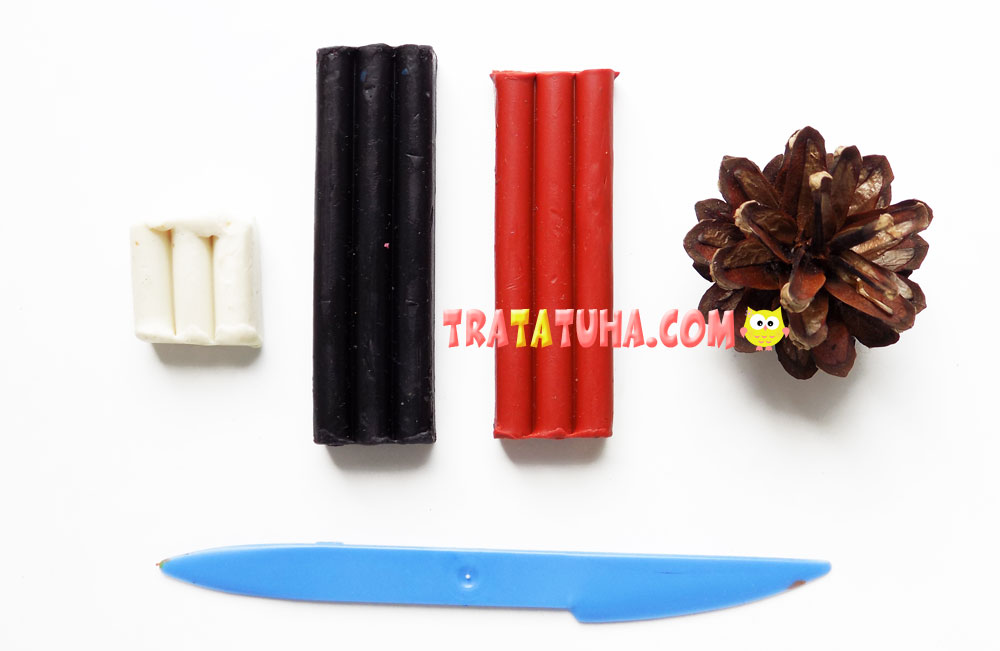
You will need:
- pinecone;
- clay brown, black, white;
- plastic stack.
Pinecone Bear Craft Step by Step
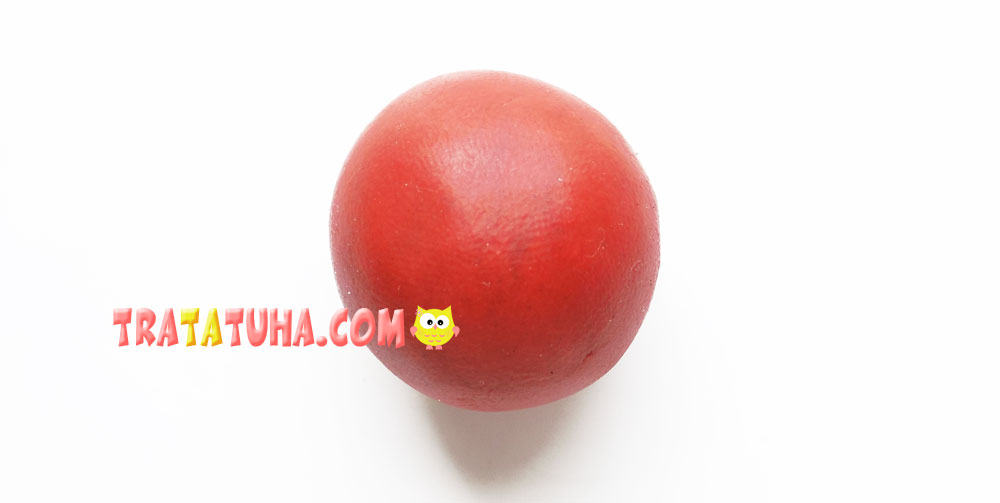
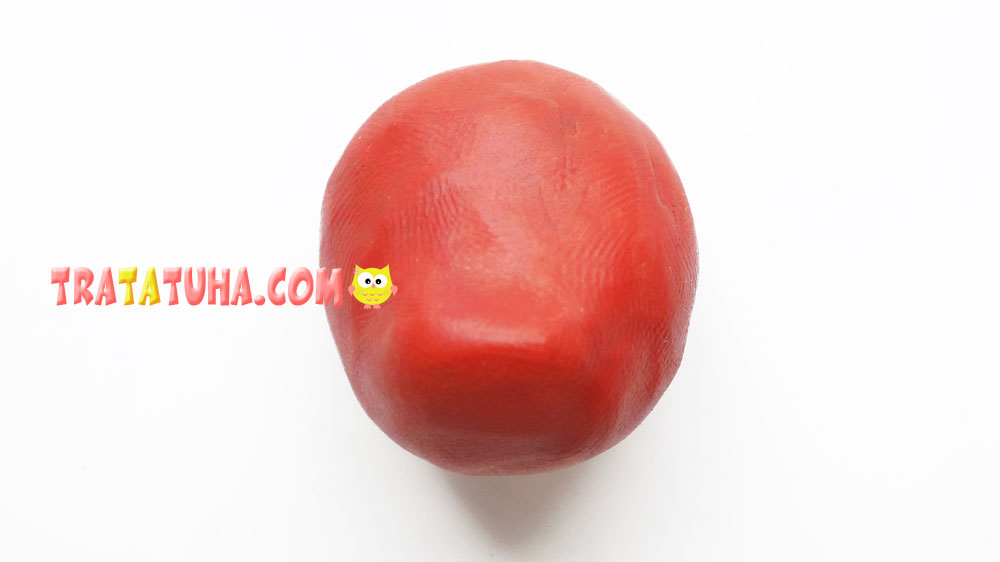
Let’s start our craft with the bear’s head. To do this, roll up a ball of brown clay.
Now we will slightly modify the muzzle, slightly stretching its front part.
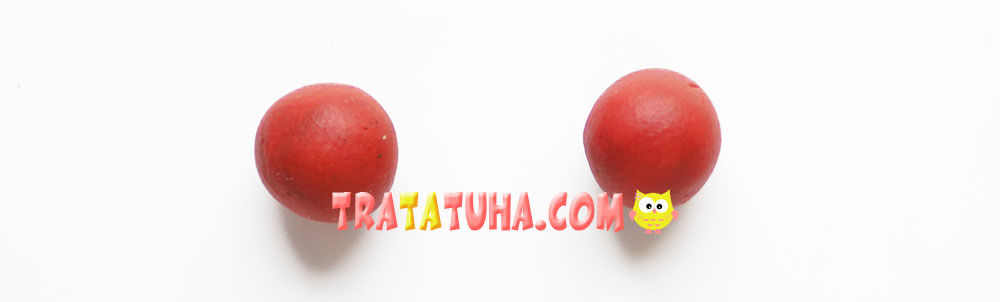
Additionally, we roll a couple of small balls from brown clay, which will become ears.
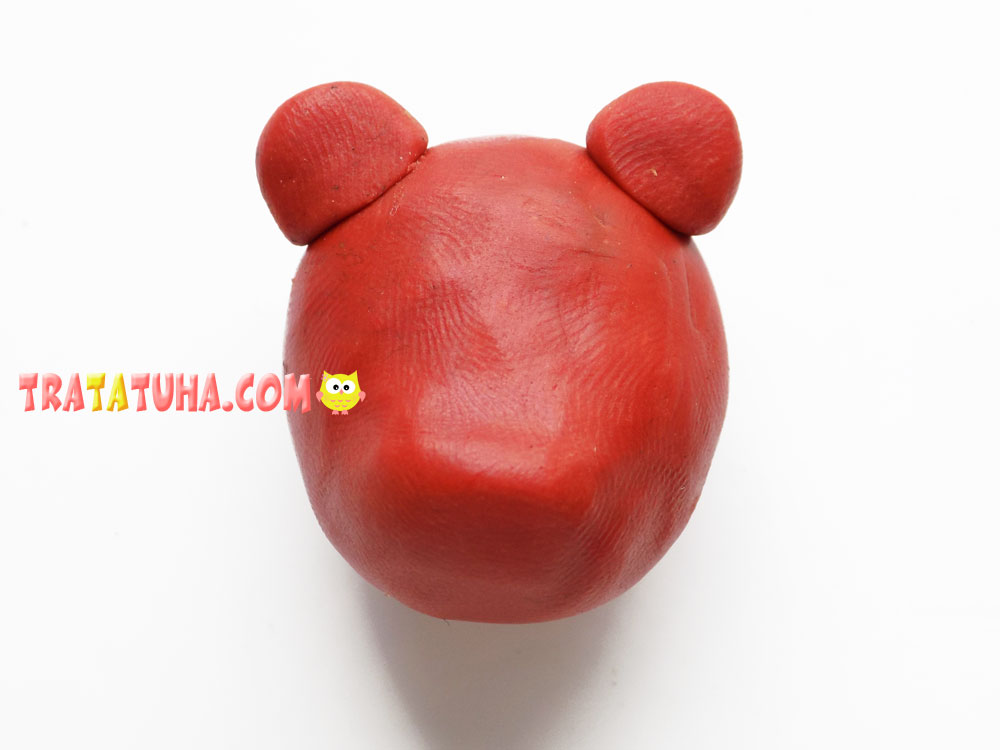
We attach these ears to the head.
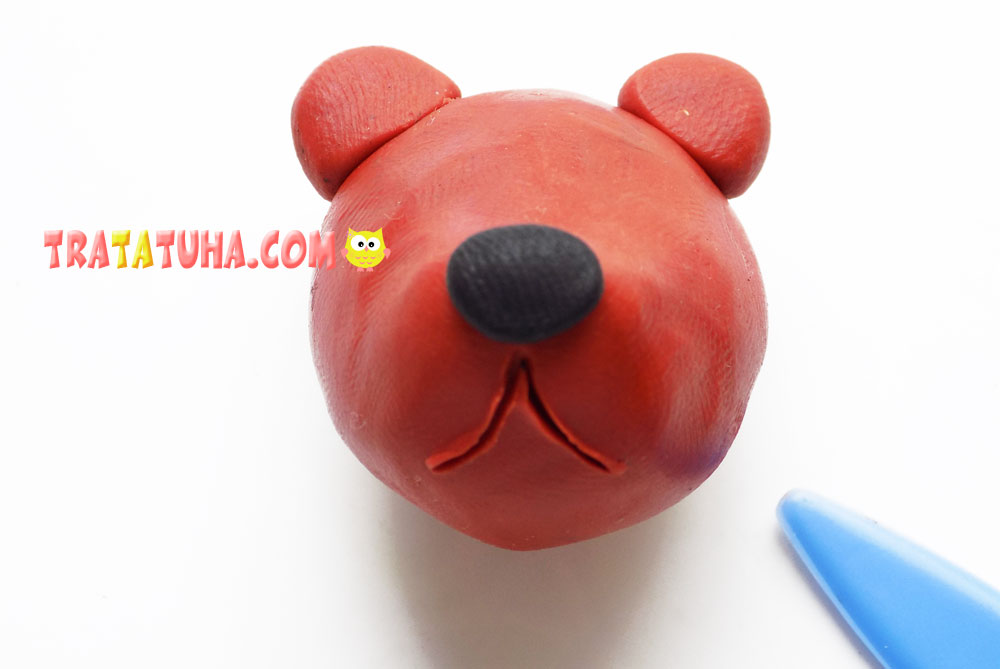
From a piece of black clay we make a spout.
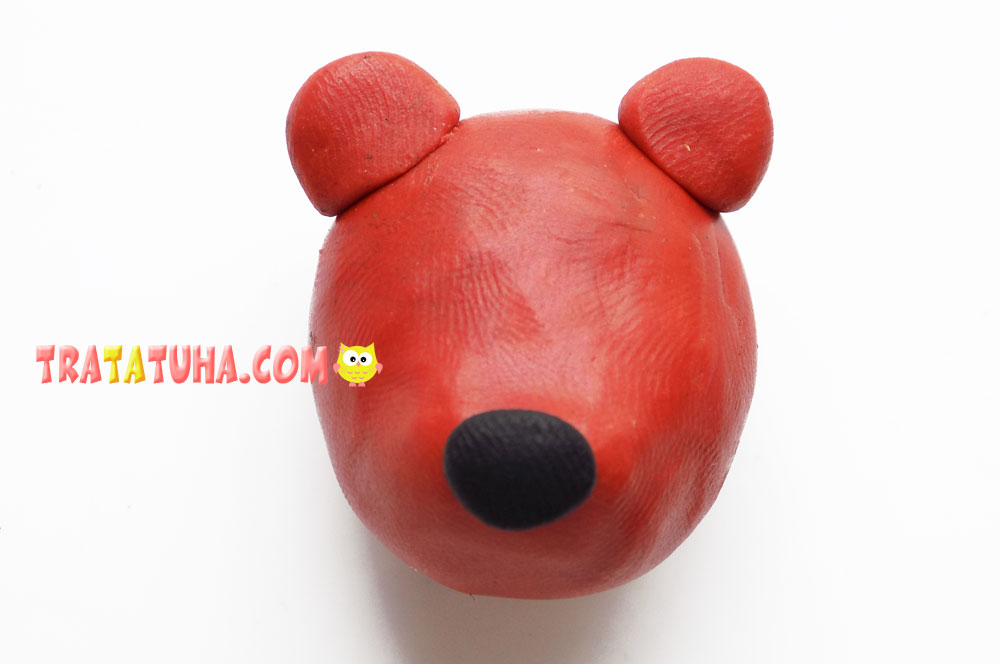
Draw a mouth with a plastic stack.
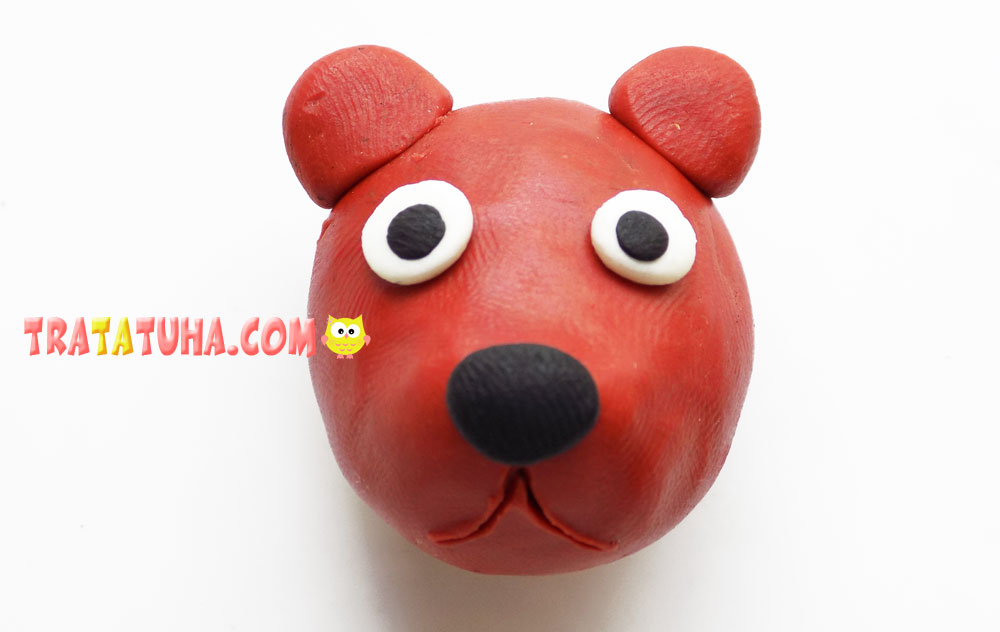
Next, let’s take a look at the eyes. To do this, first we pinch off a couple of small pieces of white clay, roll balls out of them, press them down and fix them on the head. Then we make the pupils in the same way, but we use pieces of black clay.
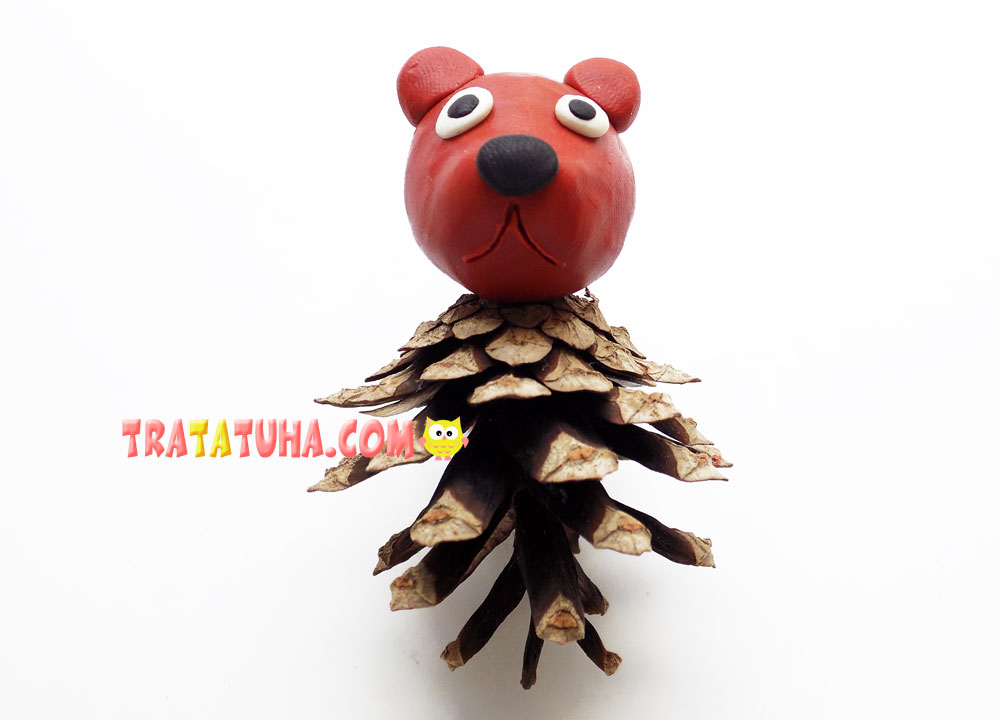
We connect the head with a pinecone, which in our craft will become the body of a bear. Before attaching the head, the pinecone must be turned over.
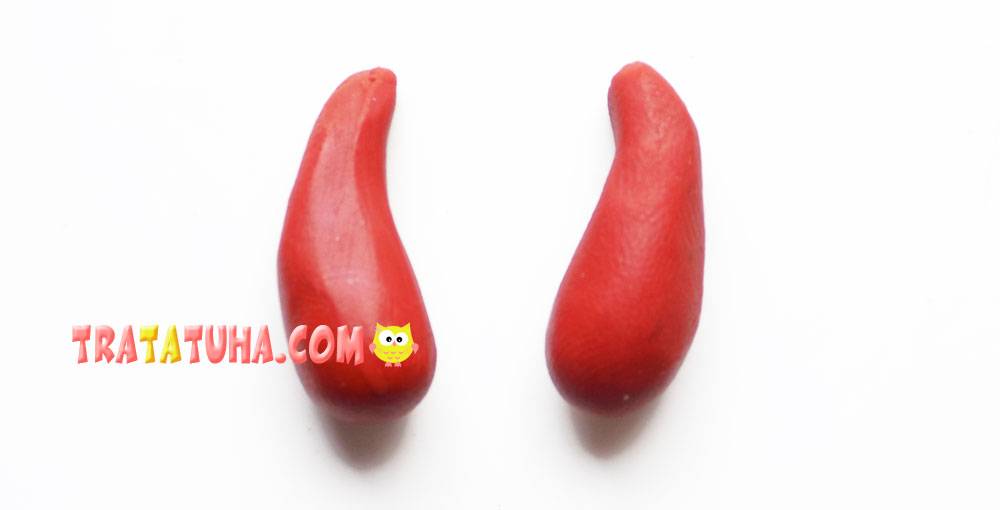
It remains to make paws for our bear. Let’s start by creating the upper paws. First, these will be balls rolled from brown clay.
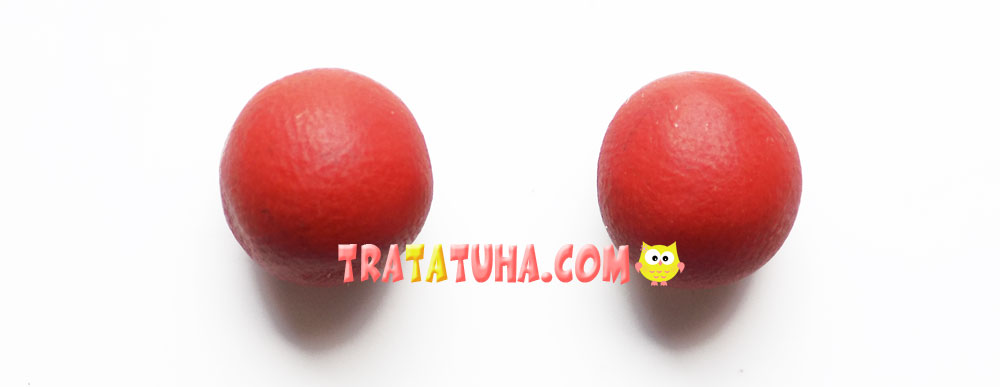
Then we give them the desired shape, attach bumps on the sides, and designate claws with a plastic stack.
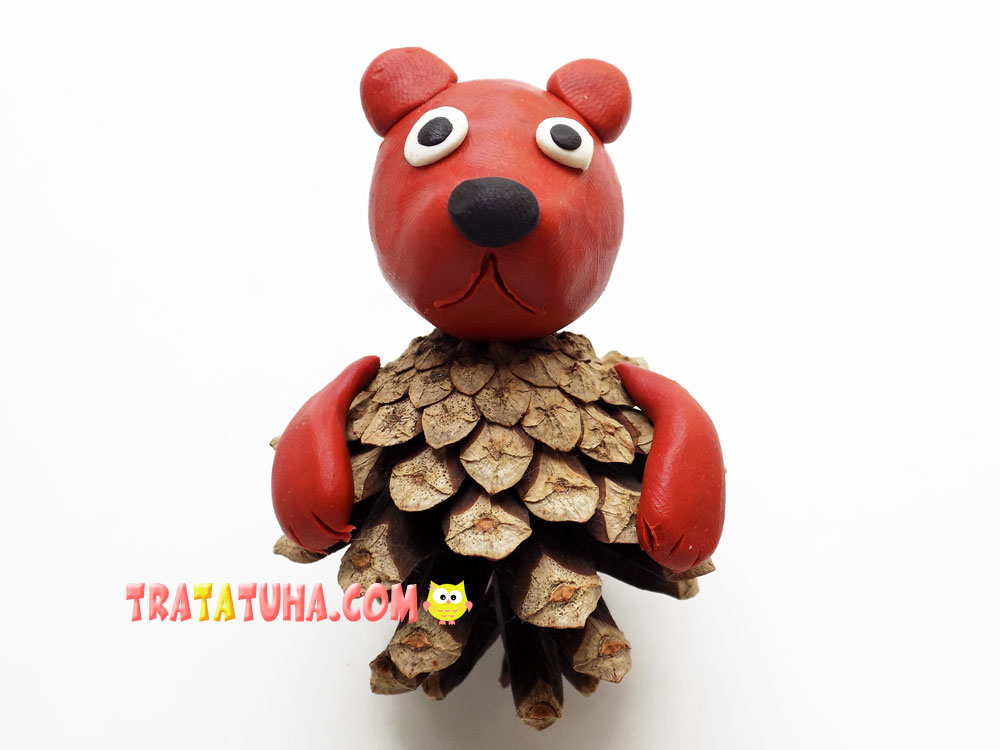
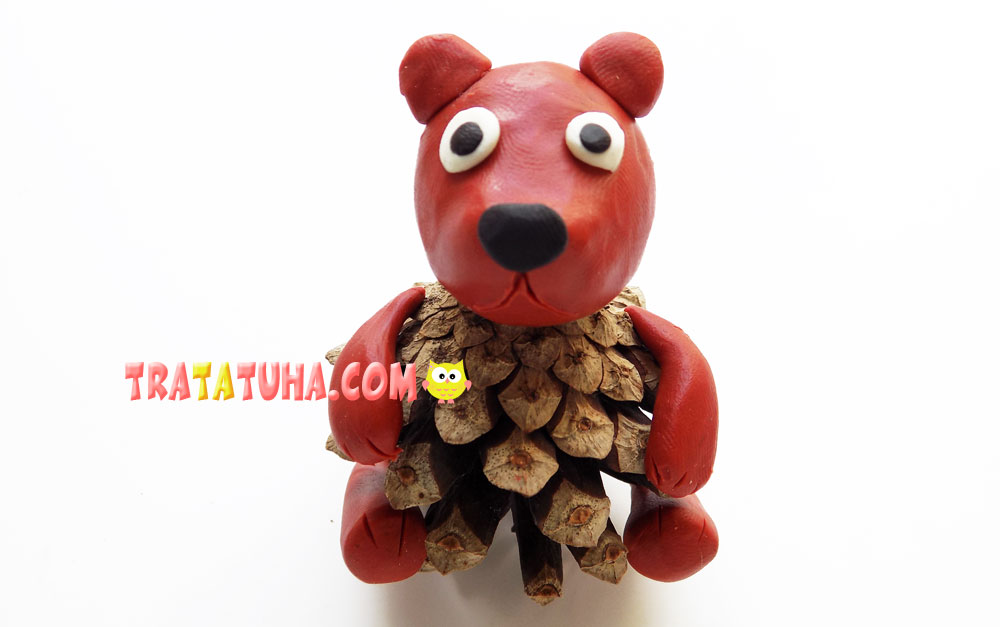
By the same principle, we sculpt the lower paws, then we fix them in the lower part of the pinecone. The pinecone bear is ready.
See more ideas about Pinecones Crafts.
Crafts for Kids – learn how to make craft at home! Super cute crafts for all age groups!
Related Post: