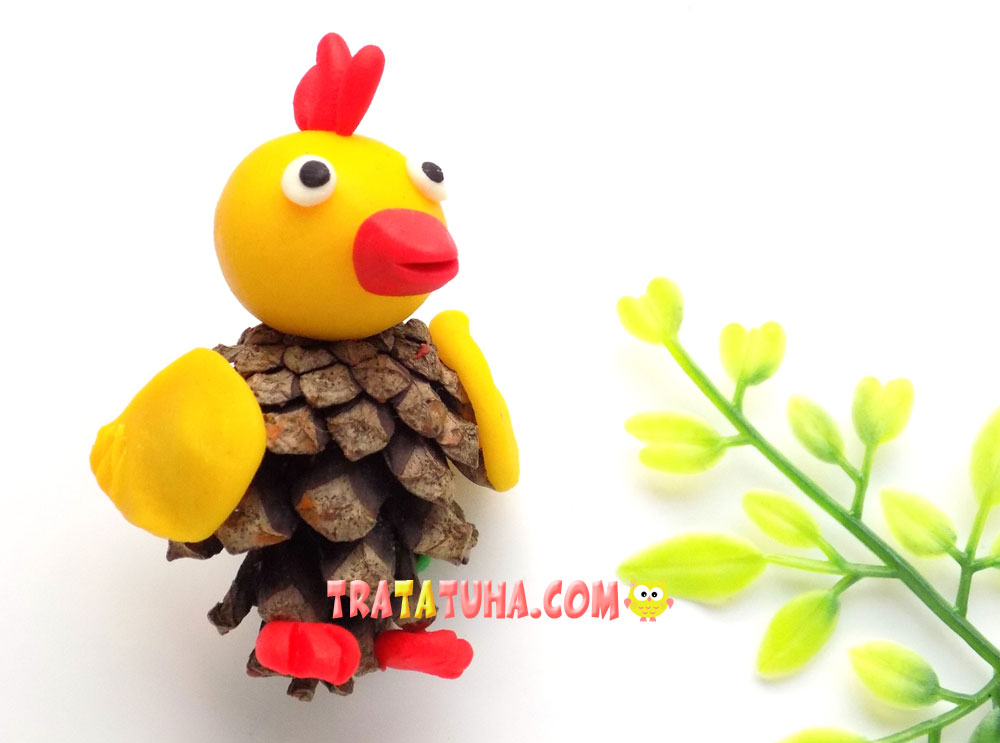
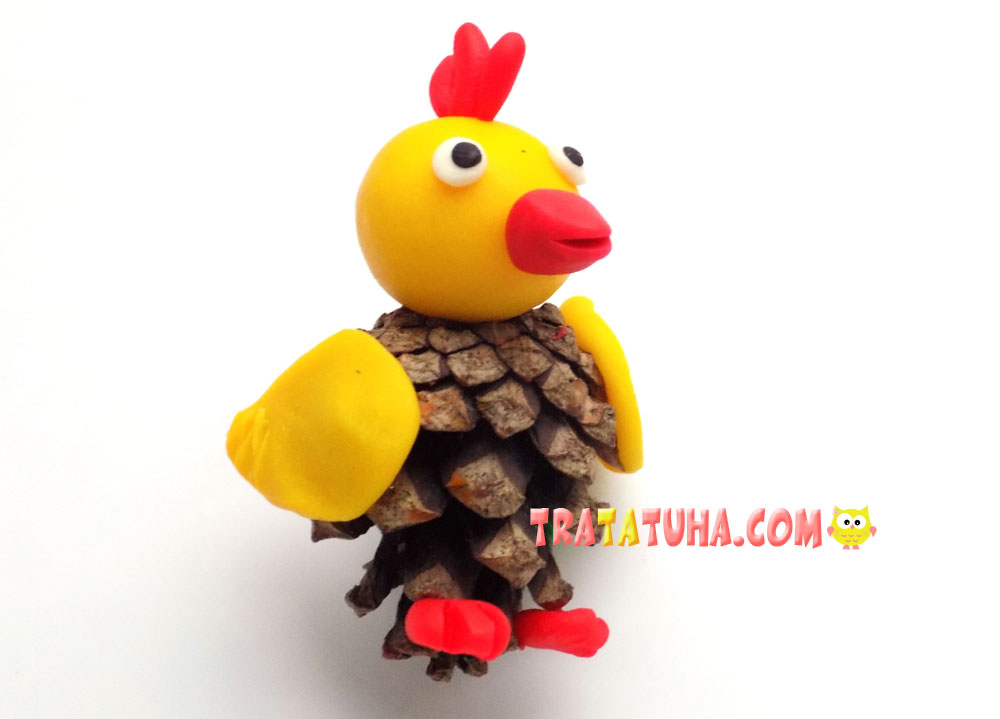
The basis of our craft will be a pinecone. And when adding clay details, we will get a pinecone chicken, shown in this tutorial.
To make a chicken, we will prepare:
- pinecone;
- clay;
- plastic stack.
Pinecone Chicken Craft Step by Step
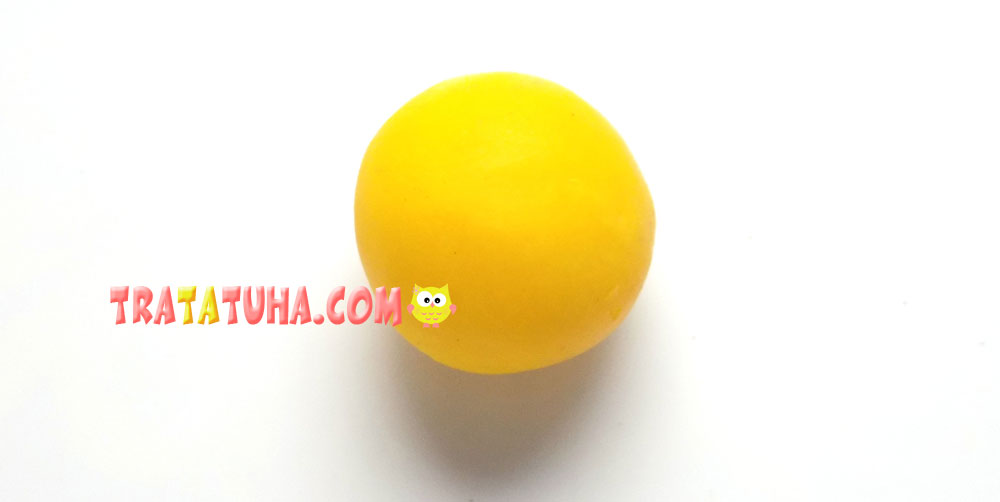
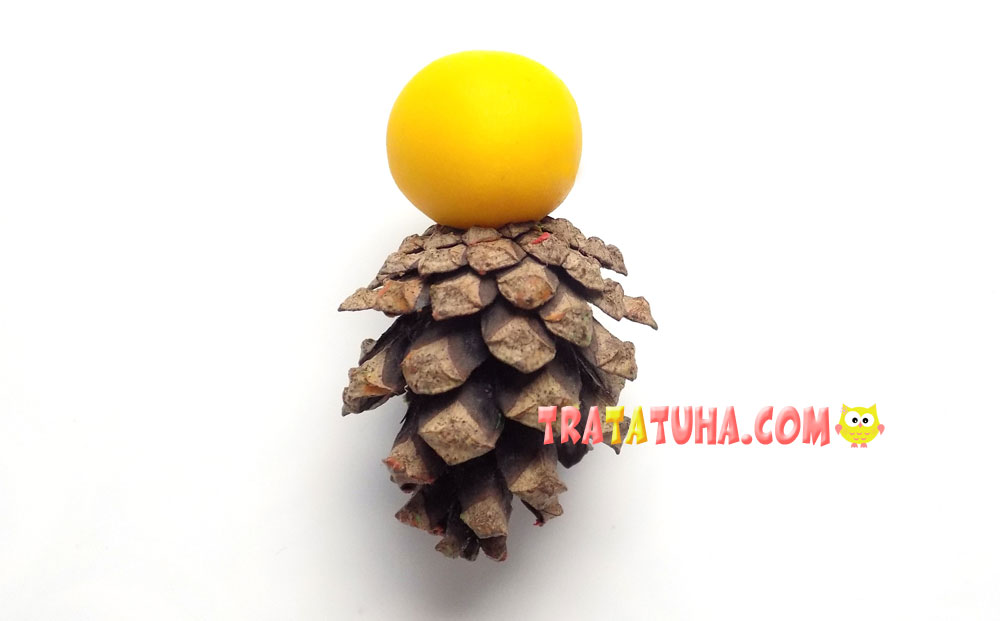
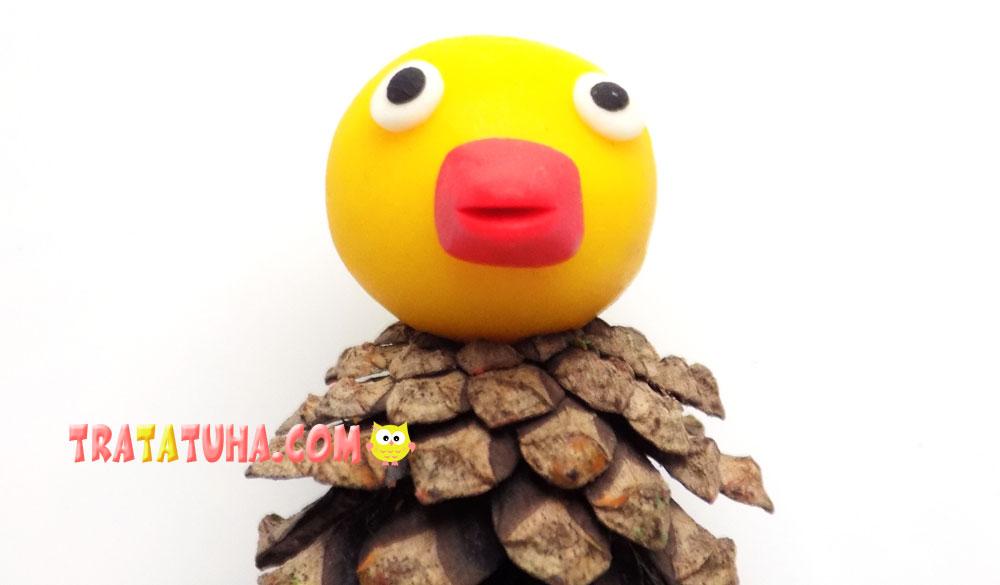
First, we roll a ball out of yellow clay. It will be the head of our chicken.
We attach this yellow ball to an inverted pinecone, which in this craft will become the body of a chicken.
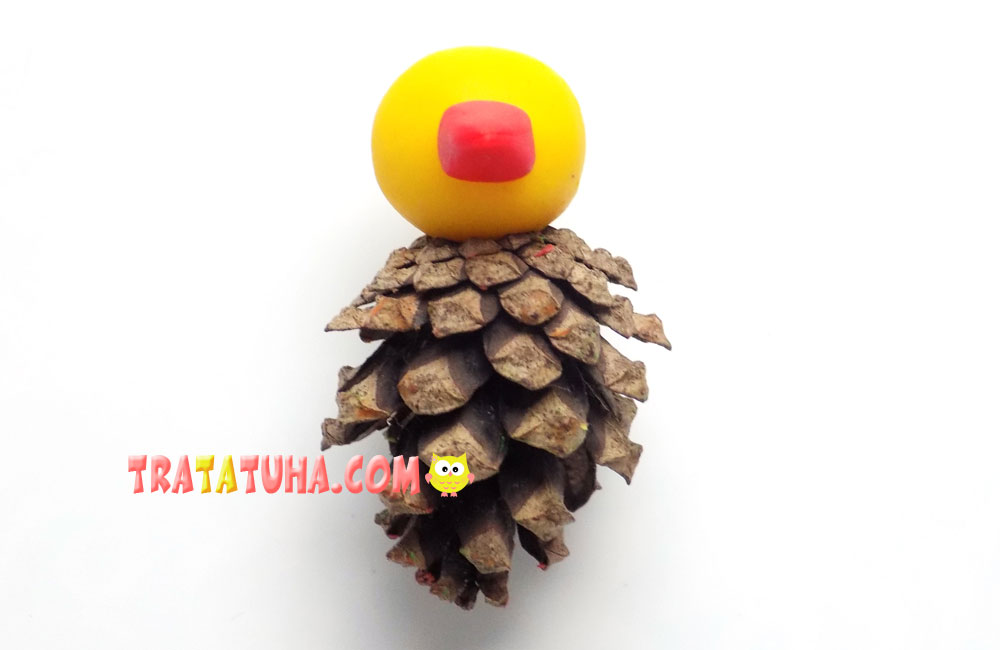
We will make a beak from red clay. We fix it on the head.
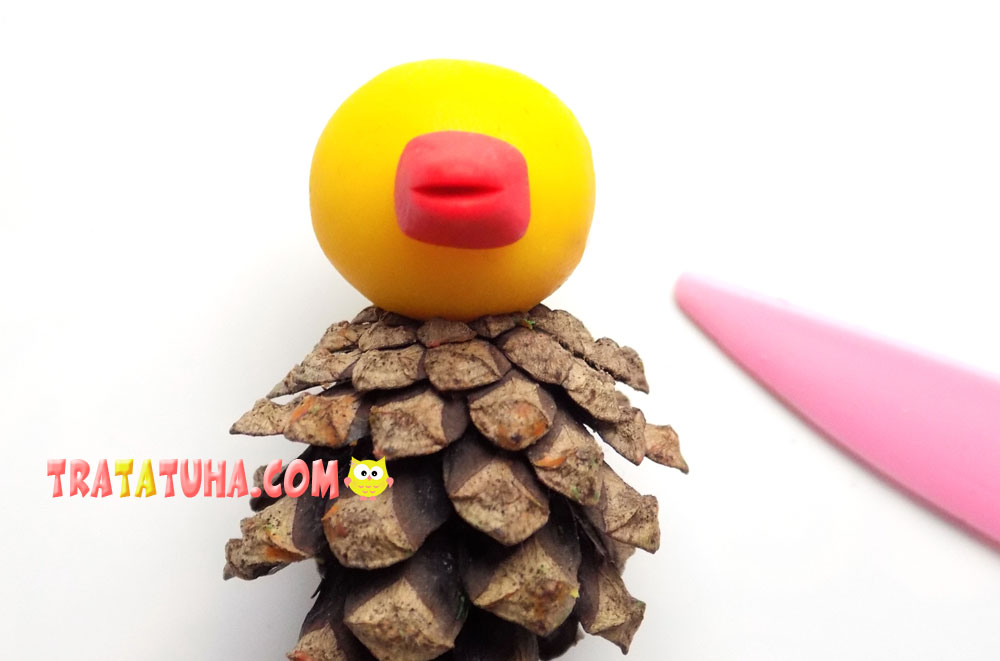
Let’s decorate the beak with a plastic stack.
Add small balls of white clay, they will become the basis for the eyes of the chicken.
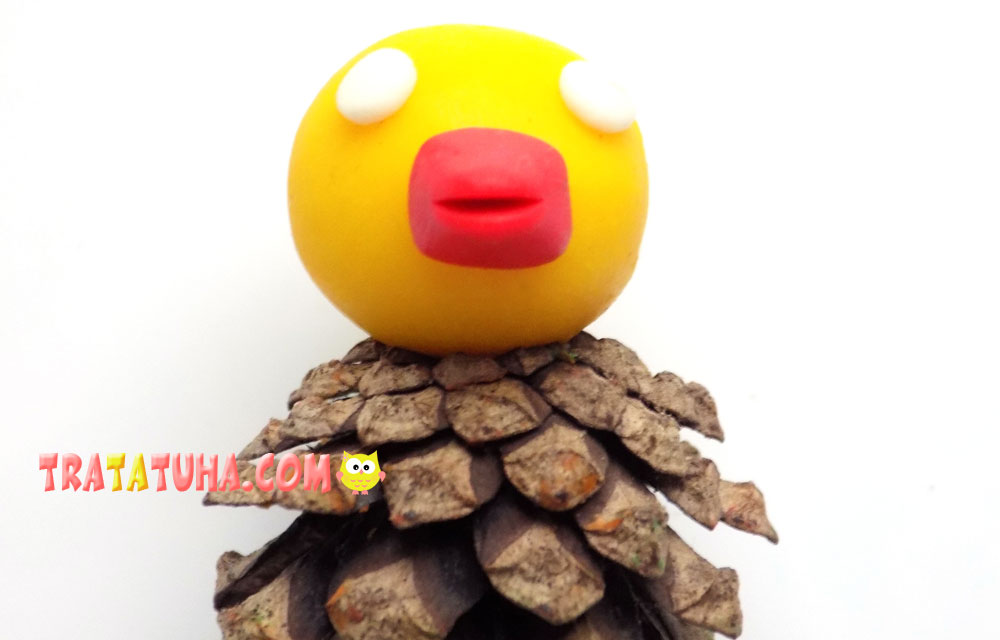
And on top we fix tiny pieces of black clay. So we made eyes.
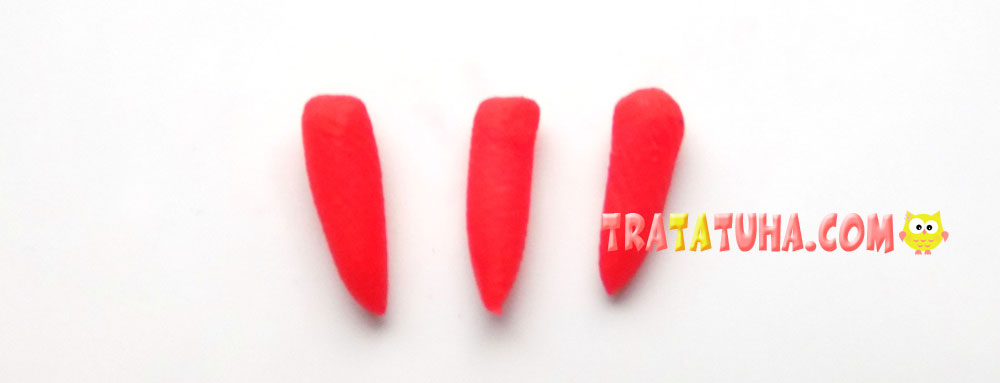
Now let’s use red clay. Roll it into 3 small balls.

Then we roll out short flagella from them, which should be thicker at one end.
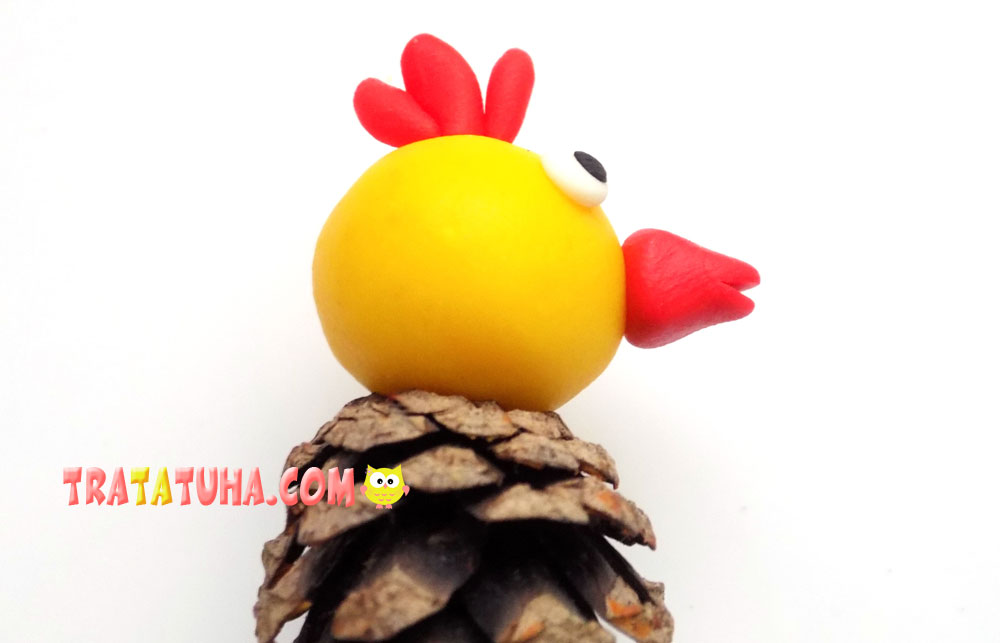
We fix these blanks on the head.
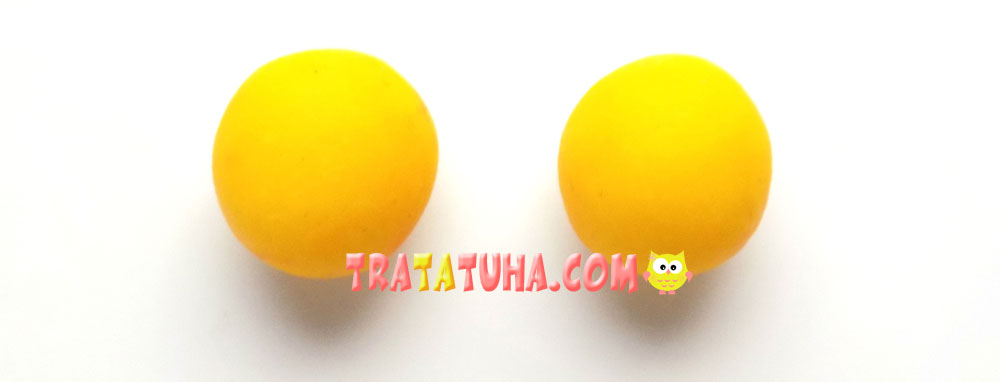
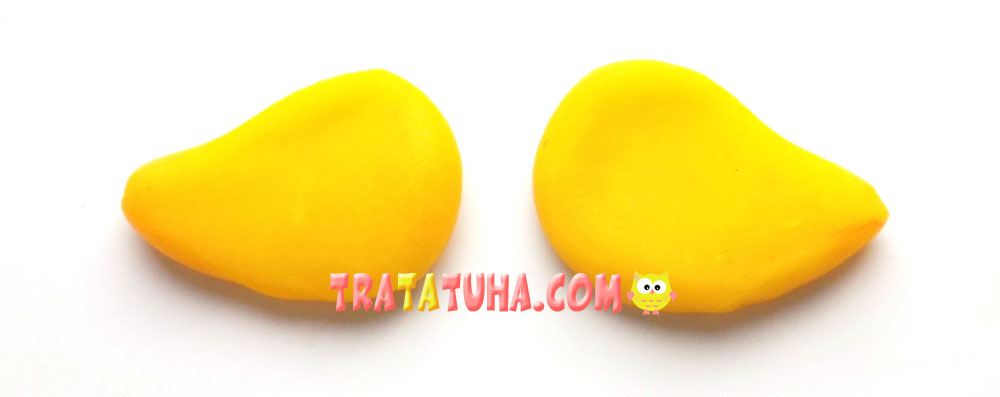
For the wings, prepare balls of yellow clay.
They need to be flattened, then shaped into droplets and bent a little.
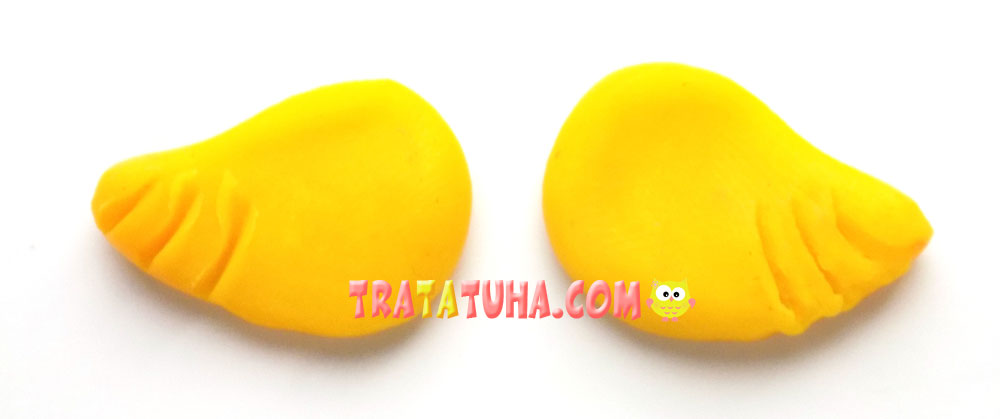
Let’s decorate the wings a little with a plastic stack.
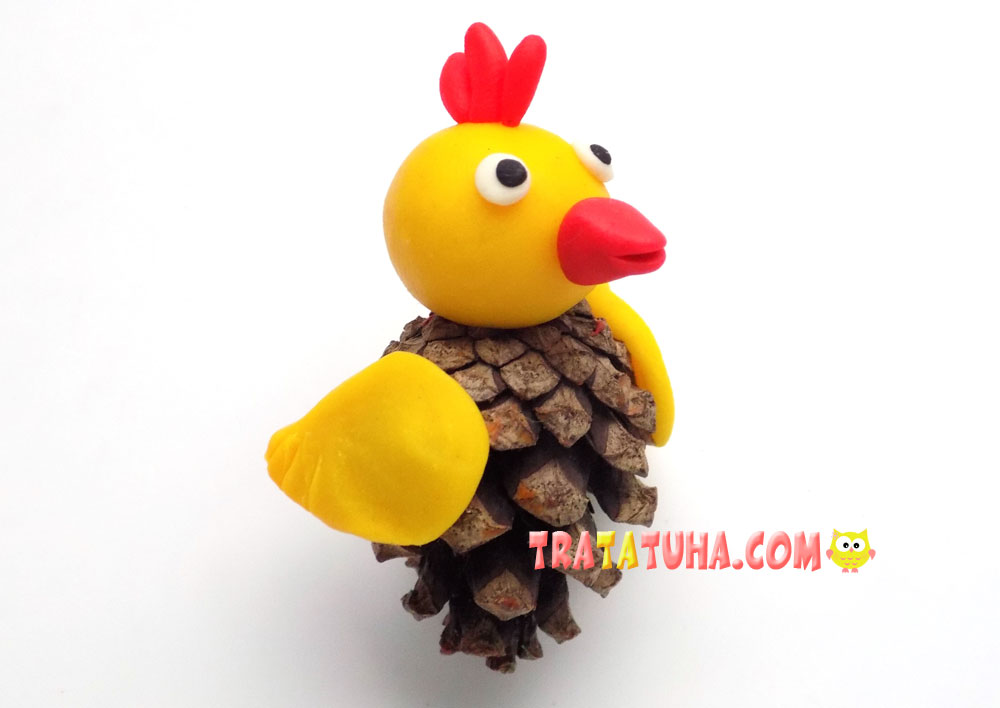
We fix the finished wings on the sides of the pinecone.
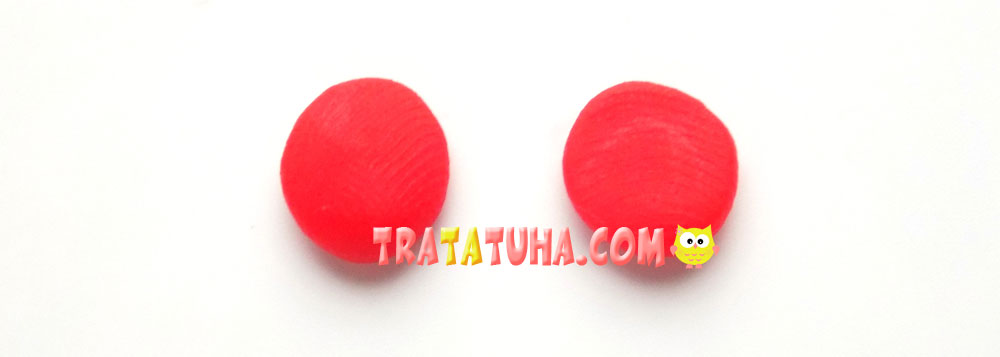
It remains to make paws. For them, we prepare a couple of balls of red clay.
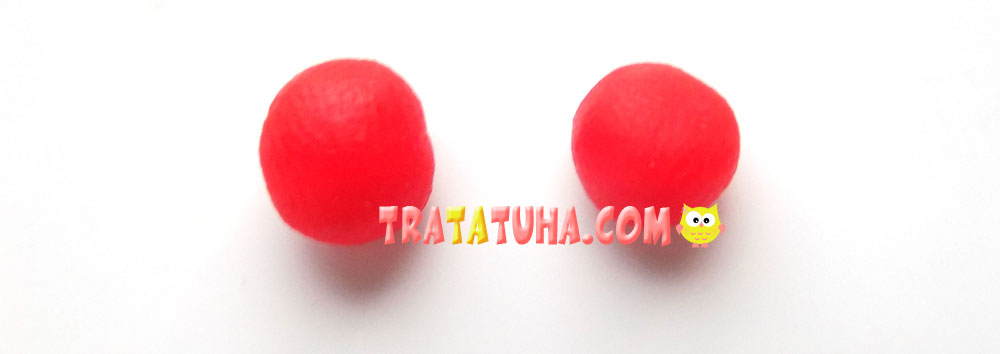
Lightly press these blanks.
And cut out the paws with a stack.
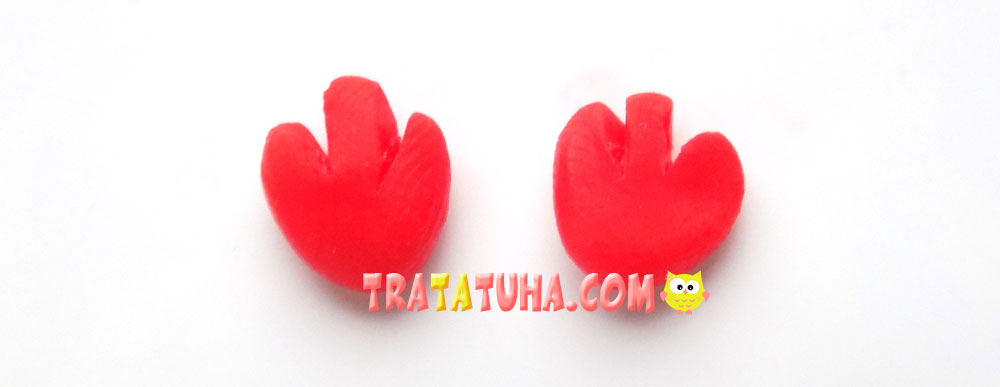
We fix the paws in the lower part of the body. Pine cone chicken is ready.
See more ideas about Pinecones Crafts.
Crafts for Kids – learn how to make craft at home! Super cute crafts for all age groups!
